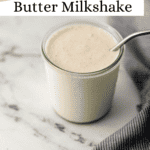

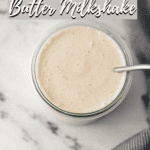
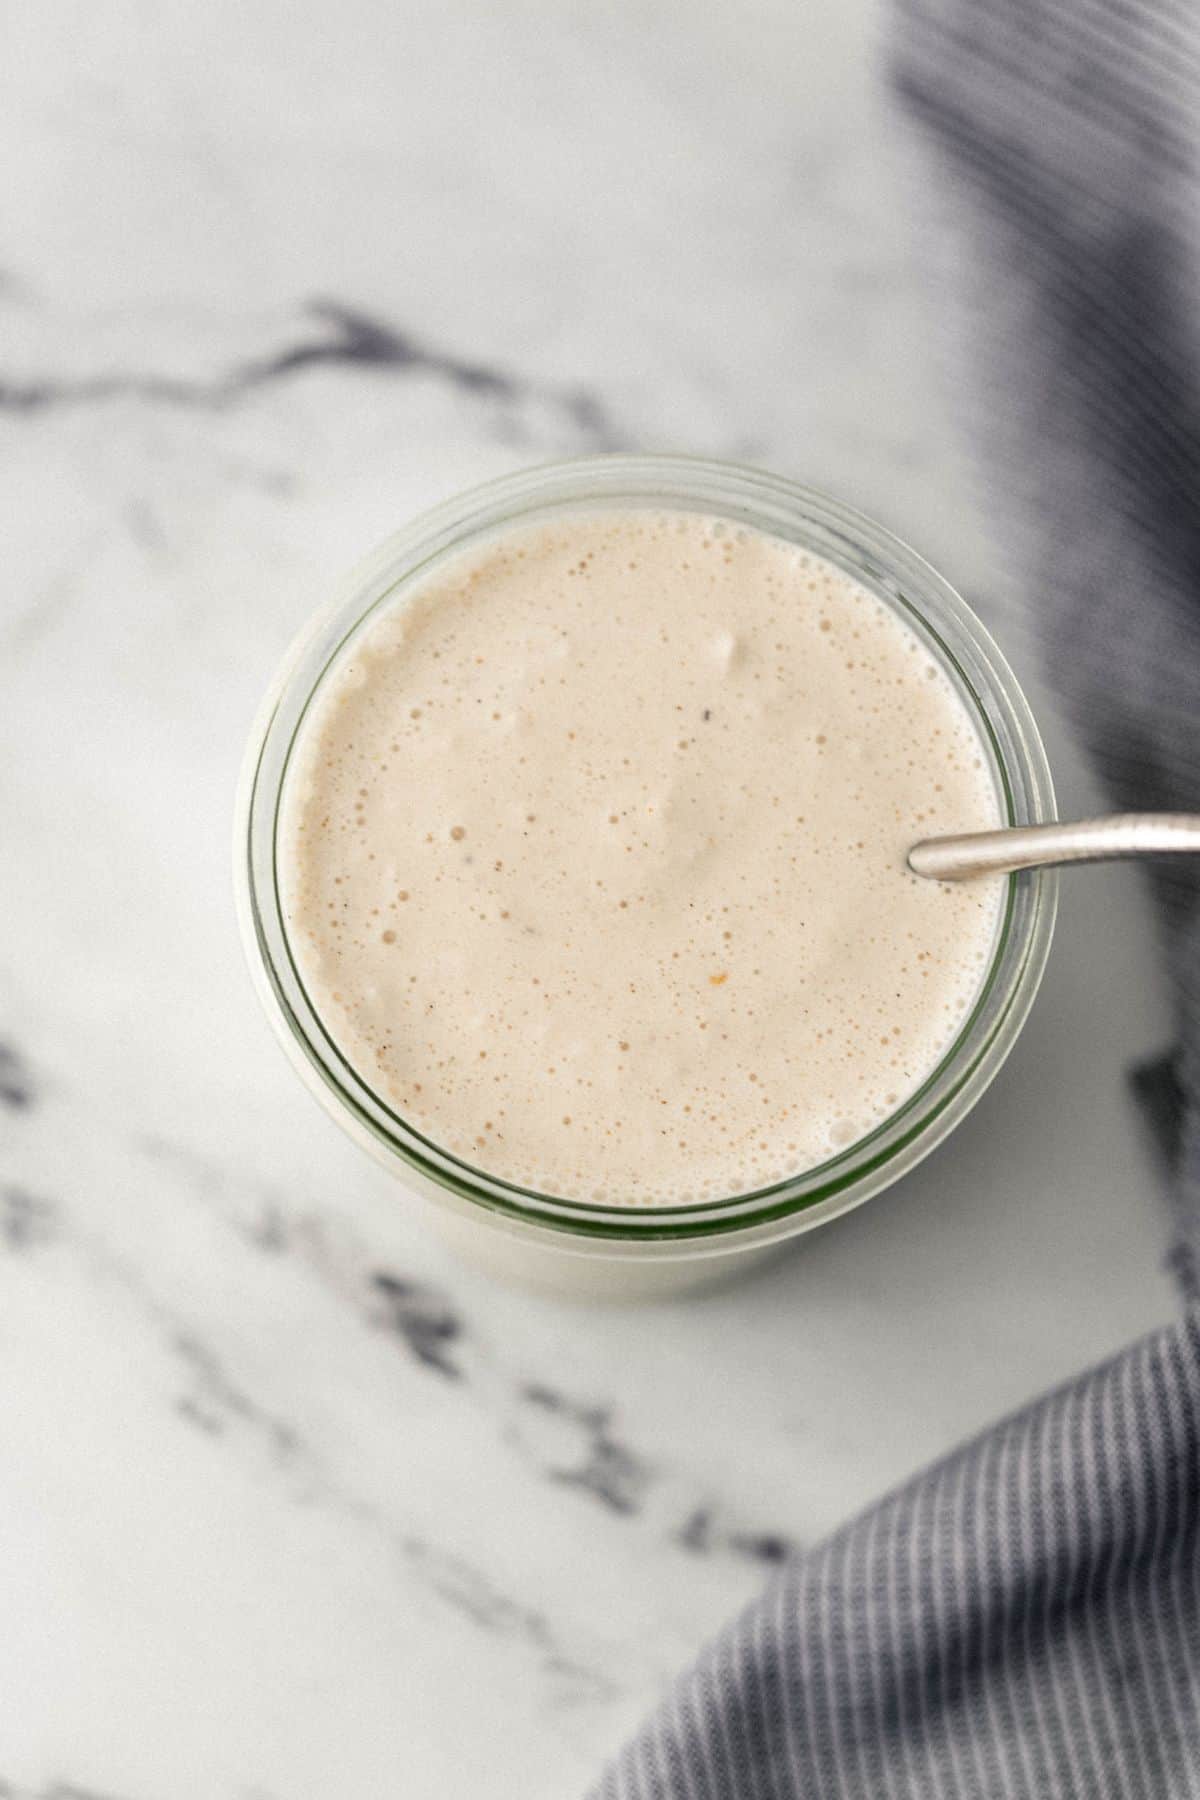
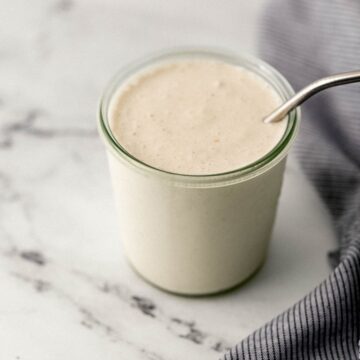
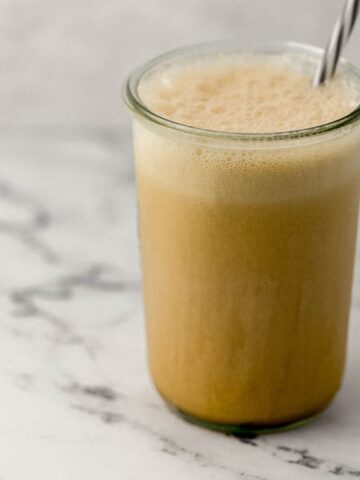
Easy creamy peanut butter milkshake is a quick shake recipe made with simple ingredients for a thick, smooth, and flavorful treat. Perfect for dessert or a cool afternoon snack, it comes together in just minutes.
Updated April 2026: I've refreshed this post with expanded tips, more variations, a bigger FAQ section, and storage notes based on your questions and comments. Same easy three-ingredient recipe, just a lot more helpful! Originally posted on May 22, 2013, and updated on April 30, 2021, and May 30, 2023.
Peanut butter has always been one of those flavors I could eat in any form. Straight from the spoon, baked into cookies, or blended into the creamiest milkshake you've ever tasted. Growing up in Florida, our summers were hot and our treats were homemade, and there is nothing better than blending up something cold and indulgent when the heat outside is doing the most. This peanut butter milkshake is the one I keep coming back to.
What I love most about this recipe is how honest it is. Three ingredients, five minutes, and a blender is all you need. No fancy technique, no hard-to-find ingredients, and no wondering if it'll turn out right. I've made this shake more times than I can count, tested different ratios, and landed on a version that is perfectly thick, perfectly creamy, and loaded with real peanut butter flavor in every single sip.
Whether you're making a treat for the kids on a hot afternoon or sneaking one for yourself after dinner (I see you), this is the recipe to reach for. Let's get started!
Jump to:
Why You'll Love This Peanut Butter Milkshake
- Only 3 ingredients - milk, vanilla ice cream, and peanut butter. That's it. No mystery pantry items required.
- Ready in 5 minutes - blend, pour, done. It's faster than driving to Dairy Queen, and honestly better.
- Perfectly thick and creamy - this shake is designed to be luxuriously thick, not watery. The ratio is tested and reliable.
- Endlessly customizable - chocolate version, banana version, dairy-free, no ice cream. There's a variation for everyone in the Variations section below.
Ingredients You'll Need
- Whole milk is the base liquid here. Whole milk gives you the creamiest, richest result because the fat content works with the ice cream to create that classic milkshake texture. If you prefer a thinner shake, you can add a splash more milk after blending. For a dairy-free swap, extra-creamy oat milk is my favorite substitute, it behaves most like whole milk in texture and flavor.
- Vanilla ice cream is what makes this a milkshake and not a smoothie. Use your favorite brand, but stick with plain vanilla, you want the peanut butter to be the star. Good vanilla ice cream has a clean, creamy base that lets the peanut butter flavor really shine through. For a dairy-free version, Oatly Non-Dairy Vanilla Dessert works beautifully. You can also use No Churn Vanilla Ice Cream if you have a batch on hand.
- Creamy peanut butter is the heart of this recipe. Use a processed brand like Jif or Skippy for the smoothest, most consistent blend. Natural peanut butter works but can be oilier and may not blend as smoothly, if you use it, give it a good stir first. Avoid chunky peanut butter unless you love a little texture in your shake.
👉🏾 See the recipe card below for exact quantities and full instructions.
How to Make a Peanut Butter Milkshake
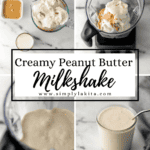
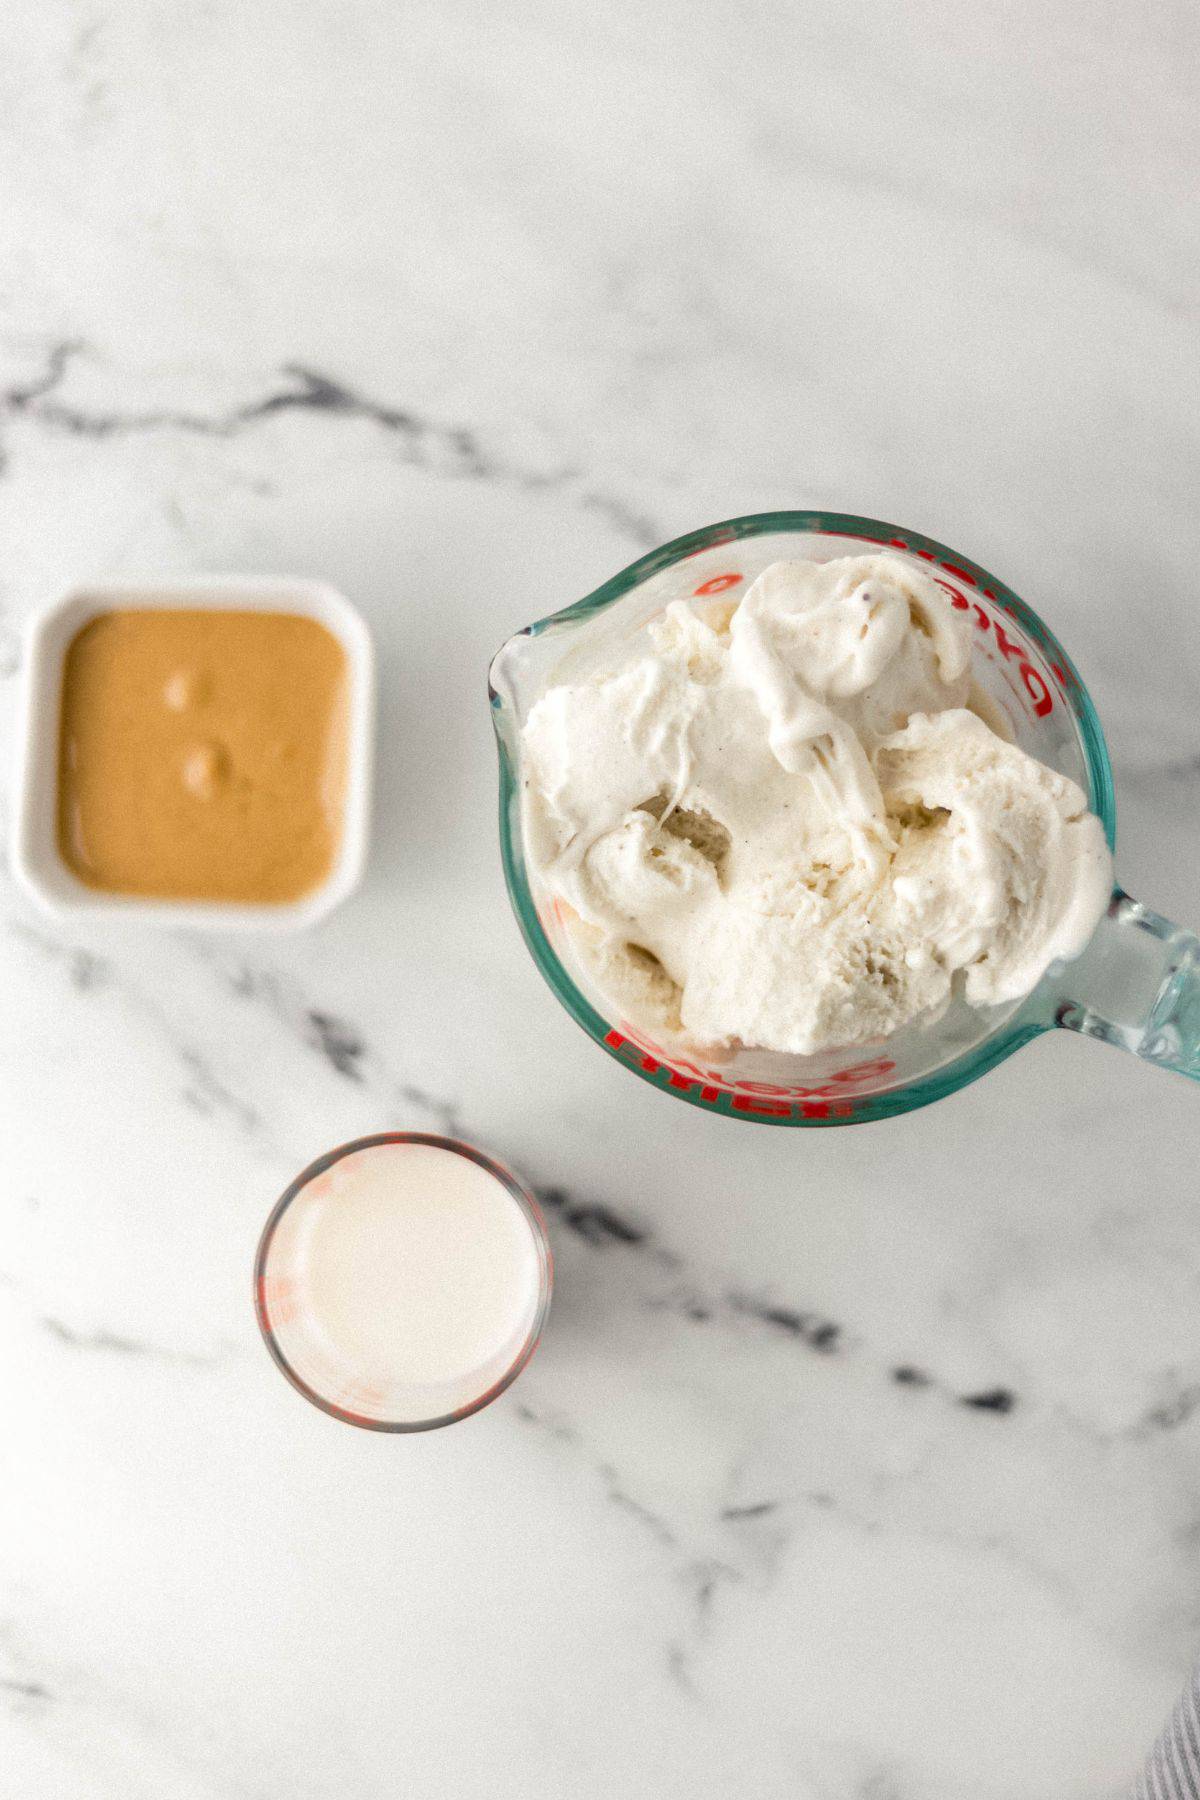
Step 1: Measure Your Ingredients
Start by measuring out your milk, ice cream, and peanut butter before anything goes in the blender. The key with ice cream is to pack it when you scoop, you want those scoops generous and full. If your ice cream is rock-solid from the freezer, let it sit on the counter for 5 to 10 minutes to soften slightly. This makes blending much easier and helps your shake come out smooth rather than lumpy.
Step 2: Add to the Blender in Order
Add the milk to the blender first, then the ice cream, then the peanut butter on top. Adding liquid first gives the blender blades something to work with right away and helps everything blend more evenly. If you put the ice cream in first, it can stick to the bottom of the blender and make it work harder than it needs to.

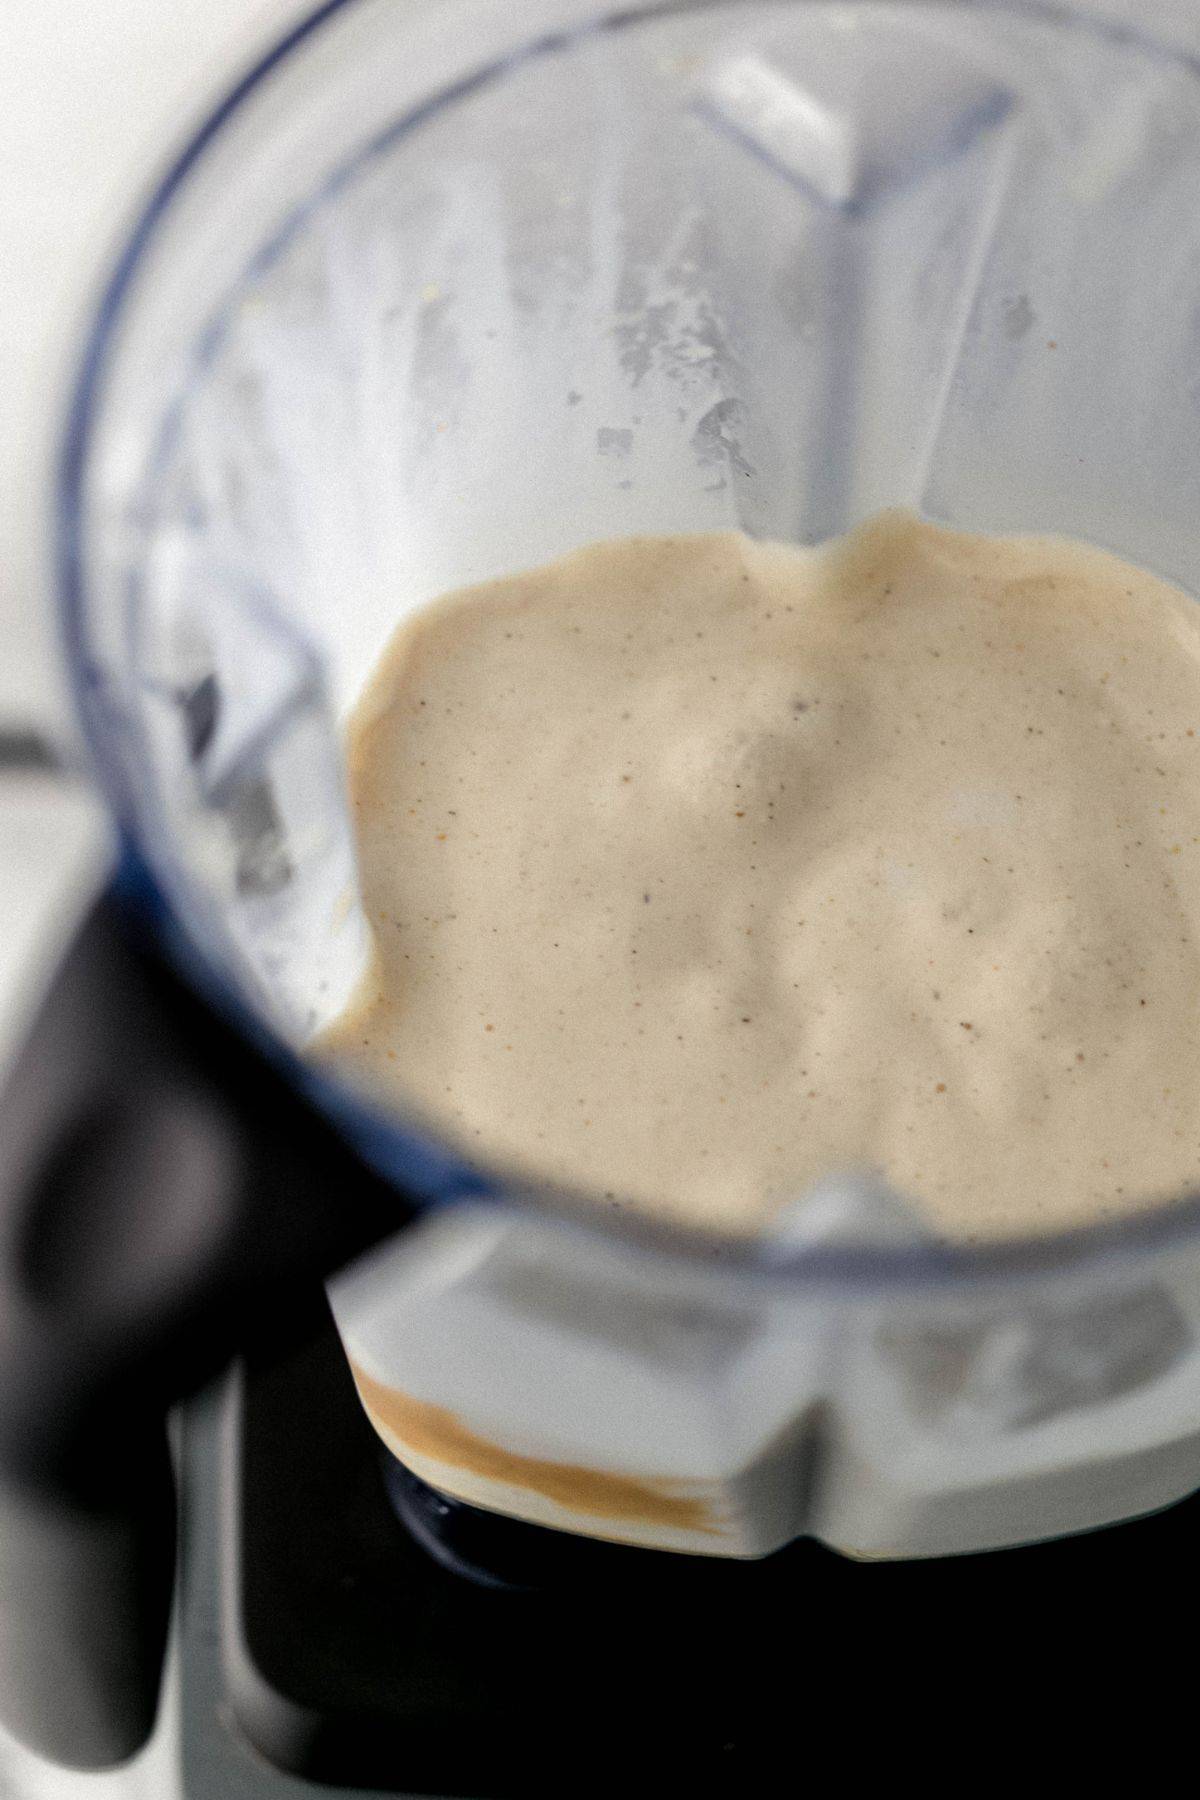
Step 3: Blend Until Smooth
Put the lid on tightly and blend on medium speed until everything is completely combined and smooth, usually about 30 to 45 seconds. Don't over-blend. The longer you run the blender, the warmer and thinner your milkshake becomes. Stop as soon as it looks smooth and pourable. If it's too thick, add a small splash of milk and pulse once or twice. If it's too thin, add a scoop of ice cream and blend again briefly.
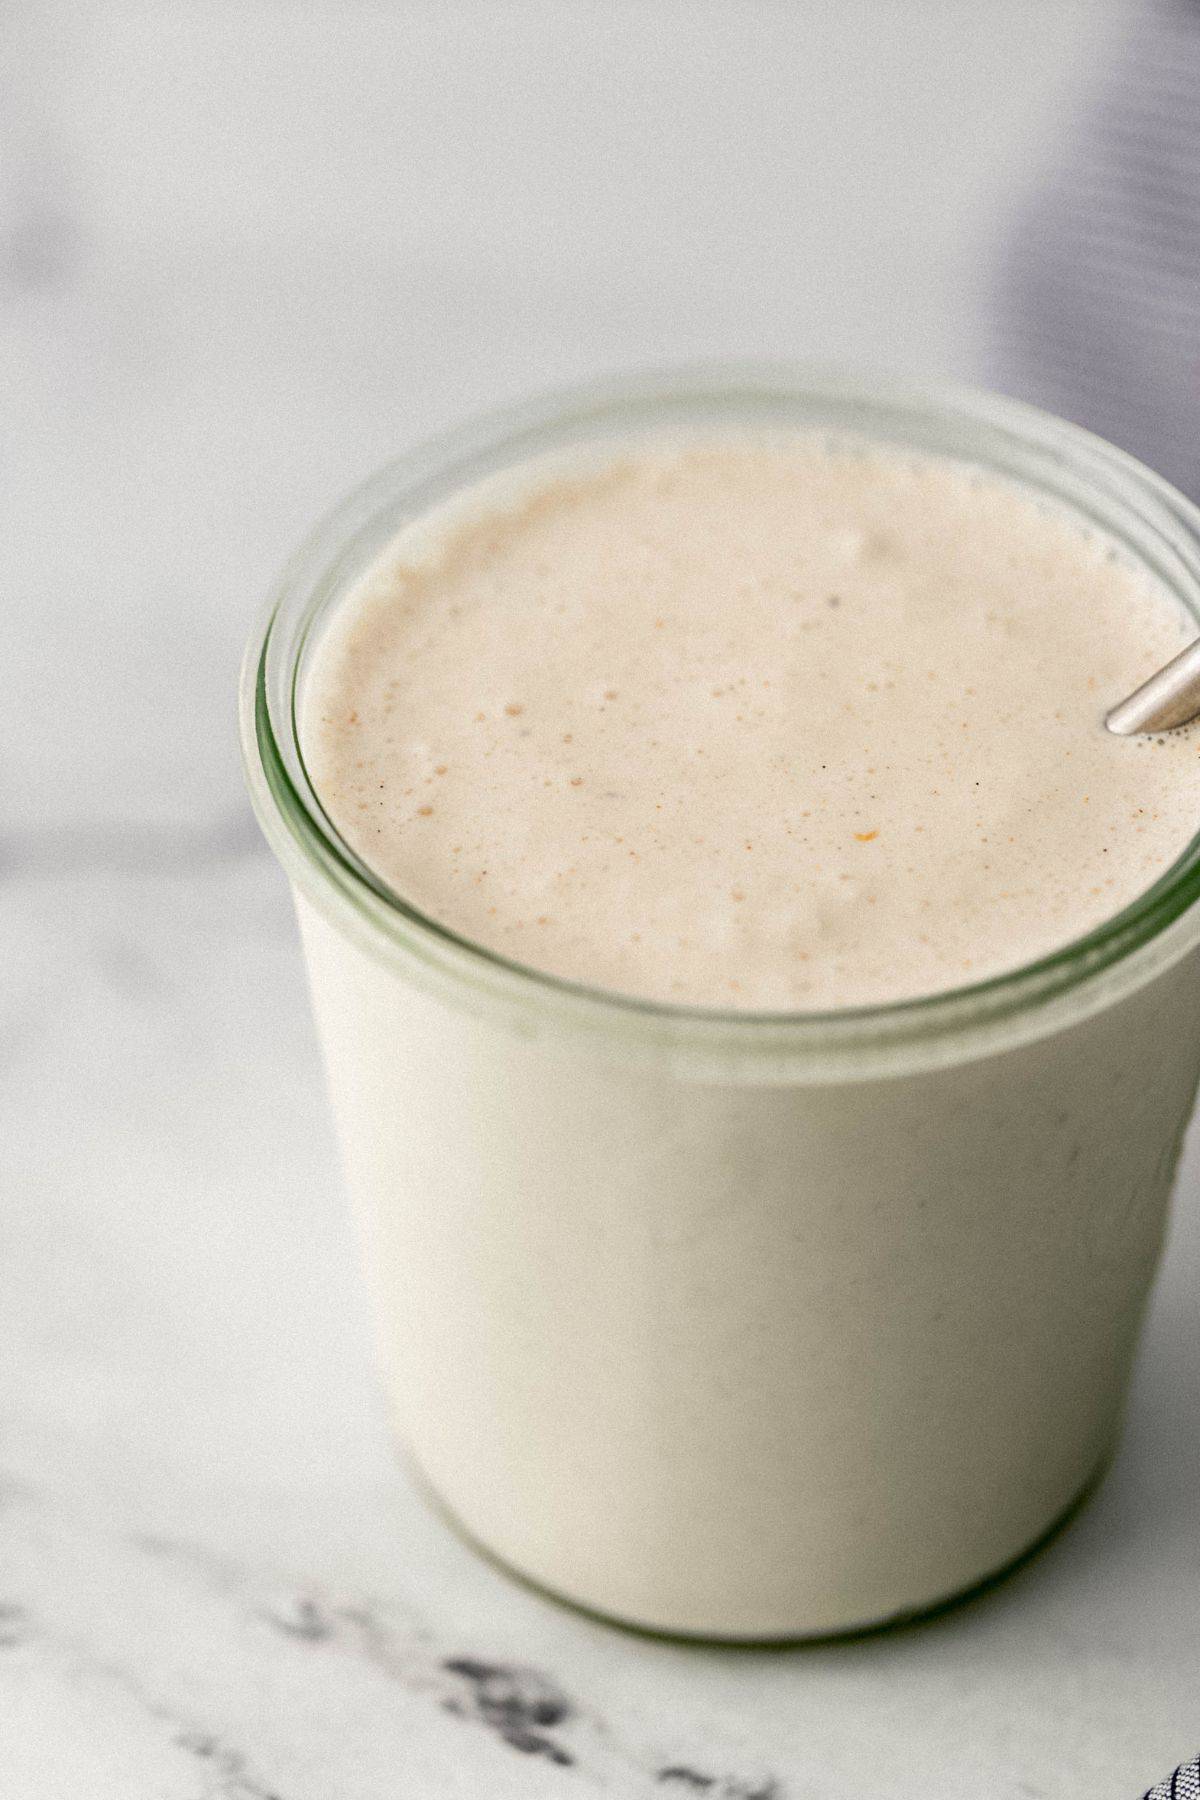
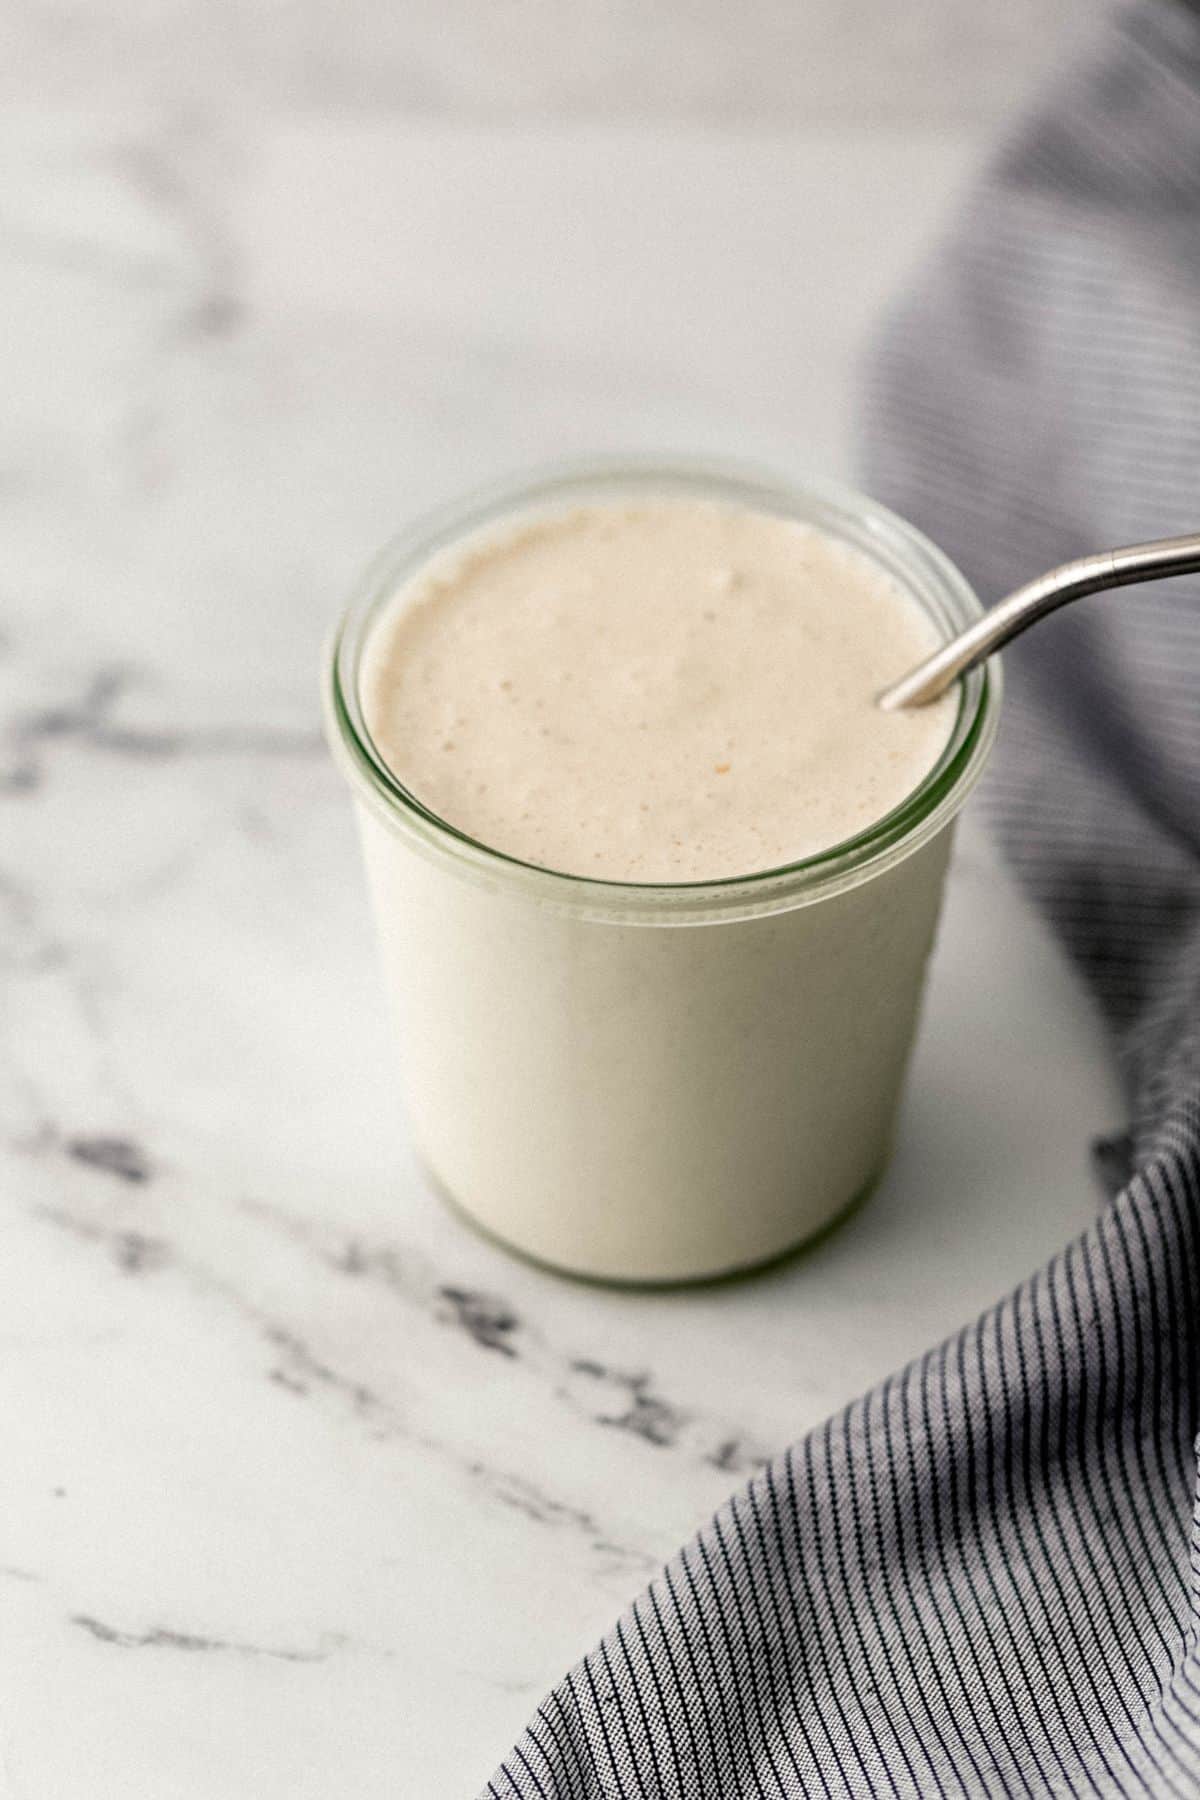
Step 4: Pour and Serve Immediately
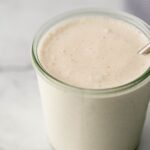
Pour straight into your serving glass and enjoy right away. Milkshakes are always best fresh, within minutes of blending, before the ice cream starts to melt and the texture changes.
LaKita's Expert Tips
- Chill your glass first. Pop your serving glass in the freezer for 10 minutes while you gather your ingredients. A cold glass keeps the shake thick longer, especially if you're a slow sipper.
- Pack the ice cream when measuring. Don't be stingy, a loosely scooped cup of ice cream will give you a thinner shake than a well-packed one. Pack it in like you mean it.
- Let the ice cream soften just a little. 5 to 10 minutes on the counter is all it takes. This prevents the blender from struggling and ensures a lump-free result.
- Add milk last, not first, wait, actually: Add milk to the blender first so it hits the blades, then layer ice cream and peanut butter on top. This is the order that gives the smoothest blend.
- Don't over-blend. 30 to 45 seconds on medium speed is your target. Blending too long heats the mixture and breaks down the texture.
- Use a spoon to pack the peanut butter. Peanut butter likes to cling to measuring spoons. Spray the spoon lightly with cooking spray first, or just scoop generously and scrape clean, don't leave peanut butter behind in the measuring utensil.
- For a thicker shake: Use less milk, more ice cream, and consider popping the finished shake in the freezer for 10 minutes before serving.
Want To Save This Recipe?
Variations & Substitutions
- Chocolate peanut butter milkshake: Swap the vanilla ice cream for chocolate ice cream using the same amount. Top with whipped cream, chocolate chips, and a drizzle of chocolate syrup.
- Banana peanut butter milkshake: Add one frozen banana (broken into chunks) to the blender along with the other ingredients. The banana adds natural sweetness and a gorgeous thick texture.
- Dairy-free version: Use extra-creamy oat milk in place of whole milk and Oatly Non-Dairy Vanilla Dessert instead of ice cream. The result is surprisingly close to the original.
- Peanut butter milkshake without ice cream: Blend ½ frozen banana + 1 cup frozen cauliflower + 1 cup oat milk + 3 tablespoons peanut butter for a thick, creamy shake without any ice cream. It sounds surprising, but it works beautifully.
- Reese's-style milkshake: Add a handful of Reese's Pieces or a chopped Reese's cup to the blender along with your regular ingredients for a candy-shop spin.
- Extra-thick milkshake: Reduce the milk to 2 tablespoons and add an extra half-scoop of ice cream. Serve with a wide straw or a spoon.
Make-Ahead & Storage
Make-Ahead
This milkshake is best made and consumed fresh, that's the honest truth. The texture changes quickly as the ice cream melts, so I don't recommend blending it ahead of time. What you can do is measure out your ingredients ahead of time: pre-measure the peanut butter into a small dish and have your milk portioned, so when you're ready, the blender takes 60 seconds total.
Storage & Reheating
If you have leftover milkshake (which is rare, but it happens), pour it into a sealed container and store it in the freezer for up to 24 hours, not the refrigerator. In the fridge, it turns into a melted, watery mess. In the freezer, it holds better. To serve from frozen, let it thaw on the counter for 10 to 15 minutes, then stir or blend briefly on low speed for 15 seconds to bring the texture back. It won't be quite as fresh as the original, but it's still good.
What to Serve with a Peanut Butter Milkshake
- As a dessert pairing - it goes beautifully alongside White Chocolate Peanut Butter Cups for a full peanut butter moment.
- With a scoop of homemade ice cream on the side - try it with No Churn Vanilla Ice Cream for a full ice cream bar experience at home.
- As a drink alongside something salty - the sweetness of the shake balances perfectly with salty snacks or a savory meal.
- On a summer afternoon with the Strawberry Smoothie - set up a DIY smoothie and shake bar for the kids, let everyone pick their flavor.
- For dessert after dinner - if you've made something rich and savory, a small shake glass is the perfect sweet finish.
Frequently Asked Questions
Yes! The most popular method is to use frozen banana as the base. Blend one large frozen banana with ¾ cup oat milk and 3 tablespoons of peanut butter for a thick, creamy shake that doesn't require any ice cream. You can also blend frozen cauliflower florets with peanut butter and oat milk. I know it sounds wild, but the cauliflower adds body without any flavor. It works!
You can make a version of it without a traditional blender. An immersion blender works well, just use a tall cup or container and blend until smooth. A food processor also works. In a pinch, you can shake the ingredients vigorously in a large mason jar with a tight lid, but the peanut butter won't incorporate as smoothly and you'll need very soft ice cream to make it work.
Add more ice cream and less milk. You can also let your finished shake sit in the freezer for 10 to 15 minutes before serving. Another trick: make sure you're packing the ice cream when you measure rather than loosely scooping it.
Yes, but with a caveat. Natural peanut butter tends to be oilier and can separate during blending, which occasionally gives you an uneven texture. If you use natural peanut butter, stir it very well first to fully incorporate the oil before measuring. It will still taste great, just know the texture might be slightly less silky than with a processed brand like Jif or Skippy.
Absolutely. Cashew butter is especially delicious in this recipe. It's mild, creamy, and blends beautifully. Almond butter works well too, though it has a slightly stronger flavor. Sunflower seed butter is a great nut-free option and has a surprisingly nutty, peanut-butter-adjacent taste.
You can, but the milkshake will be noticeably less creamy and rich. Whole milk provides the fat that gives milkshakes their signature mouthfeel. If you're dairy-free, extra-creamy oat milk is a much better substitute than low-fat dairy milk because the fat content is similar to whole milk.
Milkshakes are best consumed immediately after blending, within 10 to 15 minutes for the best texture. If you need to store it, the freezer (not the refrigerator) is your friend. Store in a sealed container for up to 24 hours. Stir or briefly blend before serving.
It's one of their favorites at my house. Three simple ingredients, nothing surprising, no nuts they'd pick out, just pure, creamy peanut butter milkshake goodness. For a fun twist, let the kids add their own toppings: whipped cream, mini chocolate chips, a drizzle of honey, or a sprinkle of crushed graham crackers.
Yes! A scoop of vanilla or peanut butter protein powder blends in really well. Add it with the other ingredients before blending. It will thicken the shake slightly, so you may want to add an extra splash of milk to compensate. Vanilla or unflavored protein powder works best, chocolate works too if you want to make it a chocolate peanut butter protein shake.
Whipped cream is the classic go-to. From there, try a drizzle of melted peanut butter, mini chocolate chips, crushed Reese's cups, chopped roasted peanuts, a drizzle of honey, or a sprinkle of flaky sea salt for a sweet-salty moment. If you want to get fancy, warm a little peanut butter and swirl it around the inside of the glass before pouring, it looks gorgeous and adds even more peanut butter flavor.
📖 Recipe
Easy Peanut Butter Milkshake Recipe
Equipment
- 1 Blender
Ingredients
- 2 ¼ cups vanilla ice cream
- ¼ cup whole milk
- 2 tablespoons creamy peanut butter
Instructions
- Begin the recipe by grabbing a blender and measuring out the three ingredients. When measuring out the ice cream and peanut butter, be sure to pack it in.
- Add ¼ cup milk, 2 ¼ cups vanilla ice cream, and 2 tablespoons of peanut butter into the blender. Blend on medium speed until completely blended and smooth.
- Pour the milkshake into a serving glass for one and Enjoy!
- Pour the milkshake into two 8-ounce glasses, add straws and serve immediately or pop the shake into the freezer for 10 to 15 minutes if you like it firmer.
Did You Make This Recipe?
If you give this peanut butter milkshake a try, I'd love to know what you think! Leave a comment below and tell me how it turned out. Did you go classic, or did you try one of the variations? Share a photo on Instagram and tag @SimplyLaKita so I can see your shake, or save it on Pinterest for the next time a milkshake craving hits. And if you have any questions at all, drop them in the comments, I read every single one!
Amy Liu Dong says
This is one of my favorite drinks to make. It is so delicious, creamy, and so easy!
LaKita says
Thank you Amy, happy to hear you enjoyed the milkshake recipe!
Hayley says
Warm weather is here and we needed something refreshing and delicious that is so easy to make. This milkshake was so good!
LaKita says
Thank you Hayley, it's definitely time for cool treats 🙂
Enri Lemoine says
This is so rich, creamy, and delicious that it's hard to resist. We all love the flavor! I'll give 6 stars for this deli milkshake!
LaKita says
Thank you so much Enri, it is pretty hard to resist!
Dennis says
You are pure evil! That milkshake was to die for. I've made it twice already and see no end in sight. It's my new favorite milkshake.
LaKita says
Thank you so much Chef Dennis! I am happy to hear that you're enjoying the milkshake 🙂
Elena says
I made it for breakfast this morning, and the taste was out of this world. I'm already planning on making it again tomorrow.
LaKita says
Thank you Elena! This makes for an amazing breakfast in my opinion 🙂
Ann says
I love making homemade milkshakes, but we haven't tried a peanut butter one yet. Excited to make this recipe!
LaKita says
Thank you Ann, I hope you get a chance to give the milkshake a try soon!
Jamie says
Oh my, this milkshake recipe looks amazingly delicious and very tasty! It's minimalist and color make this so enticing and tempting! An instant favorite! Loved it!
Valentina says
I love milkshakes! Will def be trying out this recipe. Thanks for sharing!
LaKita says
Thank you Valentina, same love milkshakes!
LaKita says
Thank you so much Jamie!!
Lauren Michael Harris says
I remember the first time I ever had peanut butter ice cream. It was so odd to me, but one taste and I was hooked. This milkshake reminded me of that experience . I can see myself making this one again and again!
LaKita says
Thank you Lauren! The combination is odd, but works so well!!
Tammy says
Oooh what a treat! I loooove peanut butter...this sounds so creamy and refreshing. Milkshakes are one of my favorite treats for the summer...yum!
LaKita says
Thank you Tammy!! I agree milkshakes are a great summer treat 🙂