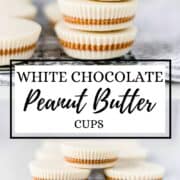
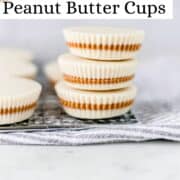
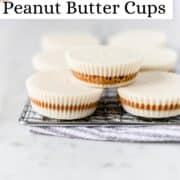

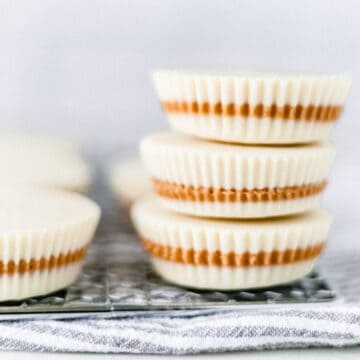
These White Chocolate Peanut Butter Cups are an easy no-bake treat made with just a few simple ingredients. Sweet, creamy, and perfect for satisfying a homemade candy craving, they're a fun dessert to make whenever you want something quick and indulgent.
Updated April 2026: I've refreshed this post with expanded tips, a full FAQ section, make-ahead guidance, and more ways to customize your cups. Originally posted on February 26, 2019, and updated on October 11, 2024.
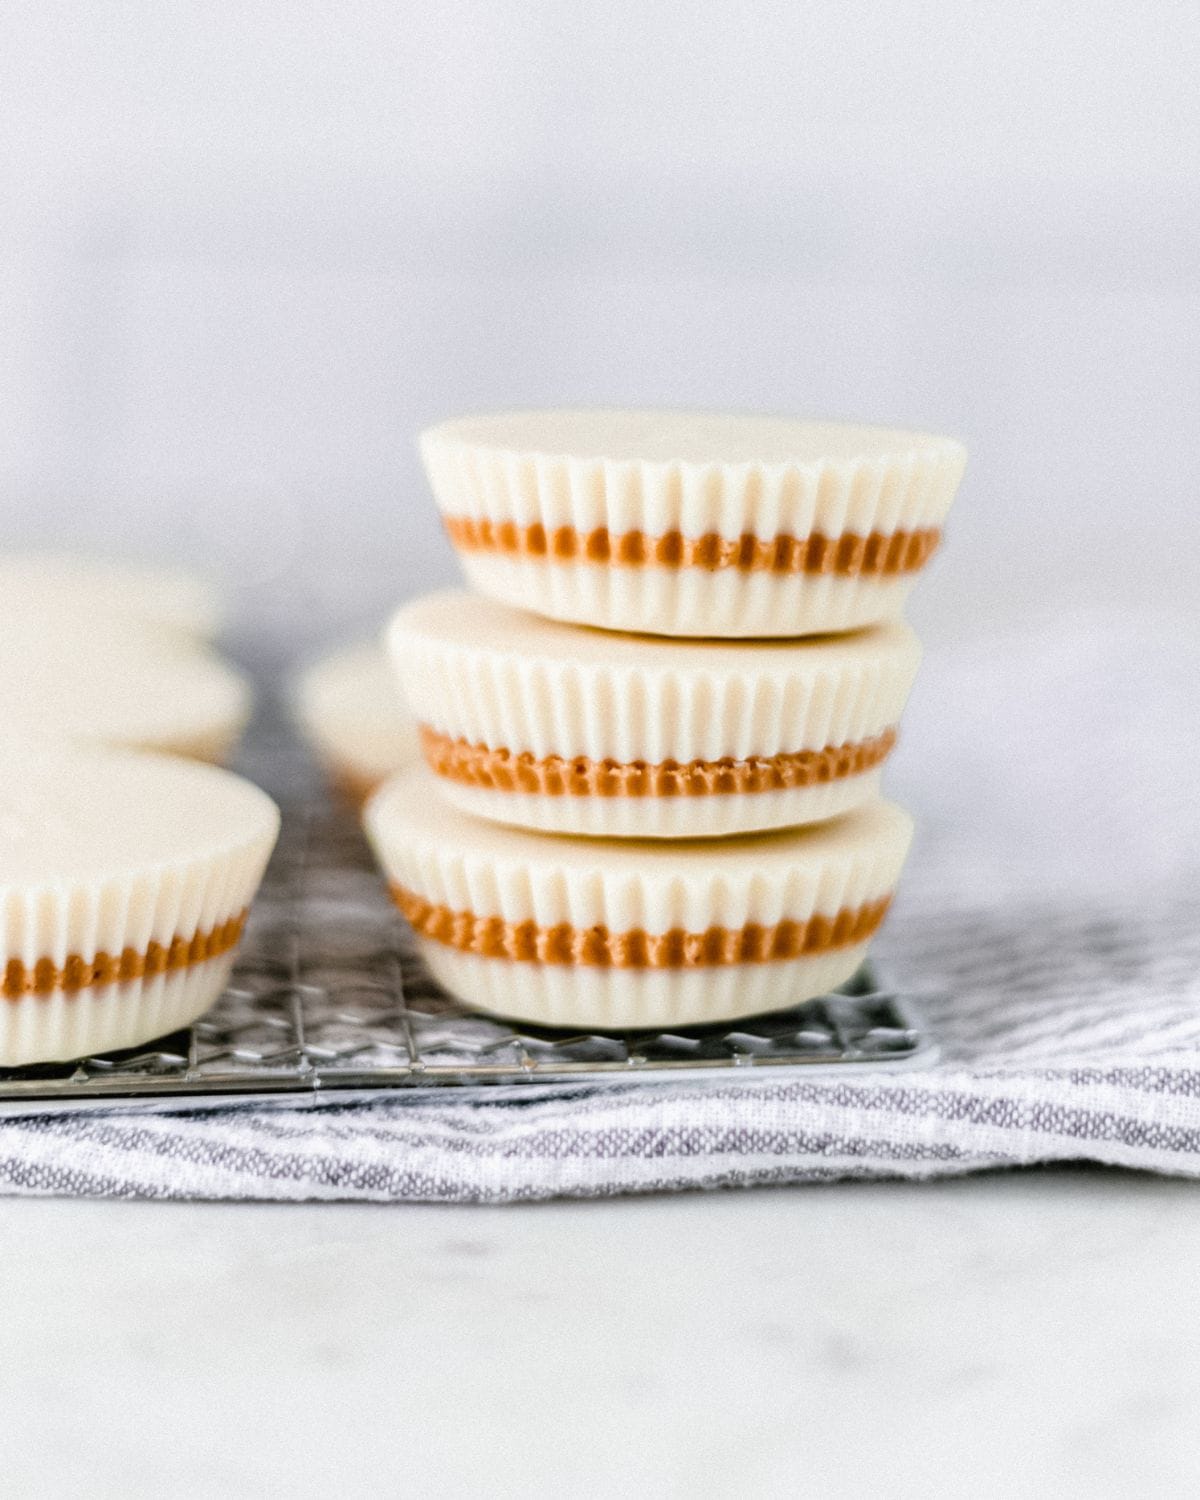
Growing up, a peanut butter cup was always my idea of the perfect candy. That combination of creamy, salty peanut butter tucked inside a sweet chocolate shell? There's really nothing better. For years I'd grab one from the checkout lane without thinking twice, until I realized just how easy it is to make them right at home, with exactly the ingredients I want to use. That's when everything changed.
Once I started making my own, I never looked back. These white chocolate peanut butter cups come together with just 3 simple ingredients, no baking required, and they taste like something you'd find at a fancy candy shop. I've made them for family gatherings, gifted them during the holidays, and honestly, I've eaten more than a few straight from the refrigerator at 10pm and I have zero regrets.
Whether you're making a batch for a special occasion or just need something sweet on a Tuesday, this is the recipe you'll reach for over and over again. Let's get started!
Jump to:
Why You'll Love This Recipe
- Only 3 Ingredients - White chocolate chips, peanut butter, and coconut oil. That's it. No powdered sugar, no vanilla, no complicated prep.
- No Baking Required - These go from stovetop (or microwave) to refrigerator, which means no oven, no fuss, and minimal cleanup.
- Completely Customizable - Swap the white chocolate for milk or dark, use any nut butter you love, and top them with sea salt or sprinkles for the occasion.
- Perfect for Gifting & Holidays - Stack them in a tin or a festive box and you have an impressive homemade candy that looks like it took way more effort than it did.
Ingredients You'll Need
Here's everything you'll need to make this recipe.
- White Chocolate Chips - Look for white chocolate chips or morsels rather than a full bar since chips melt faster and more evenly. Any brand you enjoy works well here. If you're dairy-free, look for vegan white chocolate chips, they melt beautifully. Avoid white baking "melts" that contain little to no cocoa butter and they won't have the same flavor.
- Peanut Butter - Smooth or creamy peanut butter only, chunky will make the filling bumpy and harder to spread evenly. Use your favorite brand. Natural peanut butter works too, though it tends to be a little runnier. Just stir it well before measuring. You can also use almond butter, cashew butter, or sunflower seed butter with great results.
- Coconut Oil - A small amount of coconut oil is stirred into the white chocolate as it melts. It lowers the melting point slightly, smooths the texture, and helps the finished cups set with a clean snap. If you're allergic to coconut, substitute with an equal amount of butter or just use a high-quality white chocolate bar (bars contain more cocoa butter and often melt without needing extra fat).e white chocolate mixture.
👉🏾 See the recipe card below for exact quantities and full instructions.
How to Make White Chocolate Peanut Butter Cups
Step 1: Prepare Your Pan
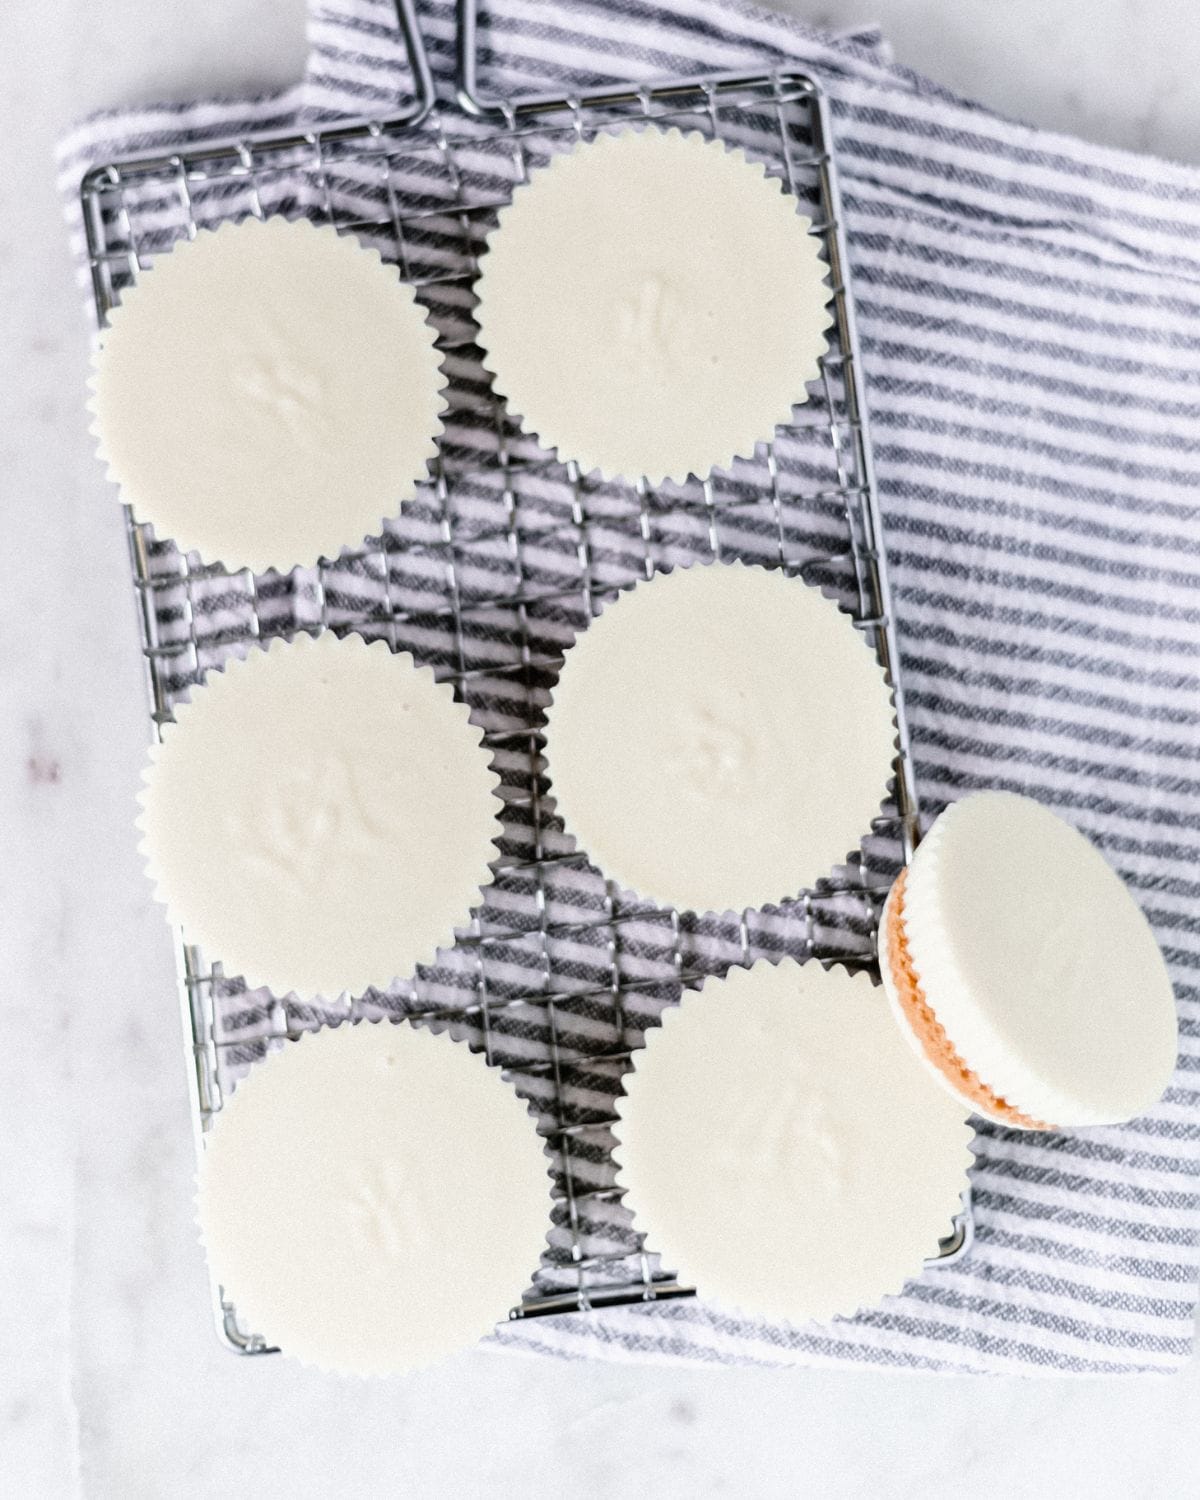
Line a standard muffin tin with paper cupcake liners or silicone muffin liners. Silicone liners are actually my favorite for this recipe because they peel away from the finished cups cleanly without tearing, but paper liners work just fine. If you prefer mini cups, use a mini muffin tin and adjust your portions accordingly.
Step 2: Melt the First Layer of White Chocolate
Add half of your white chocolate chips and half of the coconut oil to a heat-safe bowl. Melt using a double boiler over medium-low heat, stirring constantly, or microwave in 20-second intervals stirring between each. White chocolate burns more easily than dark chocolate, so low and slow wins here. Once fully smooth, spoon the melted chocolate evenly into the bottom of each liner.
Step 3: Set the Bottom Layer
Drop the muffin pan gently on the counter a few times to level out the chocolate and release any air bubbles. Then transfer the pan to the refrigerator for about 10 minutes, until the bottom layer is firm to the touch. Don't skip this step, if the base isn't set, your peanut butter layer will sink right through.
Step 4: Add the Peanut Butter Filling
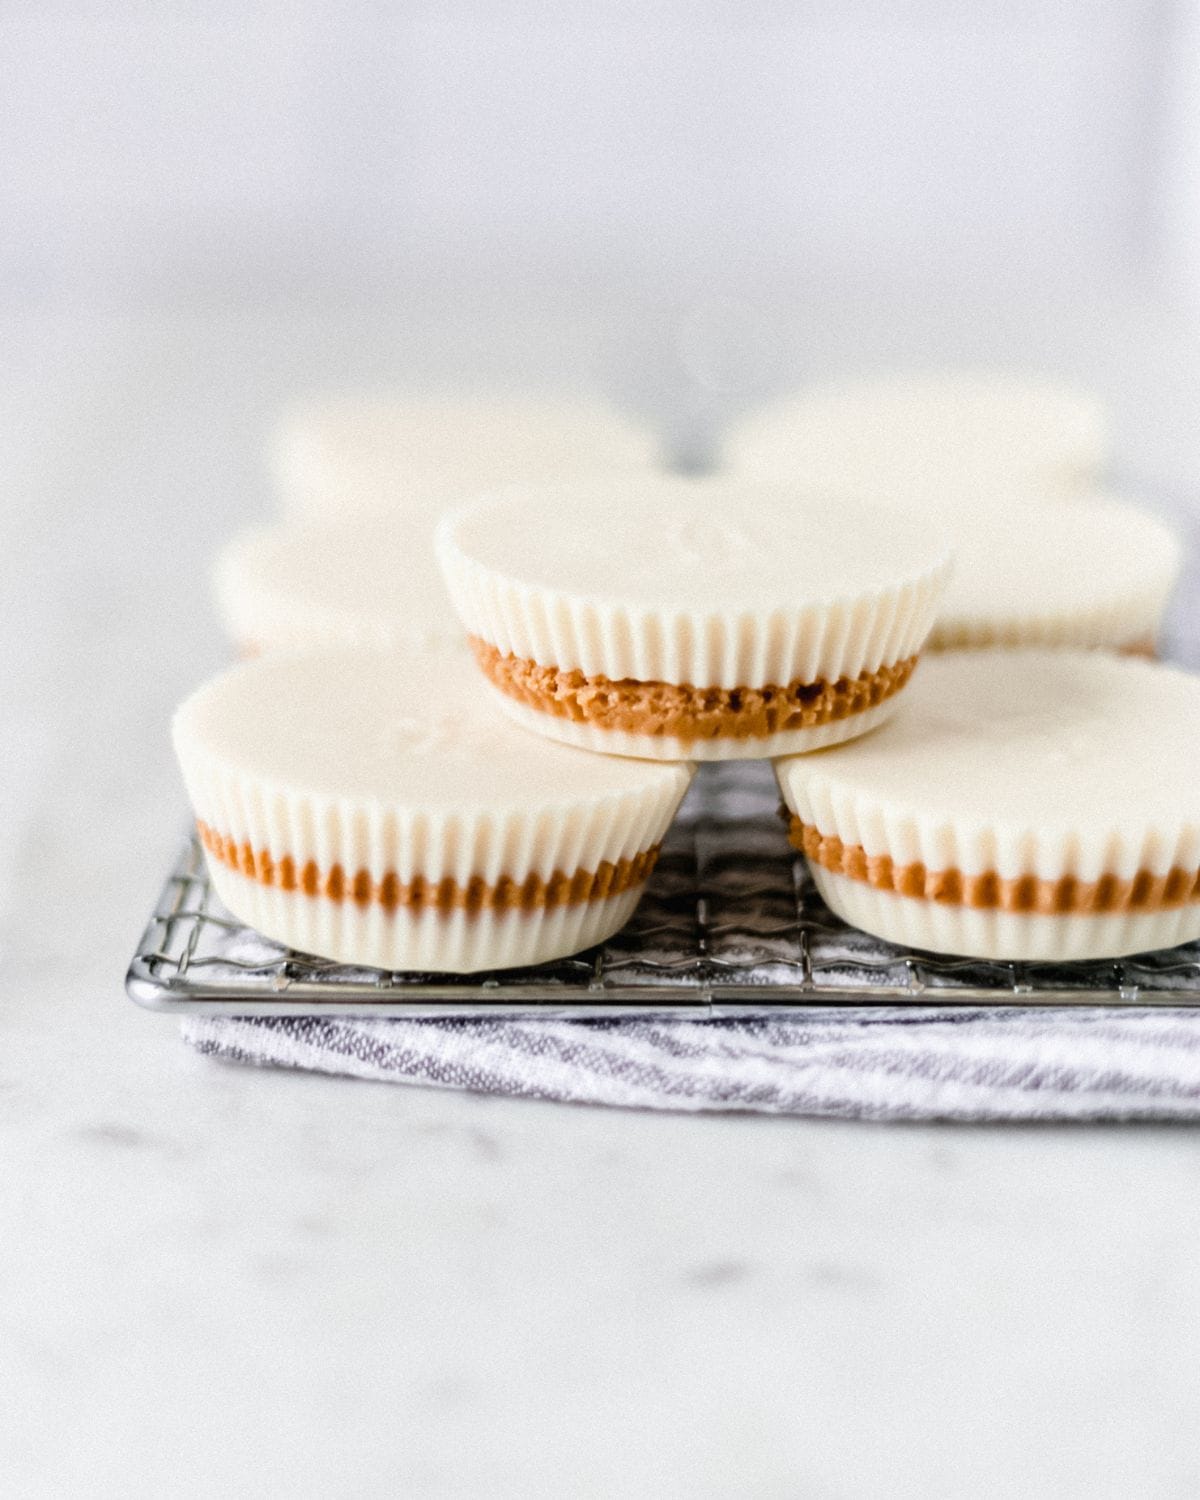
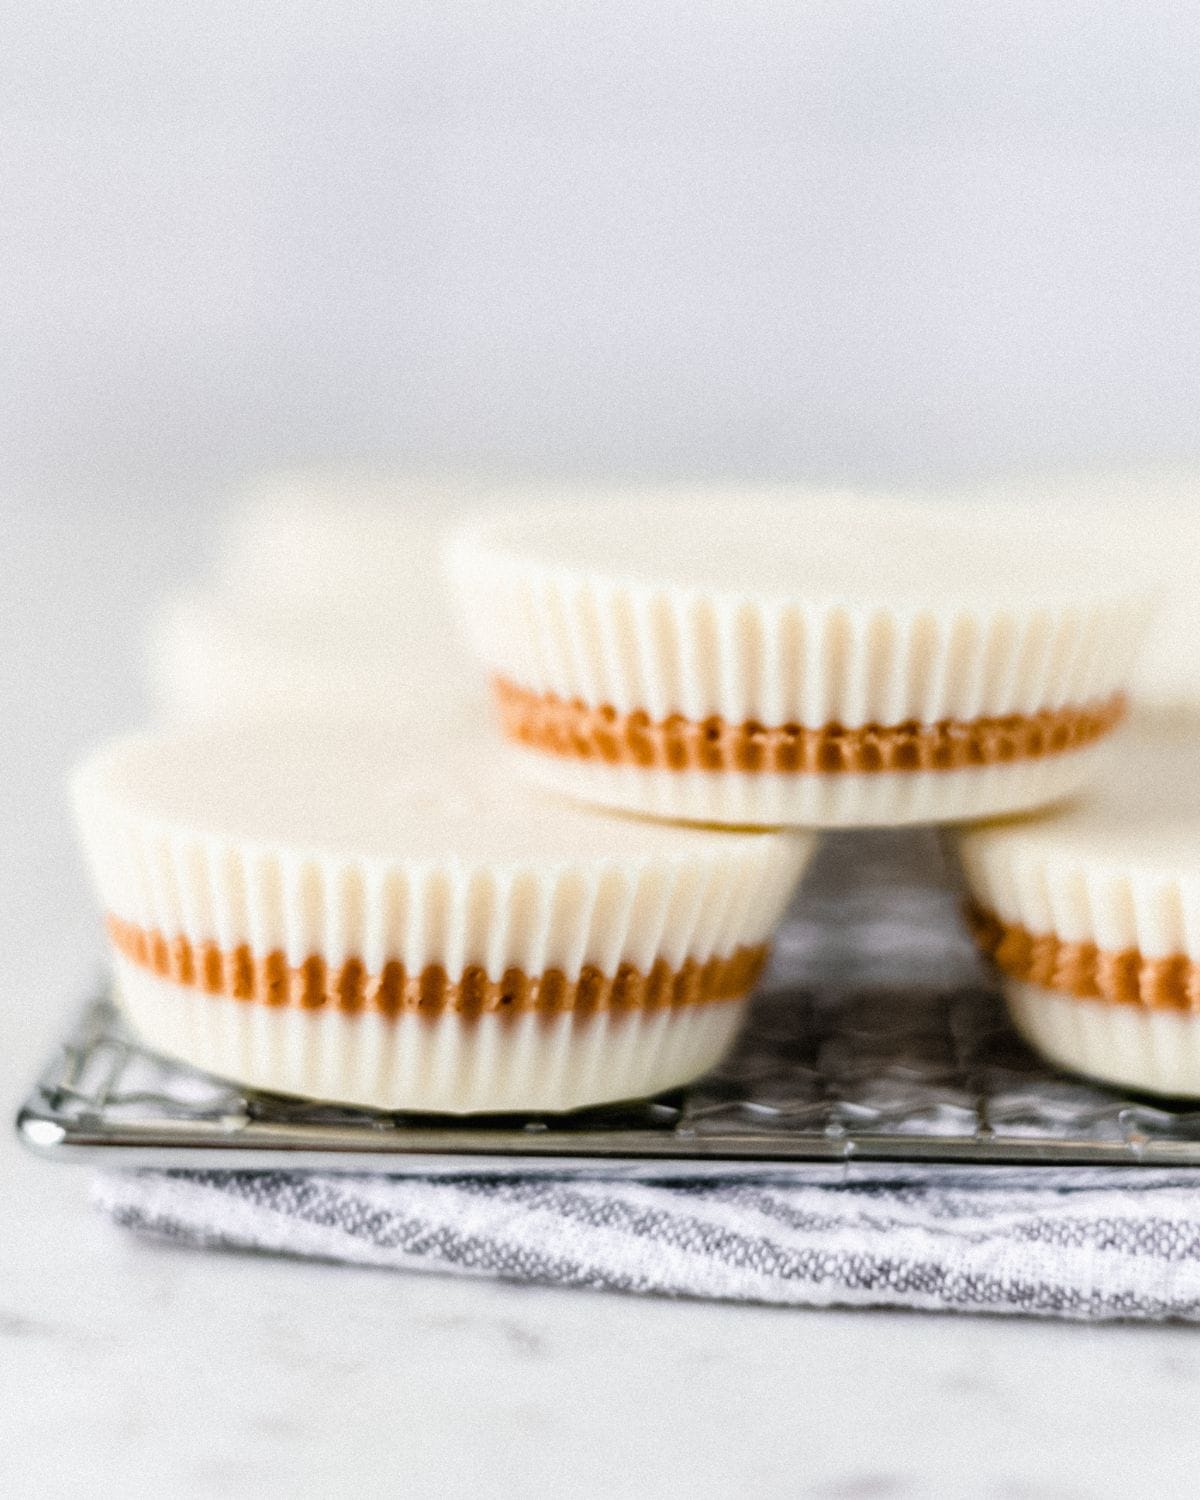
Once the chocolate base is firm, scoop a heaping teaspoon of creamy peanut butter onto each cup. Use the back of a spoon or an offset spatula to spread it out toward the edges, leaving a small border of chocolate visible around the rim. This creates that classic "cup" look when the top layer goes on.
Step 5: Top and Chill
Melt the remaining white chocolate and coconut oil using the same method, then spoon it evenly over each peanut butter layer. Give the pan another gentle tap on the counter to smooth the tops. Place the pan back in the refrigerator for 15-20 minutes until fully set. Once firm, they're ready to enjoy, or store for later.
LaKita's Expert Tips
- Go low and slow with the white chocolate. White chocolate has a lower melting point than dark or milk chocolate and will seize up turn grainy, and lumpy if overheated. Use medium-low heat on the double boiler or 20-second microwave intervals, stirring between each.
- Dry your bowl and utensils completely. Even a single drop of water can cause white chocolate to seize. Make sure everything is bone dry before you start melting.
- Try a piping bag or zip-lock bag. For neater, more even layers, especially the top layer, transfer your melted chocolate to a piping bag or a zip-lock bag with a small corner snipped off. It gives you much more control than a spoon.
- Add a pinch of sea salt on top. Just before the final layer sets, sprinkle a tiny pinch of flaky sea salt over each cup. The sweet-salty contrast takes these to a whole new level.
- Mini muffin tin = perfect bite-sized cups. Use a mini muffin pan and mini liners to make 12-16 smaller cups instead of 6 standard ones. Great for parties and cookie trays, just reduce the chilling time slightly.
- Don't rush the set time. The bottom layer needs to be fully firm before you add the peanut butter. If it's even slightly soft, the filling will push through, and you'll lose the layers.
- Tap the pan. That gentle drop-on-the-counter trick isn't just for looks, it levels the chocolate and pops tiny air bubbles, giving you smooth, even cups every time.
Want To Save This Recipe?
Variations & Substitutions
- Use milk or dark chocolate - Swap the white chocolate for milk chocolate chips, dark chocolate chips, or semi-sweet chips for a classic peanut butter cup flavor. The method is identical.
- Try a different nut butter - Almond butter, cashew butter, and sunflower seed butter all work beautifully in place of peanut butter. Sunflower seed butter makes these nut-free.
- Make it a swirl - After adding the top layer of white chocolate, use a toothpick to swirl in a little dark or milk chocolate for a marbled effect.
- Add mix-ins to the peanut butter layer - Stir a small amount of crushed graham crackers, a drizzle of honey, or a pinch of cinnamon into the peanut butter filling for extra flavor depth.
- Holiday decorating - Before the top layer sets, add seasonal sprinkles, crushed candy canes, freeze-dried raspberries, or red and blue sprinkles for the 4th of July. These are incredibly easy to customize for any occasion.
- No coconut oil? - Substitute an equal amount of butter, or use a white chocolate baking bar (which typically contains enough cocoa butter to melt smoothly on its own).
Make-Ahead & Storage
Make-Ahead
These white chocolate peanut butter cups are one of the best make-ahead treats in my repertoire. They can be made up to one week in advance and stored in the refrigerator, which actually makes them taste even better as the layers firm up together. If you're making them for a holiday tray or a gift, prep them 2-3 days ahead and store them in an airtight container with parchment paper between layers.
Storage & Reheating
Refrigerator: Store finished cups in an airtight container in the refrigerator for up to 5-7 days. Layer them with a sheet of parchment paper or wax paper between each layer to prevent sticking.
Room temperature: They can sit out for 2-3 days in a cool, dry spot, but they will soften slightly, especially in warm weather.
Freezer: Place cups in a single layer on a baking sheet, freeze until solid (about 1 hour), then transfer to a freezer-safe container or zip-lock bag for up to 1 month. Thaw in the refrigerator overnight or at room temperature for about 15 minutes before serving.
These do not need to be "reheated". Enjoy them straight from the refrigerator or allow them to sit at room temperature for a few minutes to soften slightly.
What to Serve with White Chocolate Peanut Butter Cups
- As part of a no-bake dessert tray - Pair these with Gooey Rice Krispie Treats and Chess Squares for an impressive spread with zero oven time.
- Alongside other white chocolate treats - They're wonderful next to Cookies and Cream Popcorn or Cranberry Bliss Bars for a white chocolate dessert theme.
- Crumbled over ice cream - Chop one or two cups and scatter over a scoop of vanilla ice cream for an easy sundae upgrade.
- Tucked into a holiday gift box - These ship beautifully when kept cold. Wrap individually in plastic wrap, then layer in a gift tin for a thoughtful homemade candy gift.
- On a cookie exchange tray - They hold their own next to Easy Shortbread Cookies and White Chocolate Raspberry Muffins for a holiday cookie spread.
Frequently Asked Questions
White chocolate seizes when it's overheated or comes into contact with even a tiny amount of water. Make sure your bowl and utensils are completely dry before melting, and always melt over low heat or in short 20-second microwave intervals. If it does seize, try stirring in a small amount of coconut oil or vegetable shortening, sometimes this will smooth it back out.
Absolutely! A mini muffin tin with mini cupcake liners makes adorable bite-sized cups, just eyeball your portions and adjust. You'll get roughly 12-16 mini cups from the same batch, and the chilling time will be slightly shorter since the layers are thinner.
Yes, the method is exactly the same. Milk chocolate, dark chocolate, or semi-sweet chips all work beautifully. The white chocolate version just has a slightly sweeter, creamier flavor that pairs really well with the salty peanut butter.
Smooth or creamy peanut butter works best, chunky will make the filling uneven and harder to spread. Any brand you love is fine. Natural peanut butter works too, though it can be a little runnier; stir it well before measuring and expect a slightly softer filling.
Stored in an airtight container in the refrigerator, they'll keep well for 5-7 days. At room temperature in a cool spot, 2-3 days. In the freezer, up to 1 month.
Yes! Freeze them in a single layer until solid, then transfer to a freezer-safe bag or container with parchment between layers. They'll keep for up to a month. Thaw in the refrigerator overnight or at room temperature for about 15 minutes.
Silicone muffin liners are your best friend here, they peel away from the set chocolate without tearing. If using paper liners, make sure the chocolate is fully set before peeling. Peeling while the chocolate is still slightly soft will cause it to stick or crack.
No, you can substitute an equal amount of butter. You can also skip it entirely if you're using a high-quality white chocolate bar (which naturally contains enough cocoa butter to melt smoothly). Coconut oil is mainly there to thin the chips slightly and help the finished cups set with a nice texture.
Yes! A little crushed graham cracker, a drizzle of honey, or a pinch of cinnamon in the peanut butter filling adds great flavor. You can also top the finished cups with flaky sea salt, crushed pretzels, sprinkles, or freeze-dried raspberries before the top chocolate layer sets.
Absolutely. Sunflower seed butter is the best nut-free swap. It has a similar consistency to peanut butter and works perfectly in this recipe. Soy nut butter is another option if sunflower seed butter isn't available.
📖 Recipe
White Chocolate Peanut Butter Cups
Equipment
- 1 Muffin Pan
- 1 double-boiler or medium saucepan
Ingredients
- 12 ounces white chocolate chips, divided
- 1 tablespoon coconut oil, divided
- ½ cup creamy peanut butter
Instructions
- Prepare a muffin pan by lining with muffin liners.
- To a medium heat-safe bowl, add half of the white chocolate chips and ½ tablespoon of the coconut oil.
- Melt until smooth using a double boiler or microwave in 20-second intervals, careful not to burn.
- Using a small spoon or cookie scoop, evenly distribute the melted white chocolate into each muffin cup.
- Drop the muffin pan on the counter and rotate to evenly distribute the white chocolate.
- Place in the refrigerator for 10 minutes to set.
- Remove the muffin pan from the refrigerator and place a heaping teaspoon or small cookie scoop of creamy peanut butter on top of each white chocolate layer.
- Spread the peanut butter evenly in the middle of each cup.
- Melt the remaining white chocolate and coconut oil and spread evenly on top of each cup.
- Place the pan into the refrigerator 15 to 20 minutes, until the white chocolate peanut butter cups set.
- Store in an airtight container in the refrigerator for up to 5 days.
Did You Make This Recipe?
If you give these white chocolate peanut butter cups a try, I'd love to know what you think! Leave a comment and a star rating below, it means the world and helps other readers find the recipe. Share a photo on Instagram and tag @SimplyLaKita so I can see your beautiful cups, or save it on Pinterest for the next time a chocolate craving hits. And if you have questions or want to share how you customized yours, drop them in the comments below!
Carol C Pringle says
This was such a any easy recipe. I'm going to try it using smaller muffin cups. I melted the chips and oil in the microwave. 20 seconds,stir. 20 seconds, stir. One more 20 seconds and the chocolate melts so nicely. Thank you for sharing.
LaKita says
Thank you for sharing Carol! I love making them in the microwave for a quicker option as well 🙂
Erika says
Hi, do you know what a good oil substitute would be. I am allergic to coconut but really want to try this recipe. Thank you
LaKita says
Hi Erika! You can substitute butter or use a white chocolate bar or morsels instead of chips and just omit the coconut oil. Hope this helps 🙂