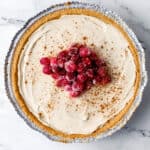
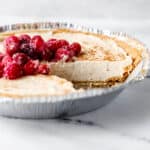

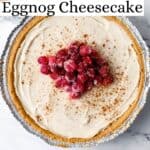
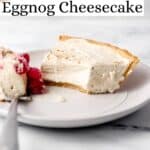

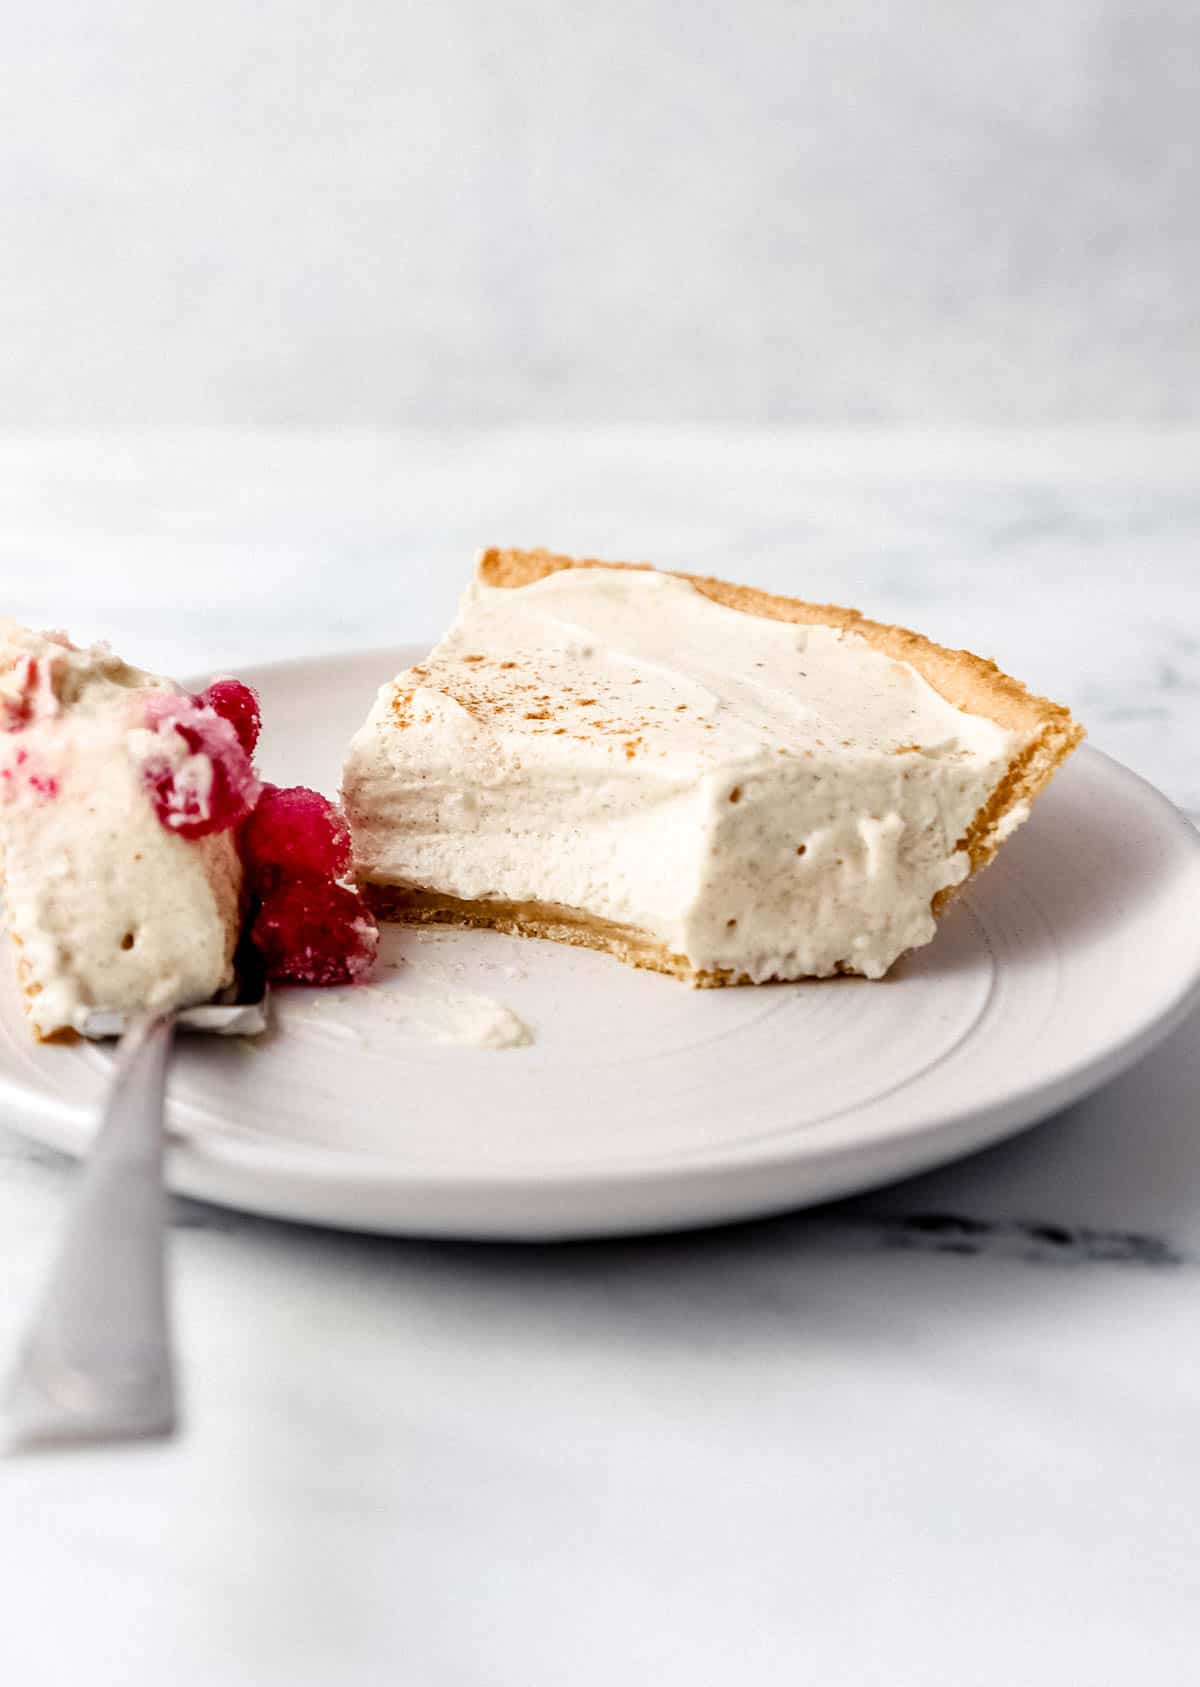
No Bake Eggnog Cheesecake is an easy holiday dessert made with a graham cracker crust and rich, creamy eggnog filling. Festive, simple to make, and full of seasonal flavor, it's the perfect no-bake dessert for holiday gatherings.
Updated April 2026: I've refreshed this post with new tips, an expanded FAQ, more make-ahead guidance, and a helpful variations section based on your questions and feedback. Originally posted on December 18, 2018, and was updated previously on December 12, 2023.
Watch this quick video tutorial!
Every December, eggnog starts appearing in my refrigerator like it owns the place and honestly, I'm not mad about it. It's one of those flavors that just wraps you up in the holidays the second you taste it. A few years back, I was standing in my kitchen the week before Christmas, trying to figure out a dessert that didn't require fighting for oven space with the ham, the casseroles, and everything else. That's when this no-bake eggnog cheesecake was born, and y'all it has been on my Christmas table every single year since.
I've been cooking in my home kitchen for over 13 years, and no-bake cheesecakes have always been one of my go-to holiday desserts because they're genuinely stress-free. I've tested this recipe enough times to know exactly where it can go wrong and how to make sure it goes right every single time. The technique of whipping the cream separately before folding it into the filling is the step that makes all the difference, and I'll walk you through why.
This recipe comes together in about 15 minutes of active work, uses a ready-made graham cracker crust, so there's almost nothing to fuss with, and sets up in the refrigerator while you go about your holiday. It is creamy, perfectly spiced, and tastes like eggnog in the best possible way. Let's get started!
Jump to:
- Watch this quick video tutorial!
- Why You'll Love This No-Bake Eggnog Cheesecake
- Ingredients You'll Need
- How to Make No-Bake Eggnog Cheesecake
- LaKita's Expert Tips
- Variations & Substitutions
- Make-Ahead & Storage
- What to Serve with No-Bake Eggnog Cheesecake
- Frequently Asked Questions
- 📖 Recipe
- Did You Make This Recipe?
Why You'll Love This No-Bake Eggnog Cheesecake
- No oven required - This dessert doesn't compete for oven space during the holidays, which is a gift in itself.
- Ready in 15 minutes of prep - Mix, pour, refrigerate. That's really it. It does all the work while you're off wrapping presents.
- Classic holiday flavor - Real eggnog in the filling plus a touch of cinnamon and nutmeg means this tastes like the holidays in every bite.
- Make-ahead friendly - You can make this a full day (or two!) before your gathering, and it just gets better as it chills.
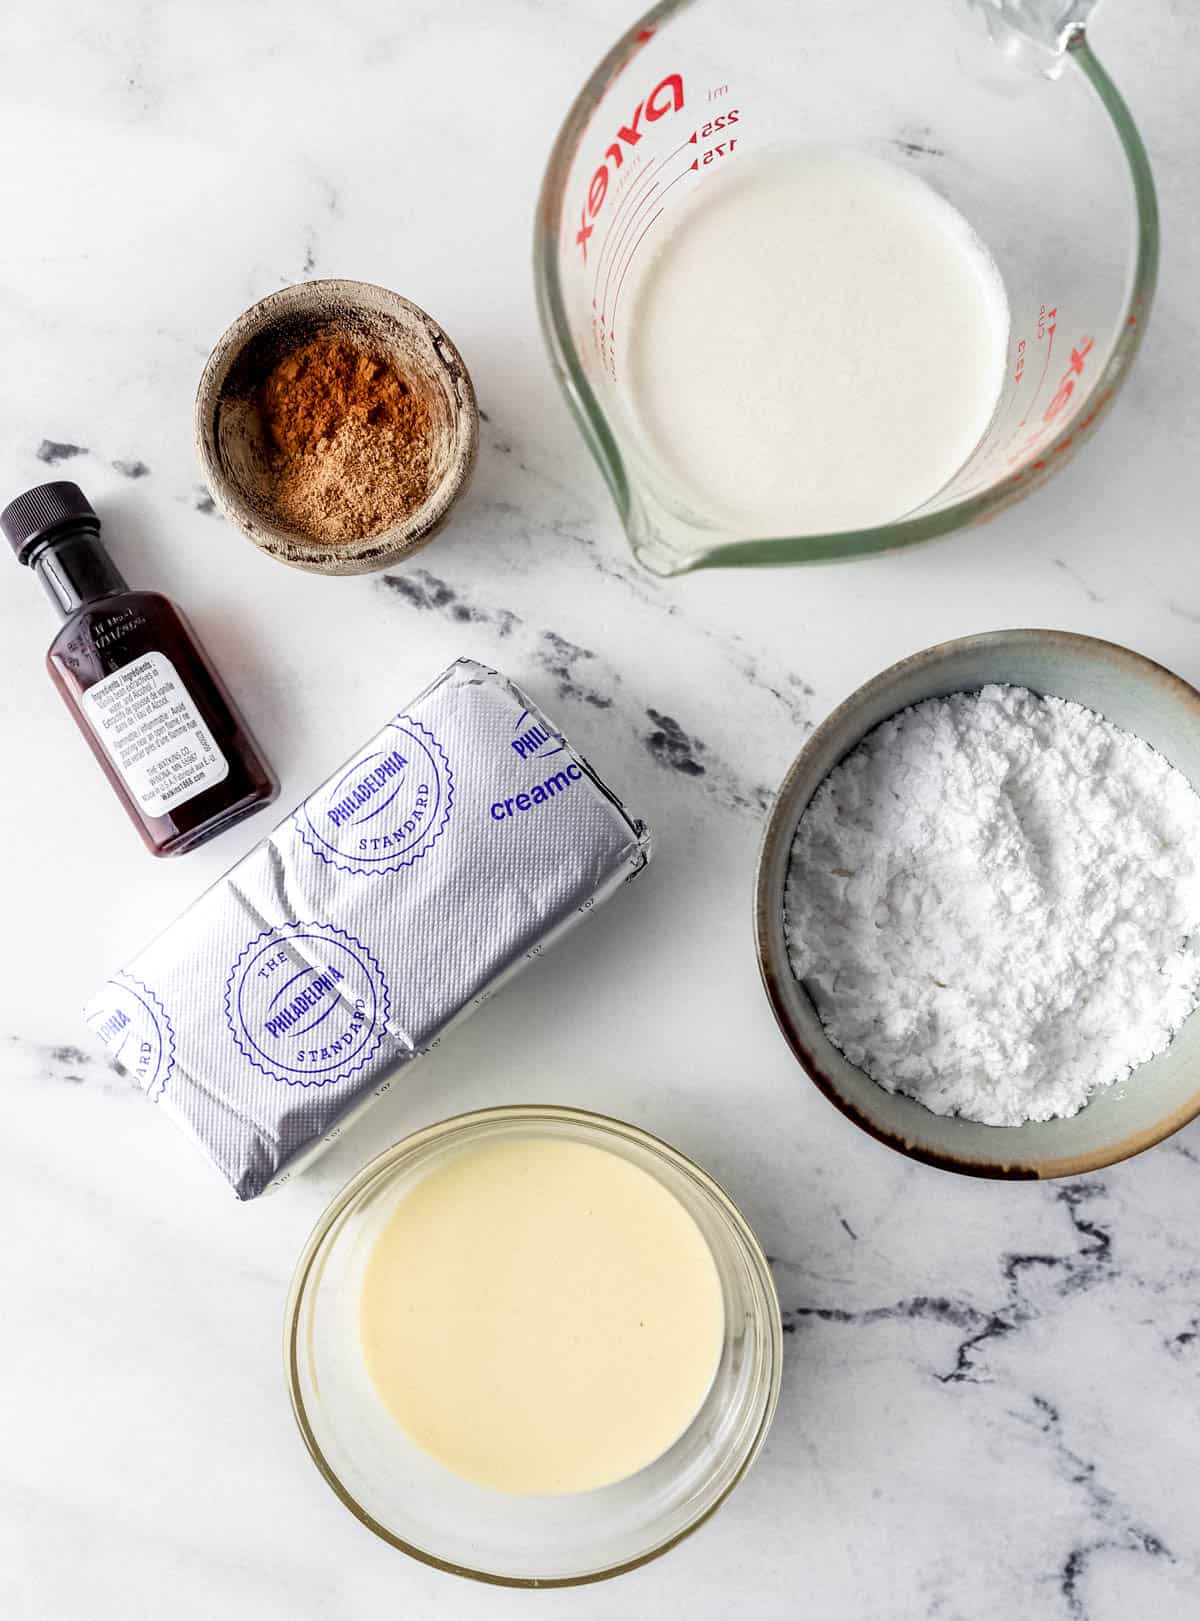
Ingredients You'll Need
- Graham Cracker Crust - A ready-made graham cracker crust from the baking aisle makes this recipe almost entirely hands-off. I brush it with a beaten egg and bake it for 4-5 minutes before filling. This firms it up and keeps it from getting soggy. If you want to go the extra mile on flavor, swap it for a gingersnap crust (more on that in the Variations section).
- Heavy Whipping Cream - This is what gives the cheesecake its structure and that light-but-rich texture. It needs to be whipped to stiff peaks separately before it's added to the filling. Do not skip this step, it's what makes the cheesecake actually set. Use full-fat heavy cream, not half-and-half or light cream.
- Cream Cheese - Use full-fat block cream cheese, not the spreadable kind in a tub. The spreadable version has extra water that will keep your cheesecake from firming up properly. Let it soften at room temperature for at least 10-15 minutes before mixing for a smoother, lump-free filling.
- Powdered Sugar - Sweetens the filling and blends more smoothly than granulated sugar. No need to sift.
- Eggnog - Use whatever eggnog you enjoy drinking! Full-fat eggnog gives the richest flavor and best texture. Dairy-free eggnog alternatives work too, just make sure they're the creamy, full-bodied kind, not a thin variety.
- Vanilla Extract - Use pure vanilla extract for the cleanest flavor. A good vanilla brightens all the other flavors. You can substitute rum extract in the same amount if you want that boozy holiday note without any actual alcohol.
- Ground Nutmeg - The warm, nutty spice that makes eggnog taste like eggnog. Don't skip it.
- Ground Cinnamon - A slightly sweet, warm note that rounds out the spice profile. I consider this a required ingredient, it makes the whole filling taste more complex and intentional.
👉🏾 See the recipe card below for exact quantities and full instructions.
How to Make No-Bake Eggnog Cheesecake
Step 1: Prep the Crust
Brush the ready-made graham cracker crust all over, bottom and sides, with a beaten egg. Bake at the package-suggested temperature for 4-5 minutes. This brief bake sets the crust so it holds its shape and doesn't turn to mush under the creamy filling. Let it cool completely before you add the filling, or you'll melt the cheesecake mixture.
Step 2: Whip the Cream Separately
In a stand mixer with a whisk attachment (or using a handheld electric mixer), beat the heavy cream on medium-high speed until stiff peaks form. This means the cream holds a firm peak when you lift the beater, it doesn't flop over. Scrape the whipped cream into a separate bowl and set it aside. Don't skip this step; it's what gives the filling its body and allows it to set firm in the refrigerator.
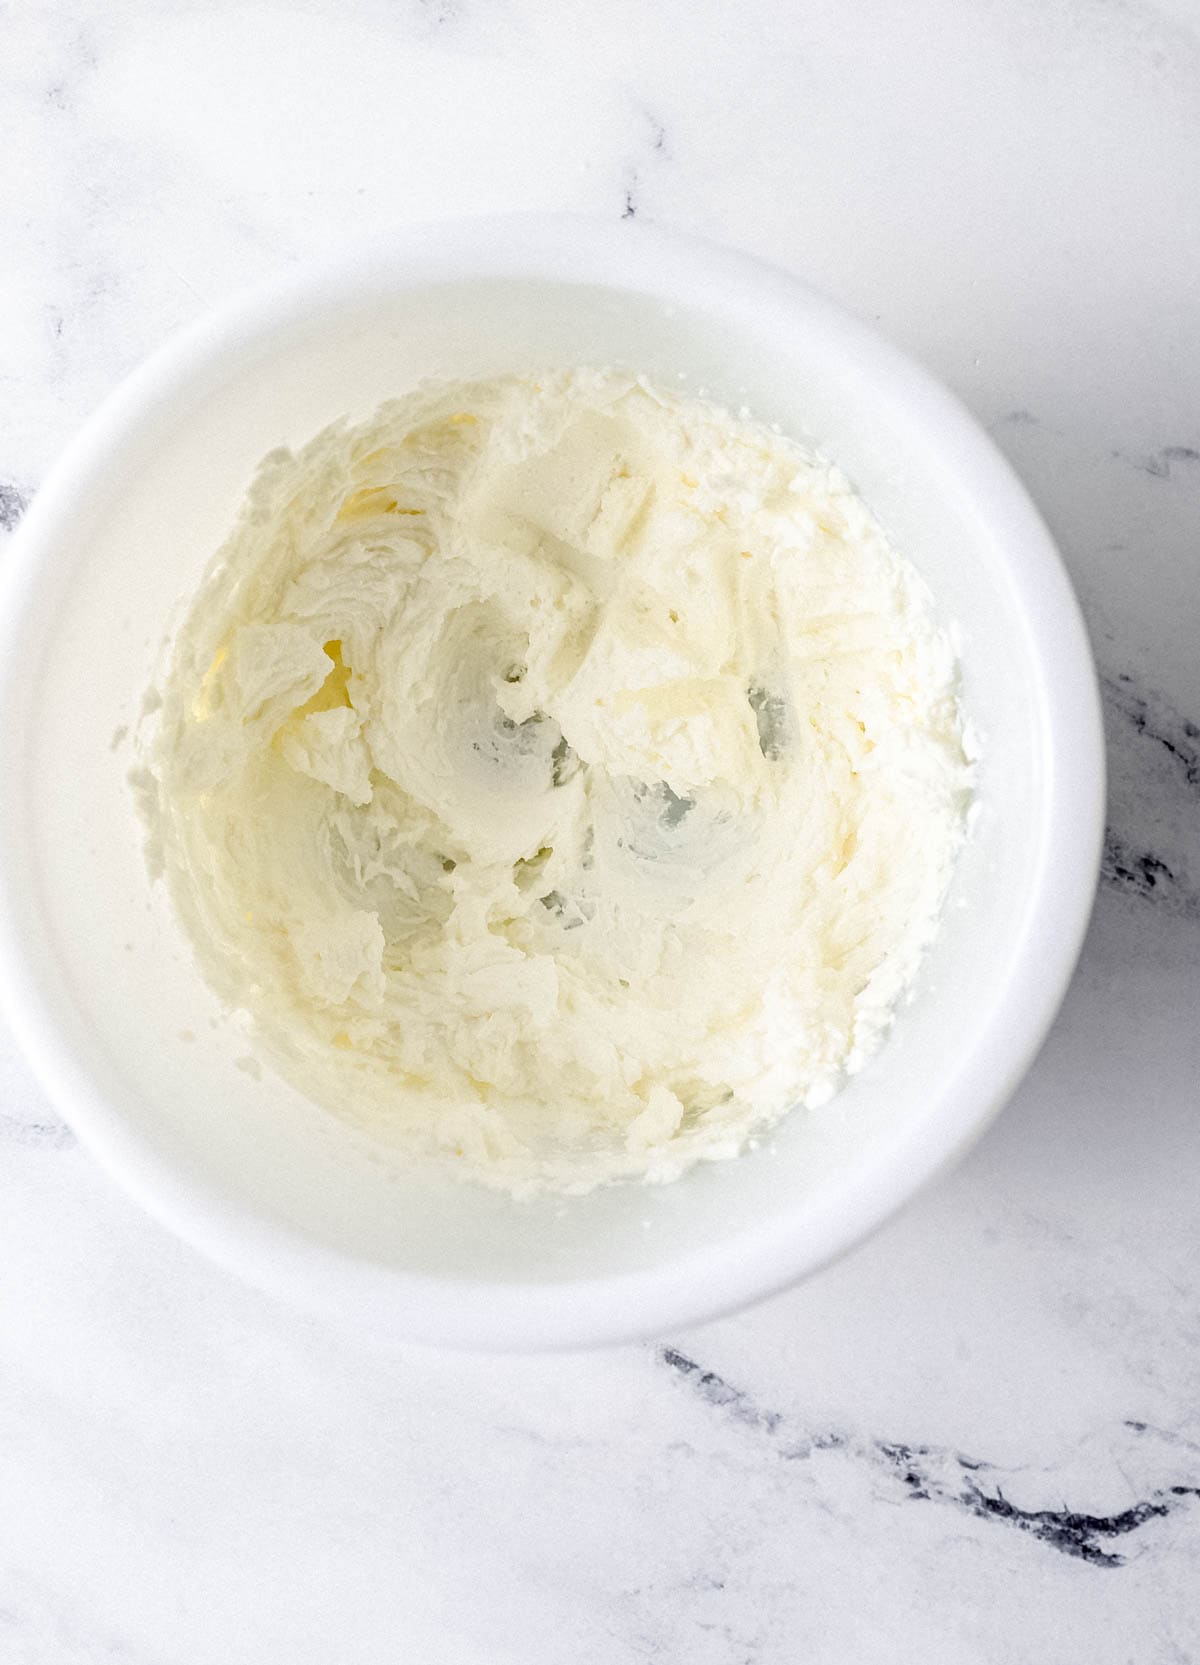
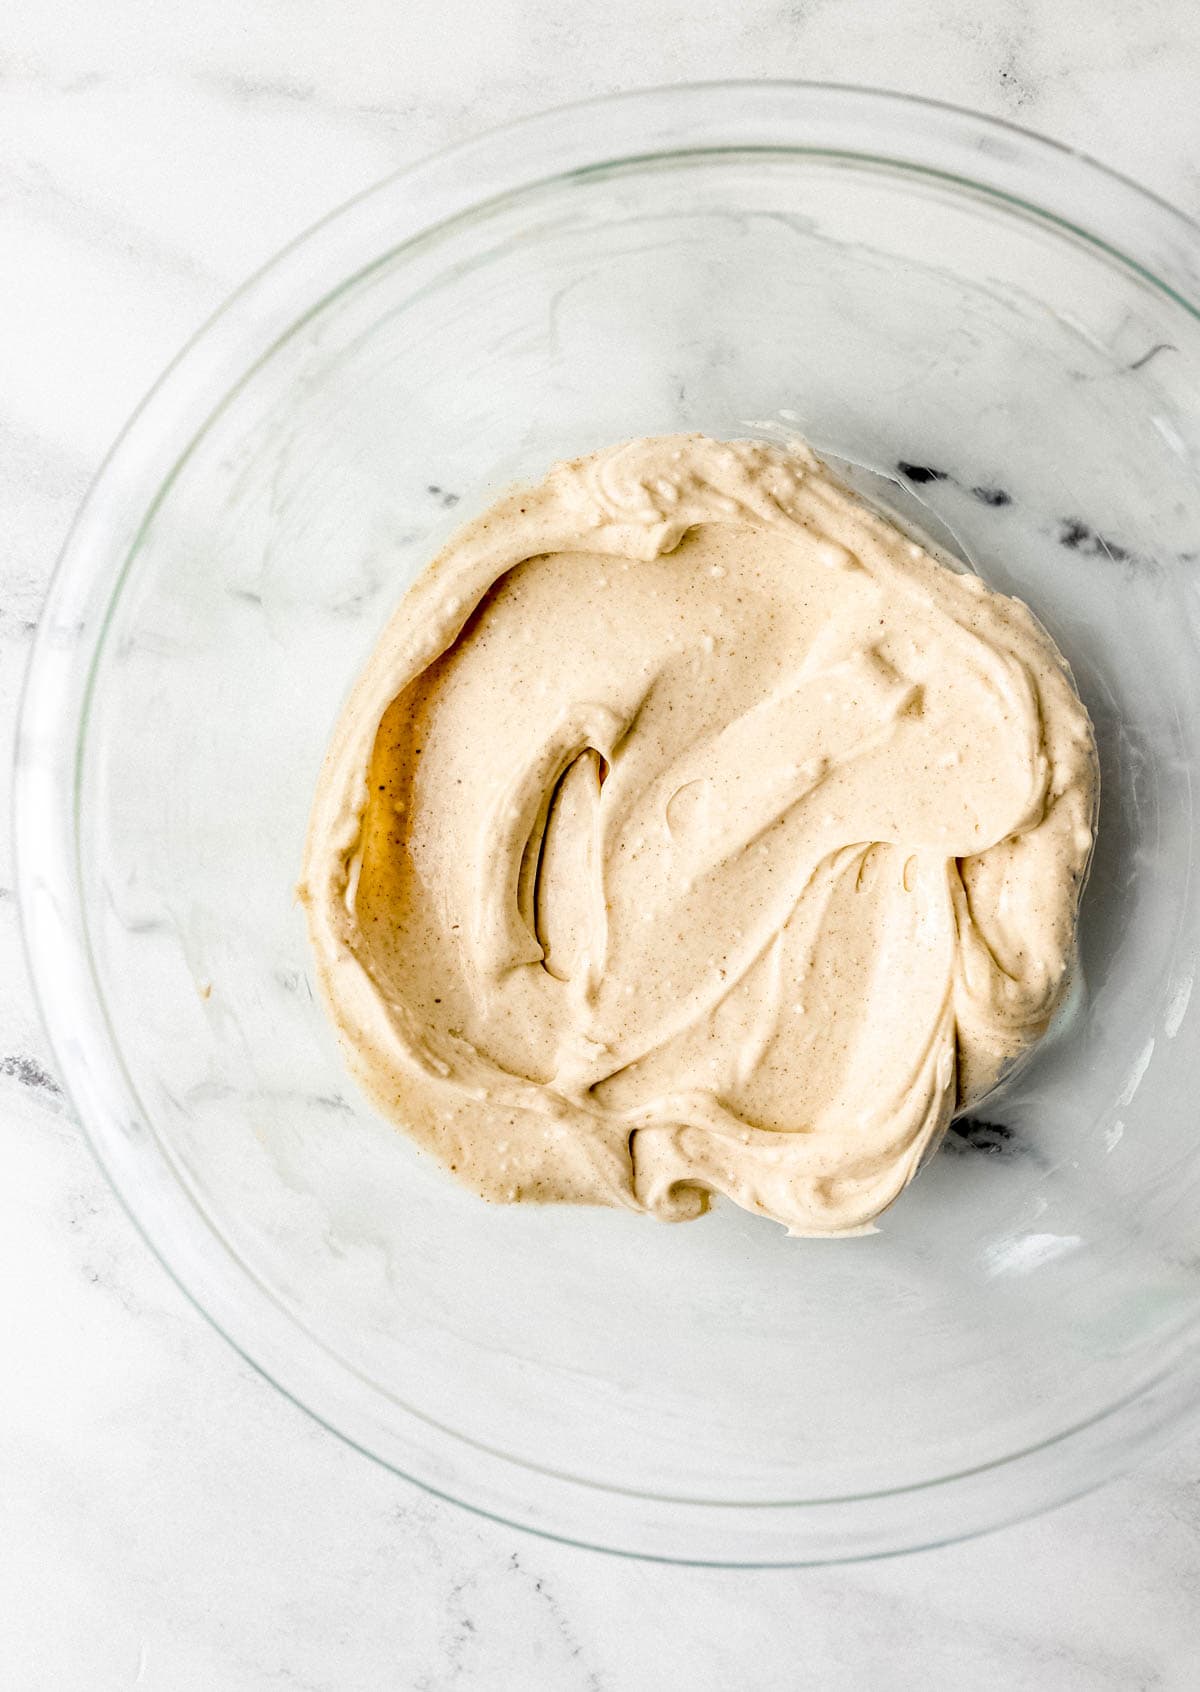
Step 3: Make the Filling
In the same mixer bowl (no need to wash it), beat the softened cream cheese on medium speed until it's completely smooth. Add the powdered sugar, eggnog, vanilla extract, ground nutmeg, and ground cinnamon. Mix until everything is fully combined and smooth.
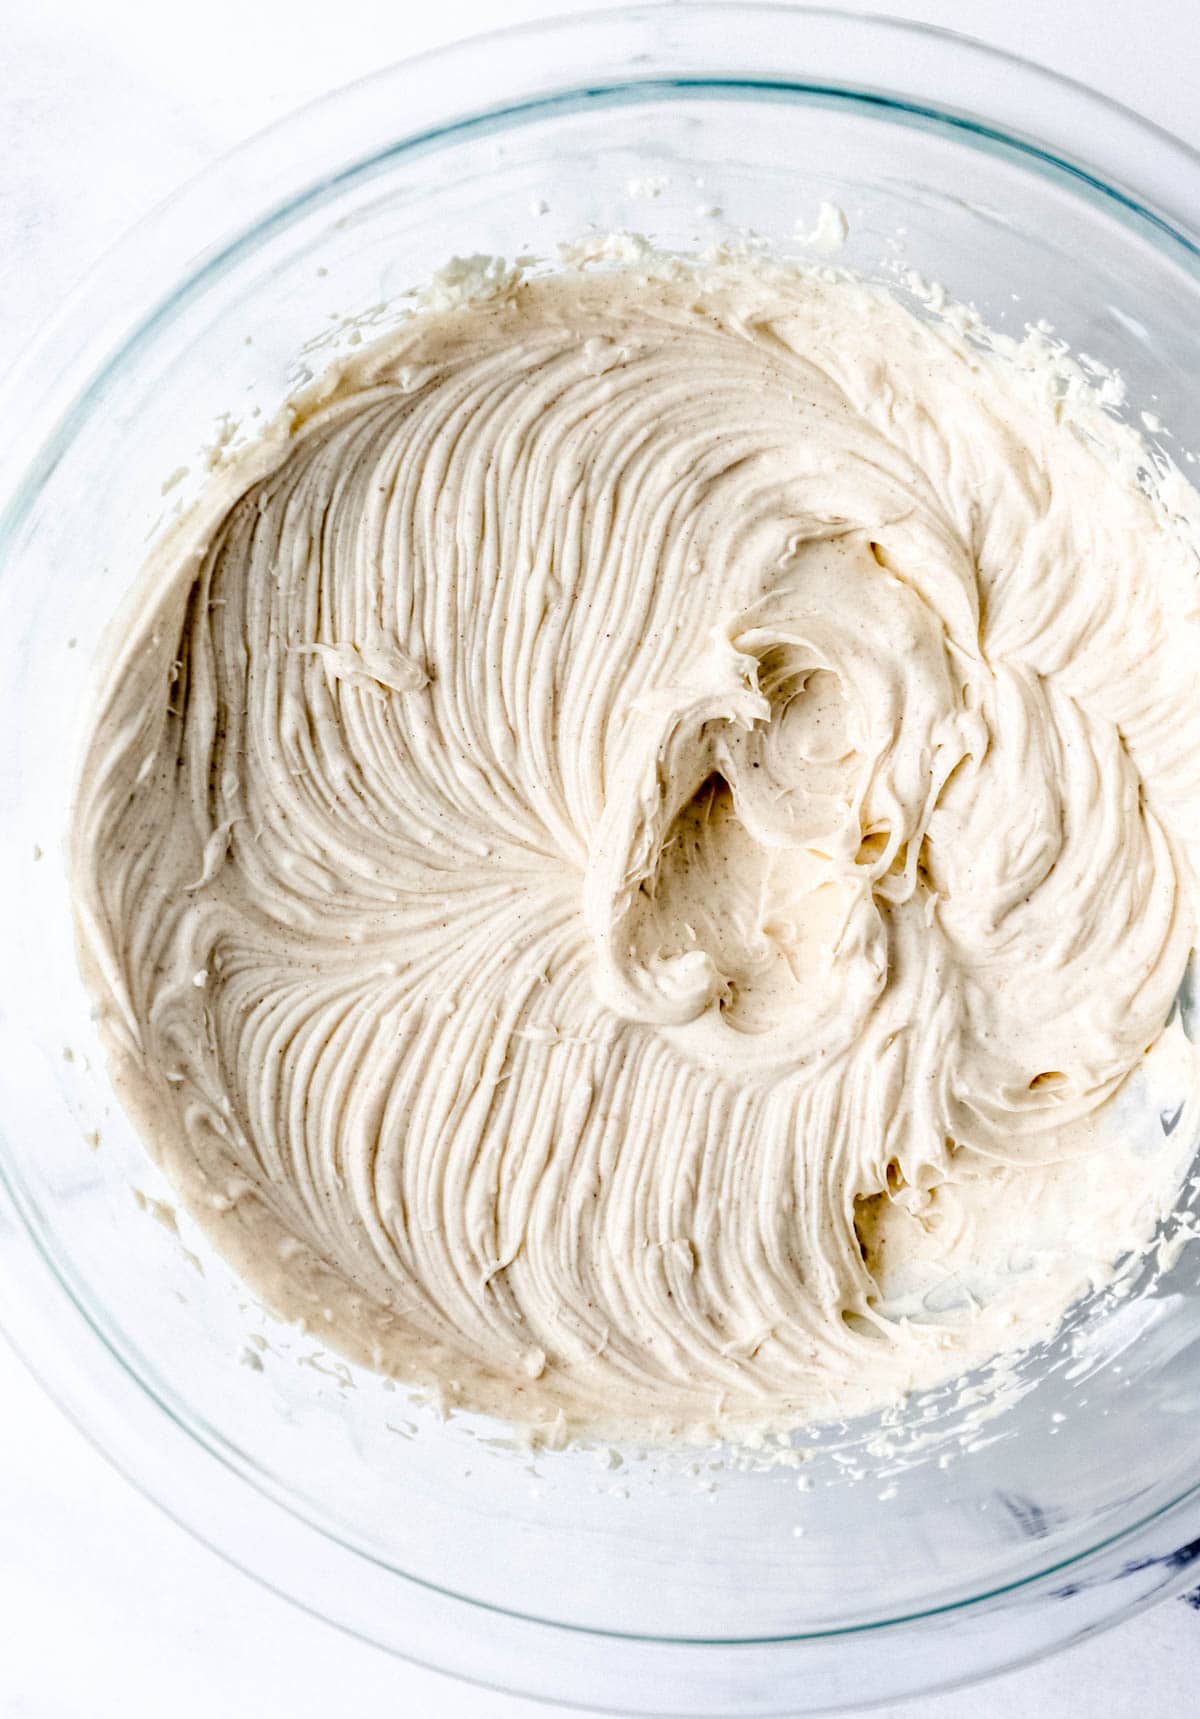
Step 4: Fold and Fill
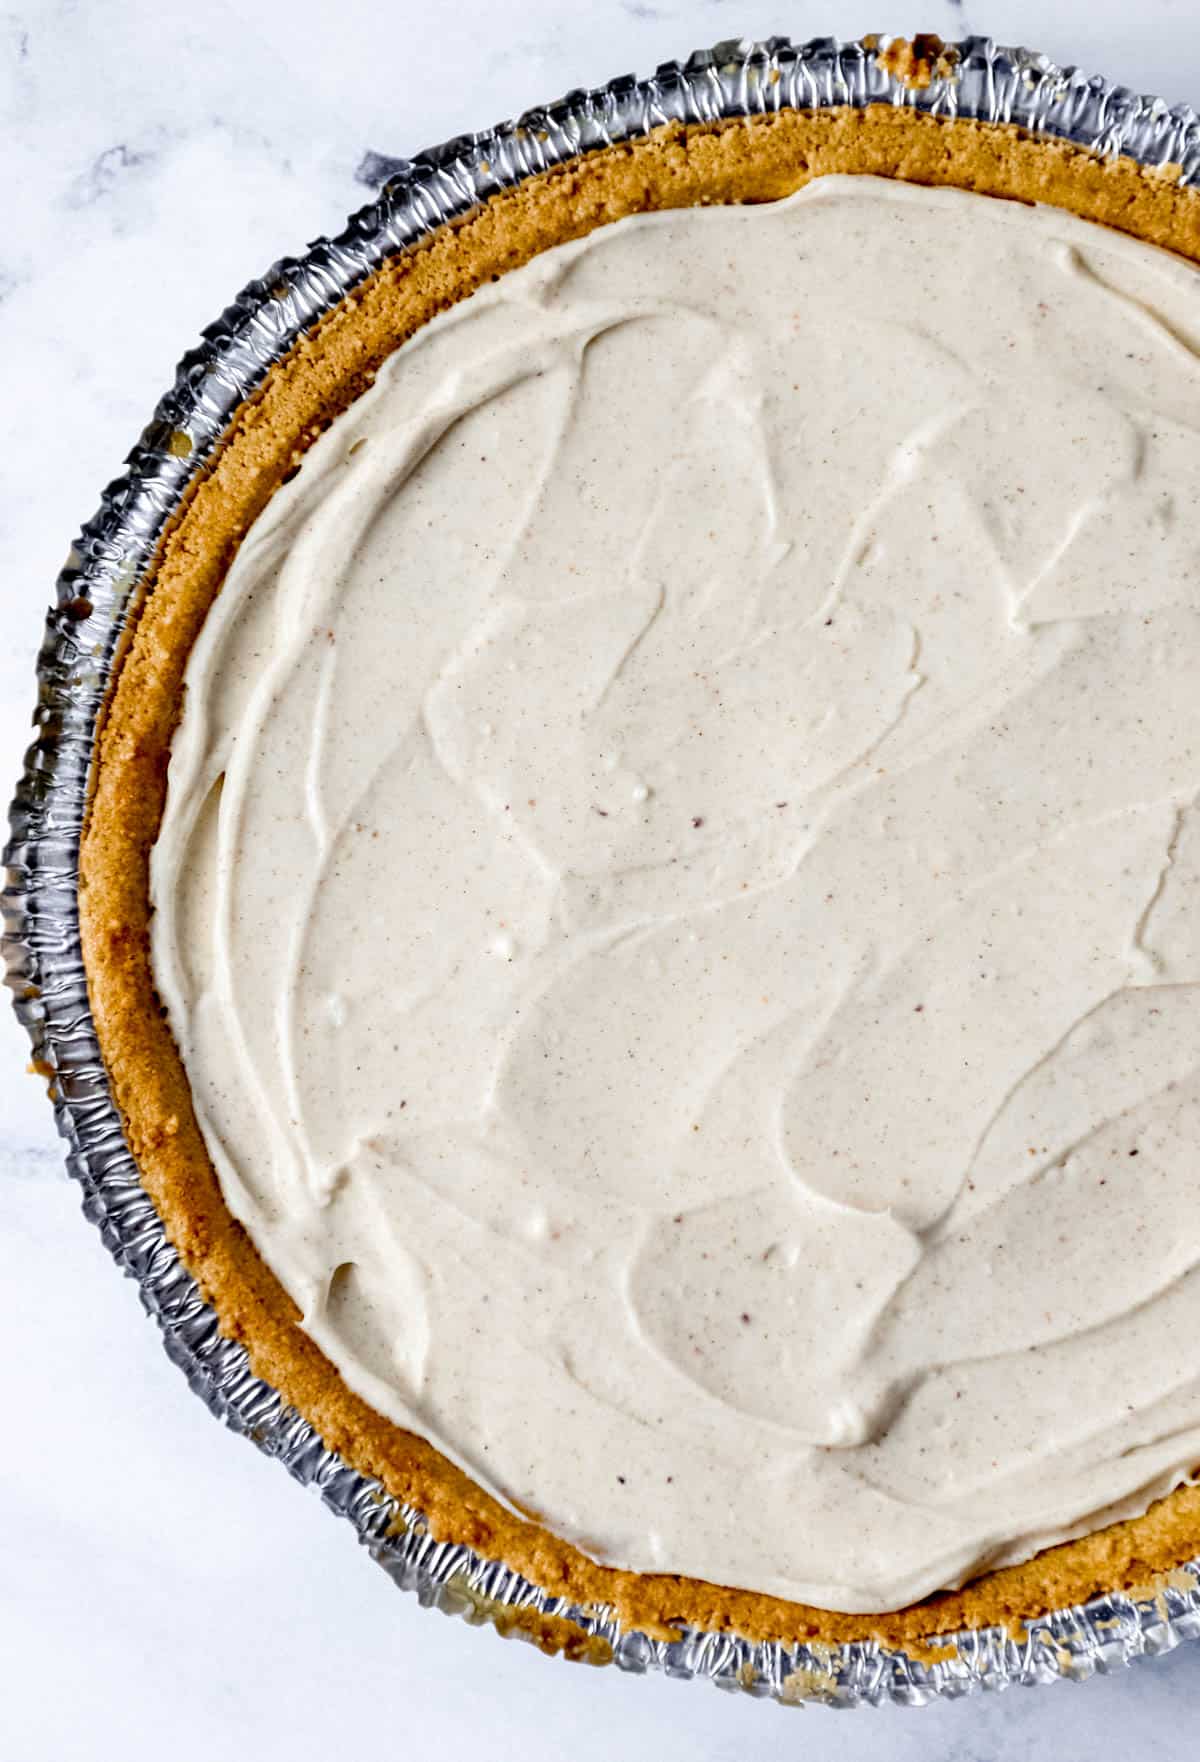
Add the whipped cream back into the mixer bowl and mix on low until the whipped cream is just incorporated, don't overmix or you'll deflate it. Pour the filling into the cooled crust and smooth the top with a spatula.
Step 5: Chill Until Set
Cover the cheesecake and refrigerate for at least 3 hours, though overnight is ideal. The longer it chills, the firmer and cleaner it will slice. Remove it from the refrigerator, slice with a sharp knife, and serve.
Want To Save This Recipe?
LaKita's Expert Tips
- Whip the cream to STIFF peaks, not soft peaks. If your peaks are still droopy and just starting to hold, keep going. Stiff peaks are what allow this cheesecake to set firm. If you under-whip, you'll end up with a soft, mousse-like texture that won't slice cleanly.
- Cold cream whips better. Make sure your heavy cream is straight from the refrigerator, warm cream won't whip properly. If your kitchen is very warm, chill your mixing bowl in the freezer for 10 minutes before whipping.
- Don't rush the crust cool-down. After baking the crust, let it come completely to room temperature before filling. If it's even slightly warm, it can thin out the cheesecake filling right at the edges.
- Overnight is better than 3 hours. Three hours is the minimum, but overnight chilling gives you the cleanest, firmest slices. I always make this the night before I need it.
- Use a sharp knife dipped in hot water to slice. Run your knife under hot water, wipe it dry, and slice. Repeat between cuts for clean, bakery-looking pieces.
- If your cheesecake isn't setting: The most common culprit is under-whipped cream. If it's been in the refrigerator for more than 4 hours and still seems too soft, transfer it to the freezer for 1-2 hours, then thaw in the refrigerator before serving. It will slice cleanly.
- Don't use low-fat cream cheese or eggnog. The fat content in both ingredients is what allows the cheesecake to firm up. Low-fat versions have more water, which works against the setting process.
Variations & Substitutions
- Gingersnap crust: Swap the graham cracker crust for a gingersnap crust for a more complex, spiced flavor that's incredibly festive. Combine 1½ cups finely crushed gingersnap crumbs with 5 tablespoons melted butter and press into a 9-inch pan.
- Add a boozy twist: Stir 1-2 tablespoons of dark rum, bourbon, or brandy into the filling along with the eggnog for an adult version that tastes deeply festive.
- Rum extract (alcohol-free): Swap the vanilla extract for rum extract in the same measure for that rum flavor without any alcohol.
- Mini cheesecakes: Press the crust mixture into lined muffin tins and fill each cavity with the cheesecake filling for individual portions. Perfect for parties and potlucks.
- Cool Whip substitute: If you don't have heavy cream, an 8-ounce container of thawed Cool Whip can be folded into the filling in place of the whipped cream. The texture will be slightly lighter and less rich, but it still sets well.
- Dairy-free version: Use dairy-free cream cheese (like Kite Hill or Violife), full-fat coconut cream (whipped), and your favorite dairy-free eggnog for a version that's entirely plant-based.
Make-Ahead & Storage
Make-Ahead
This cheesecake is perfect for making ahead. In fact, I recommend it. You can make the entire cheesecake up to 2 days before you need it. Just cover it tightly with plastic wrap or the pie tin lid and refrigerate. The flavor actually deepens and improves by day two.
Storage & Reheating
Refrigerator: Store covered in the refrigerator for up to 5 days. Keep it covered so it doesn't absorb refrigerator odors.
Freezer: This cheesecake freezes beautifully for up to 3 months. Wrap individual slices in plastic wrap, then place them in a zip-top freezer bag. To serve, transfer to the refrigerator the night before and let thaw overnight. Do not microwave frozen cheesecake.
Room temperature: The cheesecake can sit out for 1-2 hours during serving without any problems, but bring it back in after that.
What to Serve with No-Bake Eggnog Cheesecake
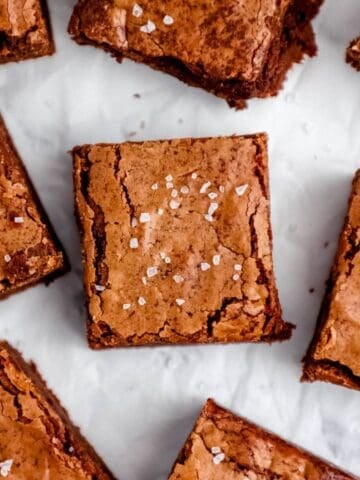
- As part of a holiday dessert tray - This cheesecake slices beautifully alongside Pretzel Fudge and Homemade Cranberry Bliss Bars for a crowd-pleasing holiday spread.
- After a cozy holiday dinner - The light, creamy texture makes it the perfect finish after a heavy meal. Try serving it alongside Gingerbread Whoopie Pies for guests who want a little of everything.
- Paired with coffee or eggnog - A slice with a warm cup of Eggnog Latte is a holiday moment all by itself.
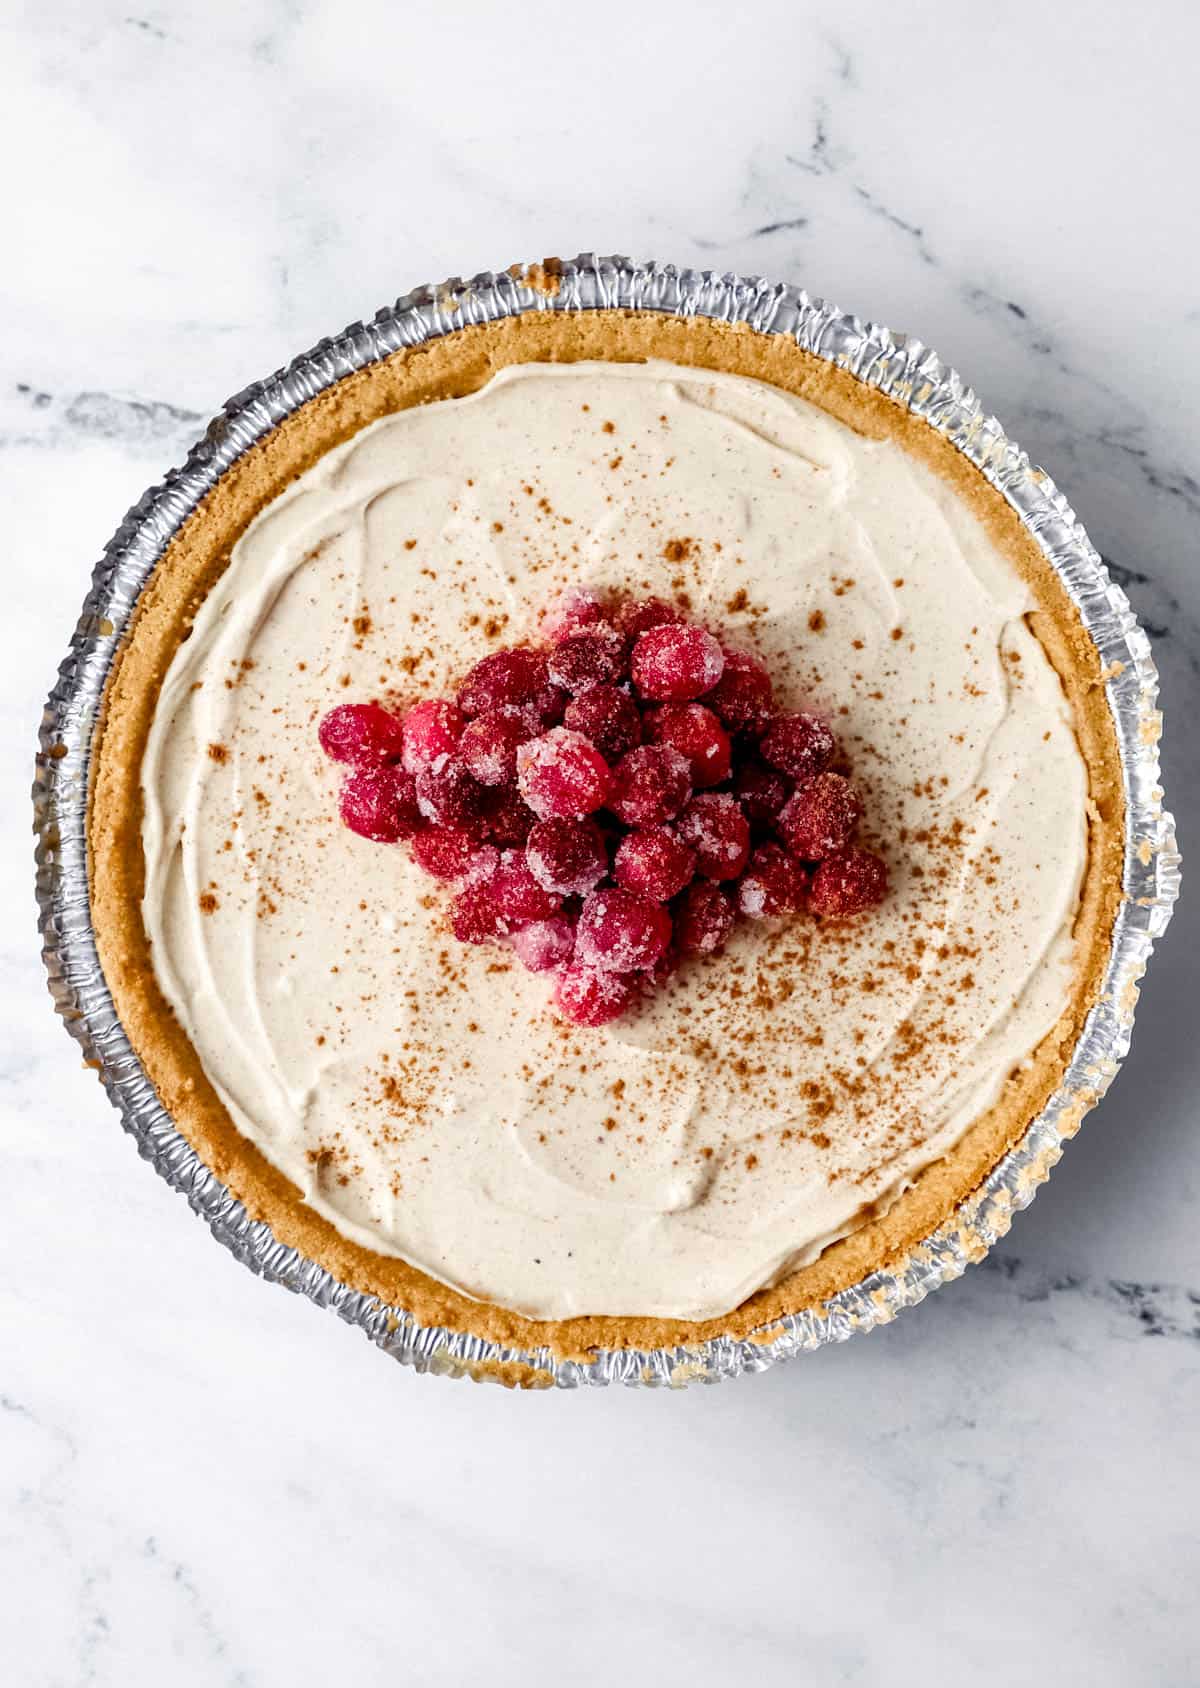
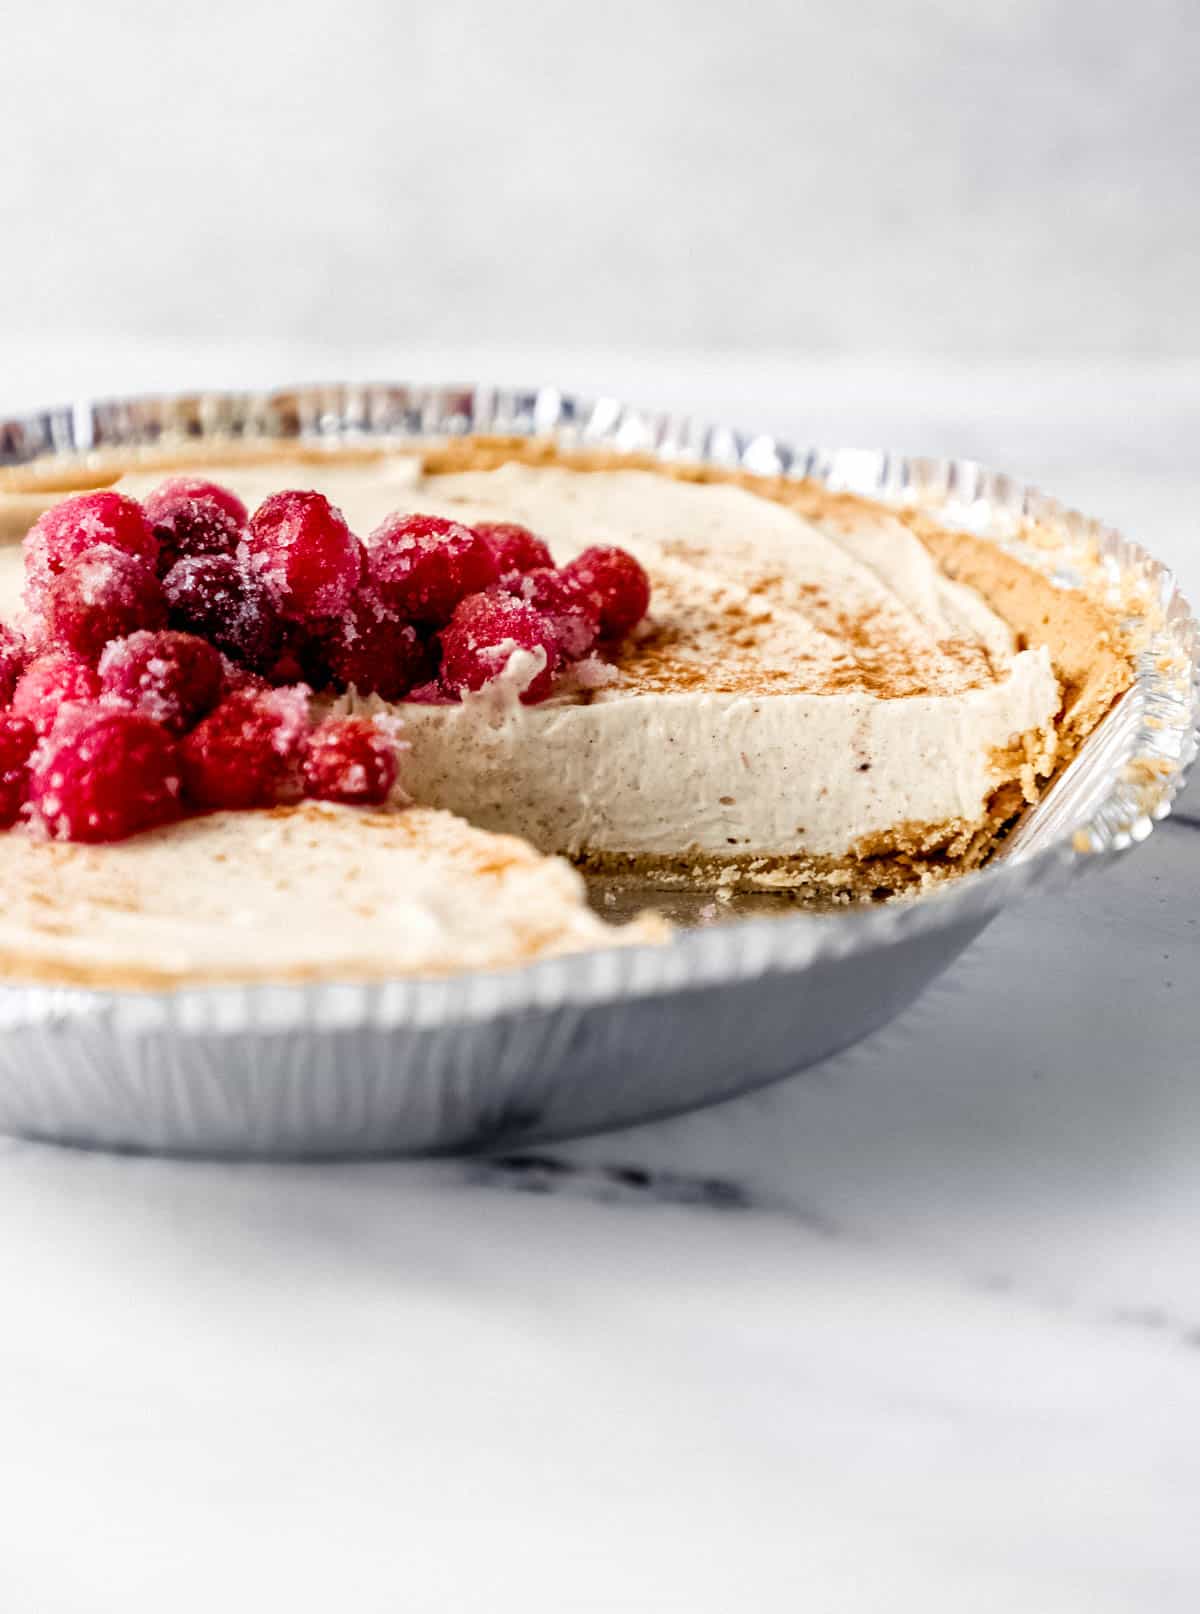
- Topped with sugared cranberries - A few sugared cranberries on top add a gorgeous pop of color and a little tartness that balances the rich, creamy filling beautifully.
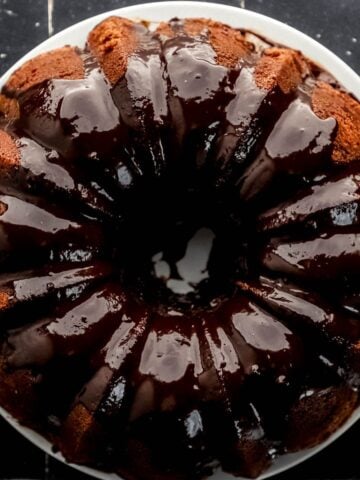
- Alongside more eggnog bakes - If you love eggnog season as much as I do, make a full eggnog dessert weekend with Eggnog Pound Cake and No-Bake Eggnog Cookies.
Frequently Asked Questions
At minimum, 3 hours in the refrigerator. For the cleanest slices and best texture, I recommend chilling it overnight. The longer it sets, the firmer and more sliceable it becomes. If you're in a pinch, 3 hours gets you there, overnight gets you perfection.
The most common reason is under-whipped heavy cream. The cream needs to reach stiff peaks. Firm enough that the peak holds its shape when you lift the beater without drooping at all. If your cheesecake has been refrigerating for 4+ hours and still feels too soft, move it to the freezer for 1-2 hours. Low-fat cream cheese or eggnog can also interfere with setting, always use full-fat versions.
Absolutely, and I actually recommend it. You can make this up to 2 days in advance. Cover it tightly and refrigerate. The flavor deepens as it sits, so day-two cheesecake is honestly even better than day-one.
Yes! Fold in one 8-ounce container of thawed Cool Whip in place of the whipped heavy cream. The texture will be slightly lighter, but the cheesecake will still set well and taste delicious.
Definitely, and it's wonderful. Combine 1½ cups finely crushed gingersnap crumbs with 5 tablespoons melted butter. Press into the pan and chill for 10 minutes before filling. No baking needed with a homemade gingersnap crust.
Yes! Stir 1-2 tablespoons of dark rum, bourbon, or brandy into the filling along with the eggnog. Alternatively, substitute rum extract for the vanilla extract to get a rum note without any alcohol.
Use a full-fat eggnog that you enjoy drinking on its own. The flavor transfers directly into the cheesecake, so if you don't love the eggnog, you won't love the cheesecake. Dairy-free eggnog works too, as long as it's a creamy, full-bodied variety.
Yes! If you use a 9-inch springform pan, make your own crust by combining 1½ cups graham cracker crumbs with 5 tablespoons melted butter and pressing it into the bottom. This gives you the option to remove the sides of the pan for a more traditional-looking cheesecake presentation.
Yes, it freezes wonderfully for up to 3 months. Wrap individual slices in plastic wrap and place in a freezer bag. Thaw in the refrigerator overnight before serving. Do not microwave, let it thaw slowly.
Run a sharp knife under hot water, wipe it completely dry, then cut. Repeat between each slice. The warm, clean blade slides through the creamy filling without dragging. It makes a real difference!
📖 Recipe

No Bake Eggnog Cheesecake Recipe
Video
Equipment
- 1 stand mixer or hand mixer
- 1 large mixing bowl
- 1 rubber spatula
Ingredients
- 6 ounce ready crust graham cracker pie crust
- ½ cup heavy whipping cream
- 8 ounces cream cheese, softened
- ½ cup powdered sugar
- ¼ cup eggnog
- ½ teaspoon vanilla extract
- ½ teaspoon ground nutmeg
- ½ teaspoon ground cinnamon
Instructions
- This cheesecake recipe begins by preparing a 6 ounce ready-crust graham cracker pie crust. Brush the unbaked crust all over with a beaten egg and bake it according to the package instructions for about 4 to 5 minutes. Allow it to fully cool before filling with the cheesecake mixture.
- Use a stand mixer with a whisk attachment or paddle attachment or a large mixing bowl with an electric hand mixer on medium-high speed.
- Add the ½ cup heavy cream and mix it until stiff peaks form. Stop, turn the mixer off, and remove the whipped cream from the mixing bowl into a separate large bowl. Set it aside.
- To the mixer bowl, add the 8 ounces cream cheese and mix on medium speed until it is soft, creamy, and smooth. Add the ½ cup powdered sugar, ¼ cup eggnog, ½ teaspoon vanilla extract, ½ teaspoon ground nutmeg, and ½ teaspoon ground cinnamon. Mix until combined.
- Add the whipped cream back to the electric mixer bowl with the other ingredients and continue mixing until fully combined, creamy, and smooth.
- Pour the filling into the prepared graham cracker pie crust, cover, and place it into the refrigerator.
- Allow the eggnog cheesecake time to set in the refrigerator for at least 3 hours and up to overnight. Remove the creamy cheesecake from the refrigerator and use a sharp knife to slice it to serve. Enjoy!
Did You Make This Recipe?
If you give this no-bake eggnog cheesecake a try, I'd love to know what you think! Leave a comment below and let me know how it turned out, and if you changed anything, I want to hear about that too. Share a photo on Instagram and tag @SimplyLaKita so I can see your beautiful holiday dessert, or save it on Pinterest for later. This one is a keeper, y'all!
Anna says
Can you freeze this dessert?
LaKita says
Yes, you can freeze it just as you would regular cheesecake.