
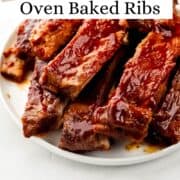
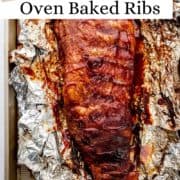
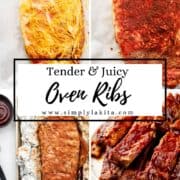
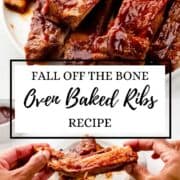
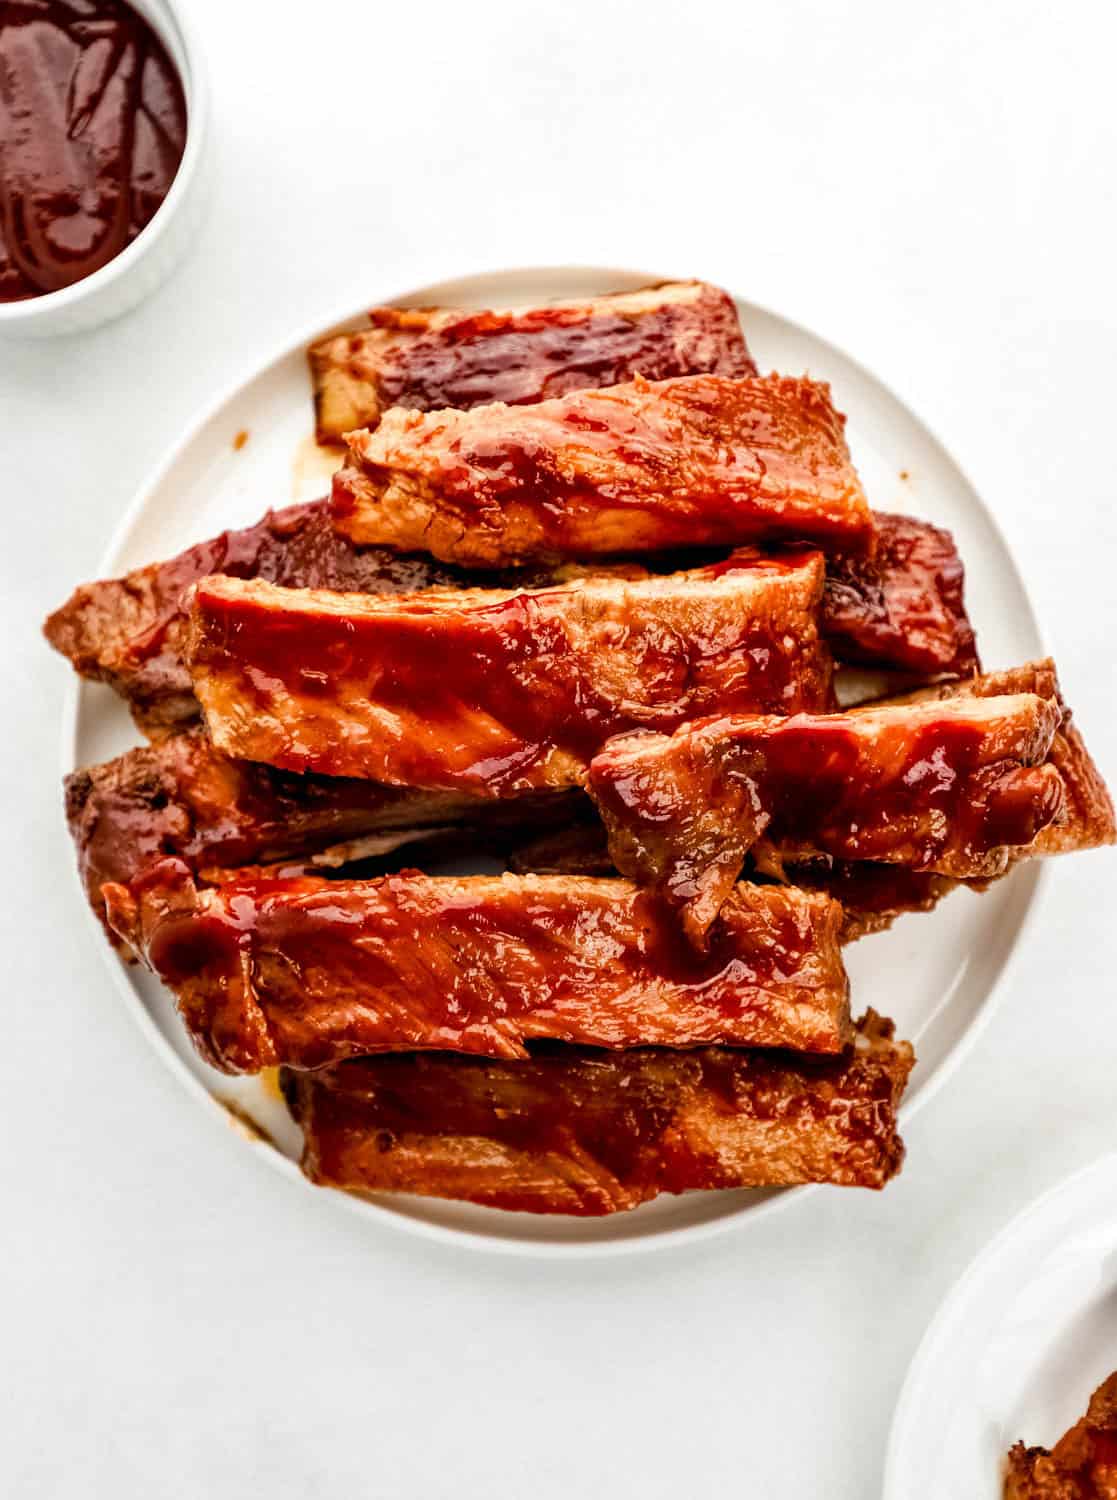
Oven ribs recipe made simple! No slow cooking, no fancy tricks, just ribs baked at 400°F until they're juicy on the inside and perfectly caramelized on the outside. A good spice rub does most of the work and a little BBQ sauce at the end seals the deal. Easy prep, big flavor, and no grill required!
Updated July 22, 2026: I've refreshed this post with new tips, expanded FAQs, and helpful make-ahead instructions based on your questions and feedback. Same delicious recipe, even more helpful! Originally posted on March 14, 2025.
Want To Save This Recipe?
Watch this quick video tutorial!
Growing up in Florida, ribs were a Sunday thing. The kind of meal where everybody found their way to the kitchen before the foil even came off. But let me tell you a secret from my own kitchen: some of the best ribs I've ever made never touched a grill. These soul food oven ribs bake low and slow in foil until the meat pulls clean off the bone, then finish under the broiler with sticky, caramelized BBQ sauce.
I've been developing and photographing comfort food recipes since 2013, and this rib method is one I've tested more times than I can count. Tweaking the rub, the wrap, and the finish until my family stopped critiquing and started asking when I was making them again. The reviews on this one say it best: easy, juicy, no grill required.
So grab a rack of spare ribs and some napkins, because dinner is about to smell incredible. Let's get started!
Why You'll Love This Soul Food Oven Ribs Recipe
- No grill needed - Your oven does all the work, so you can have real-deal BBQ ribs in January just as easily as July.
- Bold soul food flavor - A homemade nine-spice dry rub with brown sugar, smoked paprika, and a little cayenne brings deep, earthy heat and sweetness.
- Mostly hands-off - About 20 minutes of prep, then the oven takes over while you make your sides.
- Fall-apart tender - Wrapping the ribs in foil steams them in their own juices, so every bite is juicy instead of chewy.
Tips for Selecting the Best Ribs at the Grocery Store
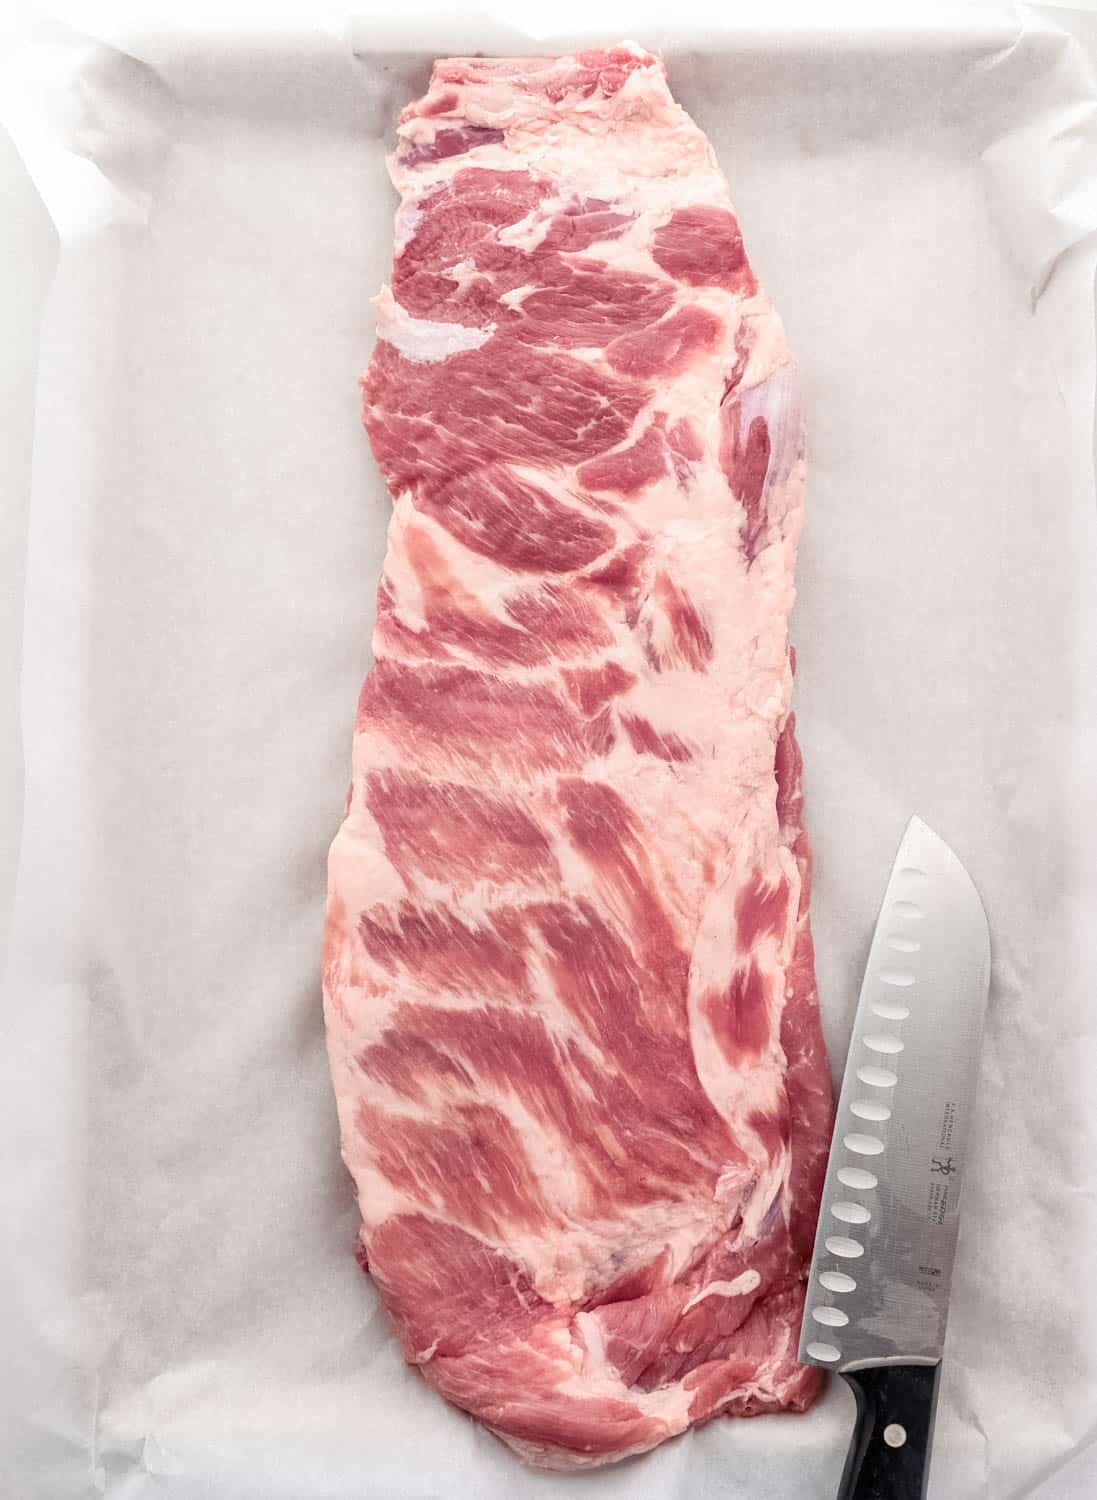
✅ Go for Fresh, Not Frozen - Fresh ribs have a pinkish-red color with good marbling (thin streaks of fat). Avoid ribs that look dull, pale, or have excessive liquid in the package.
✅ Check Meat Coverage - Choose ribs with evenly distributed meat over the bones. Avoid racks with exposed bones (aka "shiners"), as they'll dry out faster when baking.
✅ Check the Fat Cap - A thin layer of fat is good for flavor, but avoid racks with thick, tough fat that won't render properly in the oven.
✅ Pick a Pack with Even Thickness - Ribs that are uniform in size will cook more evenly, so avoid racks with thick ends and thin spots.
What to Ask Your Butcher?
If you're buying from a butcher counter, here's how to ask them to prep your ribs for easy oven cooking:
🔪 "Can you trim these St. Louis-style?" - If you're buying spare ribs, this means they'll remove the excess cartilage, breastbone, and flap meat, leaving a neat, rectangular rack that cooks more evenly.
🔪 "Can you remove the membrane?" - The thin, tough membrane on the back of the ribs can make them chewy. Most butchers will remove it for you if you ask. If not, you can do it yourself at home by peeling it off with a paper towel.
🔪 "Can you cut these in half?" - If your sheet pan or oven is small, ask them to cut the rack in half so it's easier to fit.
With these tips, you'll get the best ribs for baking without any extra hassle. Once prepped, they're ready to take home, season, and bake! Now that your ribs are trimmed and prepped, let's talk about the key ingredients that make them extra delicious.
Ingredients You'll Need
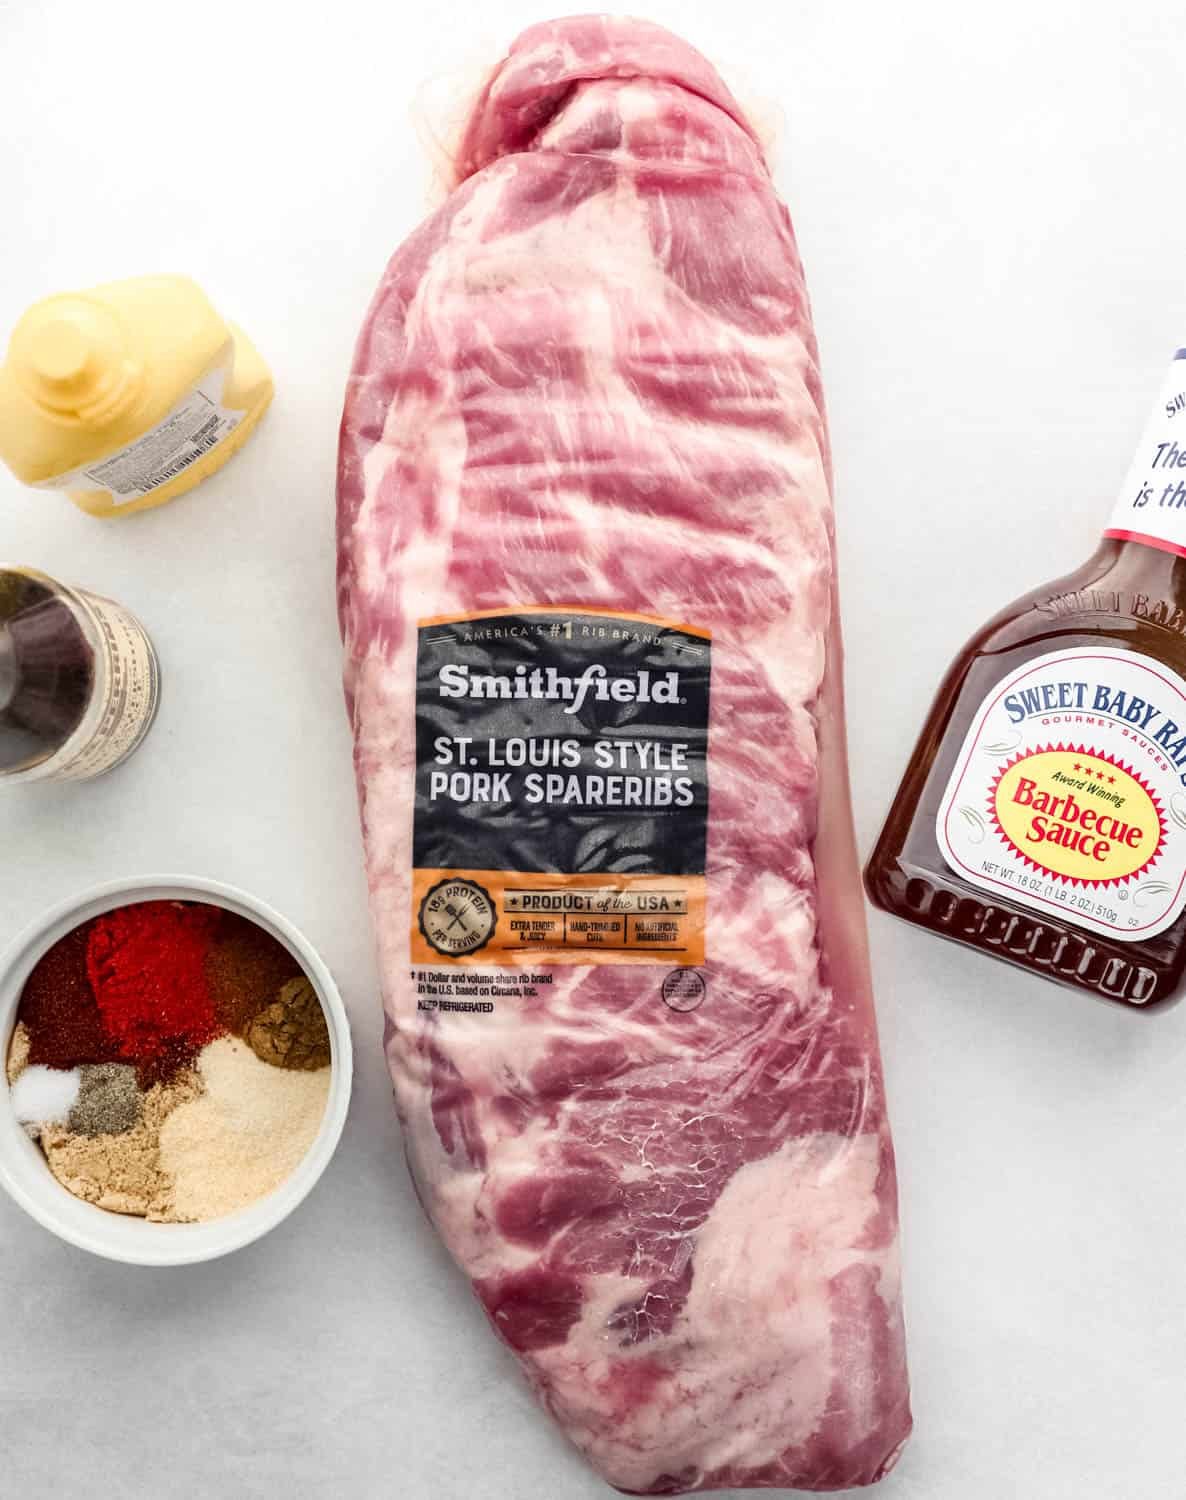
- Ribs - Spare ribs are my pick for the oven. They're meatier with a higher fat content than baby backs, which keeps them tender and flavorful through a long bake. At the store, look for a pinkish-red rack with even meat coverage and thin marbling. Skip anything pale, with exposed bones ("shiners"), or a thick fat cap that won't render. If you're at a butcher counter, ask them to trim the rack St. Louis-style and remove the membrane for you, it saves a step at home.
- Worcestershire sauce and yellow mustard - This duo works as a binder that helps the dry rub stick, while adding a subtle tangy backbone. Don't worry, you won't taste mustard in the finished ribs.
- Dry rub seasonings - Brown sugar, smoked paprika, garlic powder, onion powder, cayenne pepper, chili powder, ground cumin, salt, and black pepper. The brown sugar caramelizes into the crust while the smoked paprika and cumin bring that outdoor BBQ depth indoors. If you love this blend, my Burger Seasoning Recipe works the same magic on beef.
- BBQ sauce - Use your favorite. A sweet, honey-based sauce caramelizes beautifully under the broiler.
👉🏾 See the recipe card below for exact quantities and full instructions.
How to Make Soul Food Oven Ribs
Here's a quick overview of the process. Full step-by-step instructions are in the recipe card below.
Step 1: Remove the Membrane and Prep the Ribs
Flip the rack bone-side up and slide a knife under the thin, papery membrane, then grip it with a paper towel and pull it off in one piece. This is the single most important step, leave it on and even perfectly cooked ribs will eat chewy. Pat the ribs completely dry afterward so the seasoning sticks.
Step 2: Bind and Season
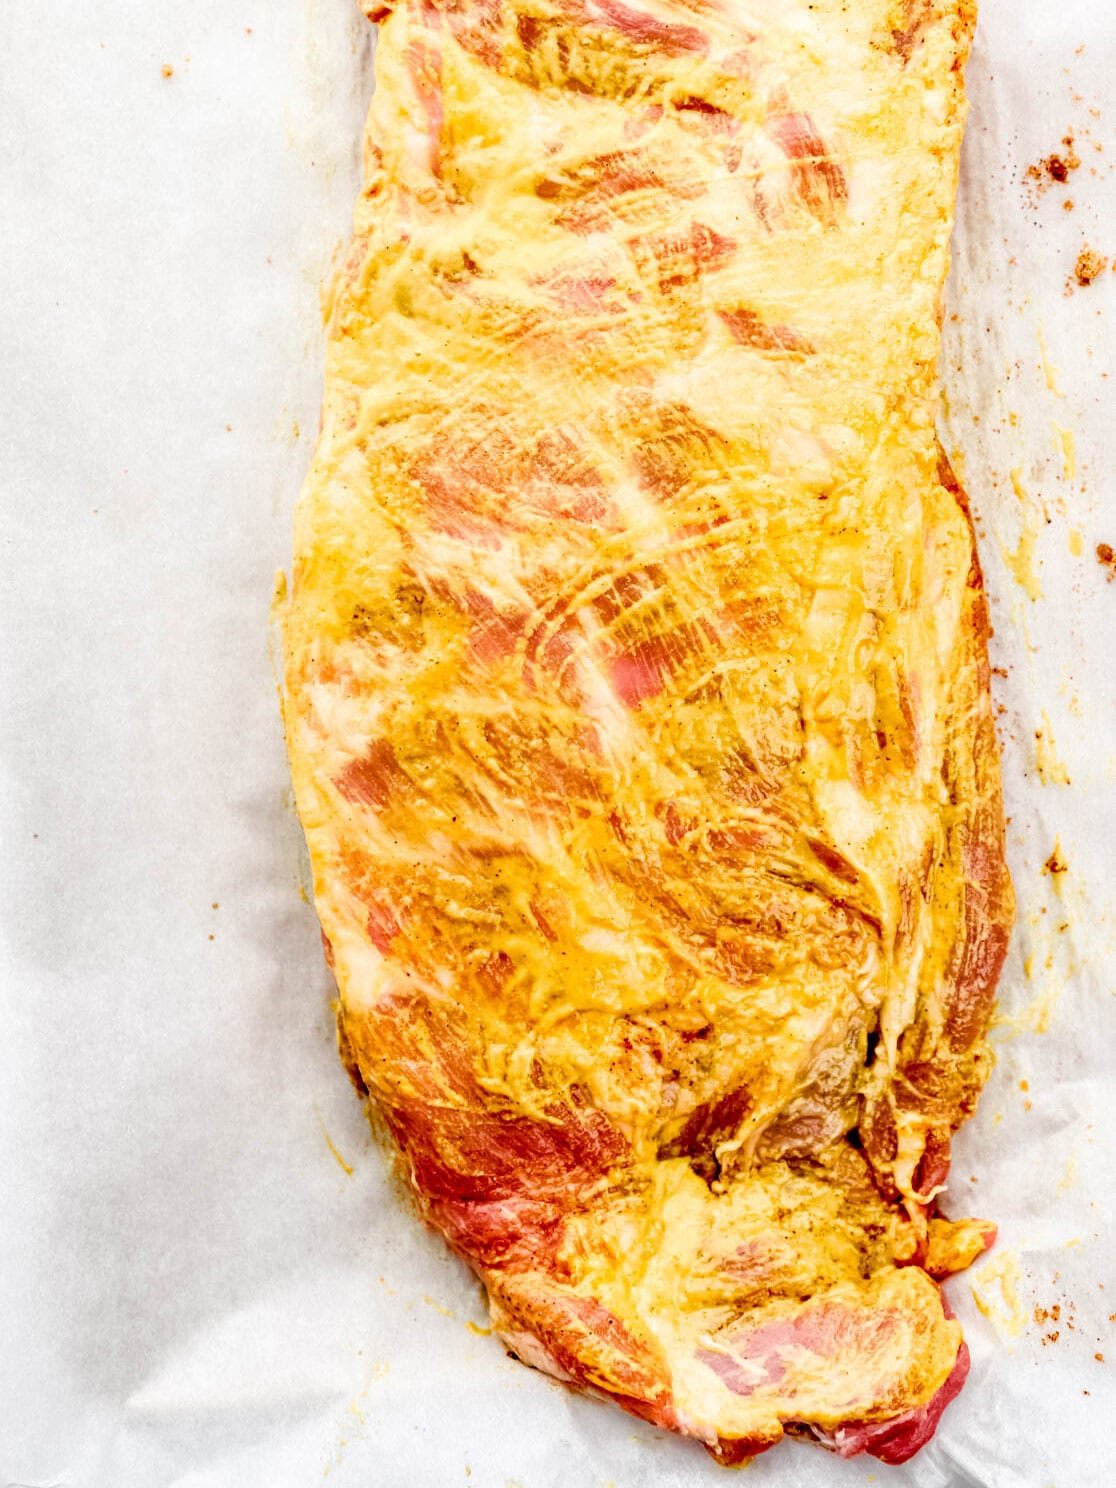
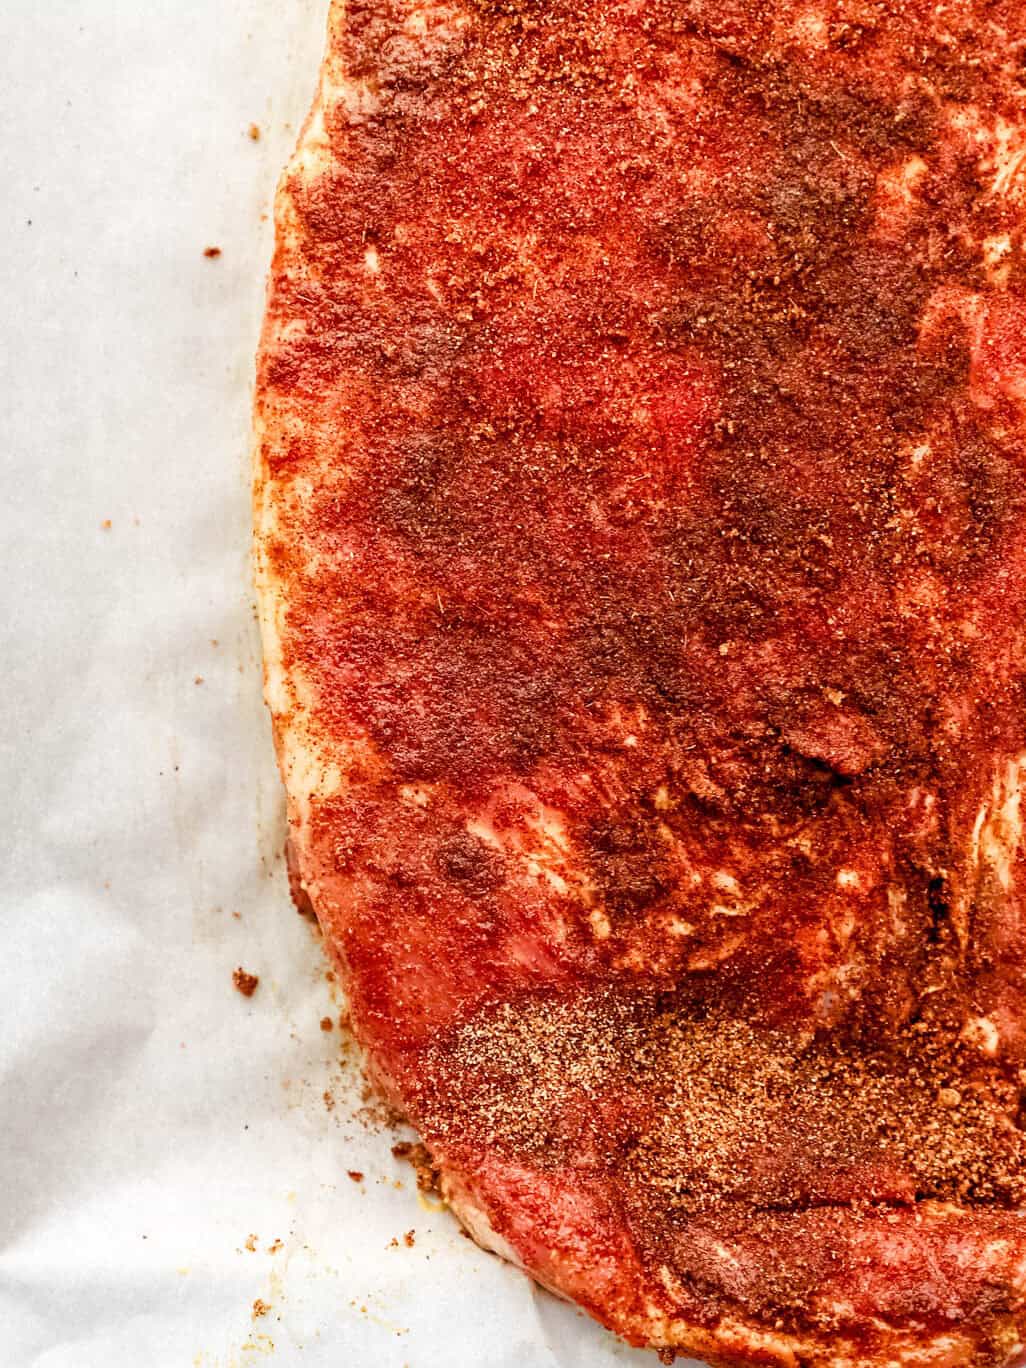
Coat both sides with Worcestershire and mustard, then rub the seasoning in generously. Really press it into the meat rather than just sprinkling it. Every inch of the rack should be covered.
Step 3: Wrap and Bake Low and Slow
Wrap the ribs tightly in a double layer of foil with no gaps, then bake at 350°F for 2½ to 3 hours. The sealed foil traps steam, which is what breaks down the connective tissue into that fall-apart texture. Resist the urge to peek, every unwrap lets moisture escape.
Step 4: Crank the Heat for the Crust
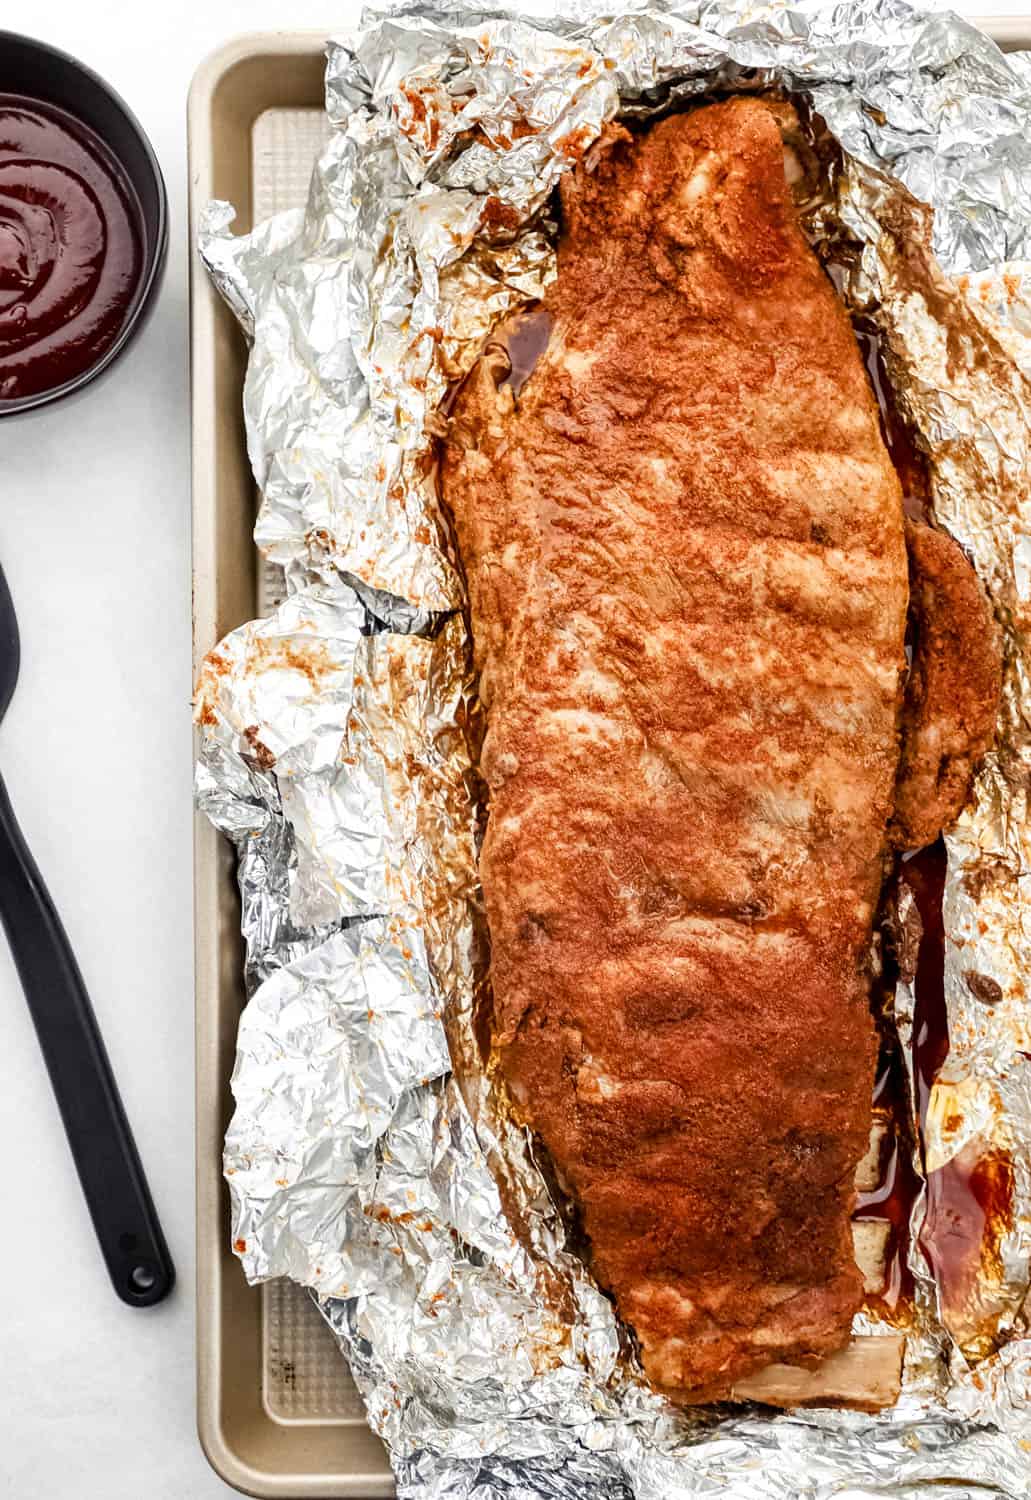
Raise the oven to 400°F and bake another 15-20 minutes. This is where the brown sugar in the rub caramelizes into a rich crust. The reason these taste like they came from a BBQ joint, not a steamer.
Step 5: Sauce, Broil, and Rest
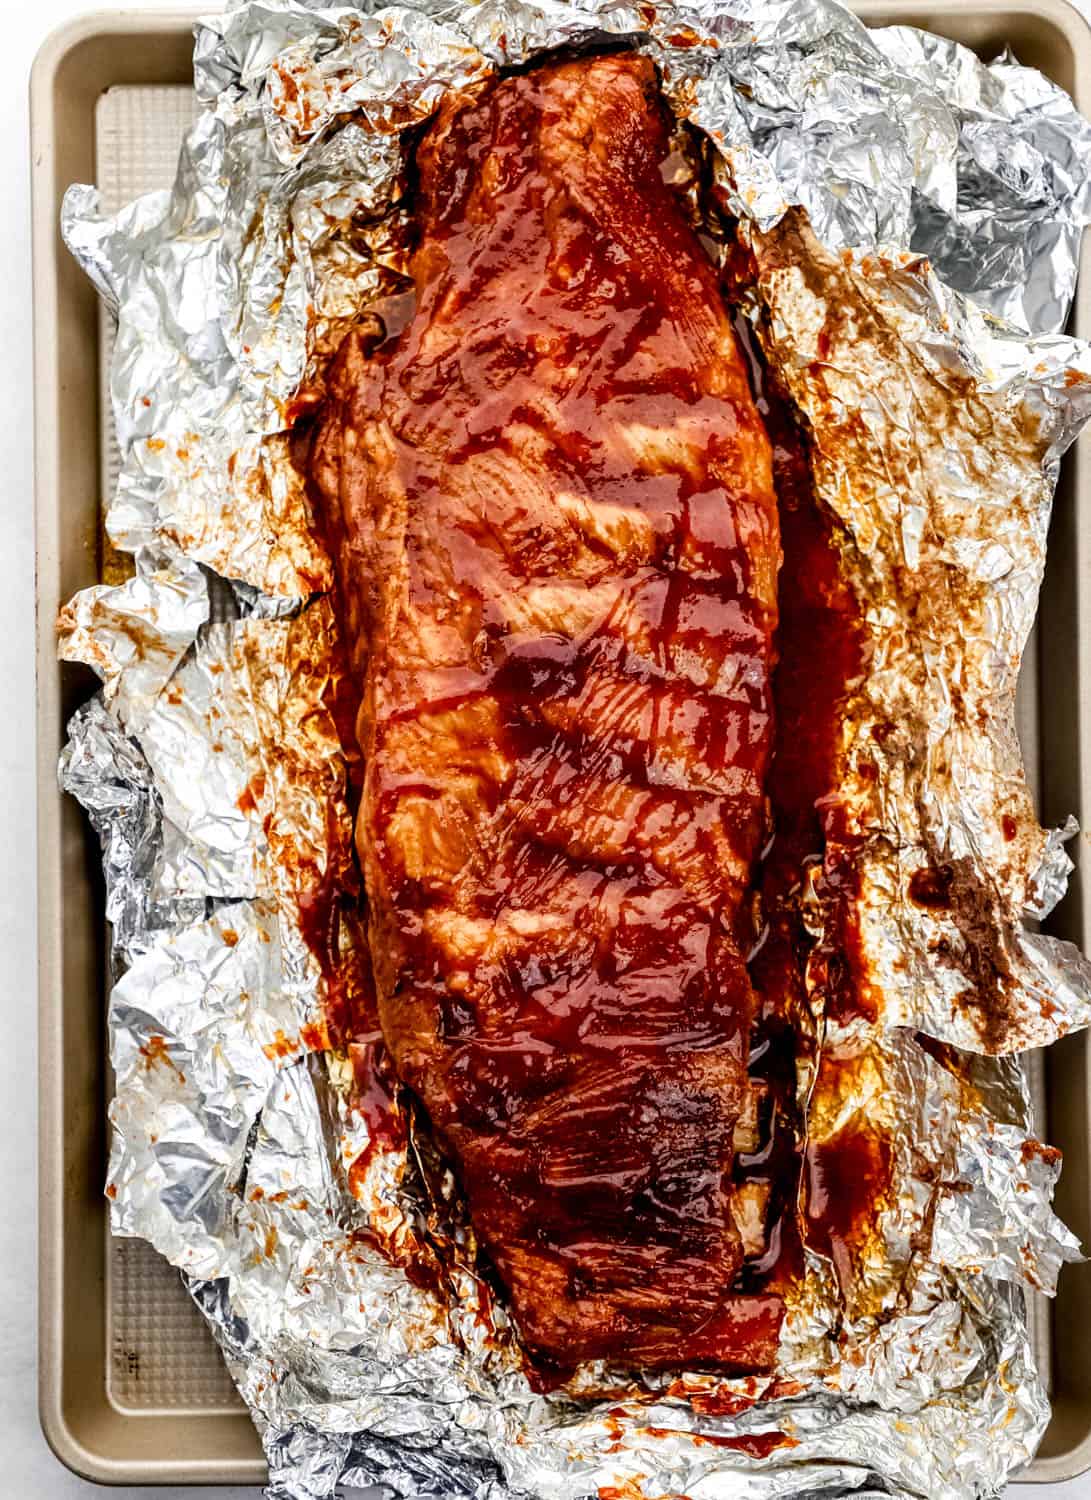
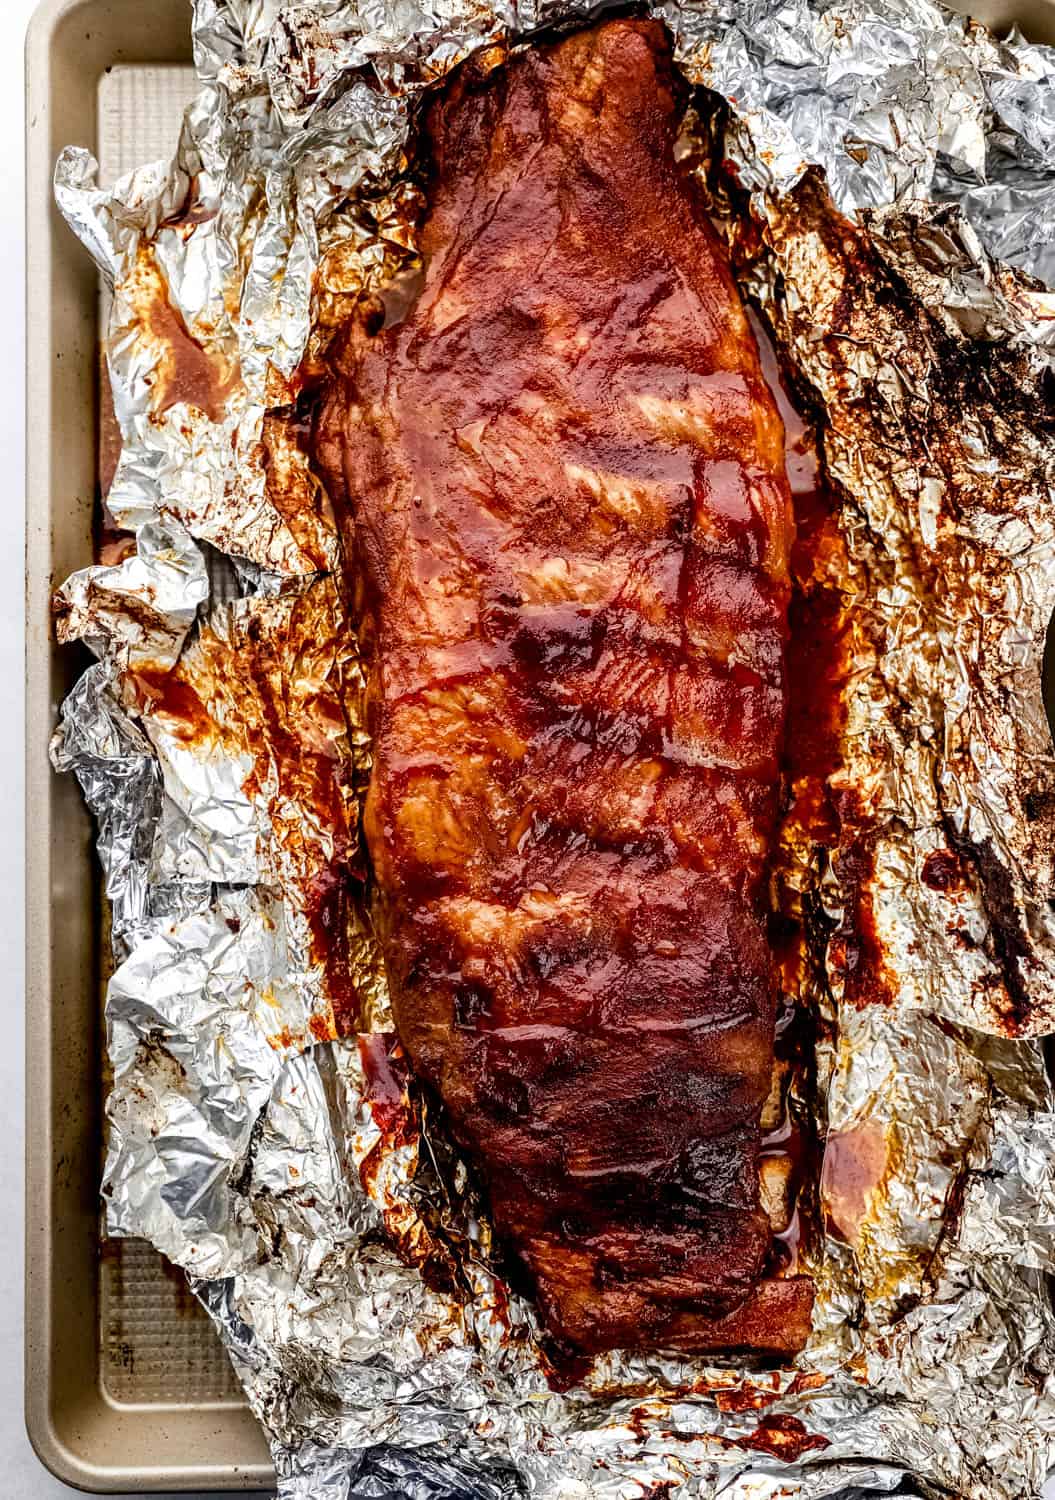
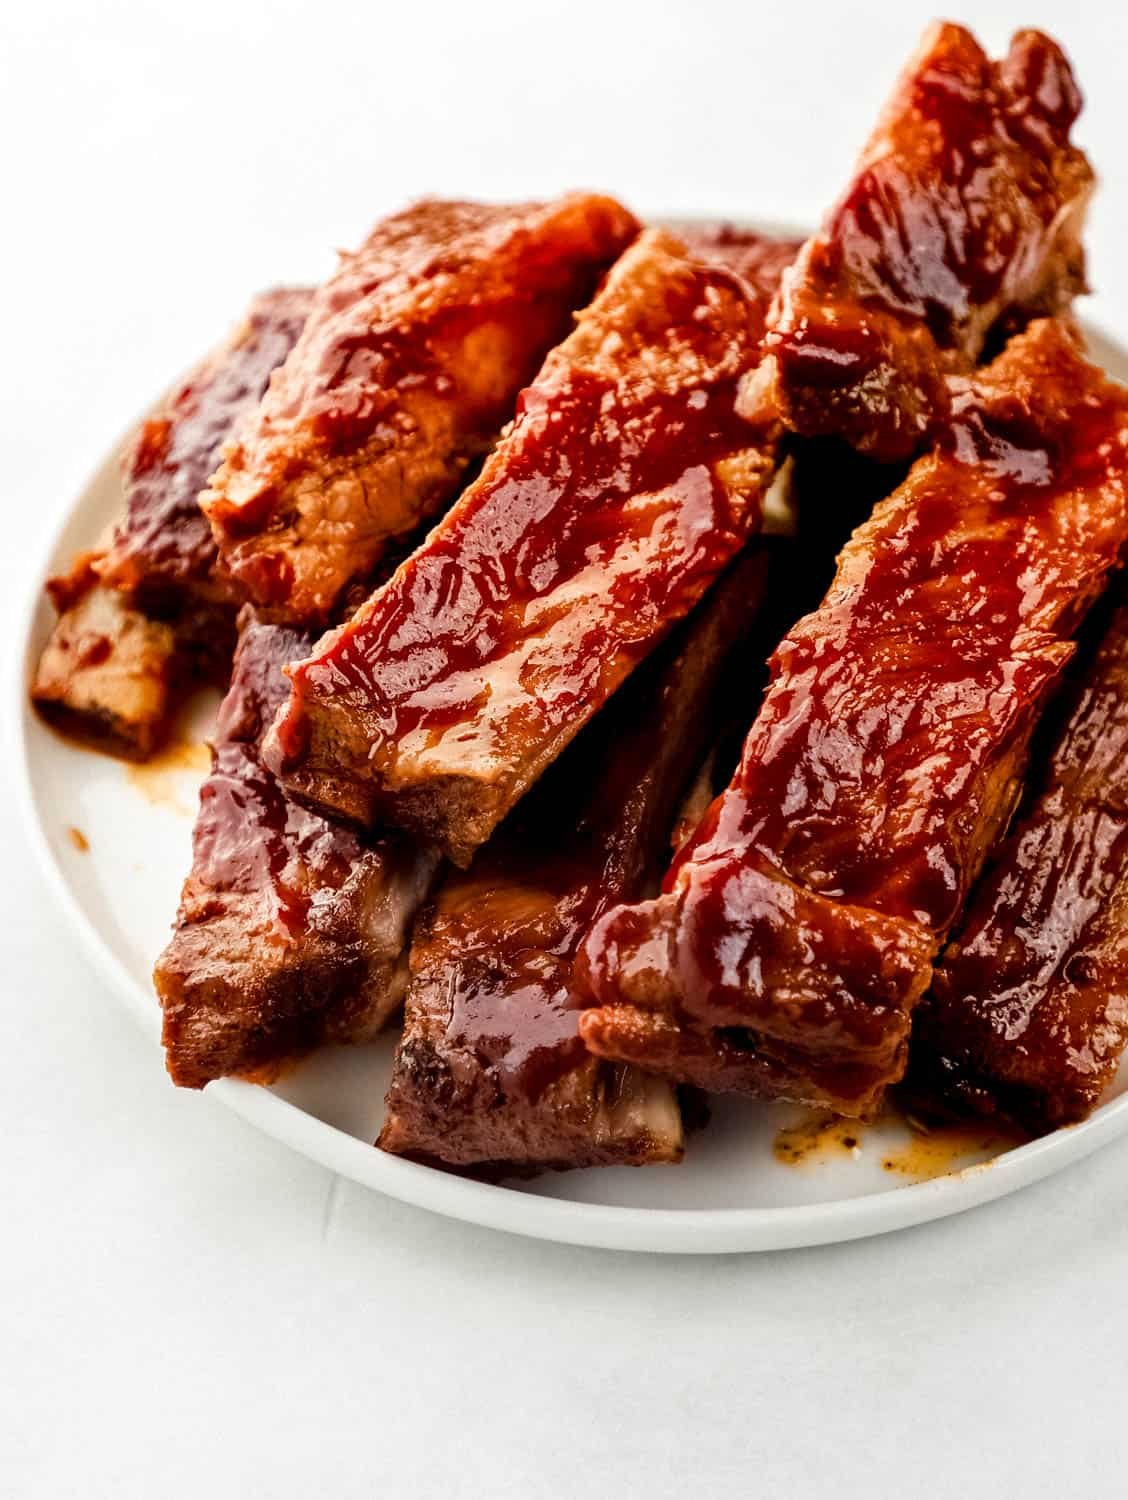
Peel back the foil, baste with BBQ sauce, and broil 5-10 minutes until sticky and caramelized. Watch closely, because sugar burns fast under a broiler. Rest 10-15 minutes before slicing so the juices settle back into the meat.
LaKita's Expert Tips
Here are my best tips for making this recipe turn out perfectly every time.
- Season ahead if you can. Let the rubbed ribs sit 30 minutes at room temperature, or refrigerate them overnight. The spices penetrate deeper and the flavor goes from good to can't-stop-eating.
- Check doneness with a thermometer. Tender ribs are done at an internal temperature of 190-200°F in the thickest part, away from the bone. The fork test works, but the thermometer never lies.
- Sauce only at the end. BBQ sauce is full of sugar, and sugar applied early burns long before the ribs are done. Baking first and saucing last is how you get sticky instead of scorched.
- Slice bone-side up. Flip the rested rack over so you can see exactly where the bones sit, then cut between them for clean, even portions.
- Add liquid smoke or smoked salt to the rub if you want a deeper outdoor-BBQ flavor without stepping outside.
- Small oven or sheet pan? Cut the rack in half before wrapping, two smaller foil packets cook just as evenly and are easier to handle.
- In a hurry? A true 400°F bake works too. See the FAQ below for timing, but the 350°F low-and-slow method is the one that gets you fall-apart tender.
Variations & Substitutions
This recipe is flexible, here are some easy ways to make it your own.
- Baby back ribs - Leaner and quicker-cooking. Reduce the wrapped bake time to about 2-2½ hours at 350°F and start checking early.
- No BBQ sauce - Go dry-rub only, then finish with a honey glaze or garlic butter under the broiler for a different kind of sticky.
- Spicy - Double the cayenne, or stir a spoonful of hot sauce into your BBQ sauce before basting.
- Sweeter, kid-friendly ribs - Skip the cayenne entirely and use an extra tablespoon of brown sugar in the rub.
- Country-style ribs - These meatier cuts work with the same rub; they're done faster, so start checking for tenderness around the 2-hour mark.
- Extra smoky - Swap regular salt for smoked salt and use a hickory or mesquite BBQ sauce.
Make-Ahead & Storage
Make-Ahead
You can season and wrap the ribs in foil up to 24 hours ahead. Refrigerate the whole foil packet, then bake straight from the fridge, adding about 15 extra minutes to the covered bake time. The dry rub itself can be mixed weeks in advance and stored in a sealed jar.
Storage & Reheating
Refrigerate: Cool the ribs completely, then store in an airtight container or wrap tightly in foil for 3 to 4 days.
Freeze: Wrap tightly in plastic wrap or foil, or use a freezer-safe bag, for up to 3 months. Thaw overnight in the fridge before reheating.
Reheat: For ribs that taste freshly made, add a few tablespoons of broth, apple juice, or thinned BBQ sauce to a baking dish, cover tightly with foil, and bake at 275°F for 20-30 minutes, the steam brings the juiciness back. For a fresh-off-the-grill finish, reverse sear them: warm low and slow at 275°F, then broil or air fry 3-5 minutes to re-crisp the outside. A butter baste (melted butter with a little BBQ sauce or honey) brushed on while reheating restores richness. Quick options: air fryer at 350°F for 5-7 minutes, or microwave in 30-second bursts.
What to Serve with Soul Food Oven Ribs
Here are some of my favorite ways to serve this dish.
- A creamy, tangy slaw is the classic move. Try my Southern Coleslaw Recipe.
- Sweet and smoky beans belong next to ribs, my Southern Baked Beans bake while the ribs rest.
- A scoop of Potato Salad Recipe rounds out the full cookout plate, no grill in sight.
- Doubling up on BBQ? My BBQ Chicken Thighs use the oven too.
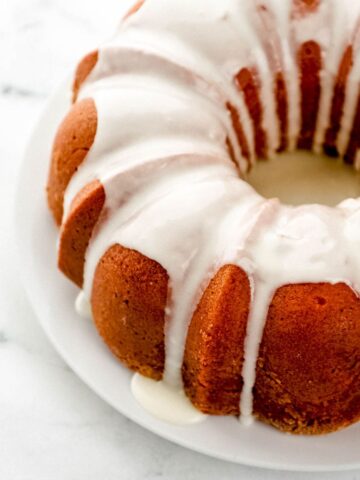
- For dessert, a slice of Skillet Pineapple Upside Down Cake finishes the meal like Sunday dinner should.
Frequently Asked Questions
If you want to bake at a steady 400°F instead of my 350°F method, wrap a 3-pound rack of spare ribs tightly in foil and bake for about 1½ hours (roughly 30 minutes per pound), then sauce and broil to finish. Baby backs need closer to 1 hour to 1 hour 15 minutes. You'll save time, but the texture is slightly chewier than low and slow. My recipe bakes at 350°F for 2½ to 3 hours with a 400°F finish because that's what gets truly fall-apart tender ribs.
Yes! Slow-cooked pork ribs with a seasoned rub and barbecue sauce are a beloved staple of soul food cooking, rooted in Southern Black culinary tradition where low-and-slow methods turned tougher cuts into something special. That's exactly the spirit of this recipe: patient cooking, bold seasoning, and food meant to gather people around the table.
Bake them wrapped in foil for most of the cooking time. The sealed foil traps steam and keeps the ribs juicy while the connective tissue breaks down. Baking without foil the whole time dries them out before they get tender. If you want a crispier exterior, unwrap for the last 30 minutes or rely on the broiler finish.
Parchment alone won't trap moisture the way foil does. Use a covered baking dish instead, or wrap the ribs in parchment first and then foil over it for the best of both.
Two checks: the meat should pull apart easily with a fork, and an instant-read thermometer inserted in the thickest part (not touching bone) should read 190-200°F. That's above pork's minimum safe temperature because ribs need the extra heat to melt collagen into tenderness.
Almost always undercooking, tough ribs need more time, not less. Wrap them back up in foil and return them to the oven for 30 more minutes, then check again. Leaving the membrane on the back of the rack also makes ribs eat chewy no matter how long they cook.
Yes. Baby backs are leaner and smaller, so reduce the wrapped bake to about 2-2½ hours at 350°F and start checking for tenderness early. Spare ribs stay my first choice for the oven beca
You can, the same rub and foil method work beautifully. Country-style ribs are meatier and cut from the shoulder end, and they usually turn tender faster, so start checking around the 2-hour mark.
Go with a sweet and smoky sauce for classic flavor, or a spicy BBQ sauce if you like heat. A honey-based sauce caramelizes beautifully under the broiler. This recipe is forgiving, your family's favorite bottle is the right answer.
Absolutely. Skip the sauce and let the dry rub crust shine, or finish with a honey glaze or garlic butter under the broiler. The nine-spice rub carries plenty of flavor on its own.
📖 Recipe
Oven Ribs Recipe
Video
Equipment
- 1 sharp knife
- paper towels
- aluminum foil
- 1 Large Sheet Pan
- 1 basting brush
Ingredients
- 3 pounds spare ribs (pork ribs)
- 1 tablespoon worcestershire sauce
- 2 tablespoons yellow mustard or oil
- 2 tablespoons brown sugar
- 1 teaspoon smoked paprika
- 1 teaspoon garlic powder
- 1 teaspoon onion powder
- ½ teaspoon cayenne pepper
- ½ teaspoon ground cumin
- 1 tablespoon chili powder
- ½ teaspoon salt
- ½ teaspoon ground black pepper
- 1 cup barbecue sauce
Instructions
- Flip the 3 pounds spare ribs bone-side up and look for the thin, papery membrane covering the bones.
- Slide a knife under the membrane along one end to loosen it. Grab the edge with a paper towel (for better grip) and pull it off in one piece. If it tears, just loosen another section and keep peeling.
- Use a sharp knife to remove any thick, tough fat that won't render in the oven. Leave some marbling for flavor. Trim off any loose hanging meat that might burn during baking.
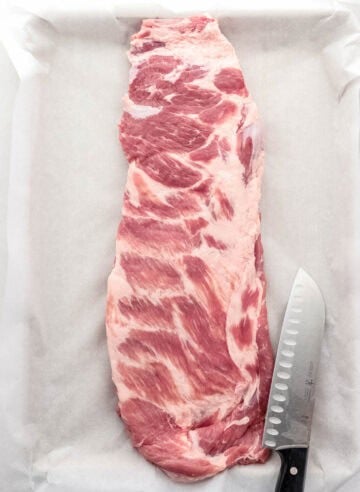
- Pat the ribs dry with paper towels to help the seasoning stick.
- Coat both sides with 1 tablespoon Worcestershire sauce and 2 tablespoons yellow mustard to act as a binder.
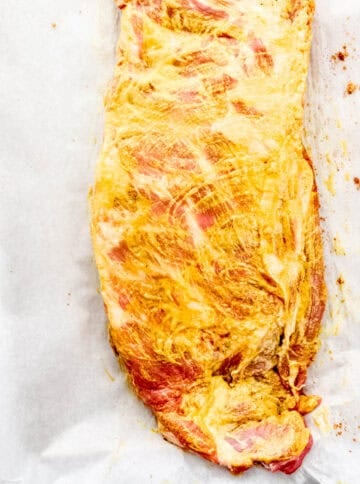
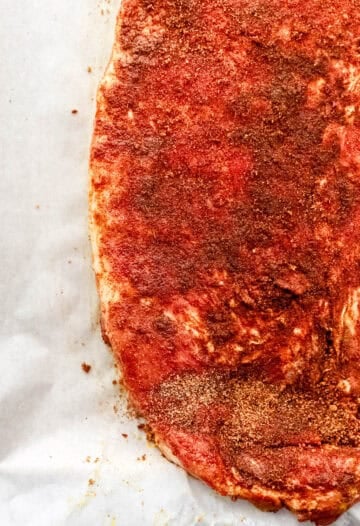
- Using a small bowl, whisk together 2 tablespoons brown sugar, 1 teaspoon smoked paprika, 1 teaspoon garlic powder, 1 teaspoon onion powder, ½ teaspoon cayenne pepper, ½ teaspoon ground cumin, 1 tablespoon chili powder, ½ teaspoon salt, and ½ teaspoon ground black pepper. This mixture is your dry rub seasoning.
- Generously rub in the dry rub seasoning on both sides. Wrap tightly in a double layer of foil.
- Place in a 350°F oven for 2 ½ to 3 hours. Crank the heat up to 400°F and bake for another 15-20 minutes to get a nice crust.
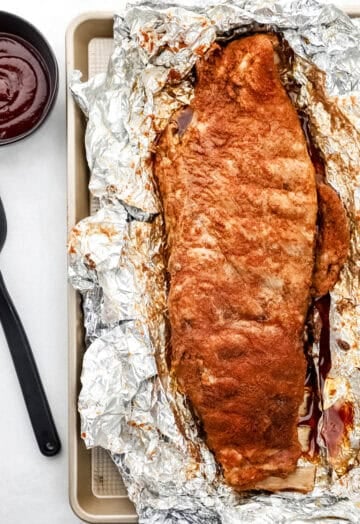
- Carefully peel back the foil and baste the ribs with 1 cup barbecue sauce.
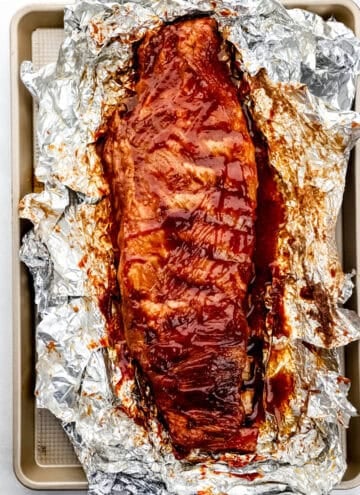
- Broil for 5-10 minutes until sticky and caramelized. Check with a fork, if they easily pull apart, they're done.
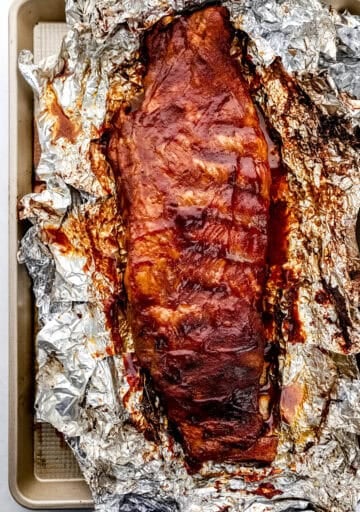
- Let the ribs rest for 10-15 minutes before slicing. Serve with additional sauce, dig in, and enjoy!
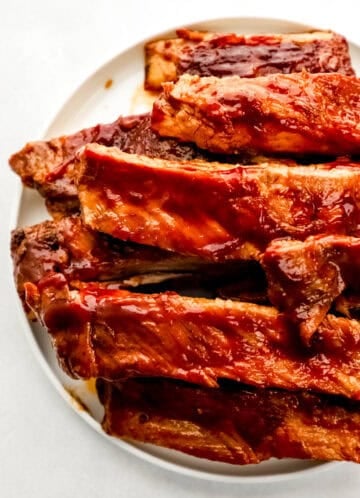
Did You Make This Recipe?
Nothing makes my day like seeing these ribs come out of your oven. If you give this soul food oven ribs recipe a try, I'd love to know what you think! Leave a comment below, share a photo on Instagram and tag @SimplyLaKita, or save it on Pinterest for later. And if you have any questions along the way, drop them in the comments. I read every single one.
R says
I’ve never left a review before but these are the bestest ribs ever!!! And sooo easy to make. Who needs a grill? Lol. These are going into my rotation for year round easy ribs! The craving for ribs usually hits me when it’s cold and snowy out and I need to be reminded of summer. Thank you so much!!!
LaKita says
This made me smile so big—thank you!! I’m honored your first review was for these ribs. And I totally agree…who needs a grill when the oven brings that summer flavor year-round? So glad they’ll be part of your cold-weather comfort lineup! ☀️❄️🍖
Patten says
These honestly were super easy to make !! Glad a gave them a try. No complaints at all. Thank you for this recipe.
LaKita says
Thank you for sharing, we definitely wanted to make the process super easy!!