
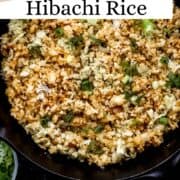
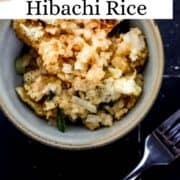
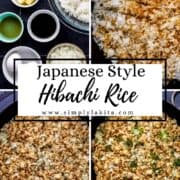
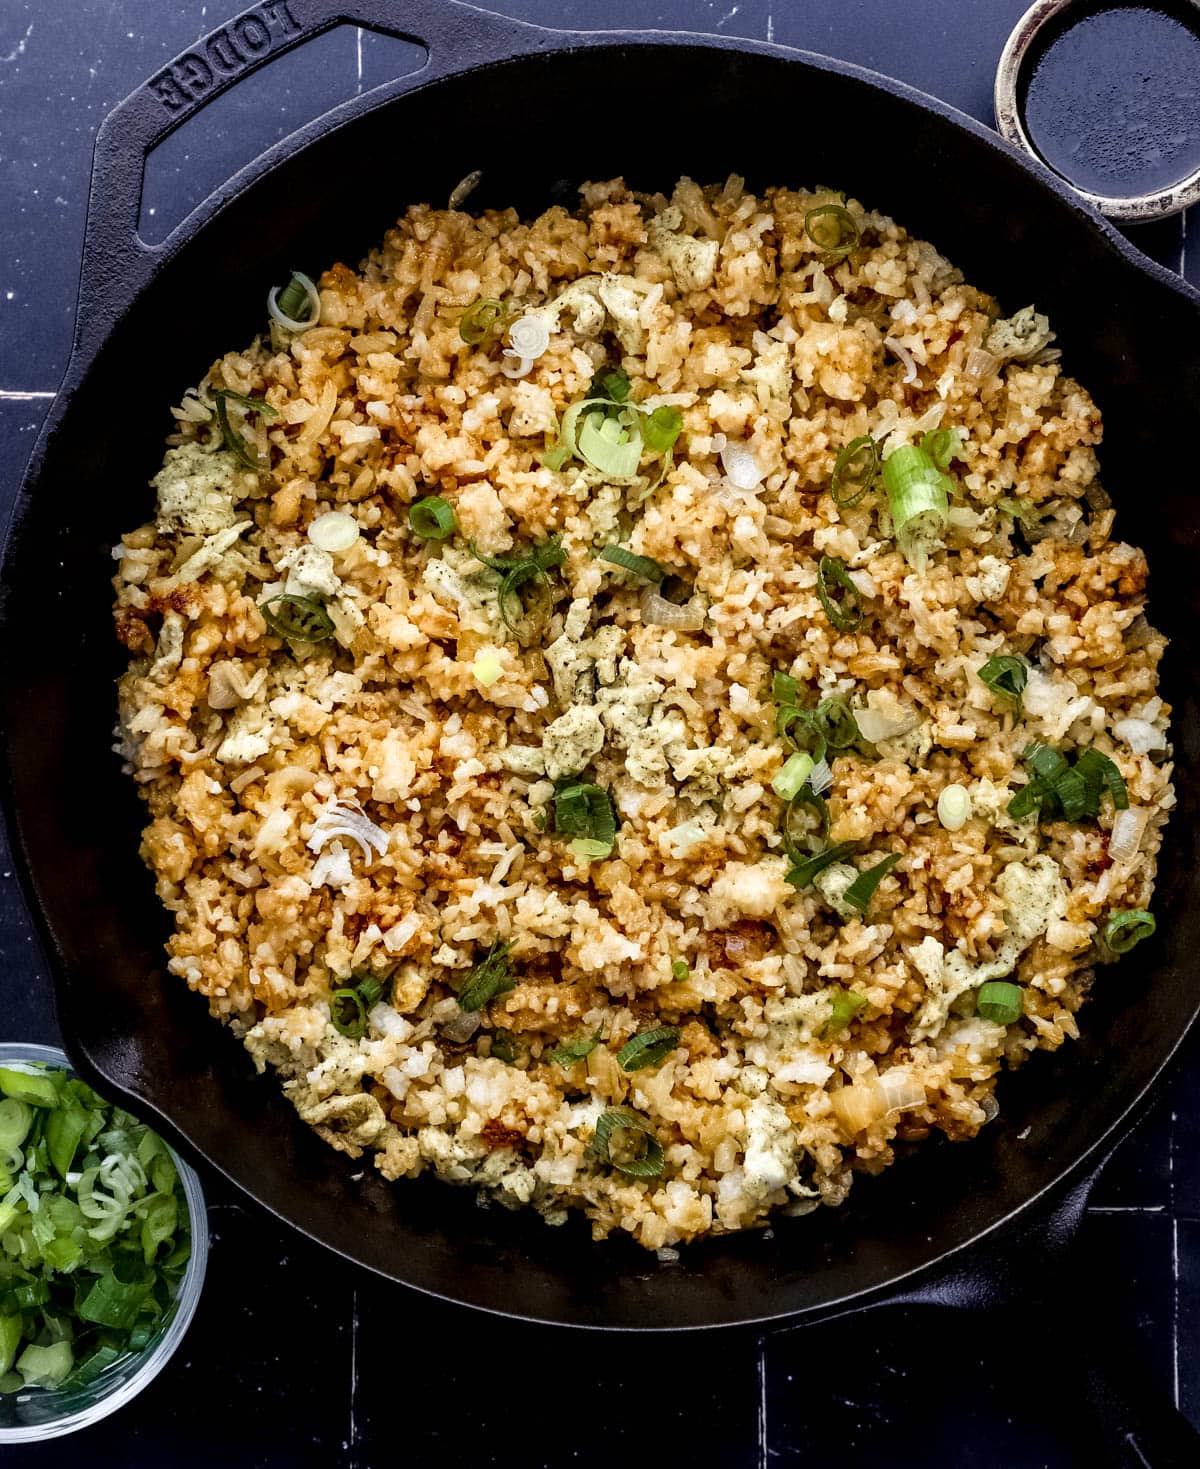
This Hibachi Fried Rice Recipe is the perfect restaurant version that can be made at home using just a few basic ingredients. It's simple, filling, and delicious. Try making it home to share with your family and friends.
Updated August 12, 2026: I've refreshed this post with new tips, expanded FAQs, and helpful make-ahead instructions based on your questions and feedback. Same delicious recipe, even more helpful! Originally posted on March 2, 2020 and photos updated on September 25. 2024.
Want To Save This Recipe?
Watch this quick video tutorial!
The first time my family sat down at a hibachi table, my youngest was more interested in the onion volcano than the food. I was watching something else entirely. The chef's hands, and that pale block of butter he kept scraping onto the griddle every time the rice started to look dry. I went home convinced the secret was some bottled sauce I couldn't buy. It wasn't. It was garlic butter, soy sauce, and rice that had spent the night in the refrigerator.
I've been making hibachi fried rice in my own kitchen for years now, long enough to have gotten it wrong in every way a person can. Mushy rice, scorched garlic, soy sauce poured with a heavy hand until the whole pan turned the color of coffee. This version is the one my family asks for on Friday nights, and it's the one that's been tested and re-tested in a plain cast iron skillet on a regular stove. No griddle required.
If you've been chasing that Japanese steakhouse flavor at home and coming up short, I think this is the recipe that finally gets you there. Let's get started!
Jump to:
- Watch this quick video tutorial!
- Why You'll Love This Hibachi Fried Rice
- What Is Hibachi Fried Rice?
- What Do I Use To Cook Fried Rice?
- Ingredients You'll Need
- How to Make Hibachi Fried Rice
- LaKita's Expert Tips
- Variations & Substitutions
- Make-Ahead & Storage
- What to Serve with Hibachi Fried Rice
- Frequently Asked Questions
- 📖 Recipe
- Did You Make This Recipe?
Why You'll Love This Hibachi Fried Rice
- Twenty minutes, start to finish - If your rice is already cooked and cooled, this comes together faster than delivery would arrive.
- It uses the actual restaurant secret - Garlic butter is what separates hibachi rice from every other fried rice, and it takes about ninety seconds to stir together.
- No special equipment - A cast iron skillet or any large heavy pan does the job. A wok is nice. A Blackstone is fun. Neither is required.
- It stretches leftovers into a whole meal - That container of rice from Tuesday becomes Friday's dinner alongside chicken, steak, or shrimp.
What Is Hibachi Fried Rice?
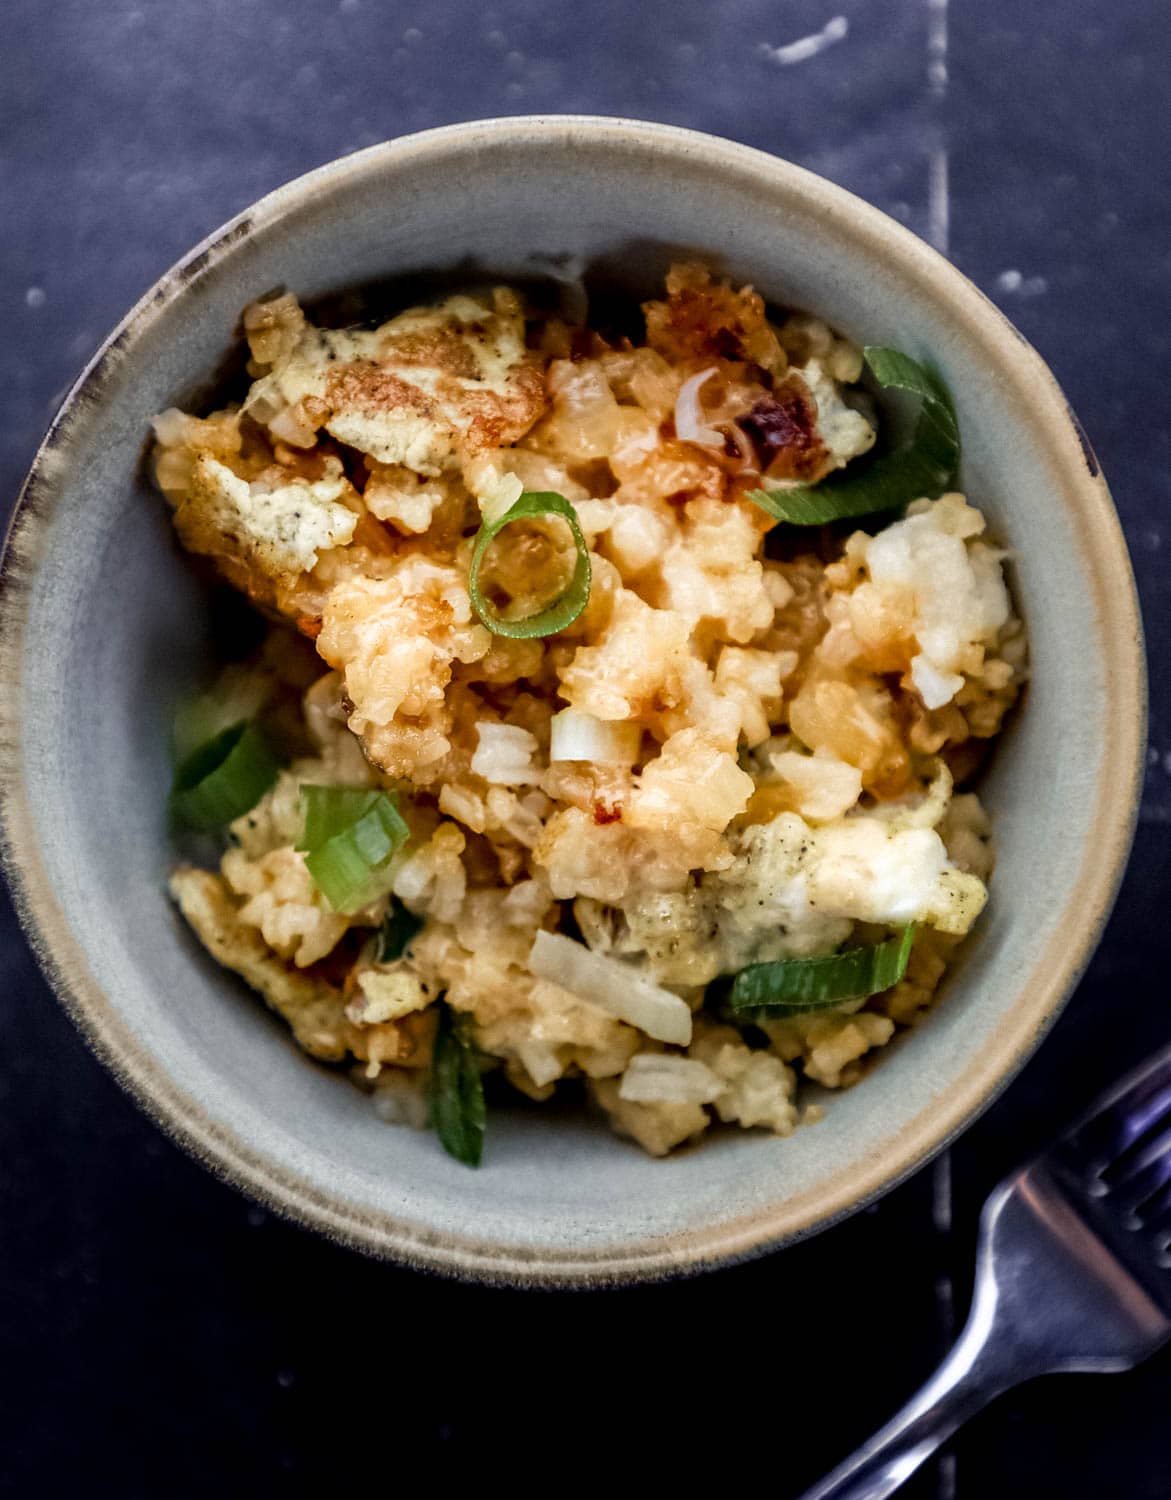
Hibachi fried rice is a cooking style in which cooked rice is fried in a heated wok or large skillet with butter, soy sauce, and a few other ingredients. It basically takes everything that you know about fried rice and adds butter to it yielding some amazingly savory flavor.
It all begins with rice that has been cooked and has time to fully cool. In the restaurant white rice is commonly used, but you can also make it with any kind of rice that you prefer.
What Do I Use To Cook Fried Rice?
You may use a wok if you have it. For this recipe, I used an inexpensive wok that I purchased many years ago on a shopping trip to Ikea. It heats up quickly and is big enough for me to move the ingredients around in the pan without making a big mess.
The one that I have is no longer available from IKEA, but there are some that you can check out on their website. I was also able to find one on Amazon that's similar to the one that I have.
If you don't have a wok, then no worries as you can also use a large skillet or even a 12-inch cast iron skillet. Even a large braiser will work and hold all of the ingredients nicely.
We'll be cooking our rice on the stovetop, but if you have access to a Blackstone griddle, hot griddle, flat top grill, or hot plate try using those instead.
Ingredients You'll Need
Here's everything you'll need to make this recipe.
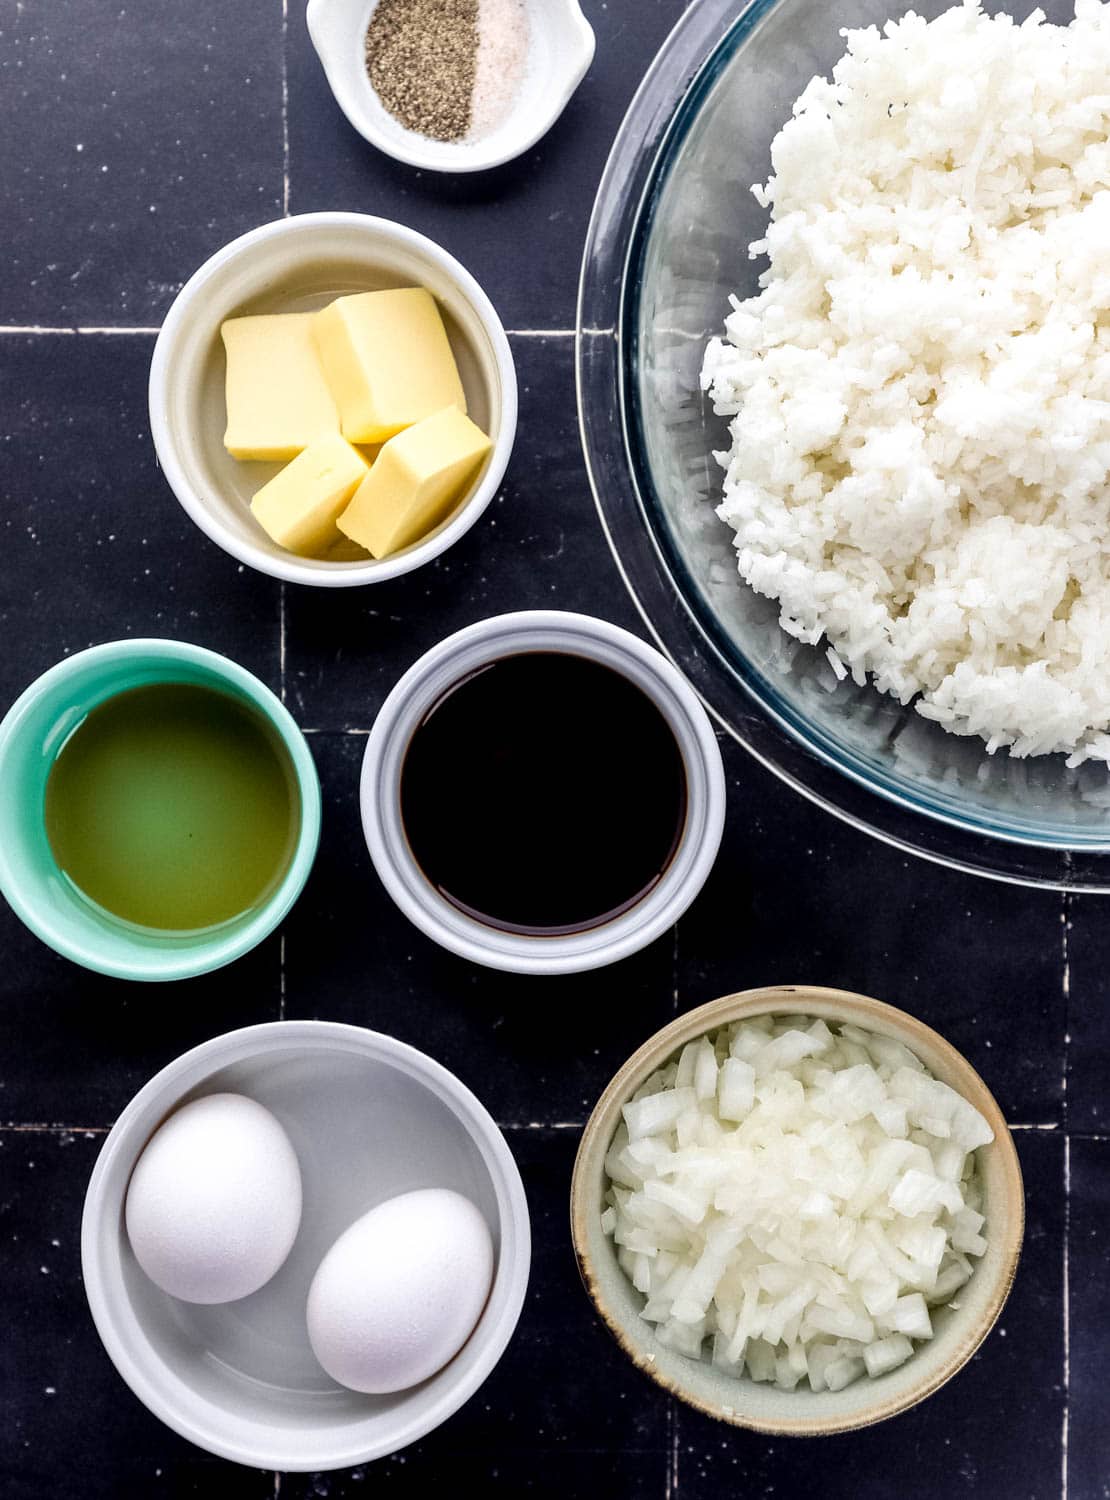
- Cooked and cooled rice. This is the ingredient that decides whether your fried rice succeeds or fails, and it's worth planning around. Rice that has been cooked and then refrigerated dries out on the surface, which lets each grain fry and separate instead of steaming into a clump. Long-grain white rice and jasmine both work beautifully. Medium-grain rice like Calrose is what you'll find on the griddle at a lot of restaurants if you want to go that route.
- Butter. Hibachi cooking is generous with butter and there's no getting around it, this is where the richness comes from. Use real butter, salted or unsalted, not margarine.
- Garlic. Fresh cloves, grated or minced fine. This is the ingredient most home versions leave out, and it's the one that makes people say the rice tastes like the restaurant.
- Eggs. Scrambled separately and folded in at the end so they stay in soft ribbons instead of disappearing into the rice.
- Onion. Yellow or white, chopped small. The white parts of green onions work too and are closer to what you'll see at a steakhouse.
- Soy sauce. Brings the salt and the umami depth. Low-sodium or tamari both work if you're watching salt or need it gluten-free.
- Toasted sesame oil. A finishing oil, not a cooking oil. A little goes a long way here. It's strong enough to take over the whole pan if you're heavy-handed.
- Salt and freshly ground black pepper. Seasoning the eggs before they hit the pan makes more difference than you'd expect.
- Green onions. Sliced thin, added at the very end for color and a fresh bite against all that butter.
👉🏾 See the recipe card below for exact quantities and full instructions.
How to Make Hibachi Fried Rice
Here's a quick overview of the process. Full step-by-step instructions are in the recipe card below.
Step 1: Make the garlic butter
Stir the grated garlic and a splash of soy sauce into softened butter until it's completely smooth, then set it aside. Doing this first matters, if you drop raw garlic straight onto a hot pan it burns and turns bitter in under a minute, but folded into butter and added later it perfumes the whole dish instead.
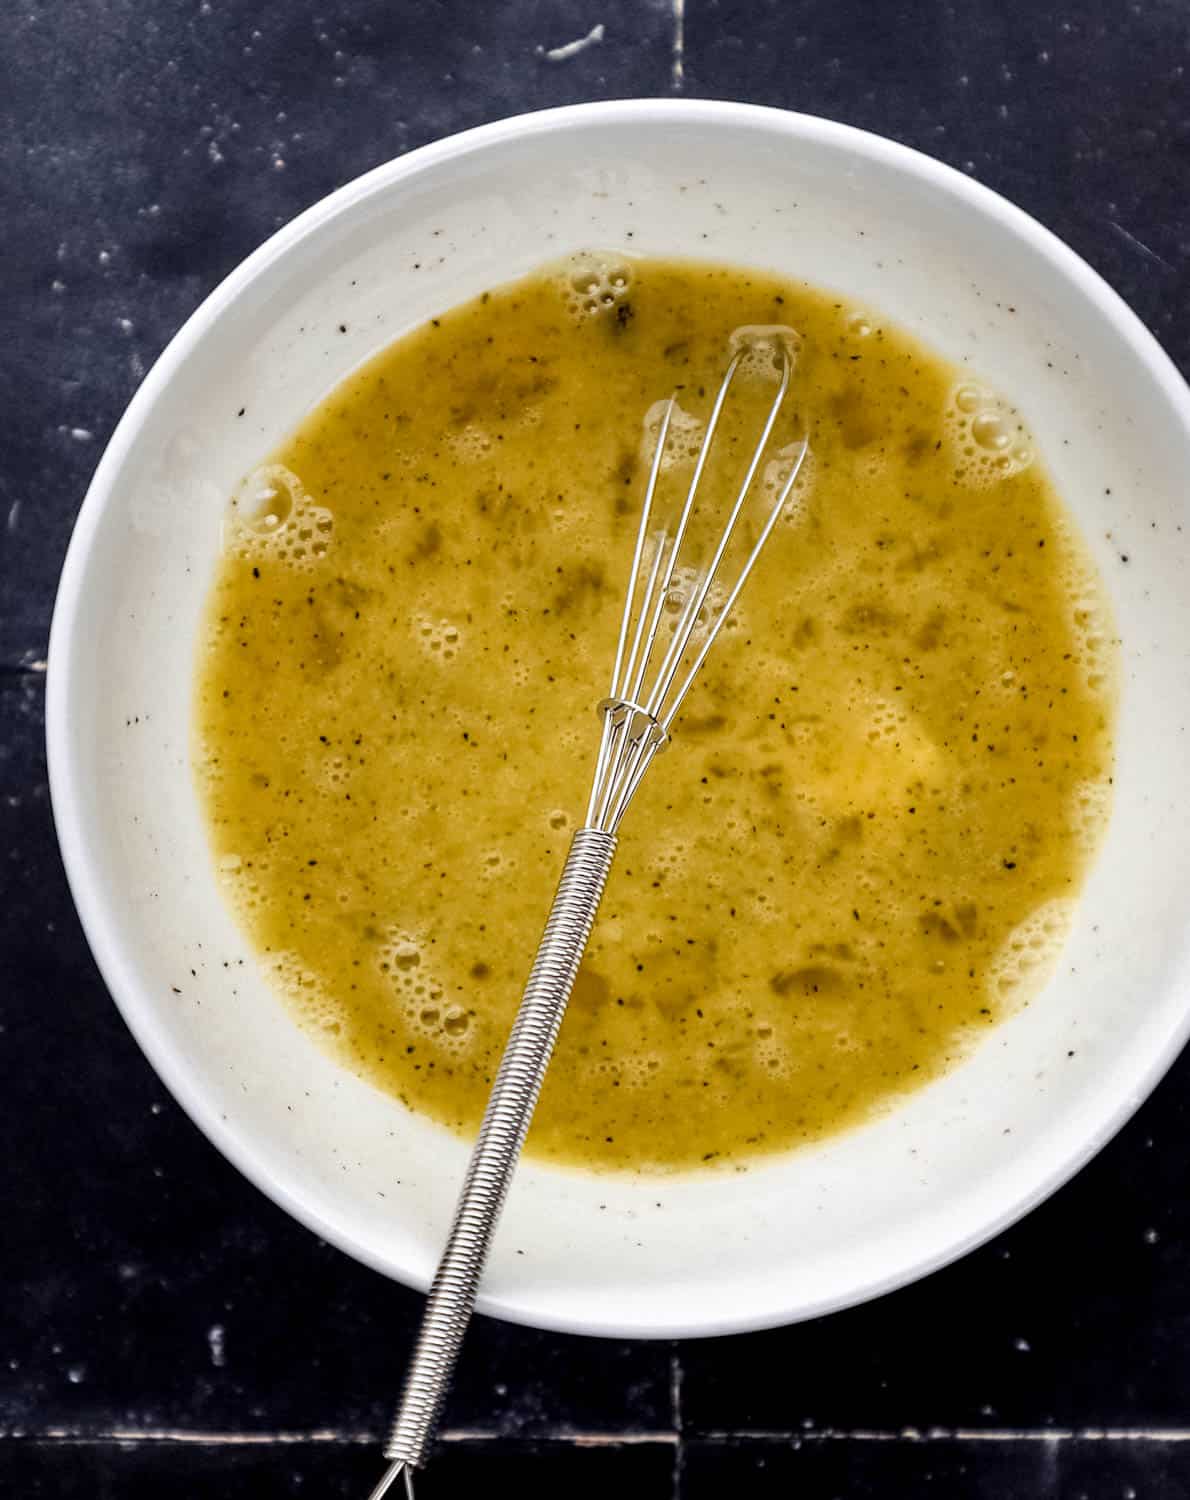
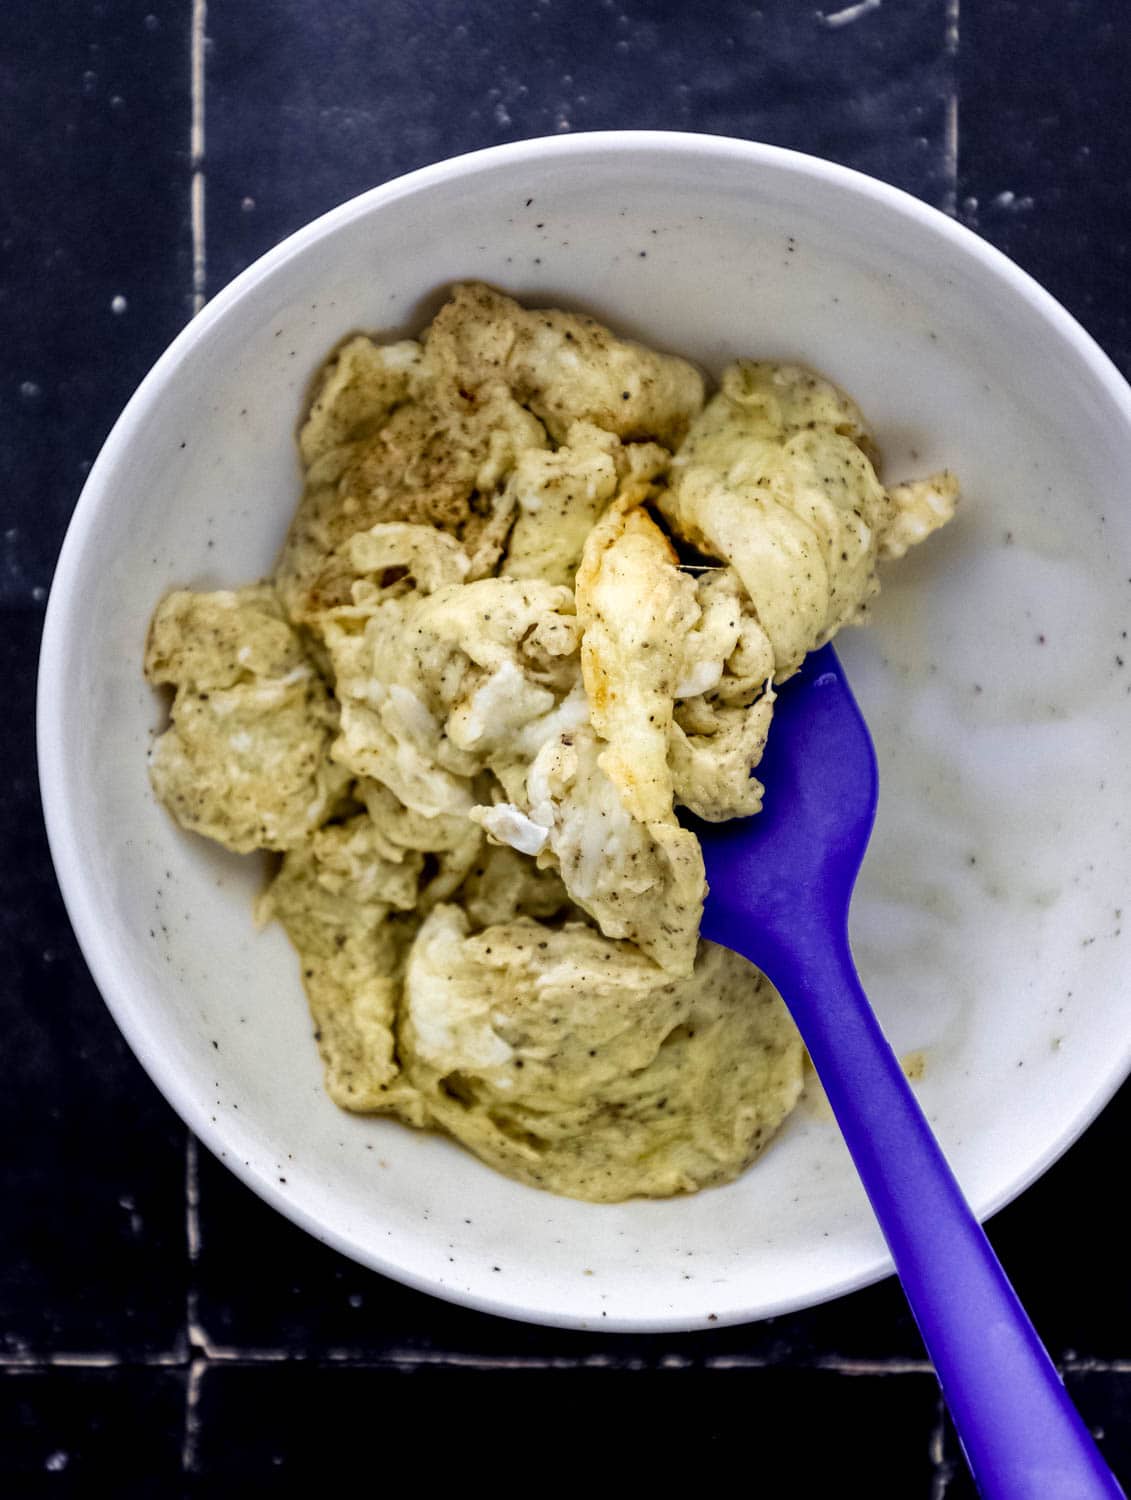
Step 2: Scramble the eggs and set them aside
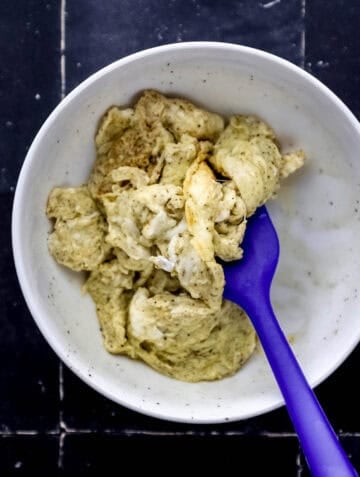
Get your pan properly hot before the eggs go in, and pull them while they're still glossy and just barely set. They'll finish cooking in the residual heat and again when they meet the rice. Overcooked eggs at this stage turn rubbery and dry by the time the dish is done.
Step 3: Soften the onion
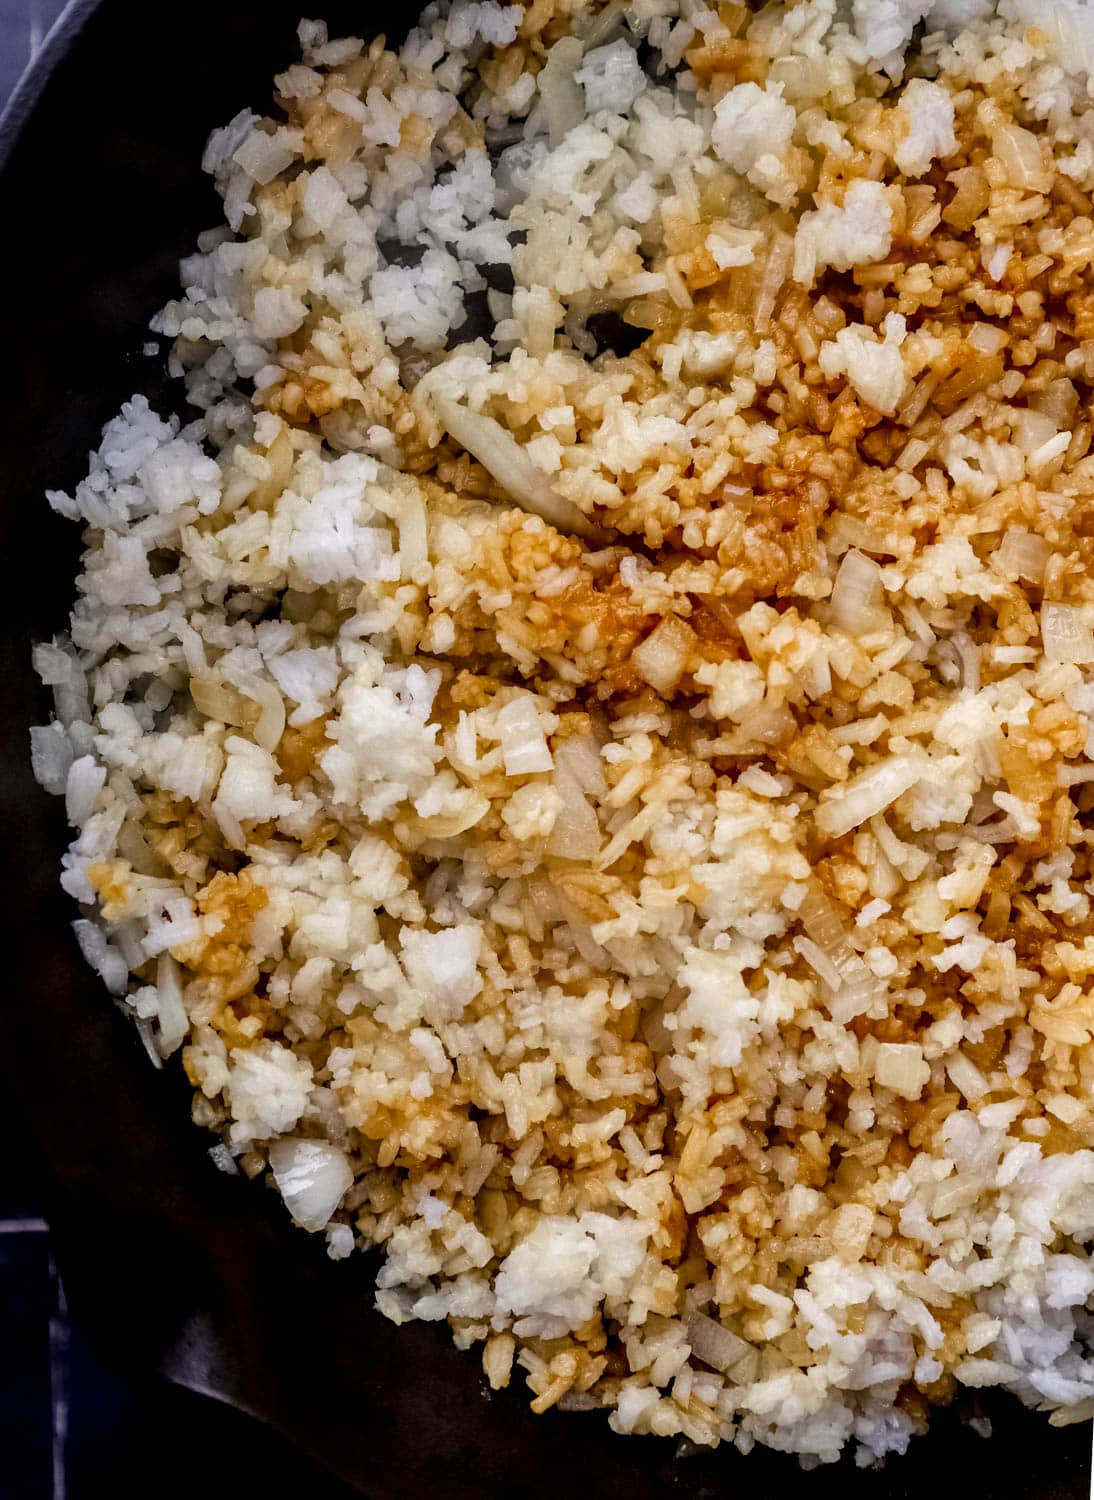
Cook the chopped onion in butter until it turns translucent and loses its raw bite. Don't rush this, undercooked onion stays crunchy and sharp in the finished rice, and there's no fixing it later.
Step 4: Fry the rice
Add the cold rice and press it into the pan rather than stirring constantly. Letting it sit for thirty seconds at a time is what gives you those lightly browned, slightly crisp grains. You'll hear it start to pop and sizzle, that's the sound you're listening for.
Step 5: Season and finish
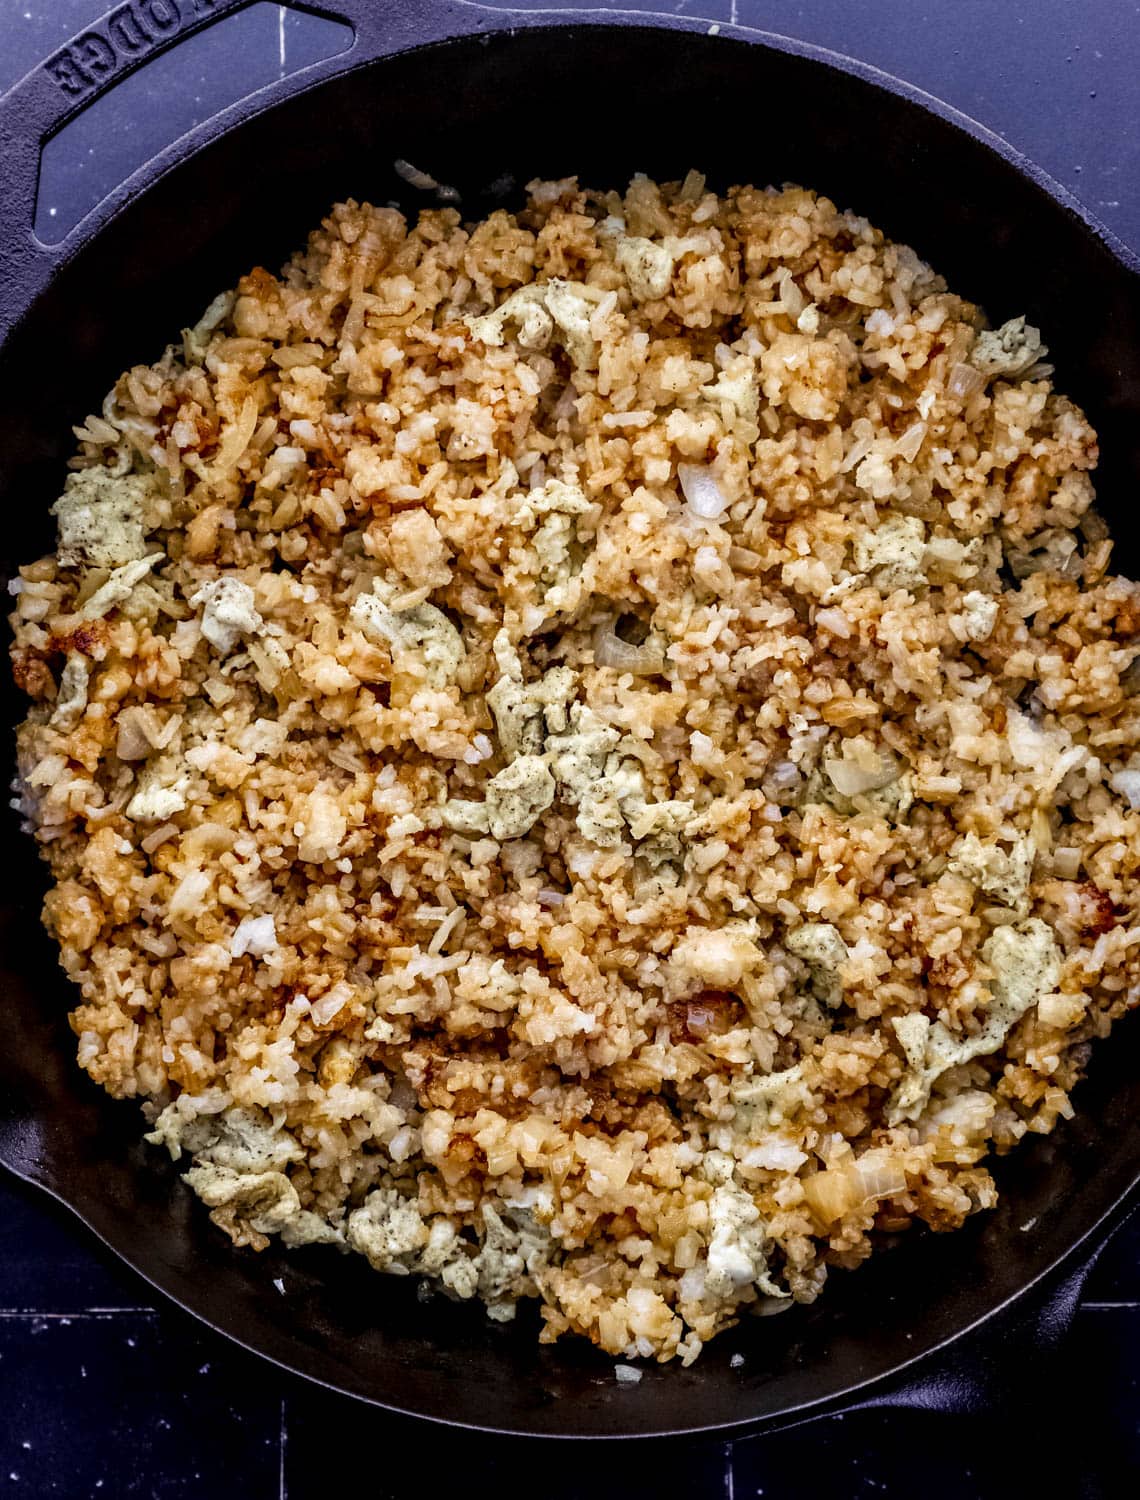
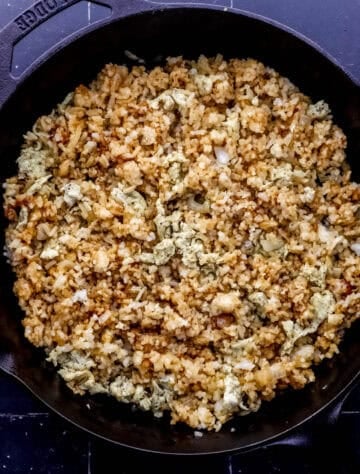
Add the soy sauce around the edge of the pan so it hits the hot surface and caramelizes before it coats the rice. Then drizzle in the sesame oil, fold in the garlic butter and the eggs. Green onions go on last.
LaKita's Expert Tips
Here are my best tips for making this recipe turn out perfectly every time.
- If you forgot to chill your rice, spread it in a thin layer on a sheet pan and put it in the freezer for fifteen to twenty minutes. It's not identical to overnight rice but it'll get you close enough to save dinner.
- Cook in batches if your pan is crowded. Rice piled two inches deep steams instead of frying, and no amount of stirring will fix it. Two batches in a 12-inch skillet beats one overloaded pan every time.
- Add soy sauce down the side of the pan, not over the top of the rice. Hitting the hot metal first gives you a toasted, slightly caramelized flavor instead of just salty rice.
- Resist adding more soy sauce for color. If the rice looks pale, the answer is more browning time and more butter, not more soy. Dark brown fried rice is over-sauced fried rice.
- The sesame oil goes in off the heat. Its flavor is delicate and high heat destroys it. Drizzle it in at the very end, after you've pulled the pan.
- Taste before you salt. Between the soy sauce, salted butter, and seasoned eggs, this dish is usually there already.
- Have everything measured and within arm's reach before you turn on the burner. Once the pan is hot, this recipe moves fast, and there's no pausing to hunt for the sesame oil.
Variations & Substitutions
This recipe is flexible, here are some easy ways to make it your own.
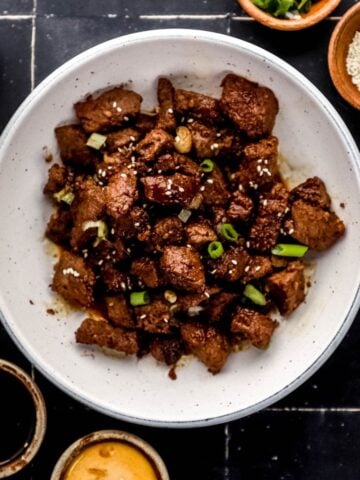
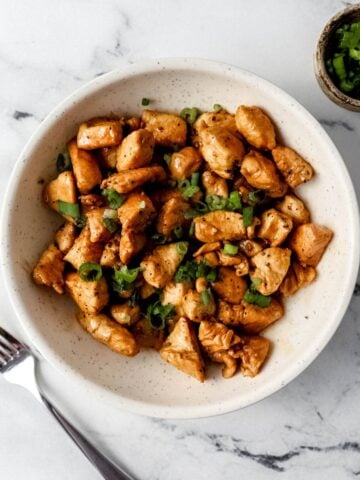
- Add a protein. Diced cooked chicken, steak, or shrimp folded in during the last two minutes turns this from a side into dinner. See Hibachi Chicken, Hibachi Steak, and Hibachi Shrimp.
- Bulk it up with vegetables. A cup of frozen peas and carrots, edamame, or sliced mushrooms stirred in with the onion adds color and stretches the pan further.
- Make it gluten-free. Swap tamari or coconut aminos for the soy sauce and check that your other seasonings are certified gluten-free.
- Use brown rice. Cooked and cooled brown rice works well here and holds its texture nicely. Instant Pot Brown Rice is my shortcut for having some ready.
- Finish with toasted sesame seeds for a little crunch and a nuttier finish.
- Cook it on a Blackstone or flat top. If you have one, spreading the rice thin across a large hot surface gets you closer to the restaurant texture than any skillet can.
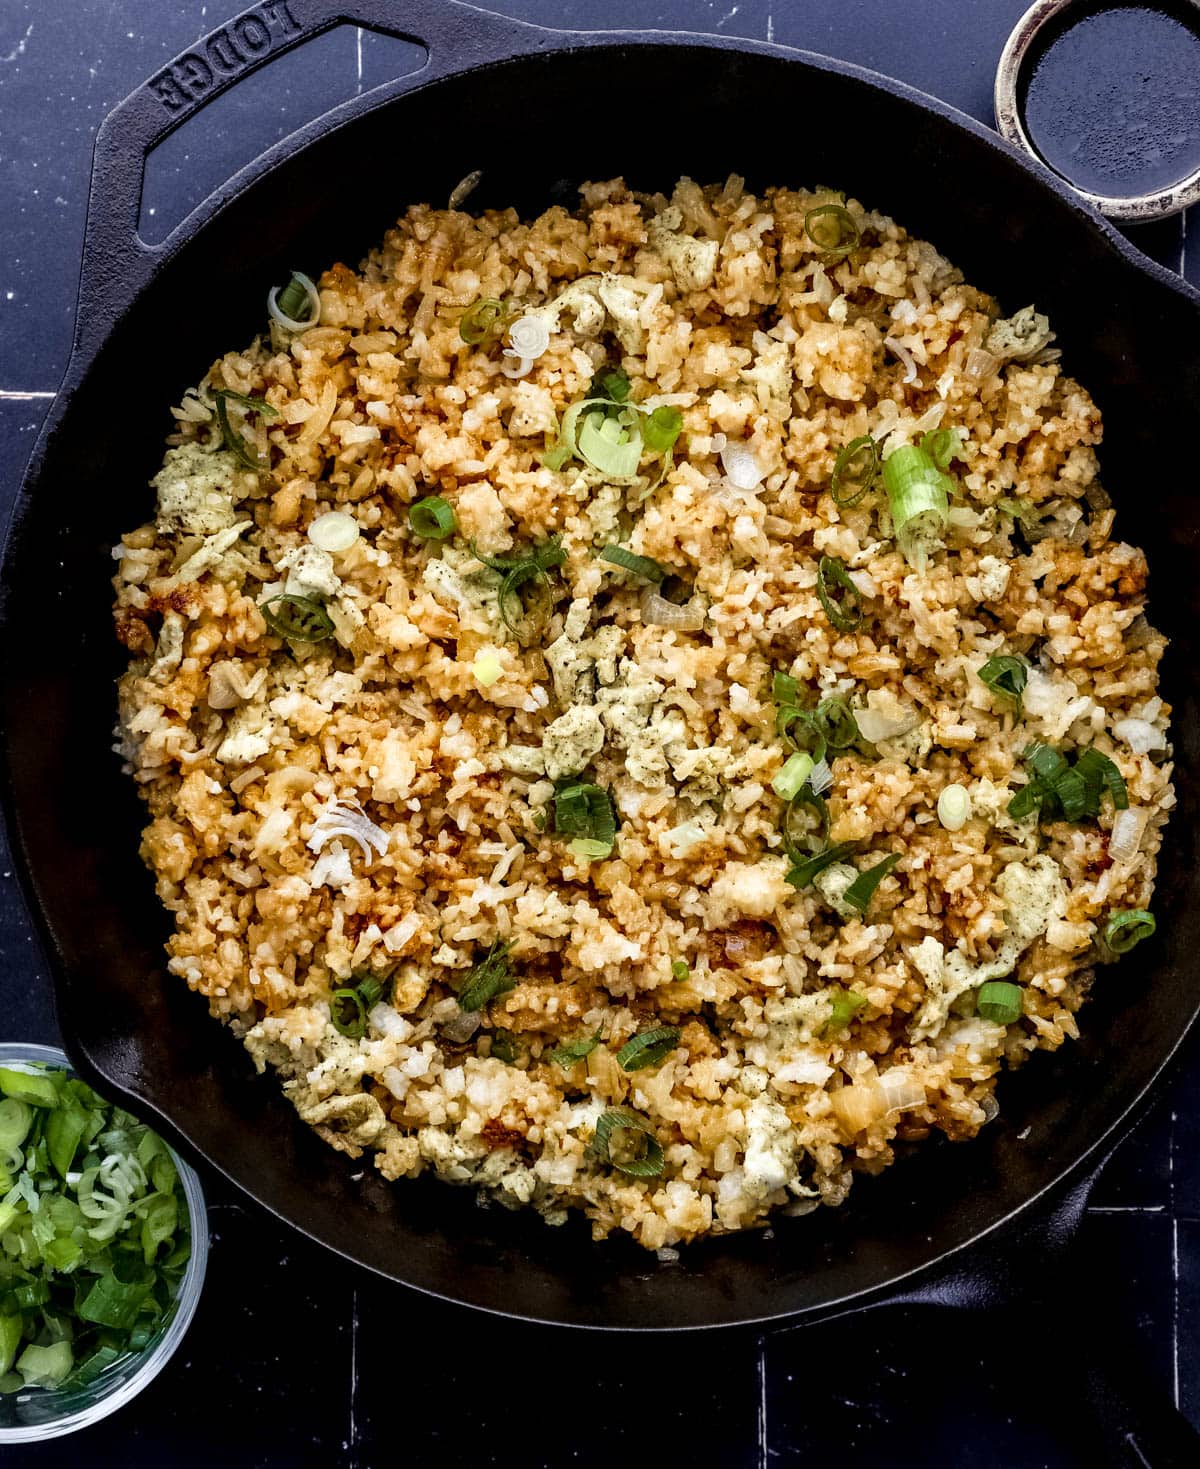
Make-Ahead & Storage
Make-Ahead
The rice itself should be made ahead, that's the whole point. Cook it up to two days in advance, spread it on a sheet pan to cool quickly, then transfer it to a covered container in the refrigerator. The garlic butter can be mixed up to a week ahead and kept covered in the fridge. Let it come to room temperature before you use it so it melts evenly. You can also chop the onion and slice the green onions a day ahead and store them in separate containers.
Storage & Reheating
Storage. Let leftovers cool to room temperature, then store in an airtight container in the refrigerator for up to 3 days.
Reheating. A hot skillet on the stovetop over medium heat is by far the best method. Add a small pat of butter and stir until heated through, and the rice will crisp back up. The microwave works when you're short on time, but expect a softer texture.
Freezing. I don't recommend freezing this one. The rice loses its texture on thawing and turns soft in a way that's hard to bring back. It's at its best within a day or two of making it.
What to Serve with Hibachi Fried Rice
Here are some of my favorite ways to serve this dish.
- With yum yum sauce for drizzling. This is non-negotiable at my table, try it with Yum Yum Sauce.
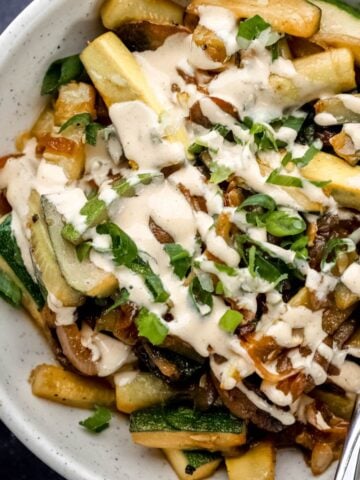
- Alongside hibachi vegetables for the full steakhouse plate with Hibachi Vegetables.
- With a protein off the same pan. Hibachi Chicken and Hibachi Steak both work beautifully.
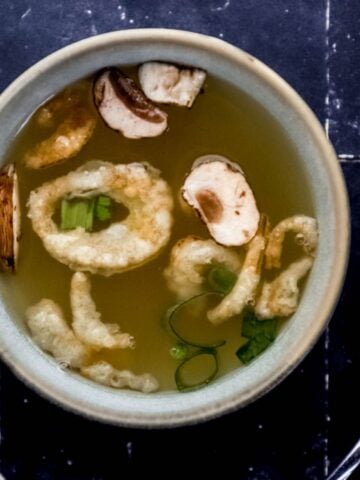
- Start the meal with soup and salad. Hibachi Soup and Hibachi Ginger Dressing round it out into a proper hibachi night at home.
- Serve it next to noodles if you're feeding a crowd, Hibachi Noodles.
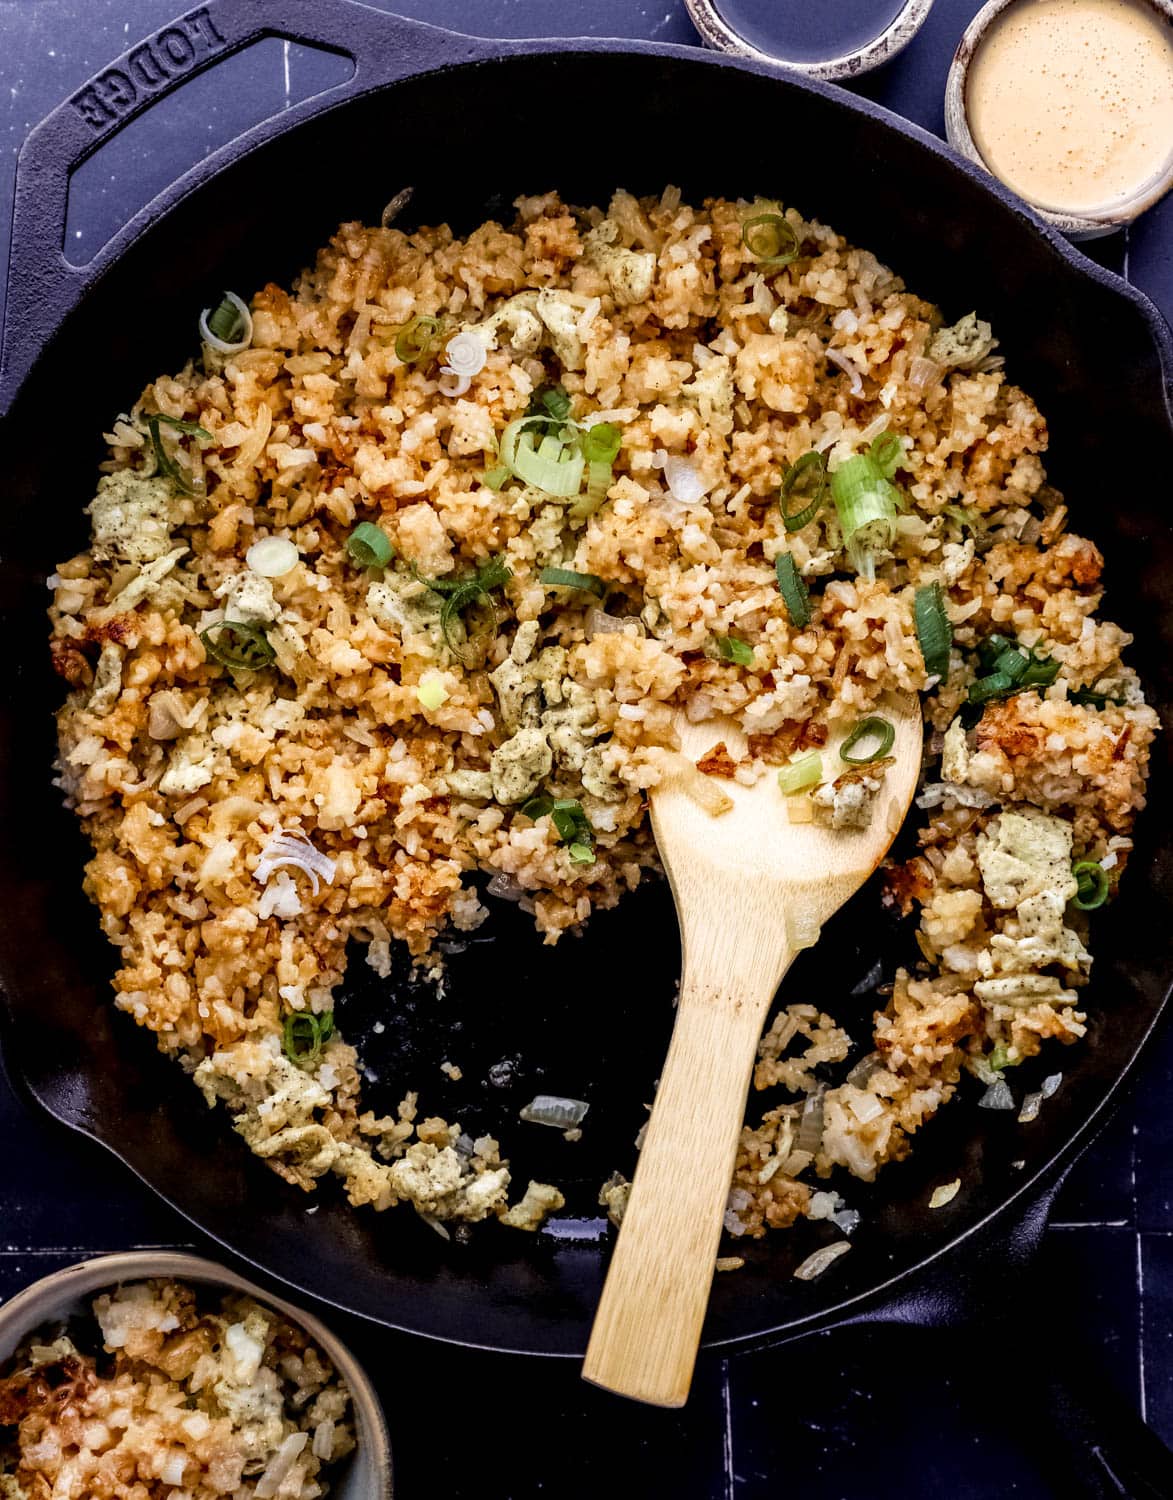
Frequently Asked Questions
There's no secret bottled sauce, which surprises most people. Hibachi rice gets its flavor from garlic butter and soy sauce, finished with a little toasted sesame oil. The garlic butter is the piece most home cooks miss. It's just softened butter mixed with fresh grated garlic and a small amount of soy sauce, added toward the end of cooking. Different restaurants tweak their blend, but that combination is the foundation nearly all of them are working from.
Cooked and cooled rice, butter, garlic, egg, onion, soy sauce, toasted sesame oil, salt, pepper, and green onions. That's the whole list. Part of what makes hibachi rice so good is how short that list is. It's technique and high heat doing the work, not a long lineup of ingredients.
They're close cousins. Hibachi fried rice is the version cooked on a flat griddle in front of you at a Japanese steakhouse, and it leans heavily on butter and garlic. Japanese fried rice more broadly, sometimes called chahan, is usually made in a wok or pan with neutral oil and less butter. The bigger difference is with Chinese fried rice, which typically uses long-grain rice and skips the butter entirely.
Long-grain white rice and jasmine are both excellent and are what I use most often. Medium-grain rice like Calrose is common on restaurant griddles if you want to match them more closely. What matters far more than the variety is that the rice is cooked, cooled, and preferably a day old.
You can, but it won't be the same. Fresh rice holds too much moisture, so it steams and clumps instead of frying into separate grains. If it's your only option, spread it thin on a sheet pan and chill it in the freezer for fifteen to twenty minutes first. That pulls off enough surface moisture to make a real difference.
Absolutely, and that's how it's usually served at the restaurant. Cook your protein separately, then fold it in during the last couple of minutes just to warm through. Adding raw protein directly to the rice releases moisture into the pan and undoes all that frying you just did.
Yes, and if you have one it's the closest you'll get to the real thing at home. The advantage is surface area, you can spread the rice into a thin layer so every grain touches hot metal instead of piling up and steaming. Work in a single layer, keep things moving with two spatulas, and add the garlic butter near the end.
Almost always one of three things: the rice was too fresh, the pan wasn't hot enough, or the pan was too crowded. Cold day-old rice, a properly preheated pan, and cooking in batches if you're doubling the recipe will fix it. Too much soy sauce can also do it, since it adds liquid.
The estimate for this recipe is in the card below, and it reflects a generous portion with a real amount of butter, the same way it's served at a restaurant. If you're watching it, splitting the batch into six smaller servings instead of four is an easy adjustment, and you can cut back on the butter without losing the dish entirely.
Beyond the garlic butter and soy sauce, most of it is just salt and pepper. Some chefs use white pepper instead of black, which gives a slightly different, more floral heat, either works well. If your rice tastes flat, the fix is usually more browning time or a little more butter rather than a new seasoning.
📖 Recipe
Hibachi Fried Rice Recipe (Garlic Butter)
Video
Equipment
- 2 small bowls
- 1 Wok or Large Skillet
Ingredients
- Garlic Butter
- 2 tablespoons butter, softened
- 2 cloves garlic, grated
- ½ teaspoon soy sauce
- Fried Rice
- 4 tablespoons butter, divided
- 2 large eggs
- ⅛ teaspoon salt
- ¼ teaspoon ground black pepper
- 1 small onion, chopped
- 4 cups cooked and cooled rice
- 2 tablespoons soy sauce
- 1 teaspoon toasted sesame oil
- Topping
- 2 green onions, sliced for serving
Instructions
- In a small bowl, stir together the 2 tablespoons softened butter, 2 cloves grated garlic, and ½ teaspoon soy sauce until smooth. Set aside.
- Heat a wok or large skillet over medium-high heat.
- In a small bowl, lightly whisk together the 2 large eggs, ⅛ teaspoon salt, and ¼ teaspoon ground black pepper.
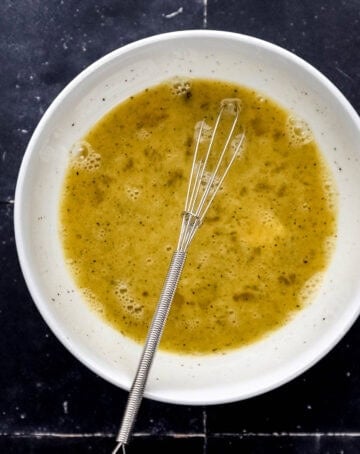
- Add 1 tablespoon of butter into the heated wok or skillet. Once the butter melts, add in the eggs and scramble until they are no longer runny but still a soft scramble. Carefully remove the cooked eggs from the skillet or wok back into the small bowl. Set aside.
- Add another 1 tablespoon of butter to the heated wok or skillet. Once the butter melts, add in the 1 small chopped onion and move around in the pan until the onion is lightly coated with the butter. Allow the onion to continue to cook until it becomes translucent.
- Add in the remaining 2 tablespoons of butter into the wok or skillet along with the cooked onion. Once it melts add in the 4 cups cooked rice.
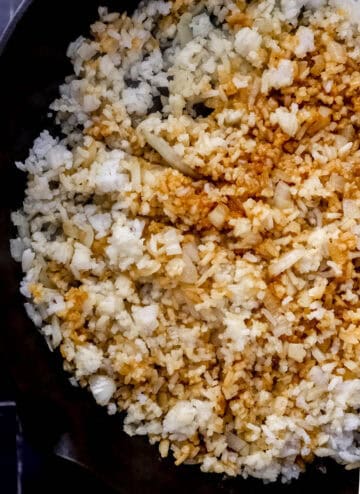
- Add 2 tablespoons soy sauce and 1 teaspoon toasted sesame oil to the rice. Stir the rice frequently, breaking it up as needed. Once the fried rice has been heated thoroughly and has also lightly browned, add the garlic butter and scrambled egg, and stir to evenly distribute.
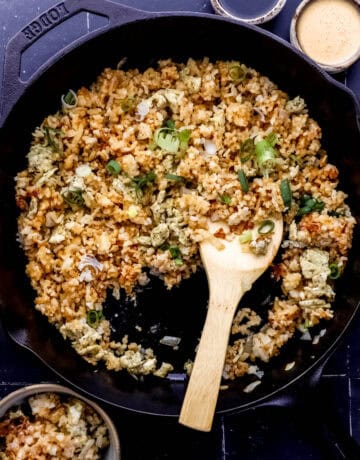
- Serve warm, topped with 2 sliced green onions and some yum yum sauce. Store any leftovers in an airtight container in the refrigerator for up to 3 days.
Notes
- Serving size is 4 main course portions at approximately 1 cup per person or a side dish for 8 at approximately ½ cup per person.
- Cold rice is not optional. Rice that has been cooked and refrigerated overnight fries into separate grains. Warm or freshly cooked rice steams and clumps. If you're short on time, spread cooked rice in a thin layer on a sheet pan and freeze for 15-20 minutes before using.
- Don't crowd the pan. Rice piled deep will steam instead of browning. If you're doubling this recipe, cook it in two batches.
- Storage: Cool to room temperature, then refrigerate in an airtight container for up to 3 days. Reheat in a hot skillet over medium heat with a small pat of butter for the best texture. The microwave works but the rice will be softer.
- Freezing: Not recommended. The rice loses its texture on thawing.
Did You Make This Recipe?
If you give this hibachi fried rice a try, I'd love to know what you think! Leave a comment below, share a photo on Instagram and tag @SimplyLaKita, or save it on Pinterest for later. Star ratings help other home cooks find this recipe, so if it earned a spot in your dinner rotation I'd be so grateful if you left one. And if you have a question about the garlic butter or your rice didn't turn out quite right, ask me in the comments. I answer every one.
Silvia says
I had a bunch of cooked white rice and I was looking for a recipe to use it when I found yours. This was super easy to make and my kids loved it. I added a sunny side egg on top and it was the perfect lunch.
Susan says
What an interesting recipe! I've never been to an hibachi restaurant, and clearly am missing out. So I'm making this rice to make up for that oversight. I love your idea of adding mushrooms.
Cathleen says
I love fried rice of any kind, so this is right up my alley. Thank you so much for sharing this recipe, I am so excited to make it tomorrow 🙂
Enri Lemoine says
I made this Hibachie Fired Rice for lunch, and it was delicious. We felt like we were in a Japanese restaurant. I love that it's so easy to make. Thanks for the recipe.
Mikayla says
One of my favorite go to recipes since I was a teenager has been fried rice. I had to try your recipe and was not disappointed. I love the butter addition, it really made it taste that much more rich and savory!
Tristin says
This was a great way to use up a bunch of cooked rice I had leftover. Added a sprinkling of sesame seeds. Yum!
veenaazmanov says
This is so easy to make. Simple and yet delicious. Kids would love it.
Kathryn says
This hibachi tastes just like the rice from our favorite Japanese restaurant! Loved all the flavors and we'll be making this on repeat.
Sharon says
I love Hibachi and now with this recipe, I can make it right at home anytime I want. So easy!
Silverly says
Wow!!!! I absolutely LOVED this recipe!!! I love to cook and try new recipes and typically I follow a new recipe to the letter and then I have to add my own touch, BUT....not this time!!! This recipe is wonderful EXACTLY as written!!! Thank you for sharing Lakita!!!
LaKita says
Thank you!! So happy to hear you enjoyed this recipe. It is definitely one of my favorites.
Lara says
So simple and flavorful! We had frozen edamame and peas that we added. This will be my go-to way to use up leftover rice!
LaKita says
Thank you Lara!
Lovisa says
My son has been asking for Hibachi style fried rice ever since the quarantine started and asked me to try this. It was so easy and delicious and the taste is spot on!
LaKita says
Glad to hear you and your family enjoyed this recipe Lovisa!!
Daniela says
Looks like some very delicious and comforting rice! And I love how ya shared all the in-process shots :).
LaKita says
Thank you so much Daniela!
Sara says
I LOVE fried rice, and this version sounds incredible! We have some leftover rotisserie chicken that I can’t wait to toss into it, too! This is a perfect recipe to keep on hand over the next couple of weeks, too!
LaKita says
Thank you Sara! I certainly agree, it easy and great way to use rice. Adding in some rotisserie chicken sounds amazing!
Paige says
This looks and sounds amazing...I've never made it before, and I'm going to try it with some chicken kebobs...looks really moist, too.
Femi. O says
I've tried so many versions of fried rice and I'm also a fan of hibachi restaurants so I'm glad I can add this to that list! Can I also mention that your images are amazing? Thanks for sharing!
LaKita says
Thank you so much Femi!!
LaKita says
Thank you Paige! This rice will go perfect with chicken kebobs!
David says
Tasty idea for cooked rice! I often have extra on hand, in fact tonight I might have extra after making a batch to go with chicken curry. Haven't really been to a hibachi restaurant, sounds like fun.
LaKita says
Thank you David! This recipe works really well with leftover rice.
Colleen says
This rice looks like a yummy side dish. I can't wait to try it soon!
LaKita says
Thank you Colleen! Hope you enjoy it if you do give it a try!
Marwin Brown says
Recipe looks delicious! I've always wanted to buy a wok, but never pulled the trigger out a fear I wouldn't get much use from it. Do you have many other uses for it?
LaKita says
Thank you! I primarily use it for stir-fry dishes, but it heats up quickly and makes cooking so much faster. Plus my wok was less than $20 from Ikea.
Bernice Hill says
YUM! I could eat rice every day and I often do make extra rice so I can make fried rice. I've never heard it called hibachi style before but it looks very similar to what I make.
LaKita says
Thank you! I'm sure it is very similar to what you make! I love making extra rice for the same reason.
Aleta says
Ooooo I love the use of butter rather than oil, this Hibachi Fried Rice is a great way to to make your own at home! I am always looking for asian style dishes to add to my meal plan, looks like I scored here!
LaKita says
Thank you! Butter makes all the difference 🙂