





This Cookies and Cream Ice Cream recipe is the perfect homemade ice cream that's made using four simple ingredients. It's rich, creamy, and absolutely delicious. Sure to be your favorite flavor to enjoy on a hot summer day.
Updated July 26, 2026: I've refreshed this post with new tips, expanded FAQs, and helpful make-ahead instructions based on your questions and feedback. Same delicious recipe, even more helpful! Originally posted on August 28, 2017, and photos updated June 9, 2021, and August 20, 2024.
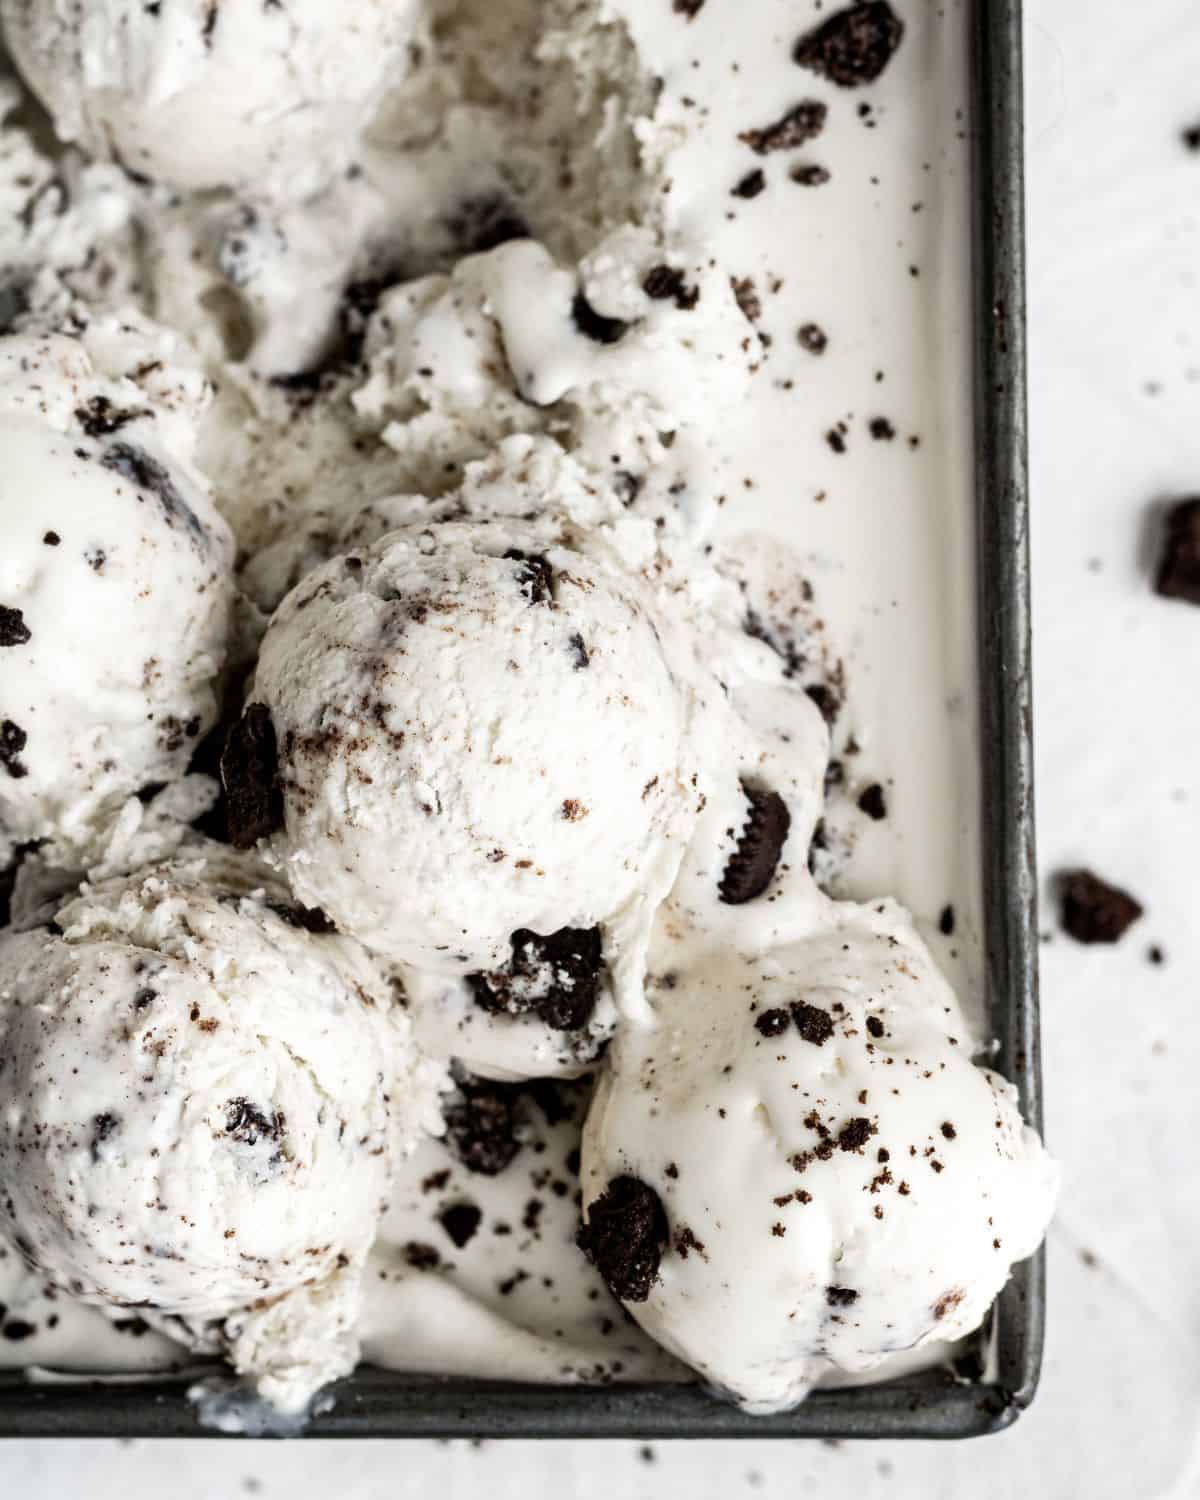
This summer, if you're anything like me, you plan to enjoy as many frozen treats as possible. When I was little, my dad would pull out his special ice cream maker every summer. The kind that needed rock salt to work and made the loudest racket you've ever heard while the base churned away. The homemade ice cream was worth every bit of the wait and the noise, but once I grew up, I understood why he saved it for special occasions. It was a whole production.
That's exactly why I developed this no-churn cookies and cream ice cream recipe, and why it's been a reader favorite on my blog since 2017. I've tested it more times than I can count in my Florida kitchen, tweaked the cookie-to-cream ratio until my family gave it their full approval, and even worked out a version for folks who do own an ice cream maker. Whichever way you make it, you end up with rich, creamy ice cream packed with chunks of chocolate sandwich cookies.
You only need four simple ingredients and a mixer to make it happen. No machine, no rock salt, no egg yolks. Let's get started!
Why You'll Love This Cookies and Cream Ice Cream
- No Machine Needed - This is a true no-churn recipe made with a stand or hand mixer, so anyone can make homemade ice cream without special equipment.
- Just 4 Ingredients - Heavy cream, sweetened condensed milk, vanilla, and Oreo cookies are all it takes, with no eggs and no cooking involved.
- Big Cookie Flavor - Chopping the cookies into chunks (instead of crumbs) means you get a real bite of Oreo in every single spoonful.
- Works Both Ways - I've included my tested ice cream maker version too, so you can churn it in a Cuisinart if that's how you like to make it.
Ingredients You'll Need
Here's everything you'll need to make this recipe.
- Heavy Cream - Also called heavy whipping cream, this is the backbone of the ice cream. Whipping it to stiff peaks is what traps the air that makes no-churn ice cream light and scoopable instead of dense and icy. Make sure it's cold, and don't substitute a lower-fat option here.
- Sweetened Condensed Milk - Use canned sweetened condensed milk, not evaporated milk. It sweetens the base and keeps the texture soft and creamy in the freezer, since the sugar keeps the ice cream from freezing rock-hard.
- Vanilla Extract - A splash rounds out that classic cookies-and-cream flavor. Use pure vanilla extract rather than imitation for the best taste.
- Chocolate Sandwich Cookies - Regular Oreo cookies are my go-to, filling and all, no need to scrape out the cream. Double Stuf or Oreo Thins work too if that's what's in your pantry.
👉🏾 See the recipe card below for exact quantities and full instructions.
How to Make Cookies and Cream Ice Cream
Here's a quick overview of the process. Full step-by-step instructions are in the recipe card below.
Step 1: Whip the Cream to Stiff Peaks
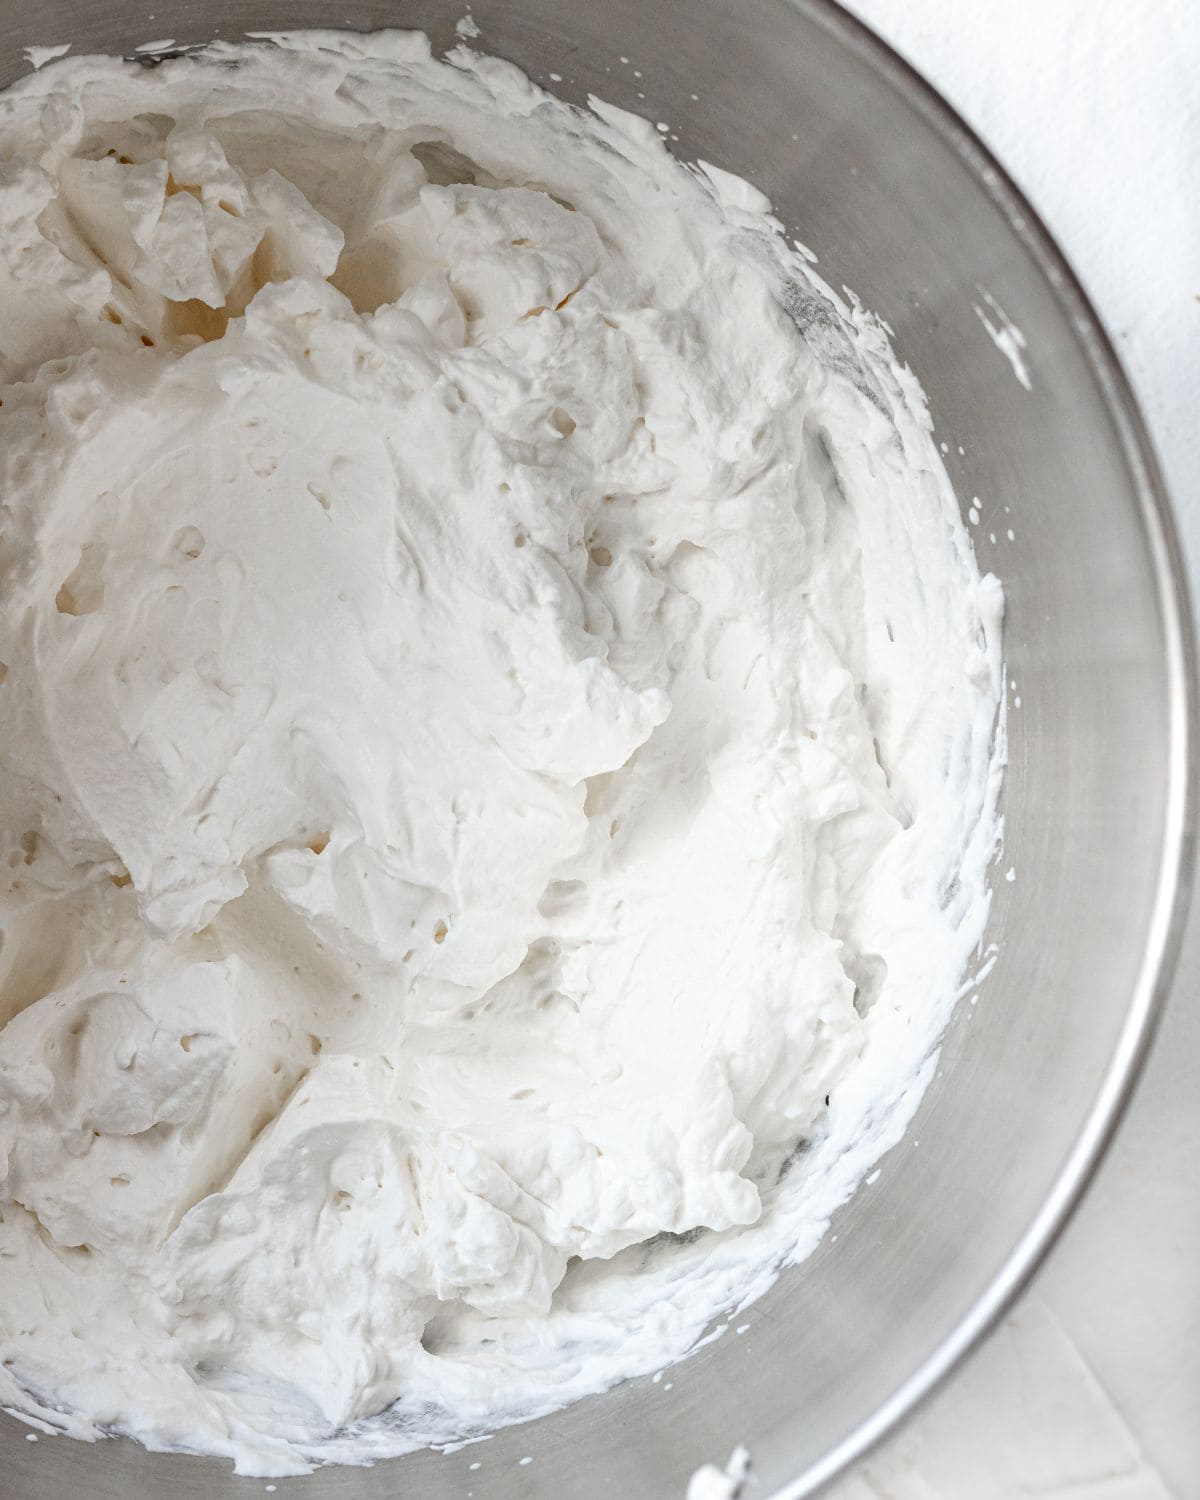
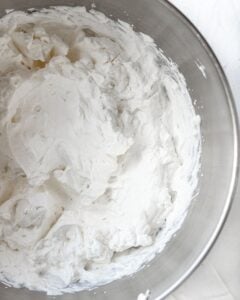
Add the cold heavy cream to the bowl of a stand mixer and whip on medium speed until stiff peaks form. That means the cream stands straight up when you lift the beater, without flopping over. This step matters more than any other, because those whipped-in air bubbles are what give no-churn ice cream its creamy, scoopable texture. Under-whipped cream leads to dense, icy ice cream.
Step 2: Add the Condensed Milk and Vanilla
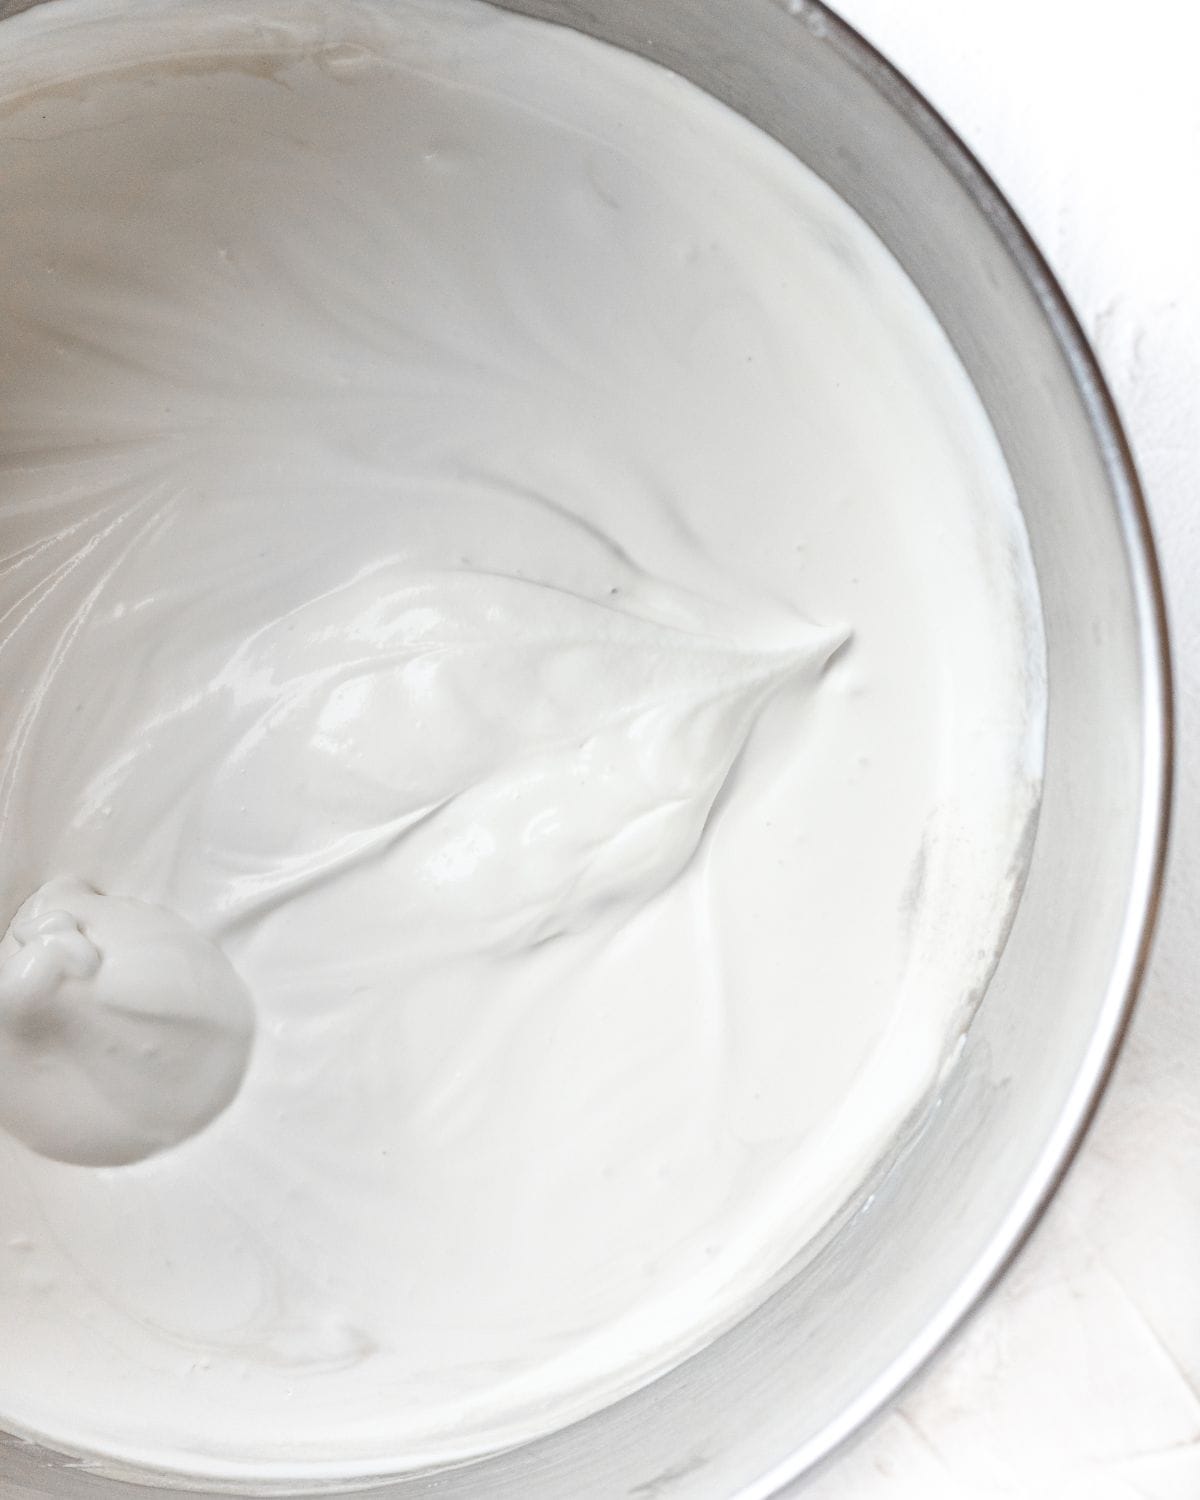
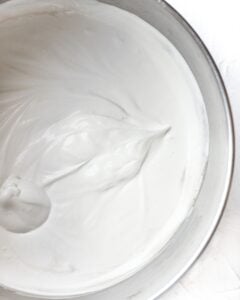
Pour in the sweetened condensed milk and mix on low speed just until the mixture thickens, then add the vanilla extract and mix until combined. Keep the speed low here. Mixing too aggressively at this stage can deflate all the air you just whipped in.
Step 3: Fold in the Cookies
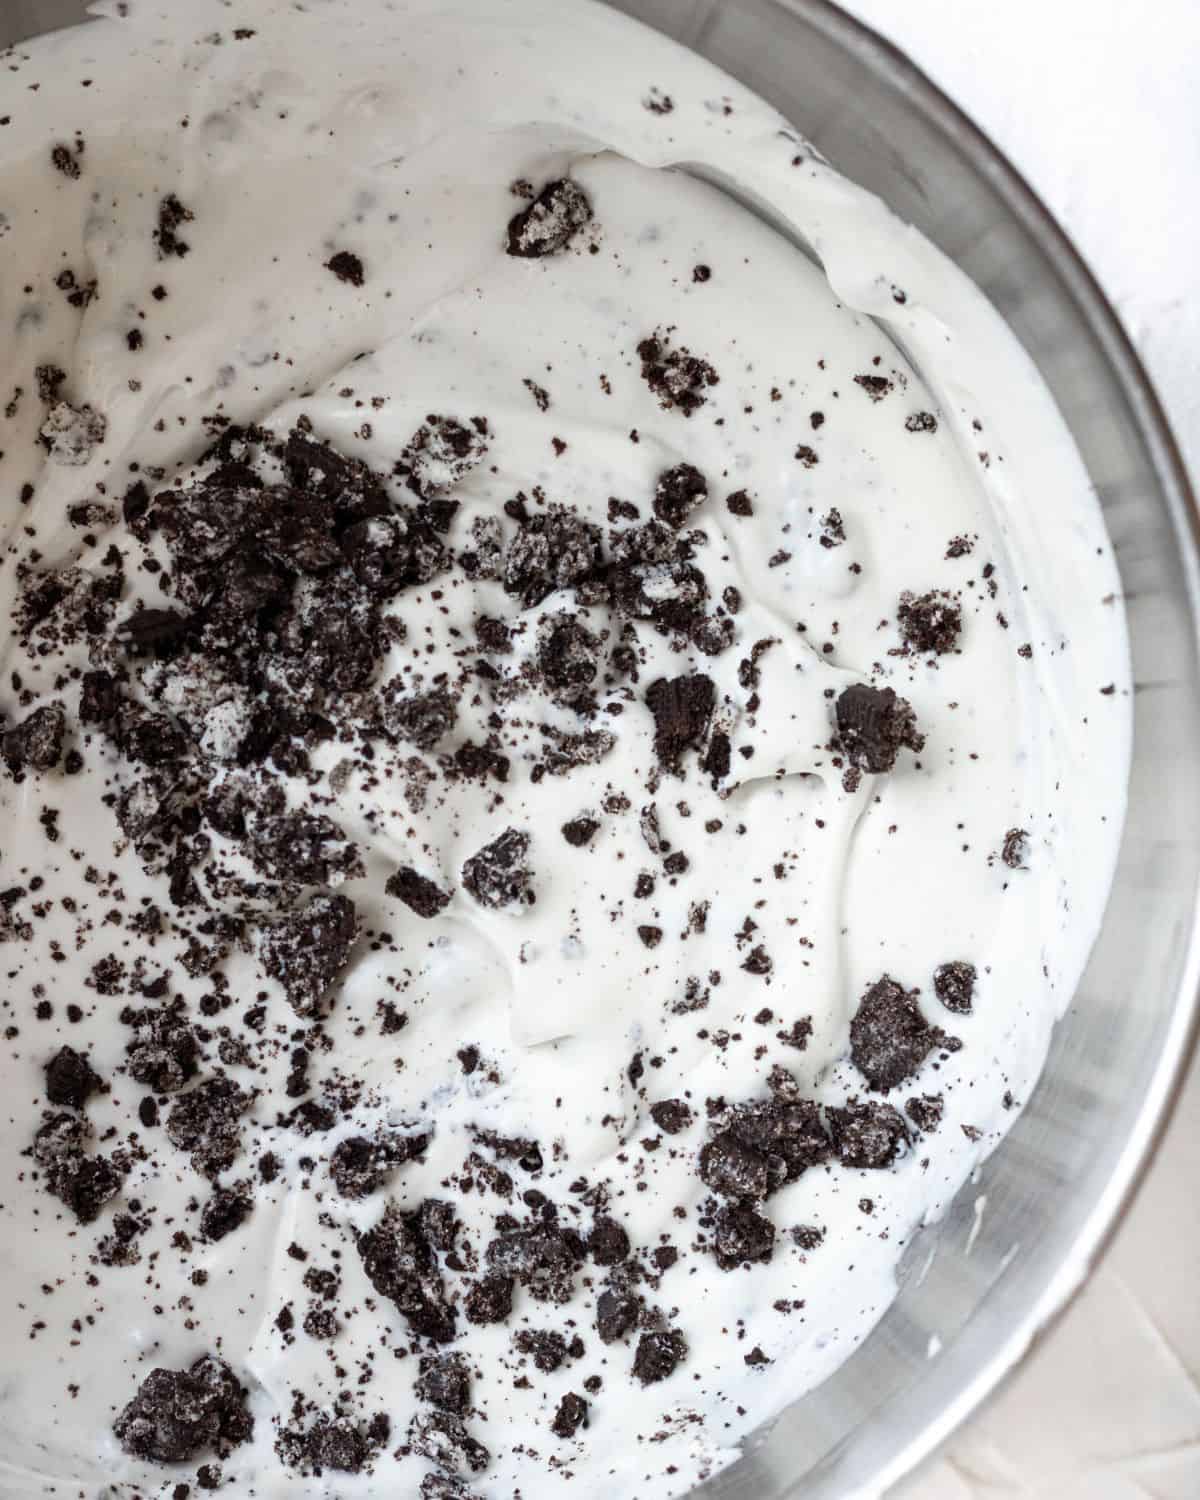
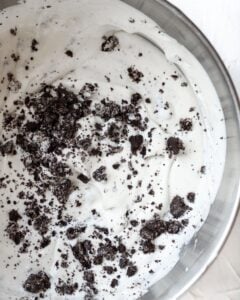
Turn off the mixer and stir in the chopped Oreo pieces by hand with a large spoon. Folding by hand keeps the cookie chunks whole and keeps the base fluffy. Letting the mixer do this job breaks the cookies into dust and turns the ice cream gray.
Step 4: Freeze Until Firm
Spread the mixture into an airtight, freezer-safe container in an even layer. Sprinkle a few extra crushed Oreos over the top if you'd like, then freeze for at least 6 hours or overnight before scooping into a bowl or ice cream cone.
Want to Use an Ice Cream Maker Instead?
You can absolutely churn this in a machine, the ingredients just change a bit. Omit the sweetened condensed milk and use 1 cup of whole milk (not skim) plus ¾ cup of granulated sugar instead. Skip the mixer and pour the liquid ingredients straight into your ice cream maker's frozen bowl. After about 20 minutes of churning, add the chopped cookies and continue until thick and creamy. I love my Cuisinart ice cream maker for this version.

LaKita's Expert Tips
Here are my best tips for making this recipe turn out perfectly every time.
- Chill your bowl and beaters for 10-15 minutes in the freezer before whipping, cold equipment helps the cream whip faster and higher.
- Chop, don't crush. Cut the cookies into large chunks with a sharp knife instead of smashing them in a bag, so they stay crunchy instead of dissolving into the base. You can prep the chunks ahead and hold them in a zip-top bag.
- Watch for the stiff-peak moment. Stop whipping as soon as the cream holds its shape. Over-whipped cream turns grainy and can start heading toward butter.
- Press plastic wrap directly onto the surface of the ice cream before sealing the container's lid. That extra barrier keeps ice crystals from forming on top.
- Use a shallow container like a metal loaf pan for faster, more even freezing than one deep tub.
- Plan to serve it soon after scooping. No-churn ice cream melts a little faster than machine-churned, so keep it in the freezer until right before dessert.
- This batch makes about 1½ to 2 quarts, so make sure your container has room before you start.
Variations & Substitutions
This recipe is flexible, here are some easy ways to make it your own.
- Golden Oreos - Swap in Golden Oreos for a vanilla-on-vanilla cookies and cream flavor.
- Different cookies entirely - Biscoff cookies, chocolate chip cookies, or shortbread cookies all work beautifully in place of chocolate sandwich cookies.
- Add a swirl - Ribbon in peanut butter, chocolate syrup, or caramel sauce just before freezing for a marbled effect.
- Mint cookies and cream - Use mint Oreos, or take a look at my No-Churn Mint Chocolate Chip Ice Cream for a fully minty version.
- Extra chocolate - Fold in mini chocolate chips or chopped chocolate along with the cookies.
- Ice cream maker version - See the machine instructions above. The swap is whole milk and sugar in place of the condensed milk.
Want To Save This Recipe?

Make-Ahead & Storage
Make-Ahead
The cookie chunks can be chopped up to a few days in advance and stored in a zip-top bag in the pantry. The finished ice cream itself is the ultimate make-ahead dessert. Make it the night before a cookout and it'll be perfectly frozen and ready to scoop when your guests arrive.
Storage & Reheating
Store the ice cream in an airtight, freezer-safe container in the freezer for up to 5 days for the best texture and flavor. When you're ready to serve, let the container sit at room temperature for 1 to 2 minutes so it softens just enough for the scoop to glide through. There's no reheating with ice cream, of course. But if it's frozen very hard, that short counter rest is all it needs.
What to Serve with Cookies and Cream Ice Cream
Here are some of my favorite ways to serve this dish.
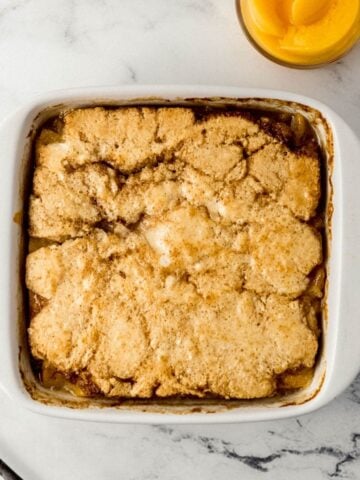
- Scooped over a warm dessert - A scoop melting over Easy Peach Cobbler Recipe or Fudgy Mint Brownies is summer on a plate.
- Blended into a shake - Use it in place of vanilla in my Peanut Butter Milkshake Recipe for a cookies-and-cream milkshake.
- On a dessert board - Serve small scoops alongside Cookies and Cream Popcorn and fresh berries for a fun party spread.
- Classic cone or sundae - Pile it into a waffle cone or top it with hot fudge, whipped cream, and extra crushed Oreos.
- Next to more Oreo goodness - If your crowd loves this flavor, my Oreo Delight Recipe makes a perfect companion dessert for a bigger gathering.
Frequently Asked Questions
Pretty much, yes and that's the beauty of it. Cookies and cream is a vanilla-based ice cream with crushed or chopped chocolate sandwich cookies folded in. What makes the homemade version special is that you control the cookie size and quantity, so you get generous chunks in every bite instead of the fine crumbs you often find in store-bought pints.
This homemade version uses just four ingredients: heavy cream, sweetened condensed milk, vanilla extract, and chocolate sandwich cookies. There are no eggs, no refined sugar added beyond what's in the condensed milk and cookies, and no cooking involved.
No! This is a no-churn recipe, which means a stand mixer or hand mixer is all you need. Whipping the heavy cream to stiff peaks does the job that churning normally does, it works air into the base so the ice cream freezes creamy instead of solid.
Yes, with a couple of ingredient swaps. Omit the sweetened condensed milk and use 1 cup of whole milk plus ¾ cup of granulated sugar instead, then churn according to your machine's directions, adding the cookies in the last few minutes. The full machine method is in the How to Make section above.
Almost always, it's under-whipped cream. The heavy cream must reach true stiff peaks before you add the condensed milk. That whipped-in air is what creates the creamy texture. Warm equipment, low-fat cream substitutes, or overmixing after the condensed milk goes in can also deflate the base and lead to iciness.
For the best texture and crunch, enjoy it within about 5 days. It's safe beyond that, but the cookies gradually soften and ice crystals can start to form. Pressing plastic wrap directly onto the surface before sealing the lid helps it keep longer.
Not for the no-churn version. Regular milk won't whip to stiff peaks, so the ice cream won't set up creamy. Heavy whipping cream (at least 36% fat) is essential here. Whole milk does appear in the ice cream maker variation, where the machine handles the aeration instead.
Nope, toss them in whole, filling and all. The filling adds sweetness and that signature cookies-and-cream flavor. Just chop the cookies into chunks with a knife rather than pulverizing them.
Any sturdy cookie works: Golden Oreos, Biscoff, chocolate chip, shortbread, or even chocolate wafer cookies. Store brands of chocolate sandwich cookies work just as well as name-brand Oreos.
Three things help: chop the cookies into larger chunks rather than fine crumbs, fold them in by hand at the very end, and serve the ice cream within the first several days. Bigger pieces hold their crunch much longer than crumbs, which absorb moisture quickly.
📖 Recipe

Cookies & Cream Ice Cream Recipe (No-Churn & Easy)
Video

Equipment
- 1 stand mixer (or ice cream maker)
Ingredients
- 2 cups heavy cream
- 14 ounces (1 can) sweetened condensed milk
- 1 teaspoon vanilla extract
- ⅔ cup chocolate sandwich cookies (Oreo), crushed
Instructions
- Begin the recipe by using a large bowl on a stand mixer. Add the 2 cups heavy cream and use a mixer on medium speed to begin whipping until stiff peaks form.
- Pour in the 14 ounces sweetened condensed milk and continue mixing at low speed until the mixture begins to thicken. Add in the 1 teaspoon vanilla extract and continue mixing until combined.
- Turn off the mixer and use a large spoon to stir in the ⅔ cup crushed Oreo cookie pieces.
- Place the ice cream in an airtight container and spread it in an even layer. Feel free to sprinkle more crushed Oreos on top before placing the ice cream in the freezer for at least 6 hours to freeze.
- Remove the container from the freezer to serve in an ice cream cone or bowl. Enjoy!

Did You Make This Recipe?
If you give this cookies and cream ice cream a try, I'd love to know what you think! Leave a comment below, share a photo on Instagram and tag @SimplyLaKita, or save it on Pinterest for later. And if you have any questions about making it (no-churn or in the machine) drop them in the comments and I'll help you out. Nothing makes my day like seeing this recipe in your kitchen!



Daryl says
This ice cream was so good! I just did a review of it on my YouTube channel, The Real Deal Recipe Reviews.
LaKita says
Thank you! I will be sure to check it out 🙂
Akaleistar says
I love cookies and cream ice cream!
LaKita says
So do I!! It is so good!
Mary says
Cookies and cream is my absolute favorite ice cream flavor. I’ve loved it since I was a child. This summer flew by 🙁 My parents used to rent an old school ice cream maker where you had to churn and churn hours and they used rock salt to keep the ice around the ice cream cylinder cold. We usually had it for summer BBQs, guest got a kick out of taking turns churning, and by the time everyone was tired of cranking the ice cream was magically done. Your version of Cookies and Cream Ice Cream looks delicious, now if we could only find a way to make it calorie free it would be perfect for me.
LaKita says
YES!! That is exactly what I was trying to describe...the old ice cream maker was something serious! If you find a way to make it calorie free, please let me know...in the meantime I will continue to reserve ice cream for the days I run 😉
Tamara says
HEAVEN. I do agree - I want to squeeze out every last glorious minute of summer summer summer! My favorite ice cream place closes from the end of October until early April but I just found out they'll stay open through November too. Yay!
That said, I'm totally making this all winter long to remember how good life is in the summer.
LaKita says
Yay!! That is great they are staying open a little longer this year. You will have to give this recipe a try to hold you over from November til April 😉
Kim Fowlkes says
Girl! I love Cookies and Cream ice cream and milk shakes! This looks so easy. I'm going to try it!
LaKita says
Thank you so much! It is so easy, you have to give it a try 🙂