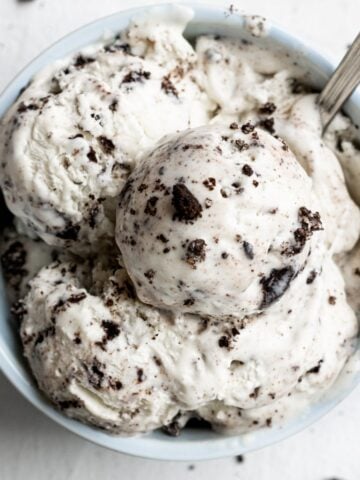
This No Churn Vanilla Ice Cream is a classic ice cream recipe that is rich, creamy, and only requires a few simple ingredients to make.
Ice cream is the perfect way to enjoy a delicious treat and keep cool during the summer months. Be sure to also try making Mint Chocolate Ice Cream and Cookies and Cream as well.
If you do not have an ice cream maker, then let me share with you that you do not necessarily need one to make tasty ice cream.
Try making some no churn ice cream that only requires a few simple ingredients and can be made in minutes using a mixer. It is creamy, sweet, and so so good. Trust me when I say that you certainly want to give this classic vanilla recipe a try this summer.
Let's get started!
Ingredient Notes
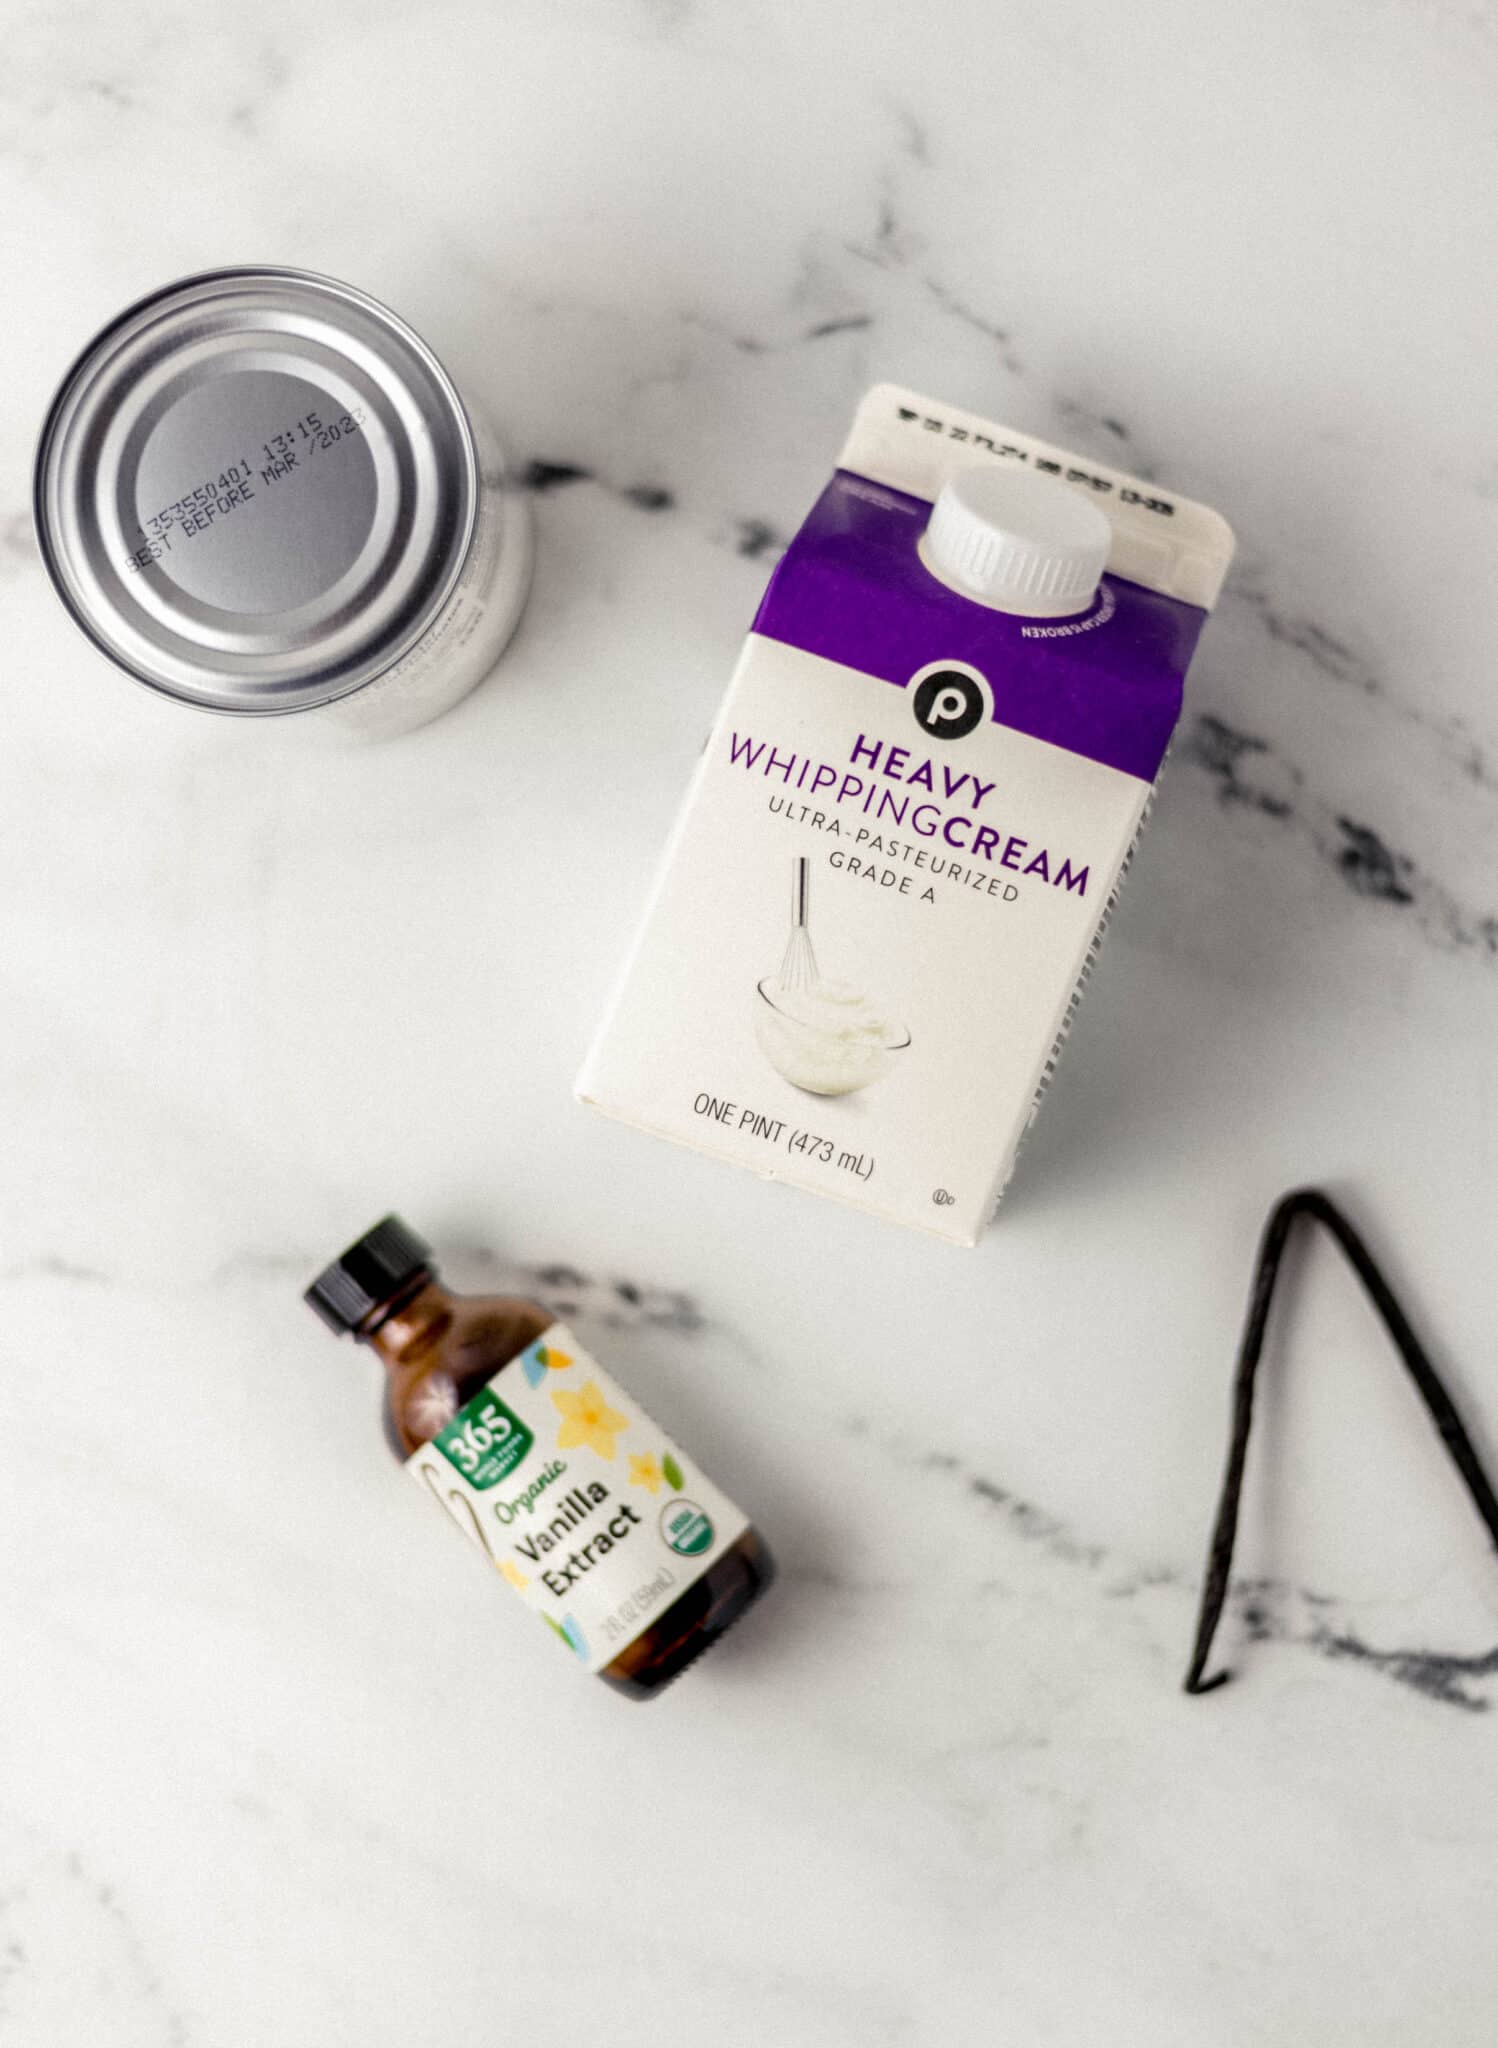
- Whipping Cream - Also known as heavy whipping cream is the base of this homemade ice cream recipe. It helps to make the ice cream thick without the need for an ice cream machine.
- Sweetened Condensed Milk - Be sure to use sweetened as it will provide most of the sweetness for the ice cream as well as help to make it rich and creamy.
- Vanilla Extract - Make sure that you use pure vanilla extract and not imitation to add flavor to the ice cream.
- Vanilla Bean - To add extra vanilla flavor, add the seeds of a single vanilla bean pod.
See the recipe card below for exact ingredient quantities.
Instructions
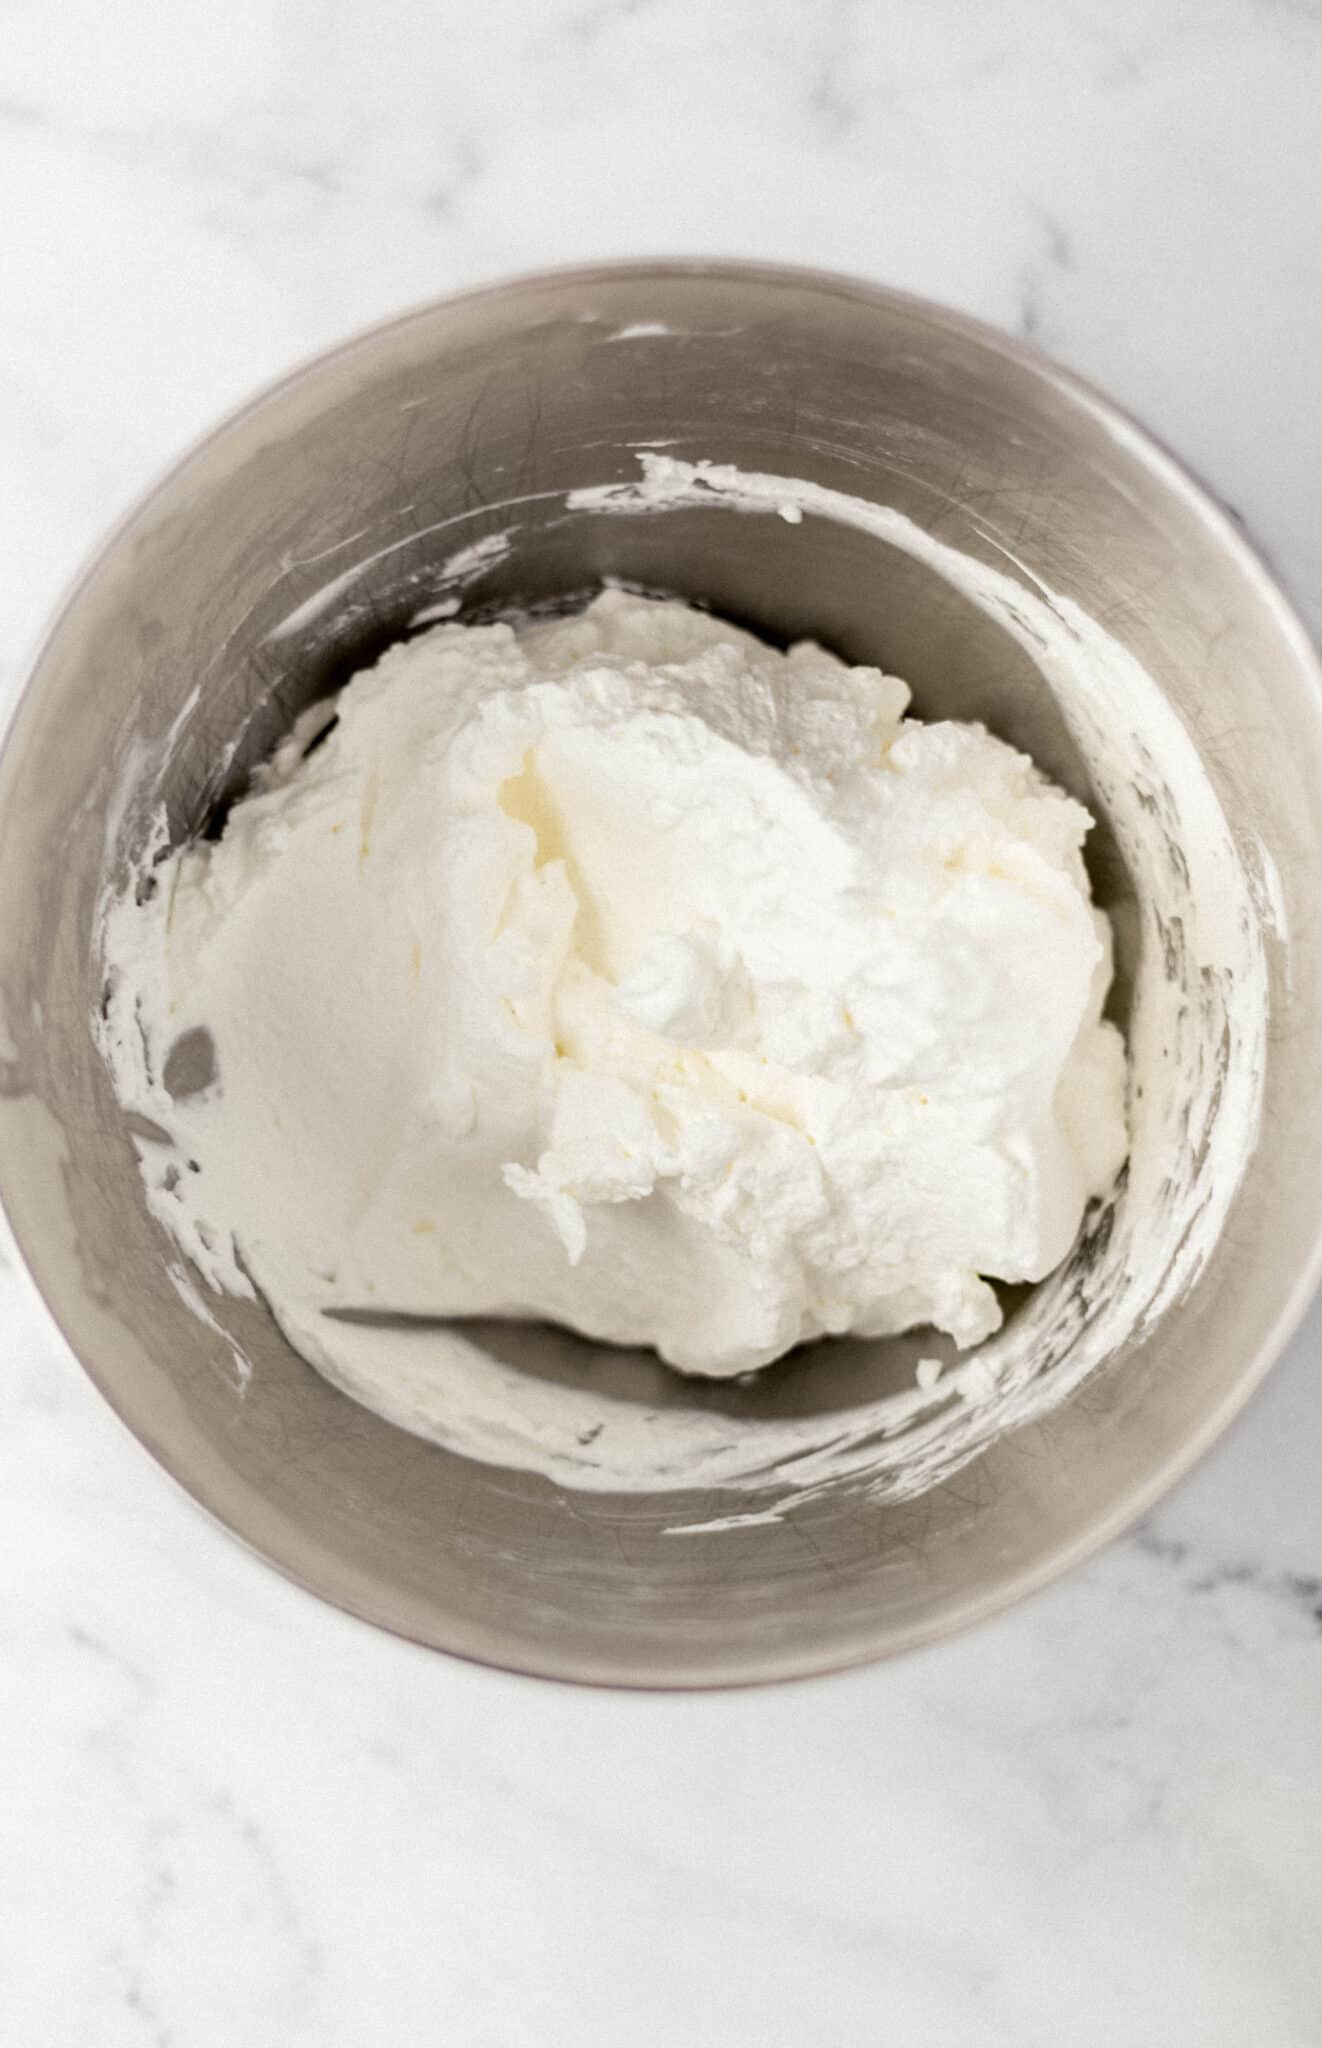
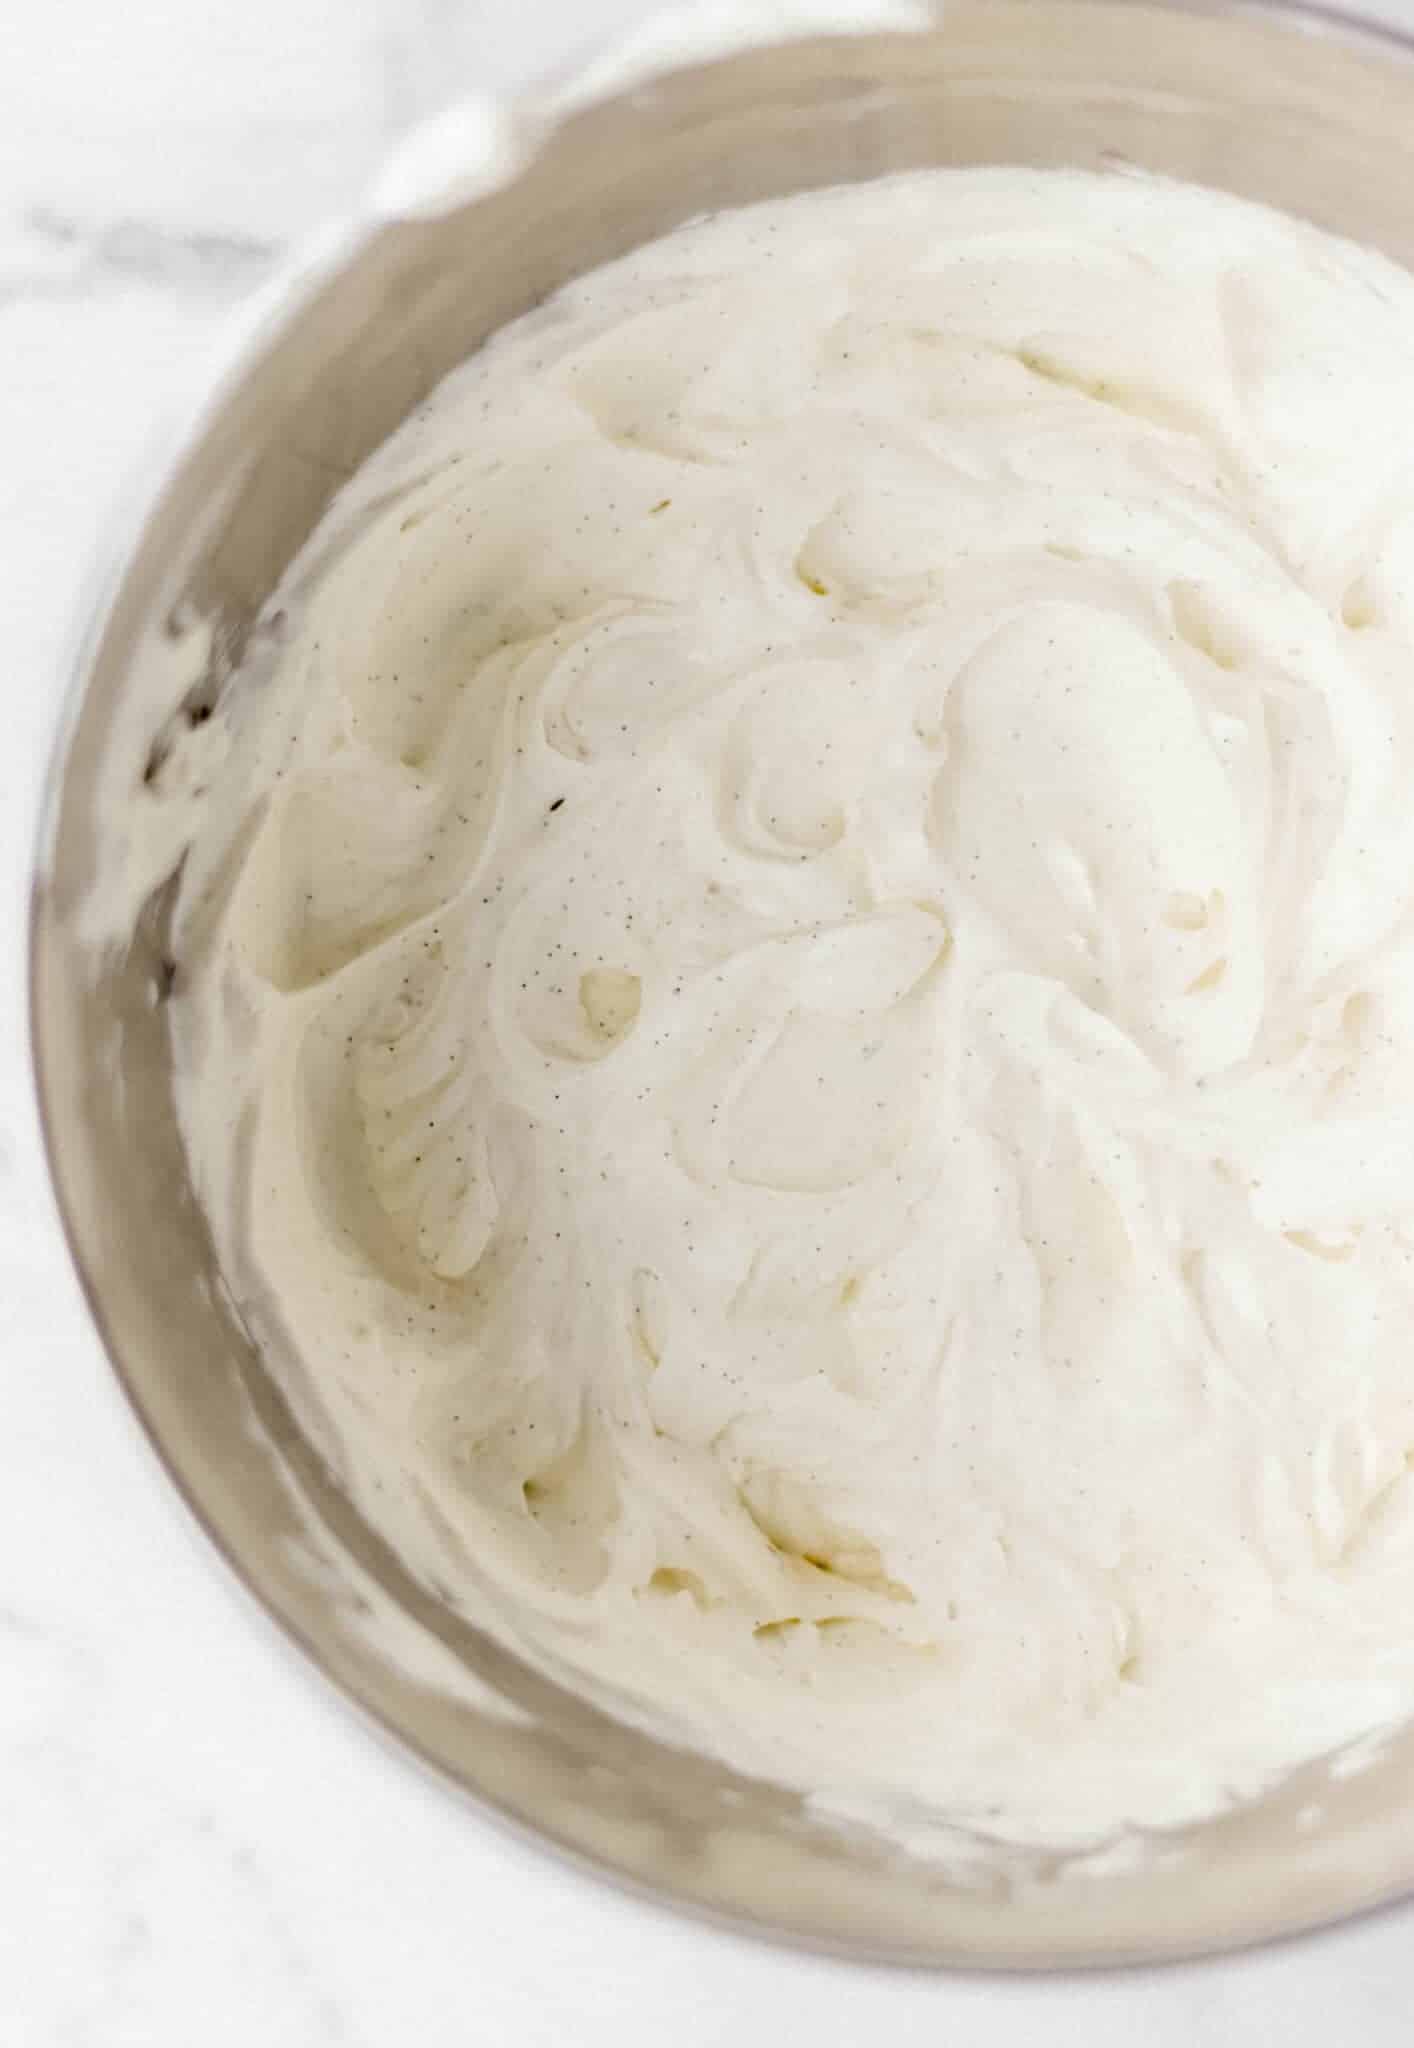
Begin the recipe by using a medium-size mixing bowl on a stand mixer. Add in the whipping cream and use a mixer on medium speed to begin whipping until stiff peaks form.
Pour in the sweetened condensed milk and continue mixing at low speed until the mixture begins to thicken. Add in the vanilla extract and vanilla bean and continue mixing until combined.
Want To Save This Recipe?
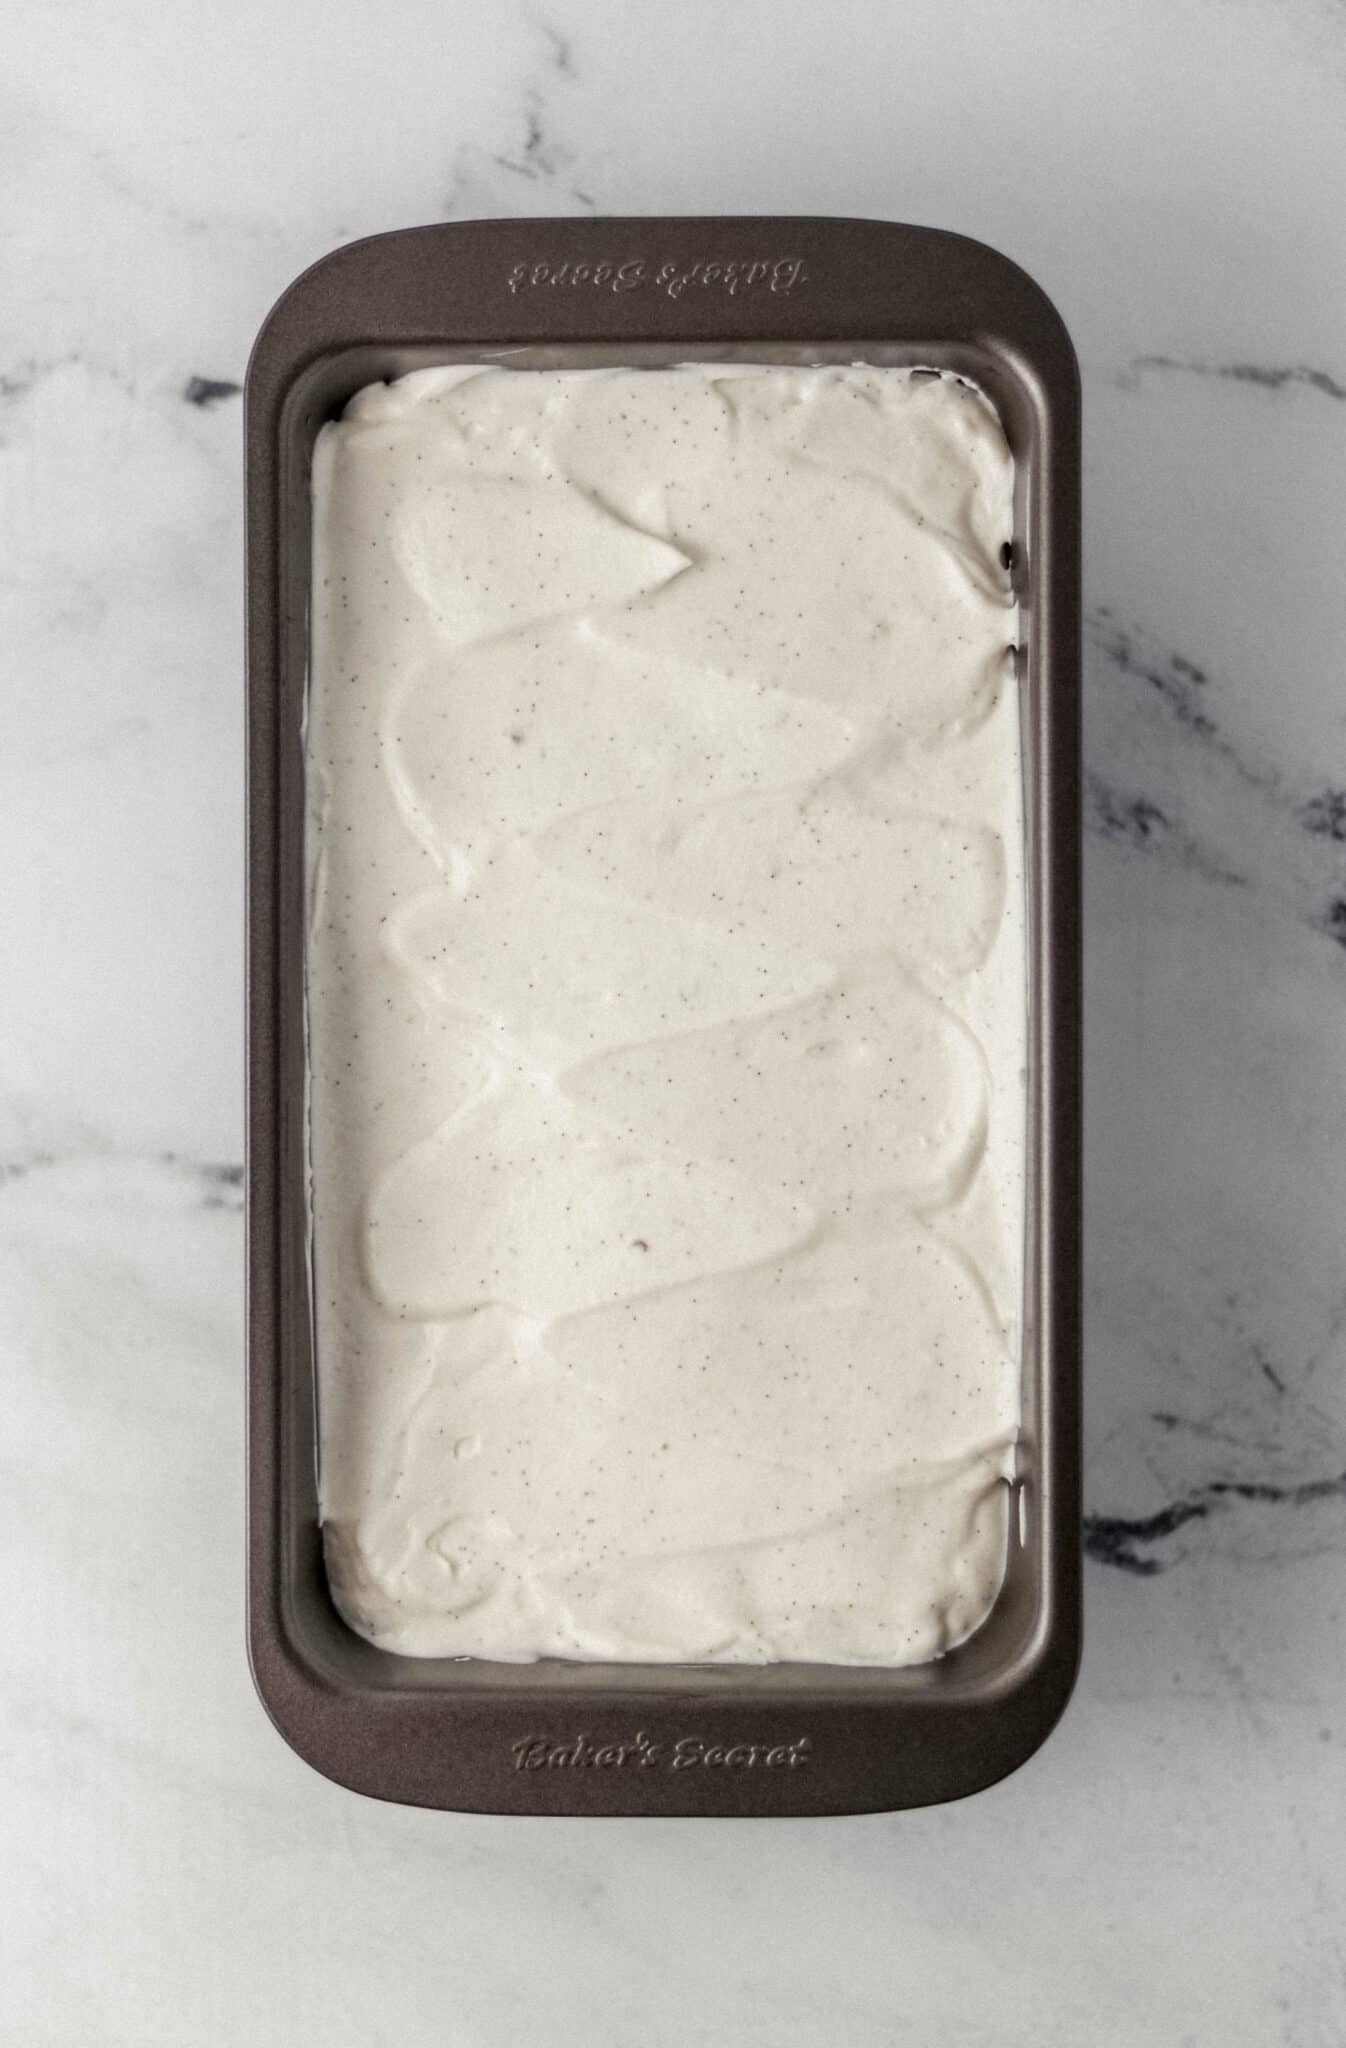
Place the ice cream in an airtight container in the freezer for at least 6 hours.
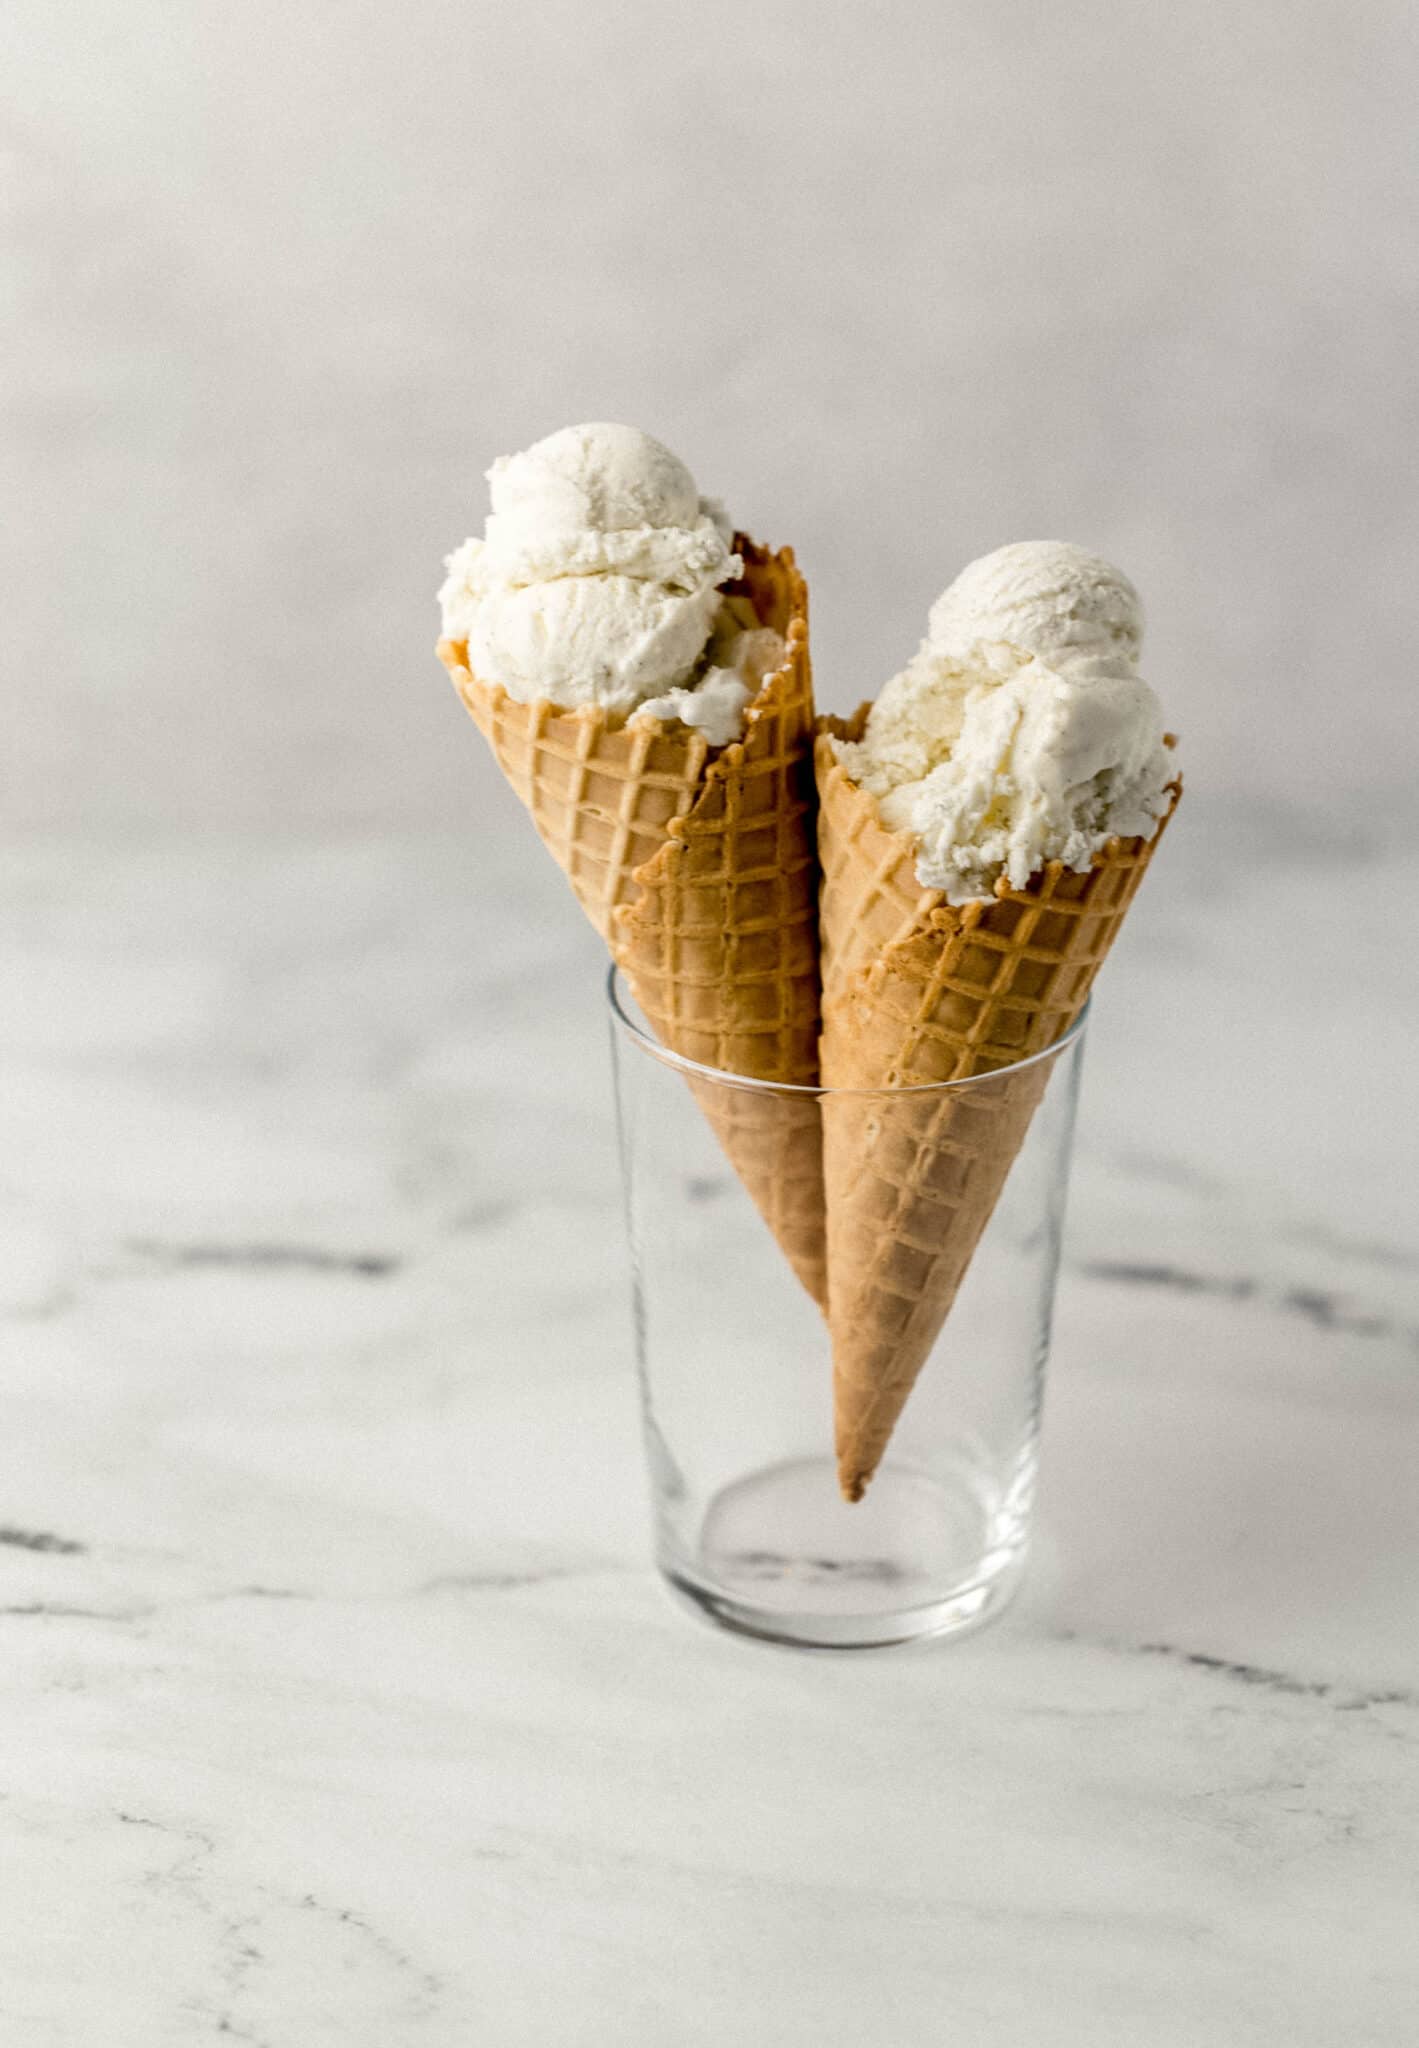
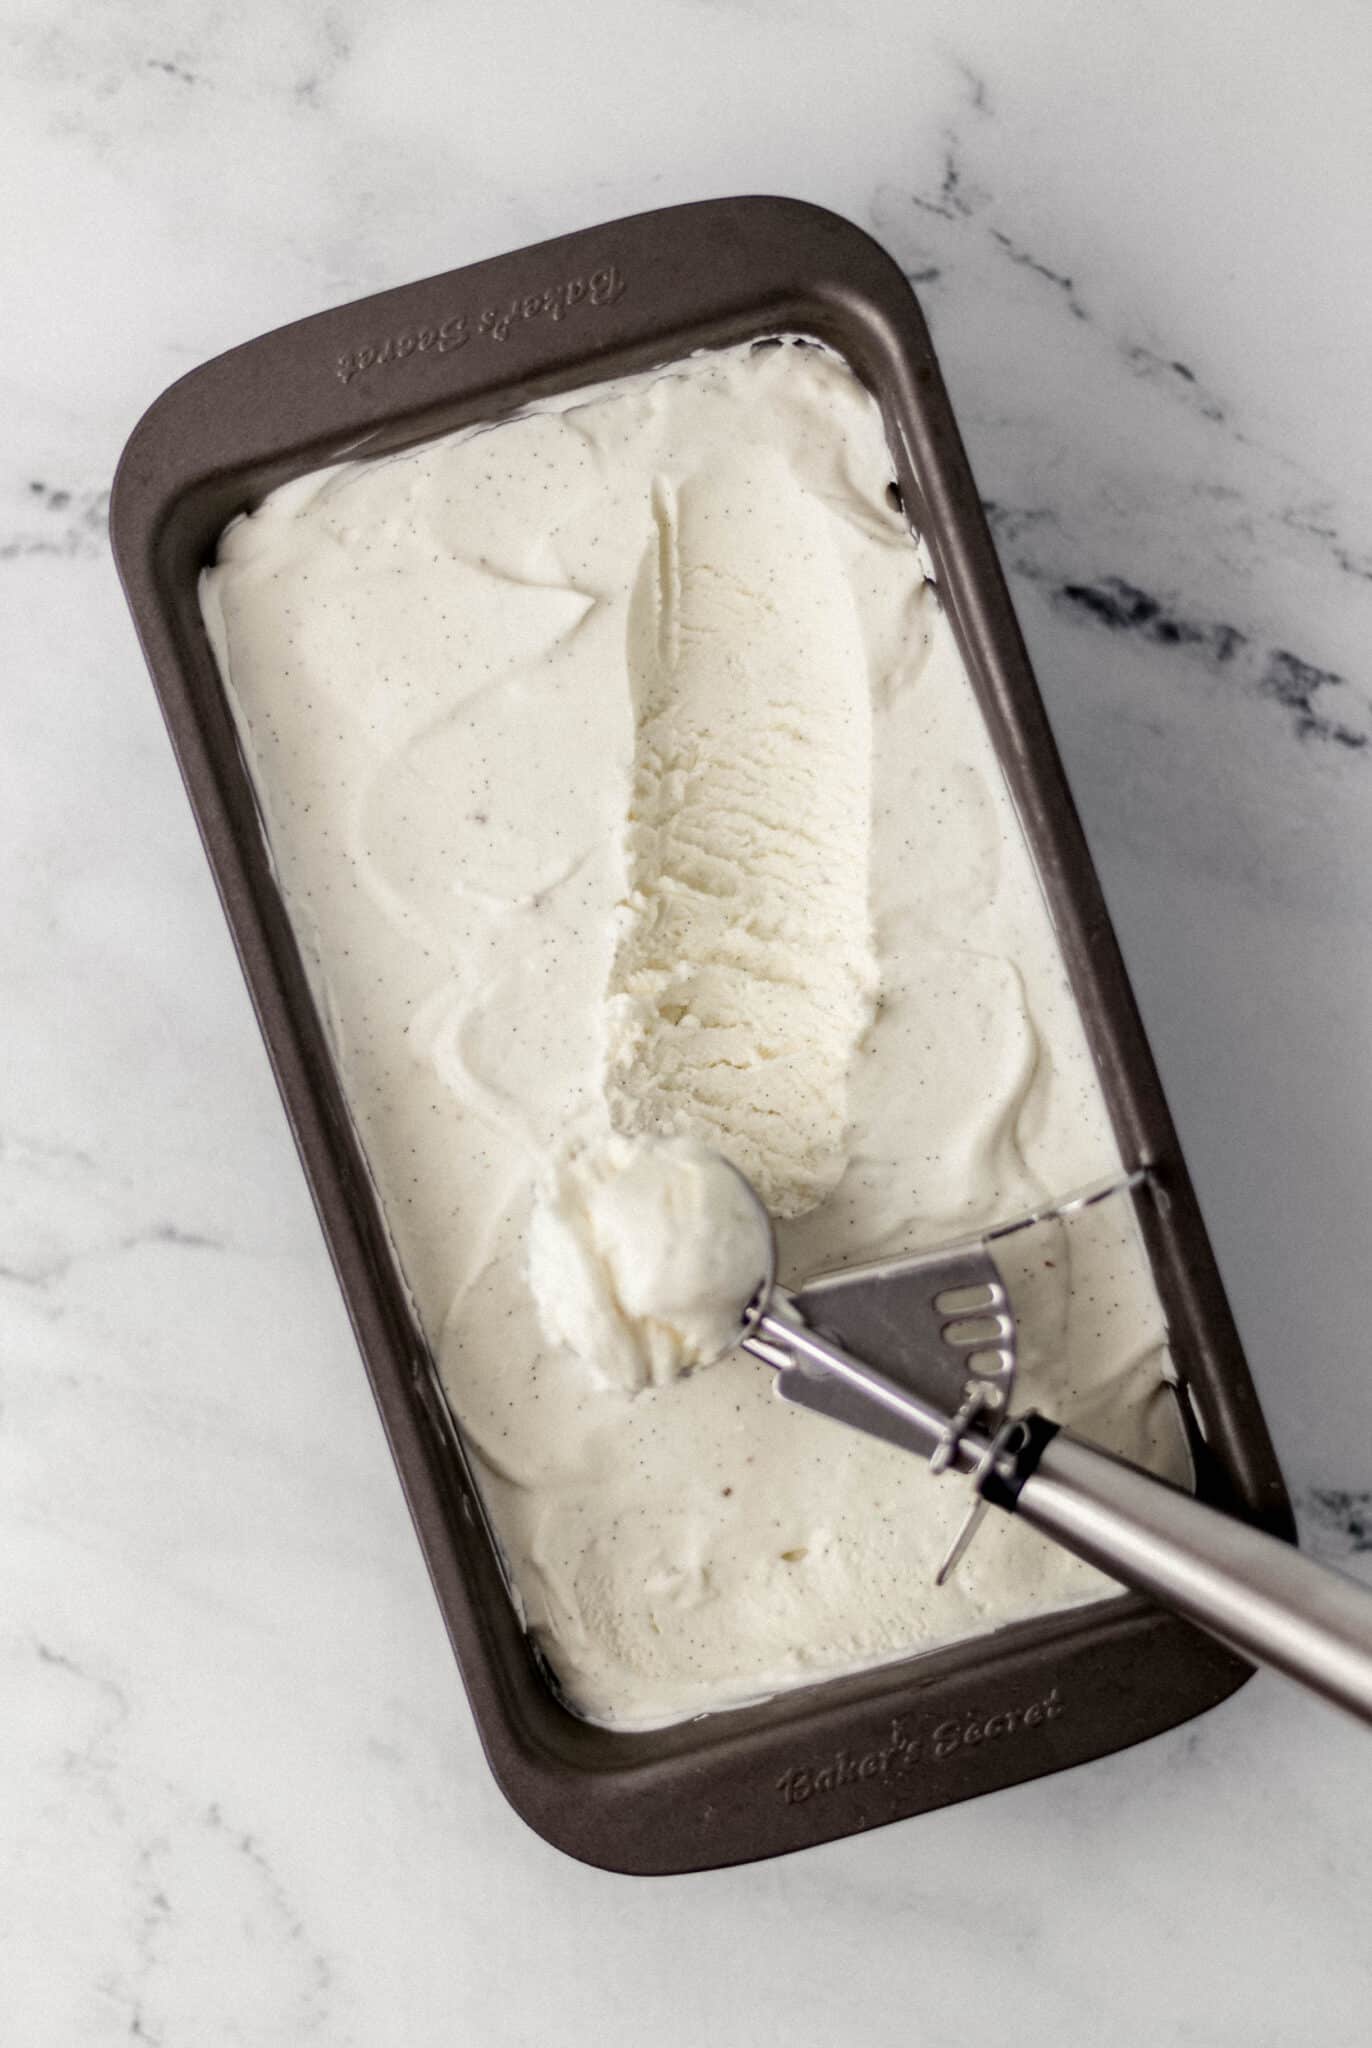
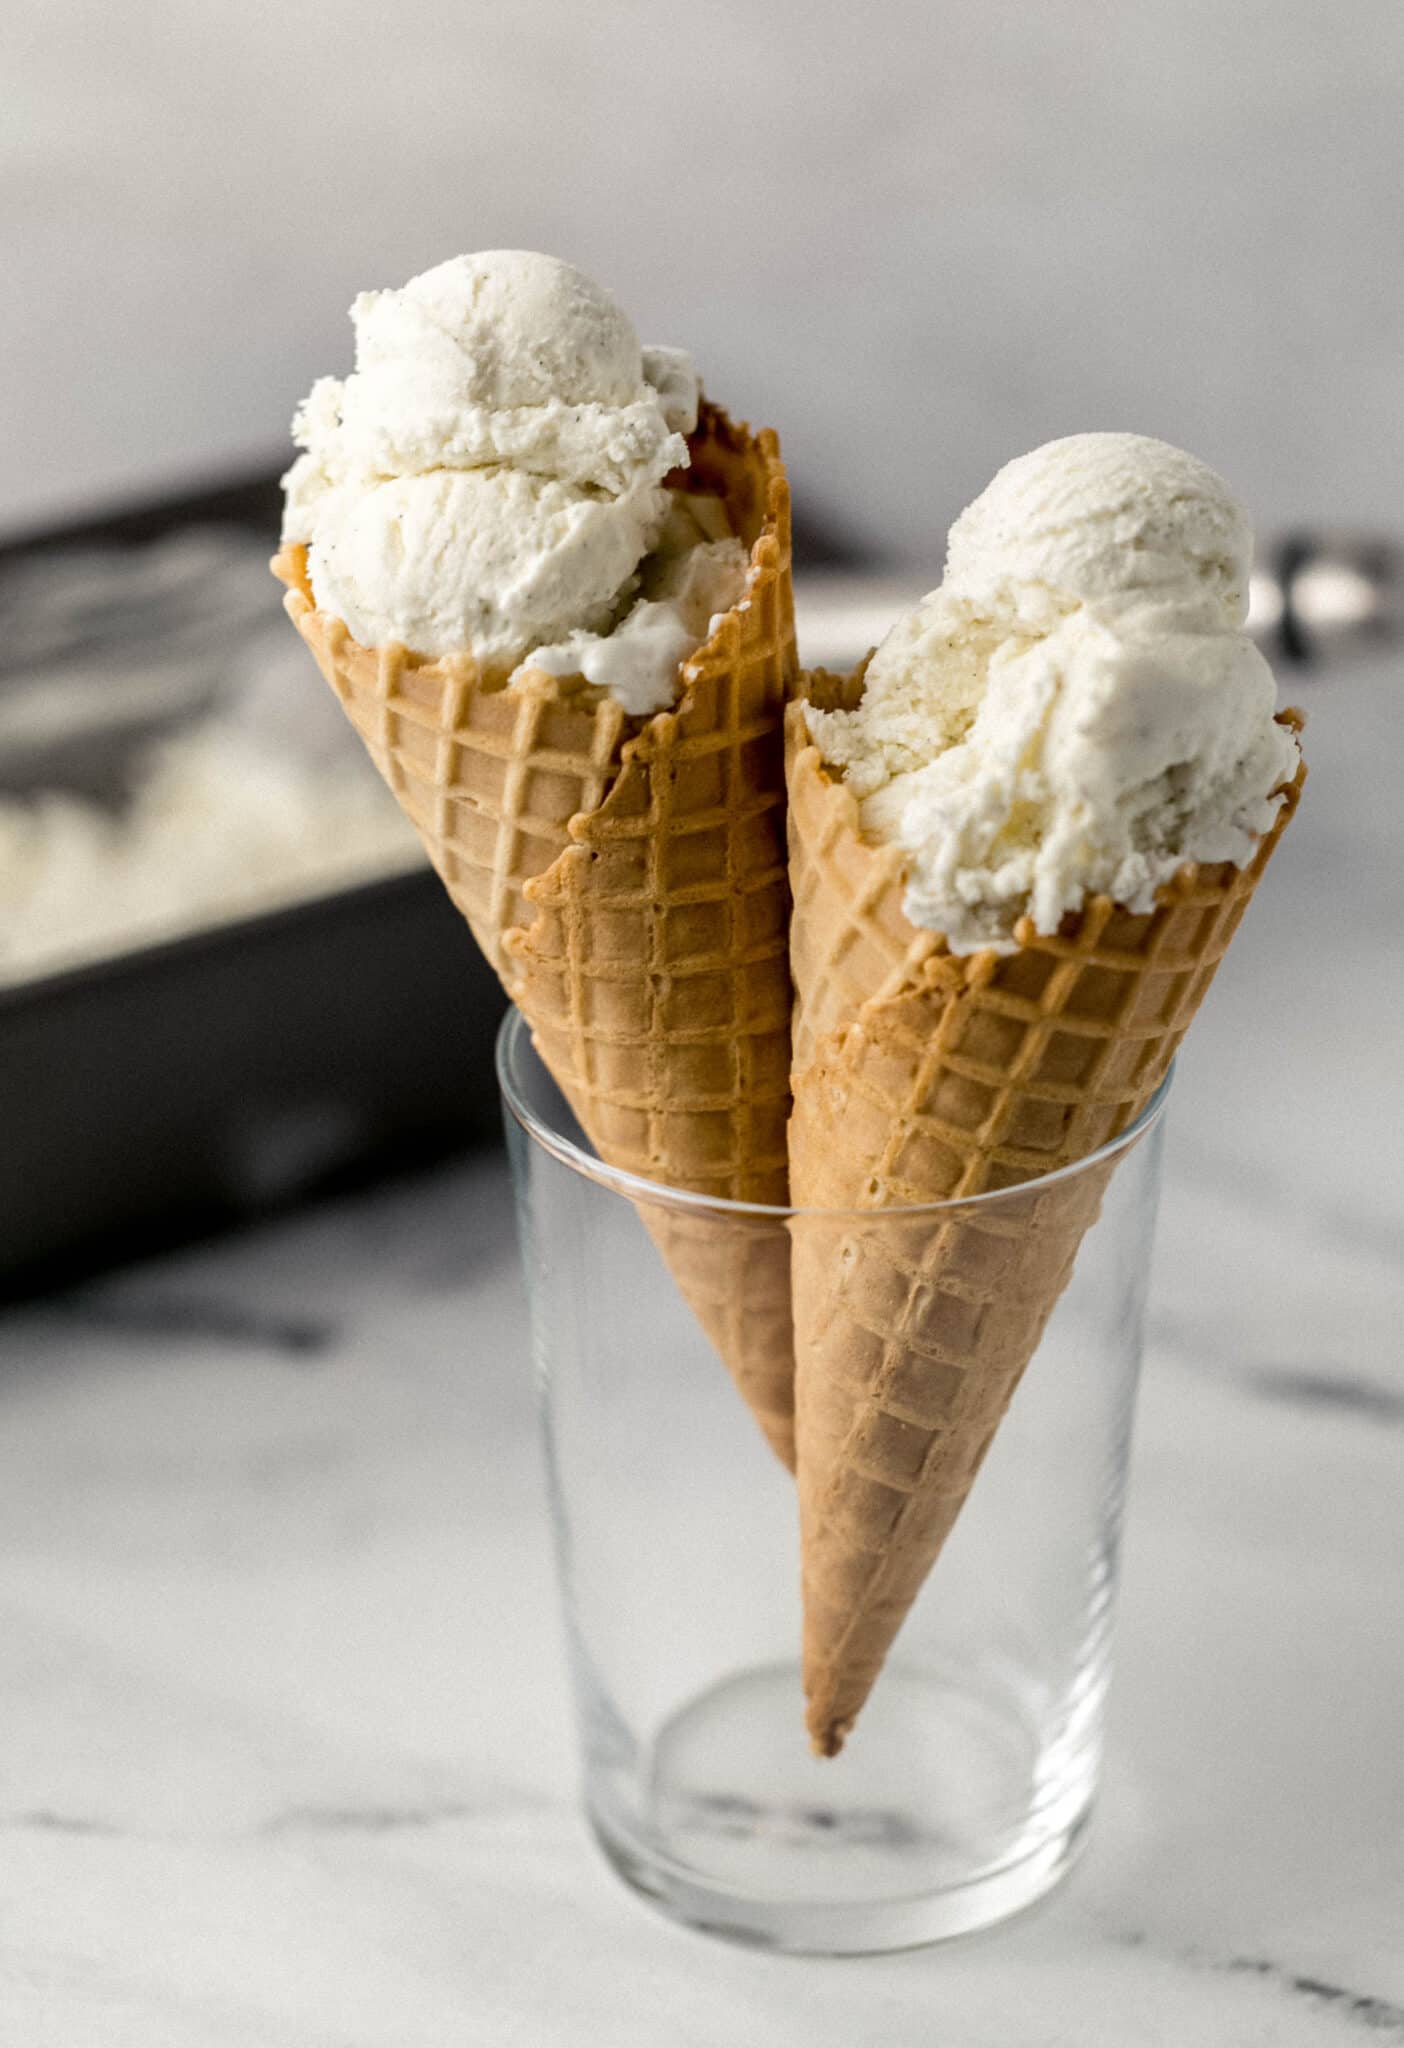
Remove the container from the freezer to serve in an ice cream cone or bowl. Enjoy!
Equipment
The best way to make this homemade ice cream is with a stand mixer, a hand mixer with a mixing bowl, or a large bowl with a sturdy whisk. This is mainly to make sure the whipping cream is mixed enough to form stiff peaks. I prefer to use a stand mixer to make this an easy hand-free recipe. The mixer that I use and love is a KitchenAid Stand Mixer.
Recipe Tips
- Make sure that you are using the correct ingredients. The ingredient list is short, so you certainly want to make sure that you select the right items.
- Be sure to whip/mix the whipping cream until stiff peaks form, this will help the ice cream to set.
- If you cannot locate vanilla bean or prefer not to use it, then you may omit it.
- Keep in mind this is a homemade ice cream recipe and it will probably melt quicker than machine-made ice cream, so plan to serve shortly after removing it from the freezer.
Storage
Store the vanilla ice cream in an airtight freezer-safe container in the freezer for up to 5 days. Remove the container from the freezer and allow it to sit at room temperature for 1 to 2 minutes before scooping to serve!
More Recipes You'll Love
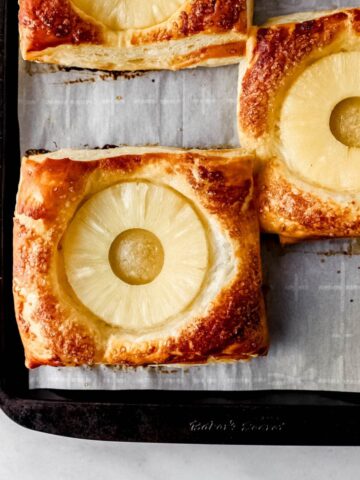
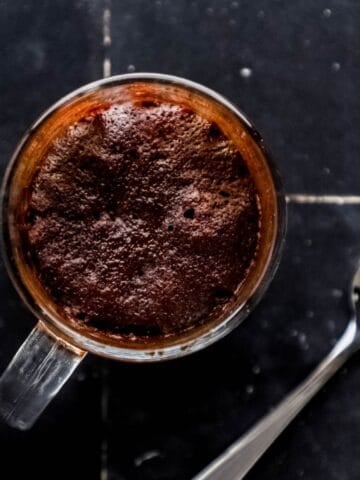
- Mint Chocolate Ice Cream
- Cookies and Cream Ice Cream
- Creamy Peanut Butter Shake
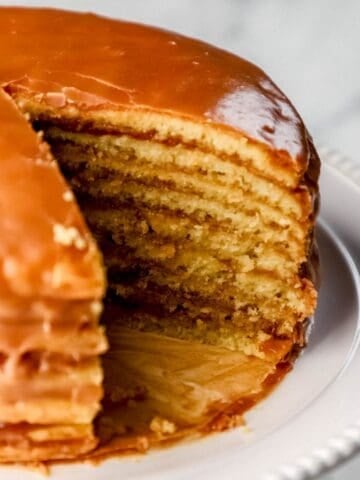
- Vanilla Buttermilk Rainbow Cake

Have any comments, questions, or other delicious ideas and ways to enjoy this No Churn Vanilla Ice Cream? Please share them in the comments below!
📖 Recipe

No Churn Vanilla Ice Cream
Ingredients
- 2 cups whipping cream
- 1 can (14 ounces) sweetened condensed milk
- 1 teaspoon vanilla extract
- 1 vanilla bean
Instructions
- Begin the recipe by using a medium-size mixing bowl on a stand mixer. Add in the 2 cups whipping cream and use a mixer on medium speed to begin whipping until stiff peaks form.
- Pour in the 1 can (14 ounces) sweetened condensed milk and continue mixing at low speed until the mixture begins to thicken.
- Add in the 1 teaspoon vanilla extract and 1 vanilla bean. Mix until combined.
- Place the ice cream in an airtight container in the freezer for 4 to 6 hours. Remove from the freezer to serve in an ice cream cone or bowl. Enjoy!
- Store the mint chocolate ice cream in an airtight freezer-safe container in the freezer for up to 5 days.
Notes
- Make sure that you are using the correct ingredients. The ingredient list is short, so you certainly want to make sure that you select the right items.
- Be sure to whip/mix the whipping cream until stiff peaks form, this will help the ice cream to set.
- If you cannot locate vanilla bean or prefer not to use it, then you may omit it.
- Keep in mind this is a homemade ice cream recipe and it will probably melt quicker than machine-made ice cream, so plan to serve shortly after removing it from the freezer.
Leave a Reply