

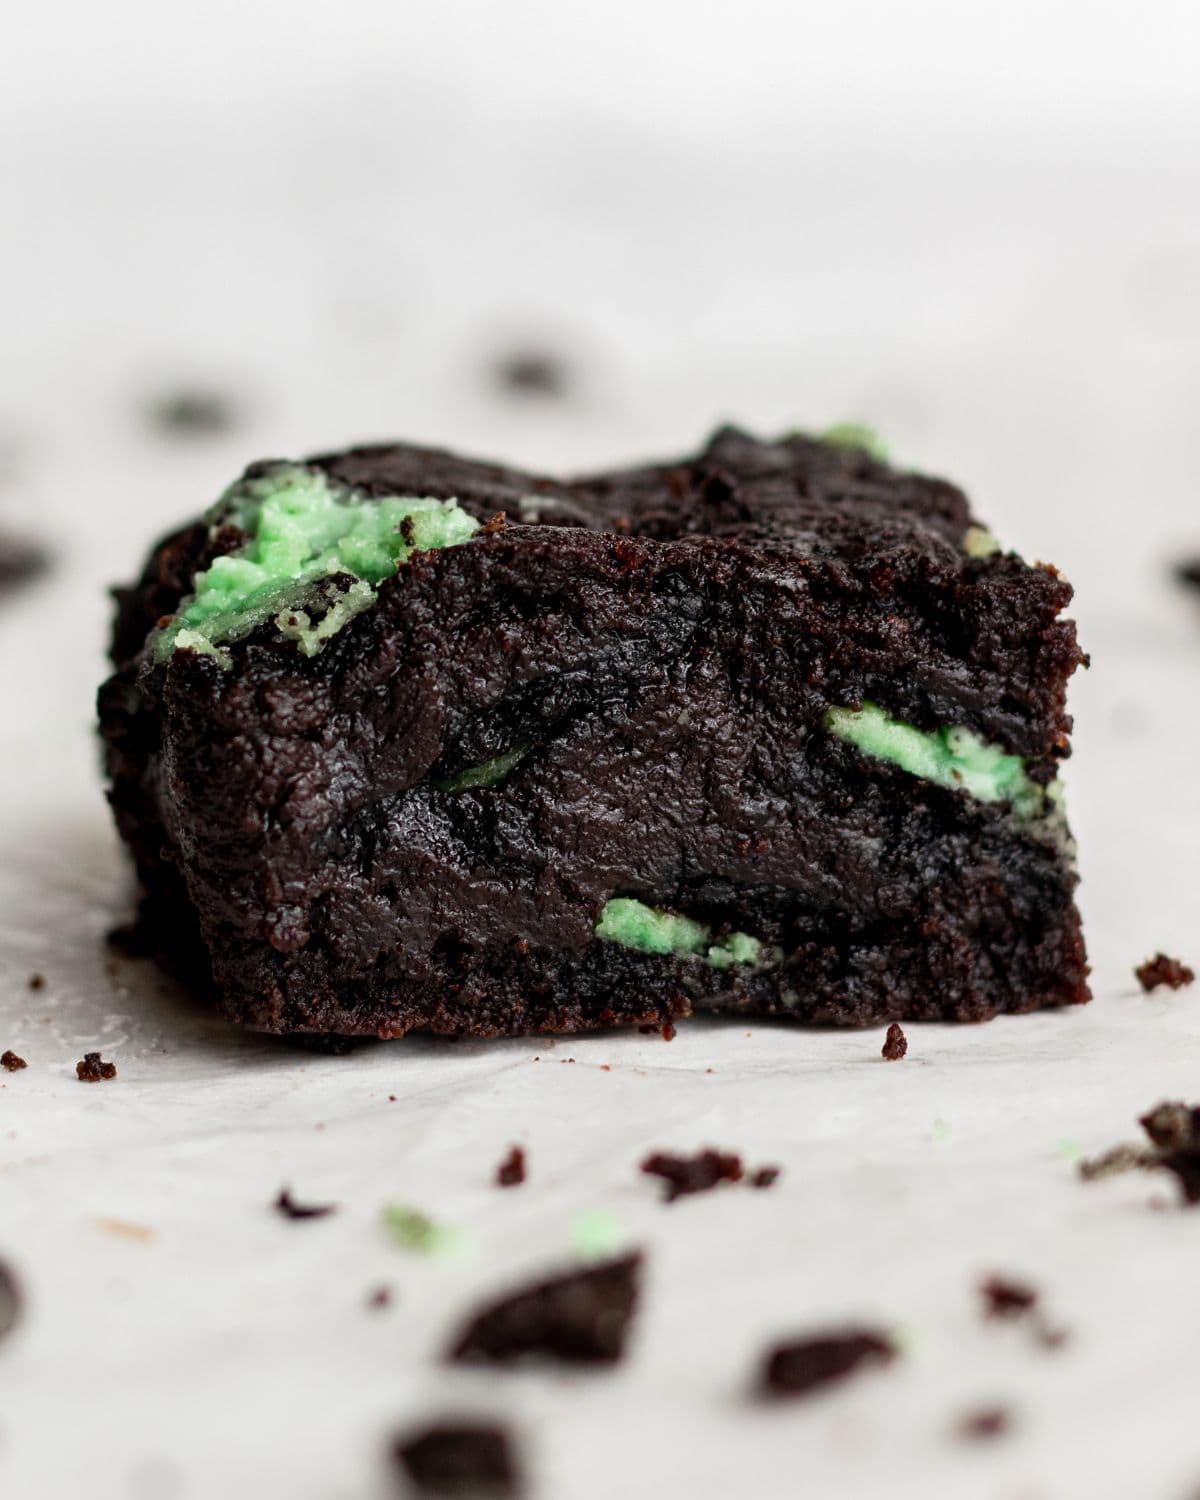
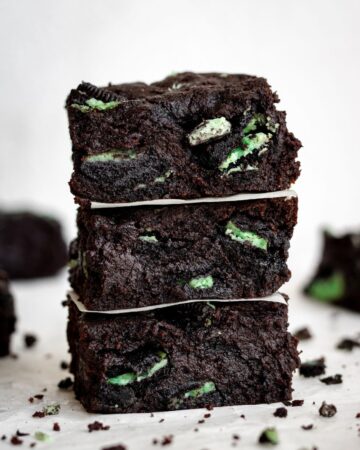
These fudgy mint brownies are rich, chewy, and packed with cool peppermint flavor. Perfect for Christmas, St. Patrick's Day, or any chocolate-mint craving!
Updated February 2026: Recipe updated with expert tips, expanded FAQs, and storage instructions. New photos were added on March 21, 2021. The recipe was originally posted on March 17, 2017.
Mint brownies hold a special place in my heart. They're the one treat that disappeared faster than anything else at every holiday gathering growing up. My mama would make them every Christmas, and there was never a single one left by the end of the night. That combination of rich, fudgy chocolate and cool, refreshing peppermint is absolutely irresistible, and I've been chasing that feeling in my own kitchen ever since.
I've made these brownies more times than I can count, testing different ratios of peppermint extract, trying different chocolate bases, and figuring out exactly what makes the texture stay fudgy instead of cakey. I've learned what to look for in the oven, when to pull them, and how to cut them cleanly. And I'm sharing all of it with you here. These are the ones that passed every test, including the toughest critics in my family.
Whether you're making these for Christmas, St. Patrick's Day, a bake sale, or just because you need something chocolatey in your life (honestly, that's reason enough), this recipe delivers every single time. Let's get started!
Why You'll Love This Fudgy Mint Brownie Recipe
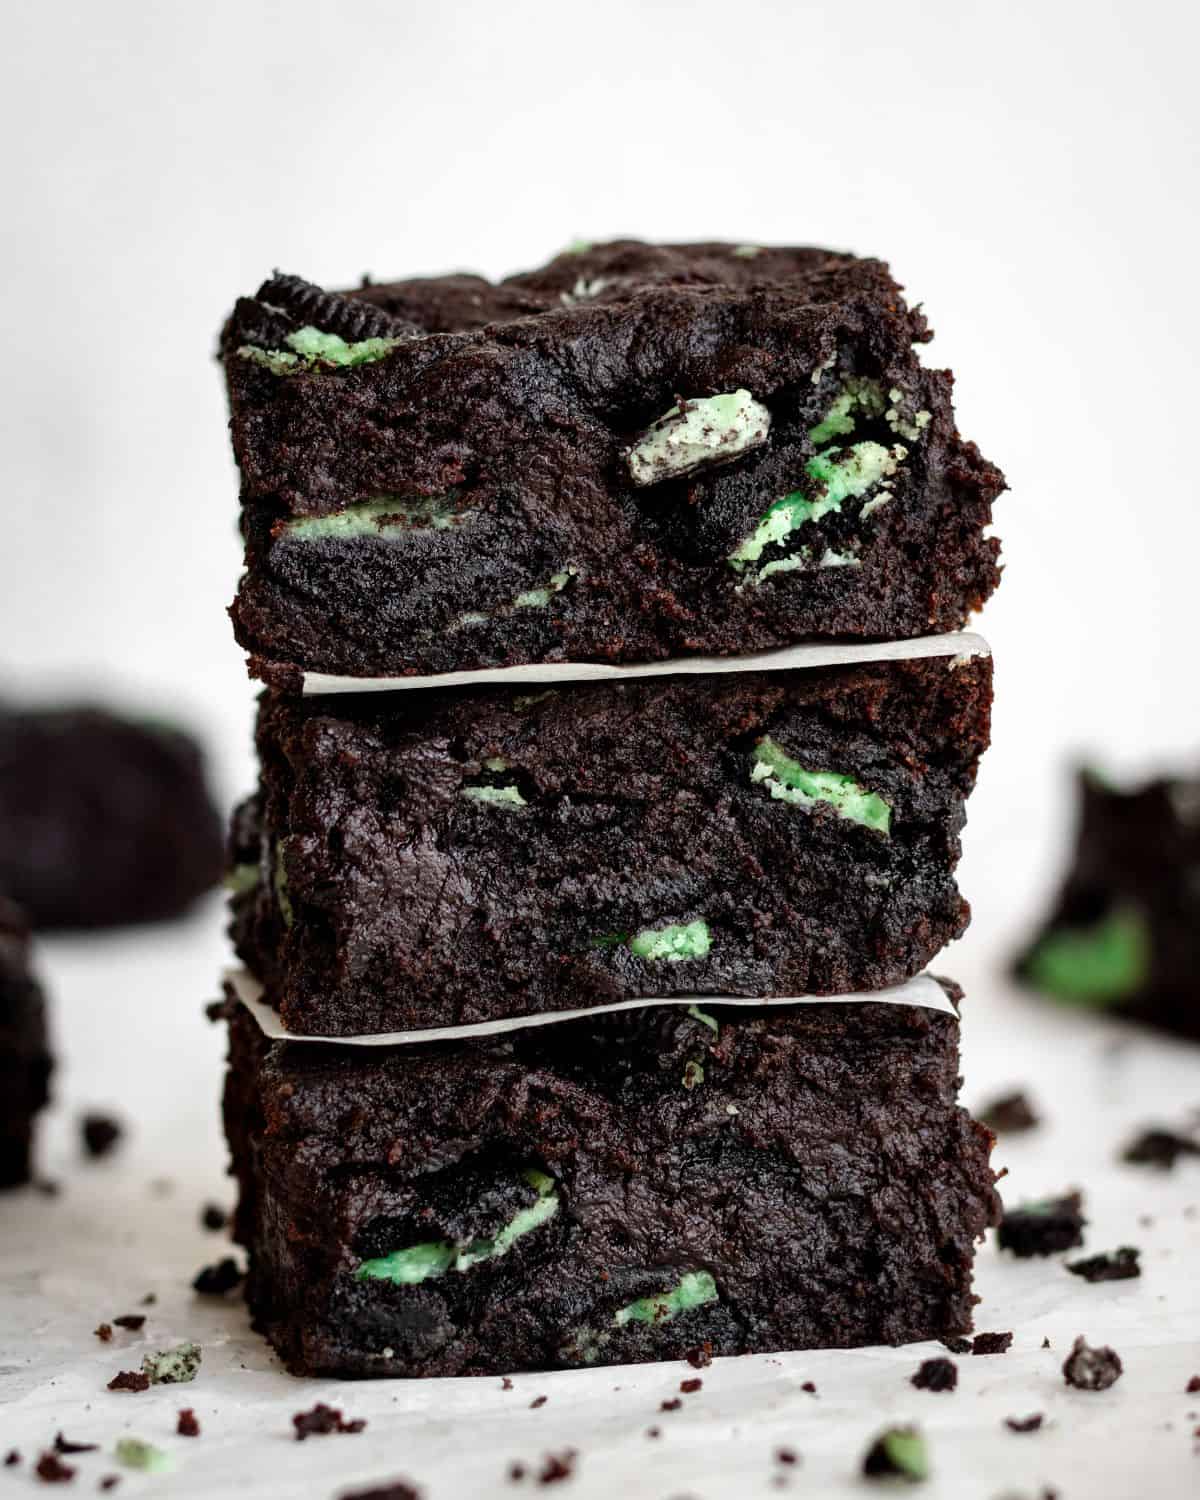
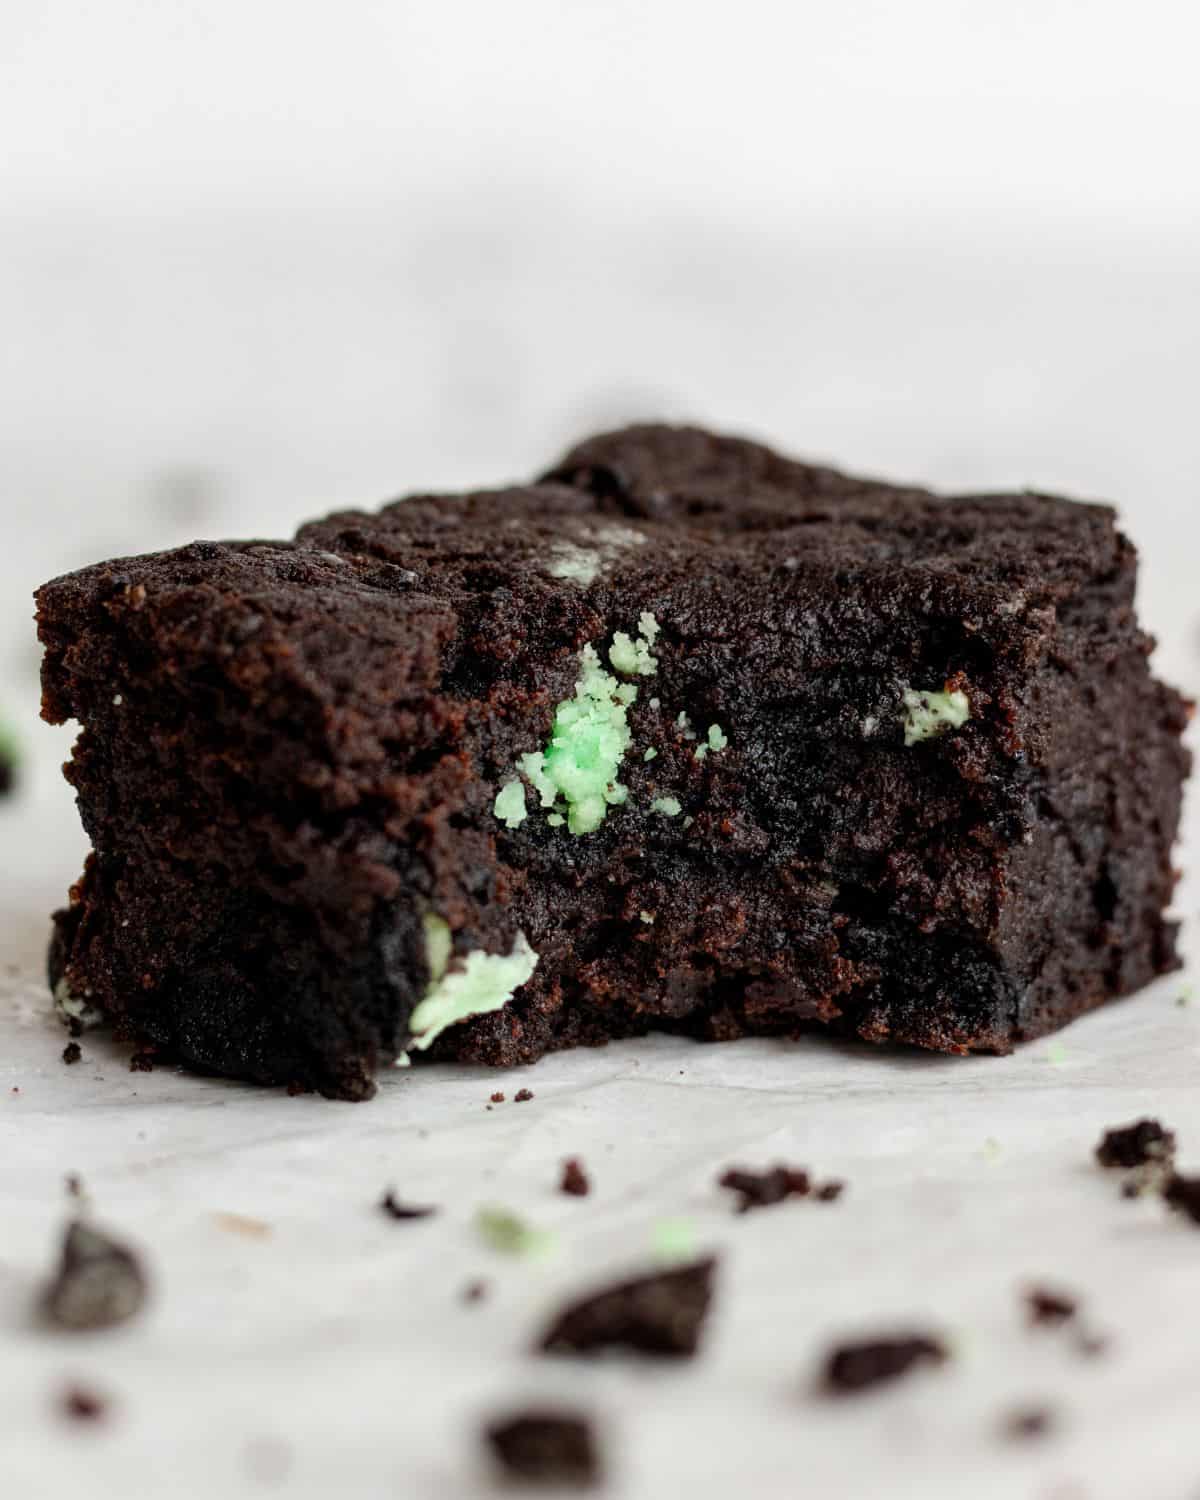
- Truly fudgy texture - not cakey, not dry. These brownies stay dense and chewy thanks to the right butter-to-flour ratio, and they firm up perfectly as they cool.
- Perfect mint flavor - cool and refreshing without being overwhelming. We're using peppermint extract, not mint extract for that clean, classic holiday taste.
- Made in one bowl - no stand mixer, no complicated steps. Simple pantry ingredients and about 30 minutes from start to finish.
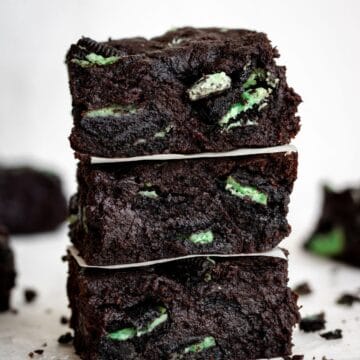
- Perfect for gifting - these brownies stack beautifully, travel well, and freeze without losing quality, making them the ideal holiday treat to share.
Ingredients You'll Need
- Unsalted butter gives you full control of the salt level in the batter. Always melt it completely before adding the sugar. This helps dissolve the sugar crystals and contributes to that beautiful, shiny, crinkled top.
- Cocoa powder is the base of your chocolate flavor. Dutch-process cocoa gives a deeper, more intense, fudgier chocolate flavor than natural cocoa. Either works, but Dutch-process is my strong preference for brownies.
- Peppermint extract not mint extract is the key ingredient. Peppermint extract gives you that clean, bright, candy-cane style flavor you want in mint brownies. Mint extract is typically made from spearmint and can taste closer to toothpaste (not the vibe we're going for). Use 1 teaspoon for a noticeable but balanced mint presence. Some brands are stronger than others. Start with ¾ teaspoon if you're using a new brand.
- Room temperature eggs incorporate more smoothly into the batter than cold eggs. Pull them from the refrigerator 20-30 minutes before you start, or set them in a bowl of warm water for 5 minutes.
- Granulated sugar is standard here. Don't substitute powdered sugar, the granule size matters for the texture of the brownie.
👉🏾 See the recipe card below for exact quantities and full instructions.
How to Make Fudgy Mint Brownies
Here's a quick overview of the process. Full step-by-step instructions are in the recipe card below.
Step 1: Melt the Butter and Whisk in Sugar
Melt your butter completely, then immediately whisk in the sugar while everything is still warm. This step partially dissolves the sugar crystals, which is one of the key techniques for getting that glossy, crinkled top on your brownies. Let the mixture cool for about 5 minutes before moving on, you don't want to accidentally scramble your eggs.
Step 2: Add the Eggs and Peppermint Extract
Beat the eggs in one at a time, whisking well after each addition. The batter should look thick and glossy. Add your peppermint extract now, this ensures the flavor distributes evenly through the whole batter rather than just being concentrated in spots. The batter should smell wonderfully of mint at this point.
Step 3: Fold in the Dry Ingredients
Sift your cocoa powder, flour, and salt together before adding. This prevents lumps and gives you a smoother, more consistent batter. Switch from a whisk to a rubber spatula and fold gently until just combined. You want to see the dry ingredients disappear without overmixing. A few very faint streaks of flour are fine, they'll fully incorporate. Overmixing activates the gluten and gives you a tougher, cakier brownie.

Step 4: Bake to Fudgy Perfection (The Doneness Guide)
This is the most important step in the whole recipe. The doneness test for fudgy brownies is completely different from testing a cake. Here's exactly what to look for:
- Toothpick test: insert a toothpick into the center at 25 minutes. You want it to come out with moist, fudgy crumbs attached, not clean (overbaked) and not wet batter (underbaked).
- Edge check: the edges should have pulled slightly away from the sides of the pan.
- Top check: the surface should look set, slightly matte, and not jiggly when you gently shake the pan.
- Timing: check at 25 minutes for an 8x8 pan. They may need up to 28-30 minutes depending on your oven. When in doubt, pull early. They firm up significantly as they cool.
Remove from the oven and let cool completely in the pan on a wire rack before cutting. I know waiting is hard, but cutting warm brownies leads to ragged edges and a crumbly texture. Give them at least 1 hour at room temperature, or 30 minutes in the refrigerator if you're impatient.

Step 5: Cut and Serve
Once completely cooled, lift the brownies out of the pan using the parchment paper overhang. For clean, professional-looking cuts, run a sharp knife under hot water, wipe completely dry, then slice. Repeat the hot-water wipe between every cut. This melts through the chocolate and gives you those gorgeous clean edges.
Expert Tips
Here are my best tips for making this recipe turn out perfectly every time.
- Don't skip lining the pan with parchment paper with overhang on all sides. This makes removing and cutting the brownies so much easier and protects your pan.
- The toothpick should come out with moist crumbs, not clean. If it comes out clean, your brownies are already overbaked. Pull them earlier next time.
- Cool completely before cutting! I say this twice because it's that important. Warm brownies crumble and fall apart. Cool brownies slice cleanly and hold their shape.
- For the cleanest cuts: hot knife, wiped dry, between every slice. Use a straight downward motion, don't drag the knife through the brownies.
- Start with ¾ teaspoon of peppermint extract if you're using a new brand. They vary significantly in strength. You can taste the batter before adding the eggs and adjust.
- Fold the dry ingredients with a spatula, not a whisk, the whisk incorporates too much air and can lead to a cakier texture.
- Room temperature butter re-solidifies as it cools. Make sure your melted butter is still warm (not hot) when you add the sugar.
Want To Save This Recipe?
Variations & Substitutions
- Mint buttercream topping - make a simple peppermint buttercream: 4 tablespoons softened butter, 1½ cups powdered sugar, 1-2 tablespoons milk, ½ teaspoon peppermint extract. Spread over cooled brownies before cutting for a layered bar effect.
- Peppermint Patty brownies - press York Peppermint Patties halfway into the batter before baking for a molten mint center in every square.
- Grasshopper brownies - add ¼ teaspoon green food coloring to the batter for a festive St. Patrick's Day green color.
- Double chocolate mint - fold in ½ cup dark chocolate chips or chopped chocolate bar for extra pockets of melted chocolate.
- White chocolate drizzle - melt white chocolate and drizzle over the cooled brownies before cutting for a striking presentation.
- Gluten-free - substitute a 1:1 gluten-free flour blend. The texture will be slightly softer but still fudgy and delicious.
Make-Ahead & Storage
Make-Ahead
Mint brownies are actually better made a day ahead. The flavors deepen overnight and the texture firms up to that perfect fudgy consistency. Bake, cool completely in the pan, then cover tightly with plastic wrap at room temperature. Cut them the next day right before serving or gifting.
For holiday gifting, you can bake these up to 3 days ahead, keep them whole and uncut at room temperature, then cut and package them the morning you need them. They'll look and taste freshly baked.
Storage & Reheating
- Room temperature: store cut brownies in an airtight container with parchment paper between layers for up to 4 days. They actually get more fudgy on day 2 as the moisture redistributes.
- Refrigerator: stored in an airtight container, these keep for up to 1 week. Bring to room temperature for 15-20 minutes before serving for the best texture.
- Freezer: these freeze beautifully for up to 3 months. Cut into squares, wrap each one individually in plastic wrap, then place in a freezer-safe zip bag. Thaw at room temperature for about 30 minutes, they taste just as good as fresh.
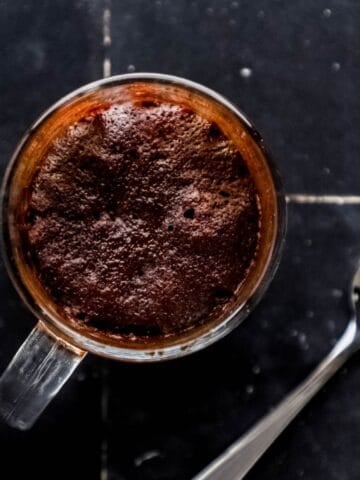
- Reheating: if you prefer a warm brownie, microwave an individual square for 10-12 seconds. Any longer and you risk drying them out.
What to Serve with Fudgy Mint Brownies
- A scoop of vanilla ice cream on top for a warm brownie sundae. Try it alongside No-Churn Vanilla Ice Cream for a fully homemade dessert moment.
- A cold glass of milk. Classic, simple, and honestly perfect.
- A holiday dessert platter alongside Pretzel Fudge, Fudgy Brownies, and Easy Chocolate Chip Cookies for a cookie exchange or Christmas gathering.
- Powdered sugar dusted over the top right before serving for a pretty, snowy holiday presentation.
- A drizzle of warm salted caramel for an elevated mint-chocolate-caramel combination that your guests will not stop talking about.
Frequently Asked Questions
Peppermint extract is made from peppermint oil and delivers a clean, bright, candy-cane style flavor. Mint extract is typically made from spearmint, which has a softer, more herbal flavor, think chewing gum or toothpaste. For these brownies, peppermint extract is what you want. It gives you that unmistakable cool, holiday-ready mint-chocolate taste.
The most common culprit is overbaking. Pull them when the toothpick has moist crumbs attached, not when it's clean. Other causes: overmixing the batter (develops gluten and makes them tough/cakey), too much flour (measure by spooning into the measuring cup and leveling off, never scooping), or baking at too high a temperature. When in doubt, pull them early and let them cool, they firm up.
Yes, and they freeze beautifully! Cut into squares, wrap each one individually in plastic wrap, then store in a freezer-safe zip bag for up to 3 months. Thaw at room temperature for 30 minutes. They taste just as good as the day they were baked. Sometimes, even better because the texture firms up perfectly in the freezer.
I use 1 teaspoon, which gives a clear mint flavor without being overwhelming. That said, peppermint extract varies significantly in strength by brand. Start with ¾ teaspoon if you're using a new brand, taste the batter before adding the eggs, and add more if needed. You can always add more, but can't take it out.
Absolutely, a peppermint buttercream is beautiful on these. Make it with 4 tablespoons softened butter, 1½ cups powdered sugar, 1-2 tablespoons milk, and ½ teaspoon peppermint extract. Spread over completely cooled brownies, let it set for 20 minutes, then cut. You can also drizzle with melted white chocolate for a stunning holiday look.
Yes! In a 9x13 pan your brownies will be thinner and bake faster. Start checking for doneness around 20-22 minutes instead of 25-28. They'll be more of a bar-style brownie, still delicious, just thinner. Great for a larger crowd.
They're one of the best treats to give as gifts. Cut them into neat squares, stack in a tin or box lined with parchment, and they travel and keep beautifully for up to 4 days at room temperature. They're especially popular during Christmas and St. Patrick's Day gift-giving season. Wrap individually in cellophane for a bakery-style presentation.
Dutch-process cocoa gives a deeper, richer, more fudgy chocolate flavor and is my first choice for brownies. Natural cocoa (like Hershey's standard) works too, the flavor will be slightly brighter and more acidic. Both give great results, but if you want the richest, darkest chocolate flavor, reach for Dutch-process.
A sunken center usually means they were pulled from the oven slightly underdone and then the center couldn't hold its structure as they cooled. The fix: make sure the edges have pulled from the pan, and the center looks set and no longer jiggly before pulling them. Also, don't open the oven door repeatedly during baking, temperature fluctuations cause sinking.
You don't have to, they keep perfectly at room temperature in an airtight container for up to 4 days. If your kitchen runs warm or you want them to last longer, the refrigerator extends their life by about a week. Bring them back to room temperature before serving for the best fudgy texture.
📖 Recipe
Fudgy Mint Brownies Recipe
Equipment
- 1 8x8-inch baking dish
- 2 Mixing bowls
- Parchment paper
Ingredients
- 2 cups all-purpose flour
- 1 cup light brown sugar
- ½ cup unsweetened cocoa powder
- 1 teaspoon baking powder
- ½ teaspoon sea salt
- 1 cup neutral oil (canola, avocado, etc.)
- 1 cup water
- ½ teaspoon peppermint extract
- 1 teaspoon vanilla extract
- 20 mint creme filled chocolate sandwich cookies, quartered
Instructions
- Preheat the oven to 350 degrees F. and line an 8 x 8-inch square baking pan with parchment paper. Set aside.
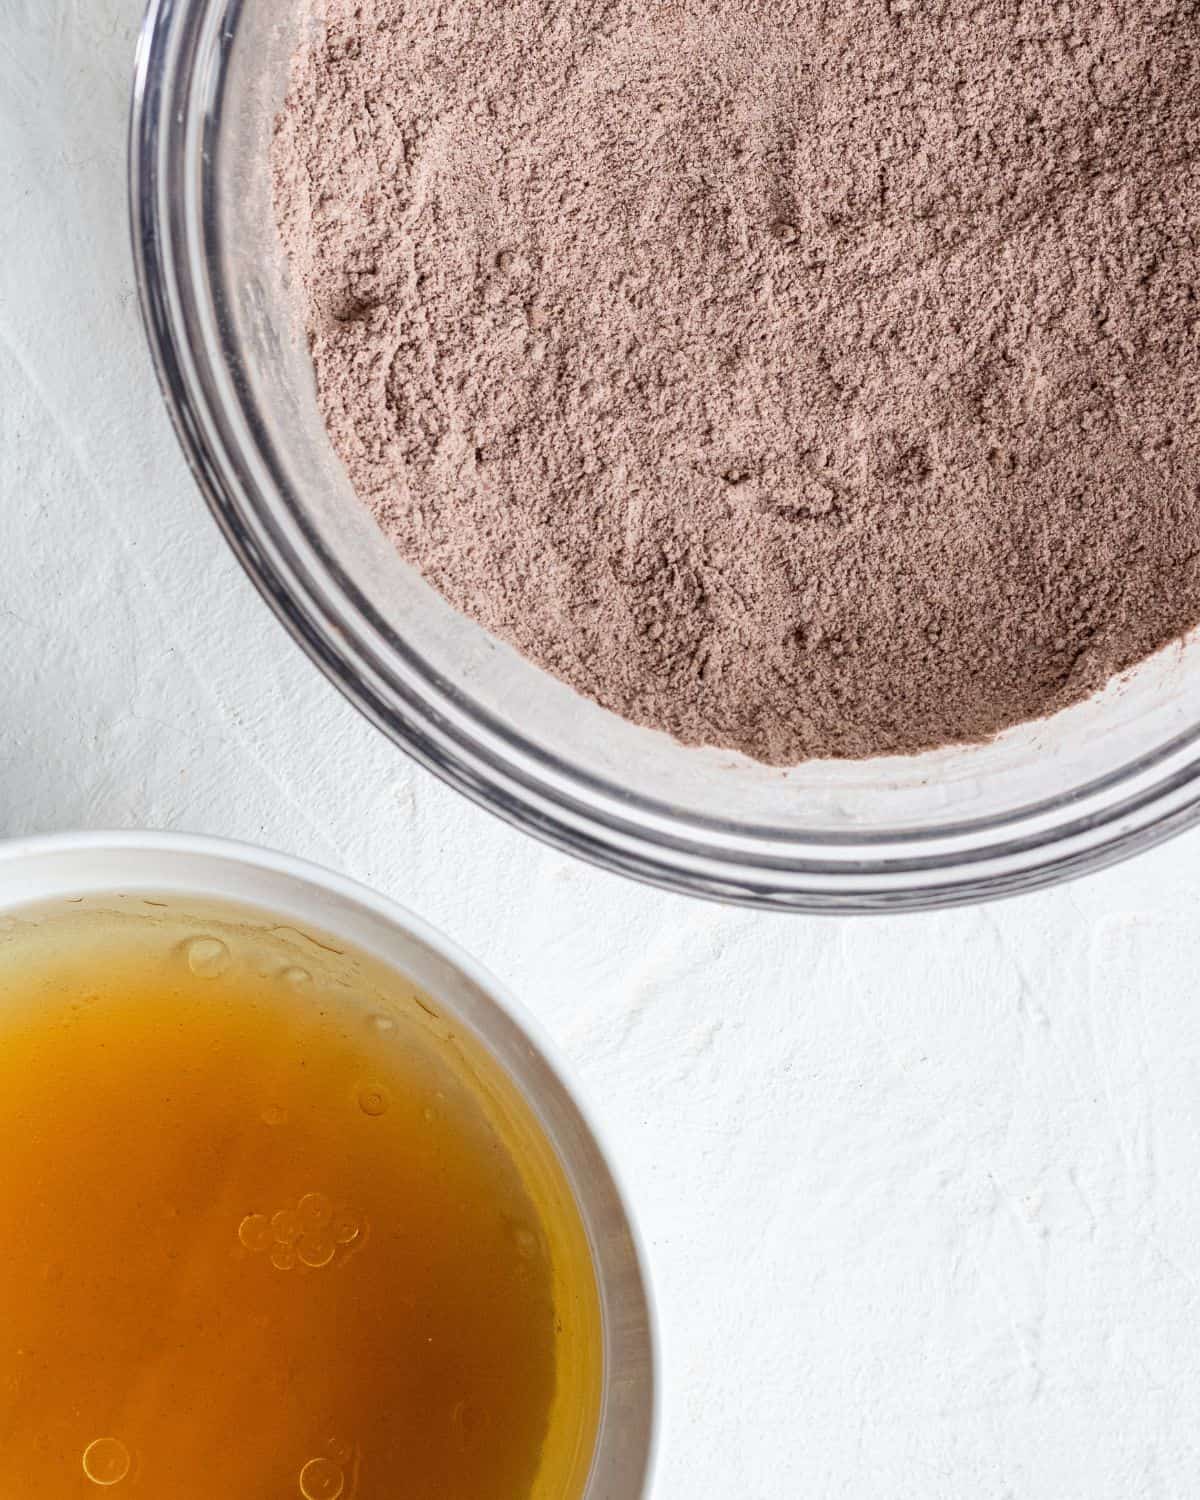
- In a medium-size bowl, whisk together the 2 cups all-purpose flour, 1 cup light brown sugar, ½ cup unsweetened cocoa powder, 1 teaspoon baking powder, and ½ teaspoon sea salt and set aside. In a separate small bowl whisk together the 1 cup oil, 1 cup water, ½ teaspoon peppermint extract, and 1 teaspoon vanilla extract until combined.
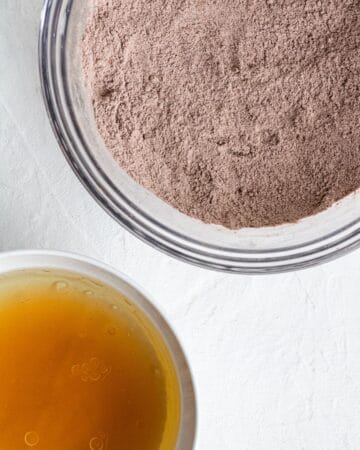
- Add the oil mixture into the flour mixture and stir with a wooden spoon until fully combined, careful not to over mix. Stir just until all the ingredients come together.

- Before you add the chocolate mint sandwich cookies to the brownie batter be sure to cut each cookie into quarters or place them in a Ziploc plastic bag and gently roll over the bag a few times with the rolling pin to break the cookies up just a little.
- Using a spatula, gently fold in the quartered 20 mint creme filled chocolate sandwich cookies until evenly distributed. Add the brownie mixture into the prepared pan and place in the oven to bake for 25 to 30 minutes or until a tester comes out clean.
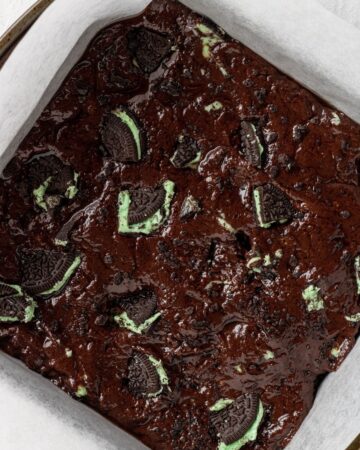
- Carefully remove the brownies from the oven and allow them to cool completely in the pan on a rack prior to cutting into squares and serving. Enjoy!
- Store any leftover brownies in cut up squares in an airtight container at room temperature up to 4 days.
Did You Make This Recipe?
If you give these fudgy mint brownies a try, I'd love to know what you think! Leave a star rating and a comment below, it genuinely helps me and helps other readers find this recipe. Share a photo on Instagram and tag @SimplyLaKita so I can see your beautiful brownies, or save it on Pinterest for later. Got questions? Ask me in the comments and I'll get back to you!

Sonya says
Yum!!! Chocolate and mint is always a tasty combo.
admin says
Thank you! It really is...I agree.
Akaleistar says
Those fudgy mint brownies look absolutely delicious!
admin says
Thank you 🙂