
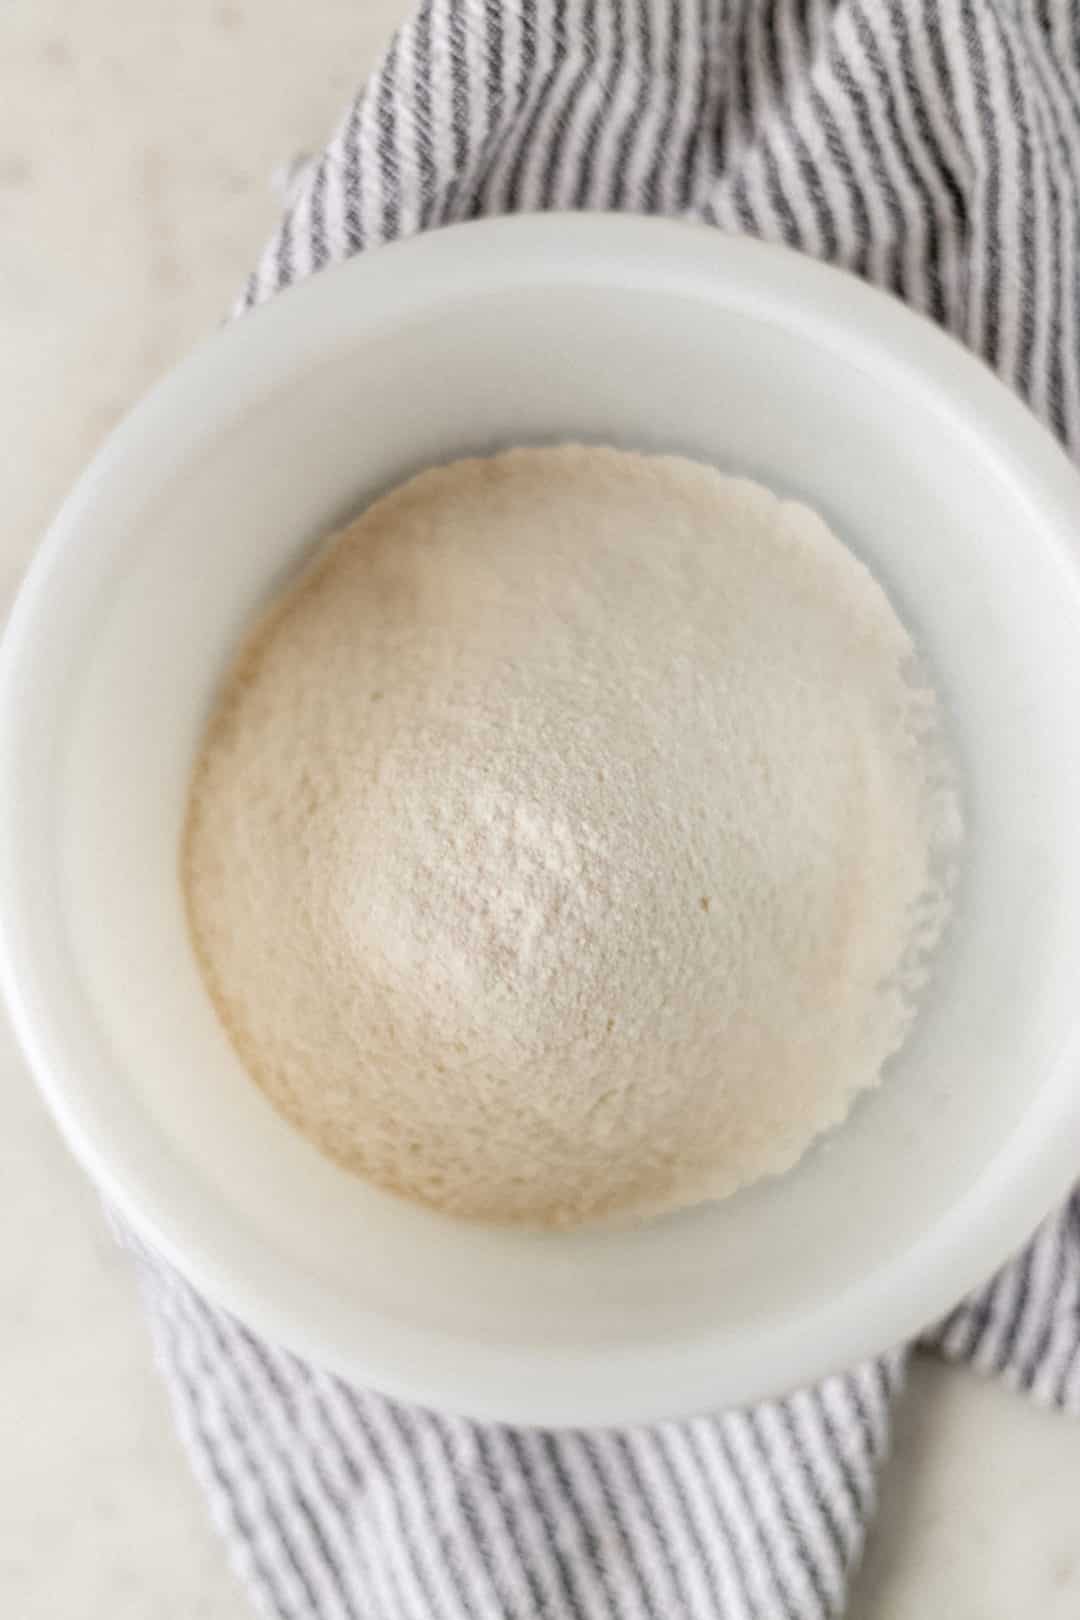
Self-Rising Flour Recipe is an easy homemade pantry staple made with all-purpose flour, baking powder, and salt. Ready in minutes, it's perfect for any recipe that calls for self-rising flour when you need a quick substitute.
Updated April 2026: I've refreshed this post with expanded tips, a full FAQ, storage guidance, and substitution ideas based on your questions and feedback. Originally posted September 18, 2019.
If you've ever been right in the middle of making biscuits or a cobbler and realized the recipe calls for self-rising flour and all you've got is all-purpose, I have been there. More times than I'd like to admit. This quick, easy self-rising flour recipe has saved me from more than a few mid-bake grocery store trips over the years, and once you make it yourself, you'll wonder why you ever bought it separately at all.
Growing up in the South, self-rising flour was just part of the kitchen vocabulary. It's in biscuits, cobblers, layer cakes, fried chicken batters, it's a staple. But when you run out, or when you're baking a recipe that calls for it and you just don't have it on hand, knowing how to make your own in five minutes flat is one of those little kitchen skills that just makes your life easier.
I've tested this substitution dozens of times across all kinds of recipes. From fluffy biscuits to peach cobbler to my 9-Layer Chocolate Cake, and this ratio works every single time. Three ingredients, one bowl, five minutes. Let's get started!
Jump to:
Why You'll Love This Self-Rising Flour Recipe
- Ready in 5 minutes - You don't have to stop what you're doing and run to the store. This comes together faster than the drive to the grocery store.
- Only 3 pantry staples - All-purpose flour, baking powder, and salt. Ingredients you almost certainly already have on hand right now.
- Works in any recipe - Use it anywhere self-rising flour is called for, biscuits, cobblers, pancakes, quick breads, and more.
- Make as much or as little as you need - The ratio scales perfectly whether you need 1 cup or 4 cups. No waste, no leftovers taking up pantry space.
Ingredients You'll Need
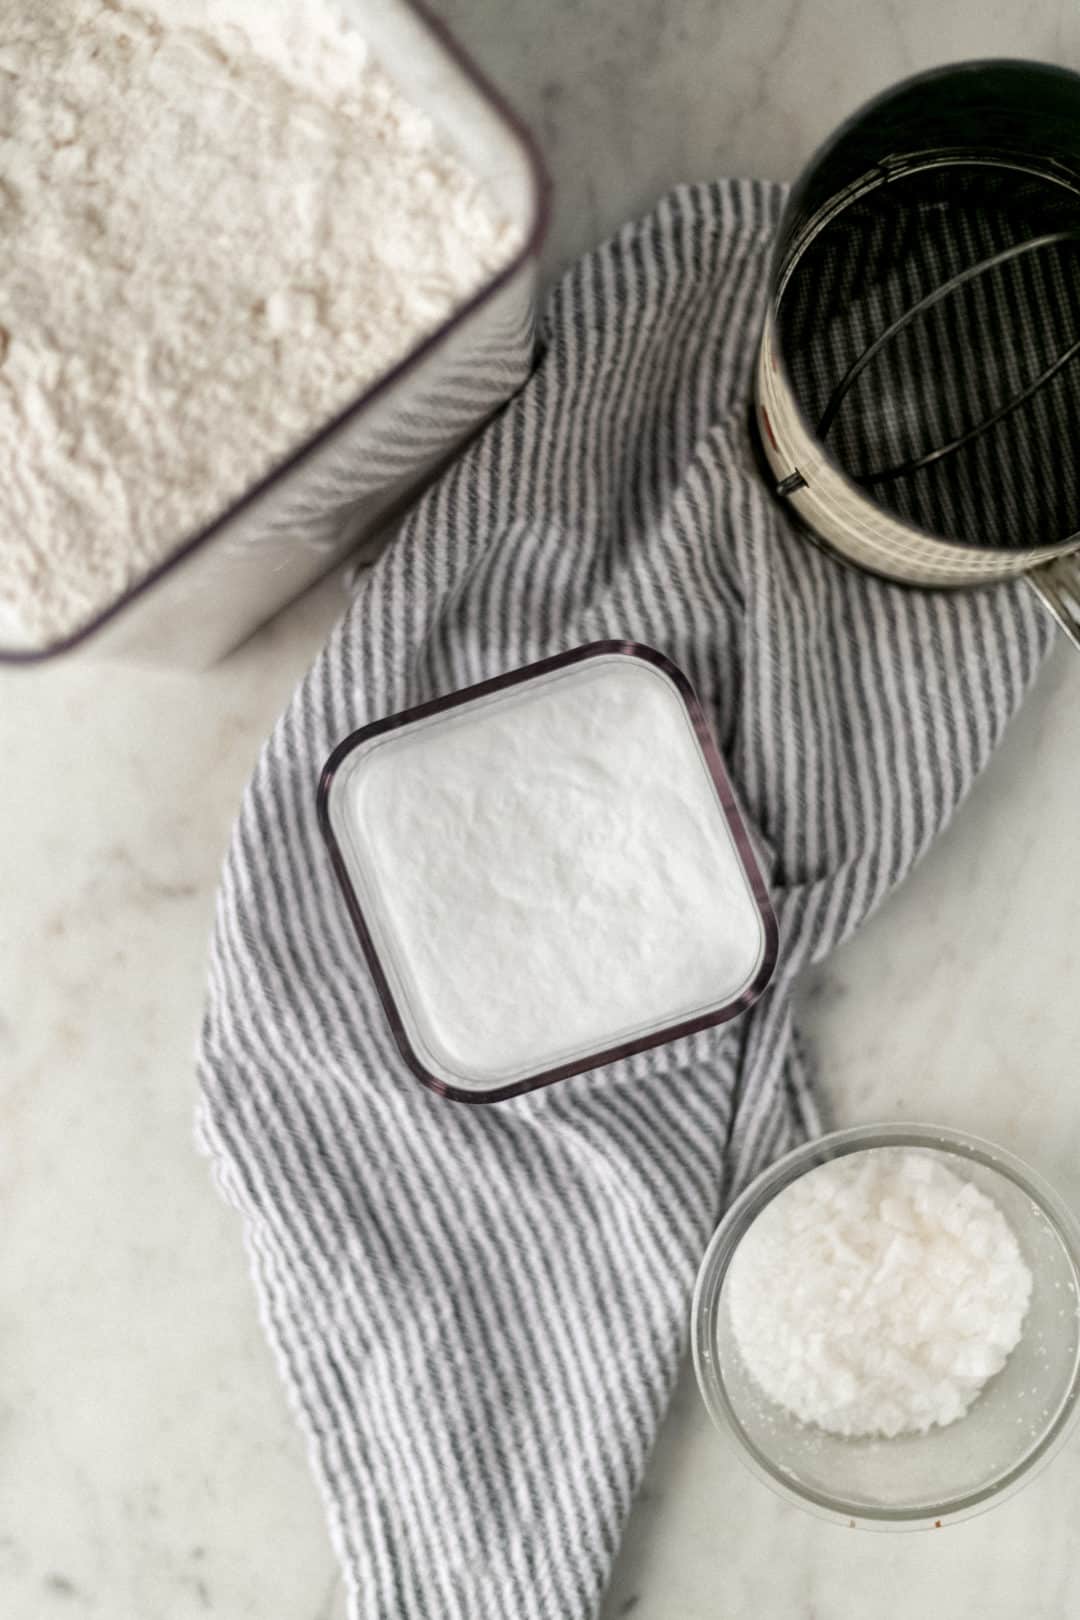
- All-purpose flour is the base. Self-rising flour is traditionally made from a softer, lower-protein wheat flour. Which is why brands like White Lily (a Southern staple) produce such tender, fluffy biscuits. All-purpose flour has a slightly higher protein content, which means your results will be just a tiny bit less tender, but for most recipes the difference is unnoticeable. If you want to get closer to that classic Southern self-rising flour texture, use cake flour or a pastry flour blend instead.
- Baking powder is what does the heavy lifting. It's the leavening agent that makes baked goods rise. The most important thing here: make sure your baking powder is fresh. If it's been sitting in your cabinet for more than 6-12 months, test it first by stirring a teaspoon into a cup of hot water. If it bubbles vigorously, it's still good. If not, replace it before using.
- Salt adds flavor and helps create a tender texture in the final baked good. A small amount goes a long way here. If you're watching your sodium intake, you can reduce it slightly, but don't skip it entirely, it affects both taste and texture.
👉🏾 See the recipe card below for exact quantities and full instructions.
How to Make Self-Rising Flour
Step 1: Measure Your Flour
Start by carefully measuring your all-purpose flour. The best method is to spoon flour into your measuring cup and then level it off with a straight edge. Don't scoop directly from the bag. Scooping packs the flour down and can result in using up to 20% more flour than the recipe intends, which throws off the whole ratio.
Step 2: Combine the Ingredients
Add the flour, baking powder, and salt to a medium bowl. Use a whisk (not a spoon) to combine everything together thoroughly. Whisk for at least 30 full seconds. You want the baking powder and salt completely and evenly distributed throughout the flour. Uneven distribution means uneven rise in your baked goods.
Step 3: Sift If Needed
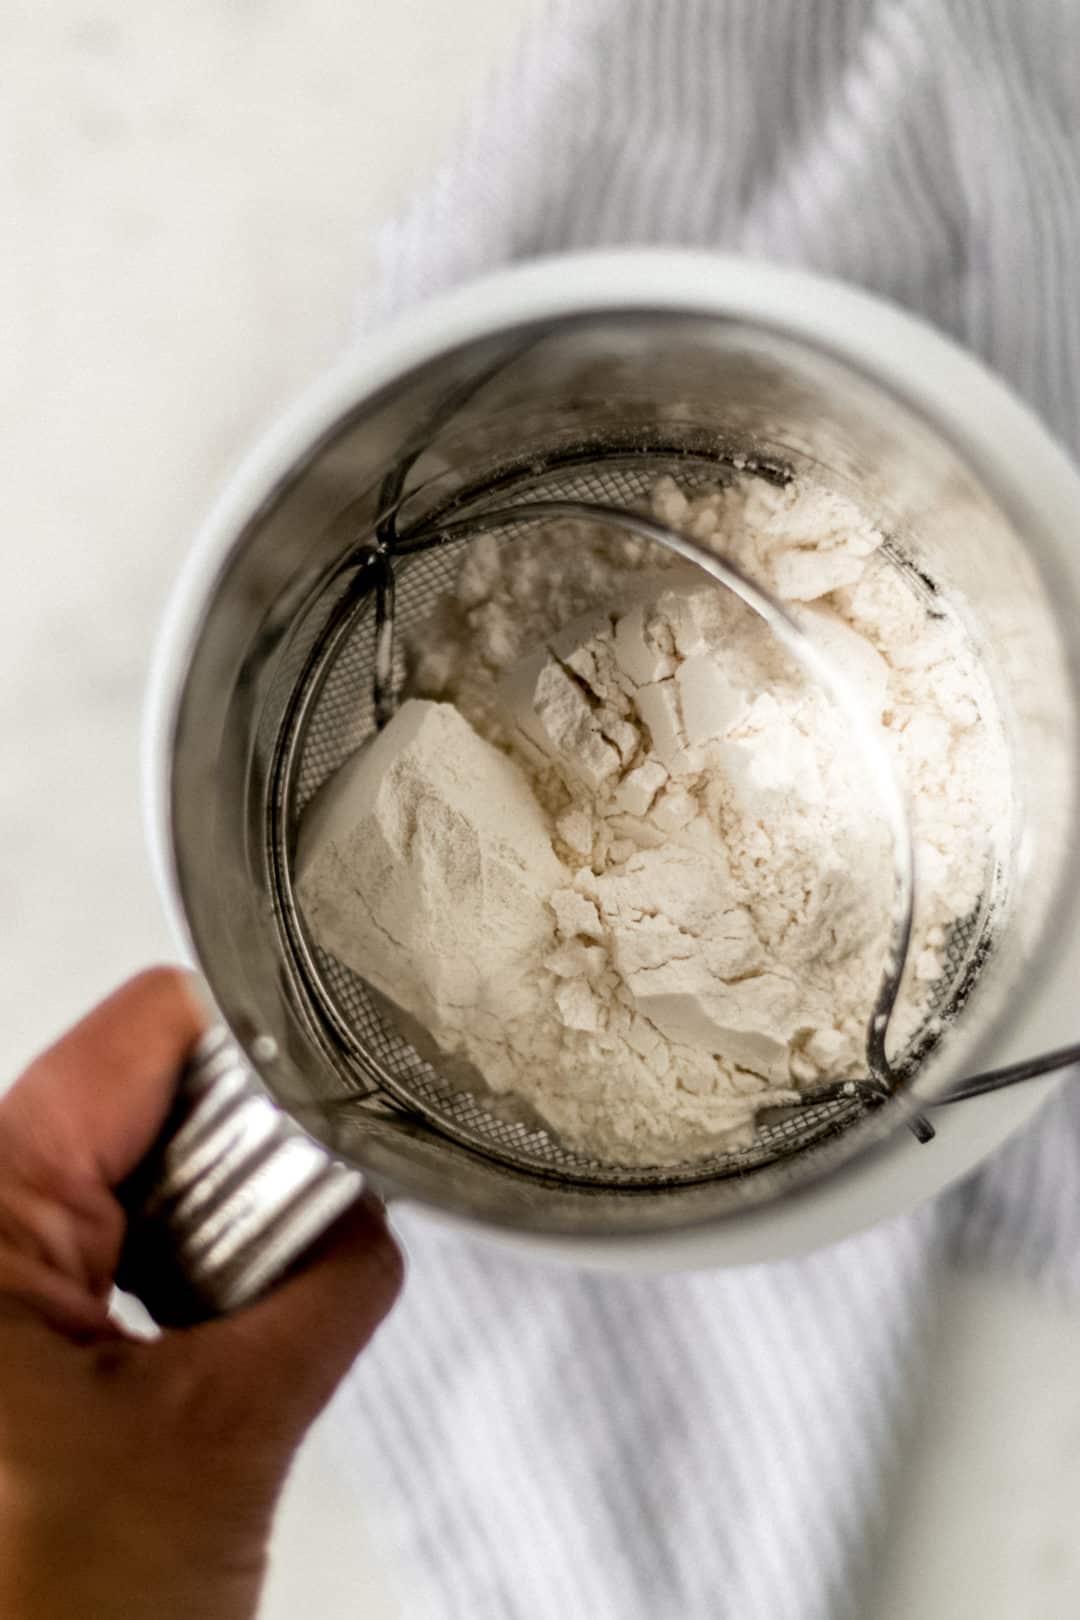
If your recipe calls for sifted flour, or if you want an extra-light result, run the mixture through a flour sifter or fine mesh strainer before using. This aerates the flour and ensures there are no lumps of baking powder hiding in the mix.
Step 4: Use Immediately or Store
Use right away in your recipe, or transfer to an airtight container and store at room temperature for up to 6 months. Label the container so you don't forget it has leavening in it. You'll want to know that before adding baking powder to your next recipe.
LaKita's Expert Tips
- Check your baking powder first. This is the single most important tip. Old or expired baking powder is the number one reason homemade self-rising flour fails. Test it before you mix, stir 1 teaspoon into hot water, and look for active bubbling.
- Whisk, don't stir. A whisk distributes the baking powder and salt far more evenly than a spoon. Spend an extra 20-30 seconds whisking and you'll get a much more consistent result in your baked goods.
- The cornstarch trick for softer results. If you're making something that really needs a tender crumb, like biscuits or a layer cake, replace 1 tablespoon of all-purpose flour per cup with 1 tablespoon of cornstarch before mixing. This lowers the protein content and mimics a lower-protein Southern flour.
- Don't add extra baking powder or salt to your recipe. When you use self-rising flour in a recipe, omit any additional baking powder and salt the recipe calls for. It's already in there.
- Scale the batch, but keep the ratio. For every 1 cup of all-purpose flour: 1½ teaspoons baking powder + ½ teaspoon salt. Double, triple, or quadruple as needed, the ratio stays the same.
- Label your storage container. If you make a big batch ahead of time, label the jar clearly. Self-rising flour looks identical to all-purpose, and using it in a recipe that calls for regular flour (and has its own leavening) can cause over-rising and a bitter taste.
- Use within 6 months. Baking powder loses its potency over time, so homemade self-rising flour has a shelf life. If your stored batch is older than 6 months, test the baking powder before using.
Want To Save This Recipe?
Variations & Substitutions
- Whole wheat self-rising flour - Substitute whole wheat flour 1:1 for the all-purpose flour. The result will be denser and nuttier in flavor, which works well in hearty quick breads and savory biscuits.
- Cake flour version (closest to Southern-style) - Use cake flour instead of all-purpose for the lightest, most tender result. This is the closest you can get to brands like White Lily without buying specialty flour.
- Gluten-free self-rising flour - Use a 1:1 gluten-free flour blend (like King Arthur Measure for Measure) in place of all-purpose. Results vary by brand, but this works well in most quick bread and biscuit recipes.
- UK self-raising flour conversion - This is the same thing! "Self-raising flour" is just the British spelling of self-rising flour. Use this recipe exactly as written for any UK recipe calling for self-raising flour.
- Reduce the salt - If you're sensitive to sodium or using this in a recipe that already has a lot of salty ingredients, you can reduce the salt to ¼ teaspoon per cup without affecting the rise.
- Oat flour variation - Substitute oat flour for all-purpose for a fiber-rich, slightly nutty alternative. Works best in muffins and pancakes rather than biscuits or cakes.
Make-Ahead & Storage
Make-Ahead
You can make a large batch of this self-rising flour ahead of time and store it so it's always ready when you need it. The recipe scales perfectly, just multiply the ratio (1½ teaspoons baking powder + ½ teaspoon salt per cup of flour) by however many cups you want to prep. I like keeping 4-6 cups on hand during baking season so I'm never caught without it mid-recipe.
Storage & Reheating
Transfer your homemade self-rising flour to an airtight container. A glass jar with a tight-fitting lid works beautifully and store it in a cool, dry place like your pantry. Properly stored, it will keep for up to 6 months at room temperature. For longer storage, you can keep it in the refrigerator, which extends the shelf life slightly. Just bring it to room temperature before using so the cold doesn't affect your dough or batter temperature. There's no reheating needed, just measure out what your recipe calls for and use it as you would store-bought self-rising flour.
What to Serve with Self-Rising Flour
- Biscuits and breakfast dishes - Self-rising flour is the backbone of classic Southern biscuits. Nothing better than a batch of scrambled eggs in the morning.
- Easy Peach Cobbler - Try it in Easy Peach Cobbler for a perfectly tender, biscuit-style topping that comes together in minutes.
- Mini Peach Cobbler - Individual portions are perfect for a crowd try a Mini Peach Cobbler using your homemade self-rising flour.
- Fried Okra - A light, crispy coating for Fried Okra that doesn't get heavy or greasy.
- 9-Layer Chocolate Cake - Self-rising flour gives my 9-Layer Chocolate Cake its signature thin, tender layers.
Frequently Asked Questions
Self-rising flour is all-purpose flour that has baking powder and salt pre-mixed into it. Because the leavening is already built in, recipes that use self-rising flour don't require you to add baking powder or salt separately. It's a staple in Southern baking and is commonly used in biscuits, cobblers, pancakes, and quick breads.
For every 1 cup of all-purpose flour, add 1½ teaspoons of baking powder and ½ teaspoon of salt. Whisk well to combine. This ratio scales, just multiply by however many cups your recipe needs.
No, self-rising flour does not contain baking soda. It contains baking powder (which is a combination of baking soda and an acid) plus salt. If your recipe calls for baking soda separately, you still need to add it, it's not included in self-rising flour.
Yes, but you'll need to adjust the recipe. When subbing self-rising flour for all-purpose, omit any baking powder and salt the recipe calls for, since it's already included in the self-rising flour. If the recipe also calls for baking soda, leave that in.
Stored in an airtight container in a cool, dry place, homemade self-rising flour will keep for up to 6 months. After that, the baking powder starts to lose its potency and your baked goods won't rise as well. If you're not sure how old your batch is, test a teaspoon of baking powder in hot water, if it bubbles, you're good.
Yes! "Self-raising flour" is the British term for the exact same thing as "self-rising flour." The recipe and ratio are identical. If a UK recipe calls for self-raising flour, use this homemade version exactly as written.
Absolutely, biscuits are one of the most classic uses for self-rising flour, especially in Southern cooking. Keep in mind that store-bought Southern brands like White Lily use a lower-protein soft wheat flour, which makes for an especially tender, fluffy biscuit. All-purpose flour will work great; if you want to get even closer to that classic soft texture, swap 1 tablespoon of flour per cup for cornstarch.
Too much leavening causes baked goods to rise too quickly and then collapse, and can leave a bitter, metallic taste. When using self-rising flour, always omit any additional baking powder and salt the recipe lists, it's already in the flour.
Yes! Use a 1:1 gluten-free all-purpose flour blend (like King Arthur Measure for Measure or Bob's Red Mill 1:1) in place of the all-purpose flour, keeping the baking powder and salt amounts the same. Results can vary slightly by brand, but this works well for most quick breads, muffins, and pancakes.
The most likely culprit is expired or old baking powder. Baking powder loses its potency over time, especially once opened. Always test it first by stirring a teaspoon into hot water, if it doesn't bubble vigorously, replace it. Flat results can also happen if the dough or batter was overmixed, which develops too much gluten and prevents proper rising.
📖 Recipe
Self-Rising Flour Recipe
Equipment
- 1 Flour sifter
Ingredients
- 1 cup all-purpose flour
- 1 ½ teaspoon baking powder
- ½ teaspoon salt
Instructions
- Using a medium bowl, place the flour sifter over and process 1 cup of all-purpose flour through.
- Stir in the 1 ½ teaspoon baking powder and ½ teaspoon salt.
- Use in any recipe or store in an airtight container at room temperature.
Did You Make This Recipe?
If you give this self-rising flour recipe a try, I'd love to know what you think! Leave a comment below, share a photo on Instagram and tag @SimplyLaKita, or save it on Pinterest for later. And if you have a recipe you love making with self-rising flour, drop it in the comments. I'm always looking for new ideas to add to the rotation!
Leave a Reply