
There's something about mint chocolate chip ice cream that takes me straight back to summer evenings as a kid. A scoop in a cone, melting just fast enough to keep you on your toes. It was always my favorite flavor at the ice cream shop, and I've spent years perfecting a homemade version I can make any time the craving hits, no ice cream maker required.
Updated February 2026: I've refreshed this post with a full no-churn technique guide, tips for avoiding icy texture, a color and flavor guide, and expanded FAQs based on your questions. Originally posted October 15, 2021.
This no-churn mint chocolate chip ice cream uses a simple base of heavy whipping cream and sweetened condensed milk, which gives you a genuinely creamy, scoopable result without any of the complicated custard-making or special equipment of traditional ice cream. I've made this dozens of times and tested the texture, the mint level, and the chocolate chip situation thoroughly, this recipe gets it right.
The best part? You can have this in the freezer in about 10 minutes of active work. The freezer does the rest. Whether it's a summer evening, a holiday peppermint treat, or just a random Tuesday when you need mint chocolate in your life. Let's get started!
Jump to:
- What Is No-Churn Ice Cream?
- Why You'll Love This No-Churn Mint Chocolate Chip Ice Cream
- Ingredients You'll Need
- How to Make No-Churn Mint Chocolate Chip Ice Cream
- The Color Guide (Natural vs. Food Coloring)
- Why Is My No-Churn Ice Cream Icy? Texture Troubleshooting
- Can I Use Fresh Mint Instead of Extract?
- Expert Tips
- Variations & Substitutions
- Make-Ahead & Storage
- What to Serve with Mint Chocolate Chip Ice Cream
- Frequently Asked Questions
- 📖 Recipe
- Did You Make This Recipe?
What Is No-Churn Ice Cream?
No-churn ice cream is homemade ice cream made without an ice cream maker. Instead of the traditional custard base (which requires cooking eggs, cream, and sugar together and then churning the mixture while it freezes), no-churn ice cream relies on two key ingredients to achieve a creamy, scoopable texture:
- Heavy whipping cream - whipped to stiff peaks, the air incorporated into the cream mimics what the churning process does in a traditional ice cream maker. The air pockets are what give ice cream its light, scoopable texture instead of a frozen solid block.
- Sweetened condensed milk - this provides sweetness, fat, and the liquid base that binds the ice cream. Its high sugar content also lowers the freezing point of the mixture, which prevents the ice cream from freezing completely solid and keeps it scoopable.
The technique is simple: whip the cream, fold in the sweetened condensed milk and flavorings gently, add mix-ins, and freeze for at least 6 hours. The result is a genuinely creamy, flavorful ice cream that rivals what comes out of a machine.
Why You'll Love This No-Churn Mint Chocolate Chip Ice Cream
- No ice cream maker needed - just a bowl, a hand mixer or stand mixer, and a freezer-safe container.
- Genuinely creamy texture - the whipped cream base gives you real scoopable ice cream, not a frozen icy block.
- Ready in minutes of work - about 10 minutes of active prep, then the freezer handles everything else. You'll have ice cream by tomorrow.
- Two perfect seasons - cool and refreshing for summer, and peppermint-perfect for the holidays. This recipe works year-round.
Ingredients You'll Need
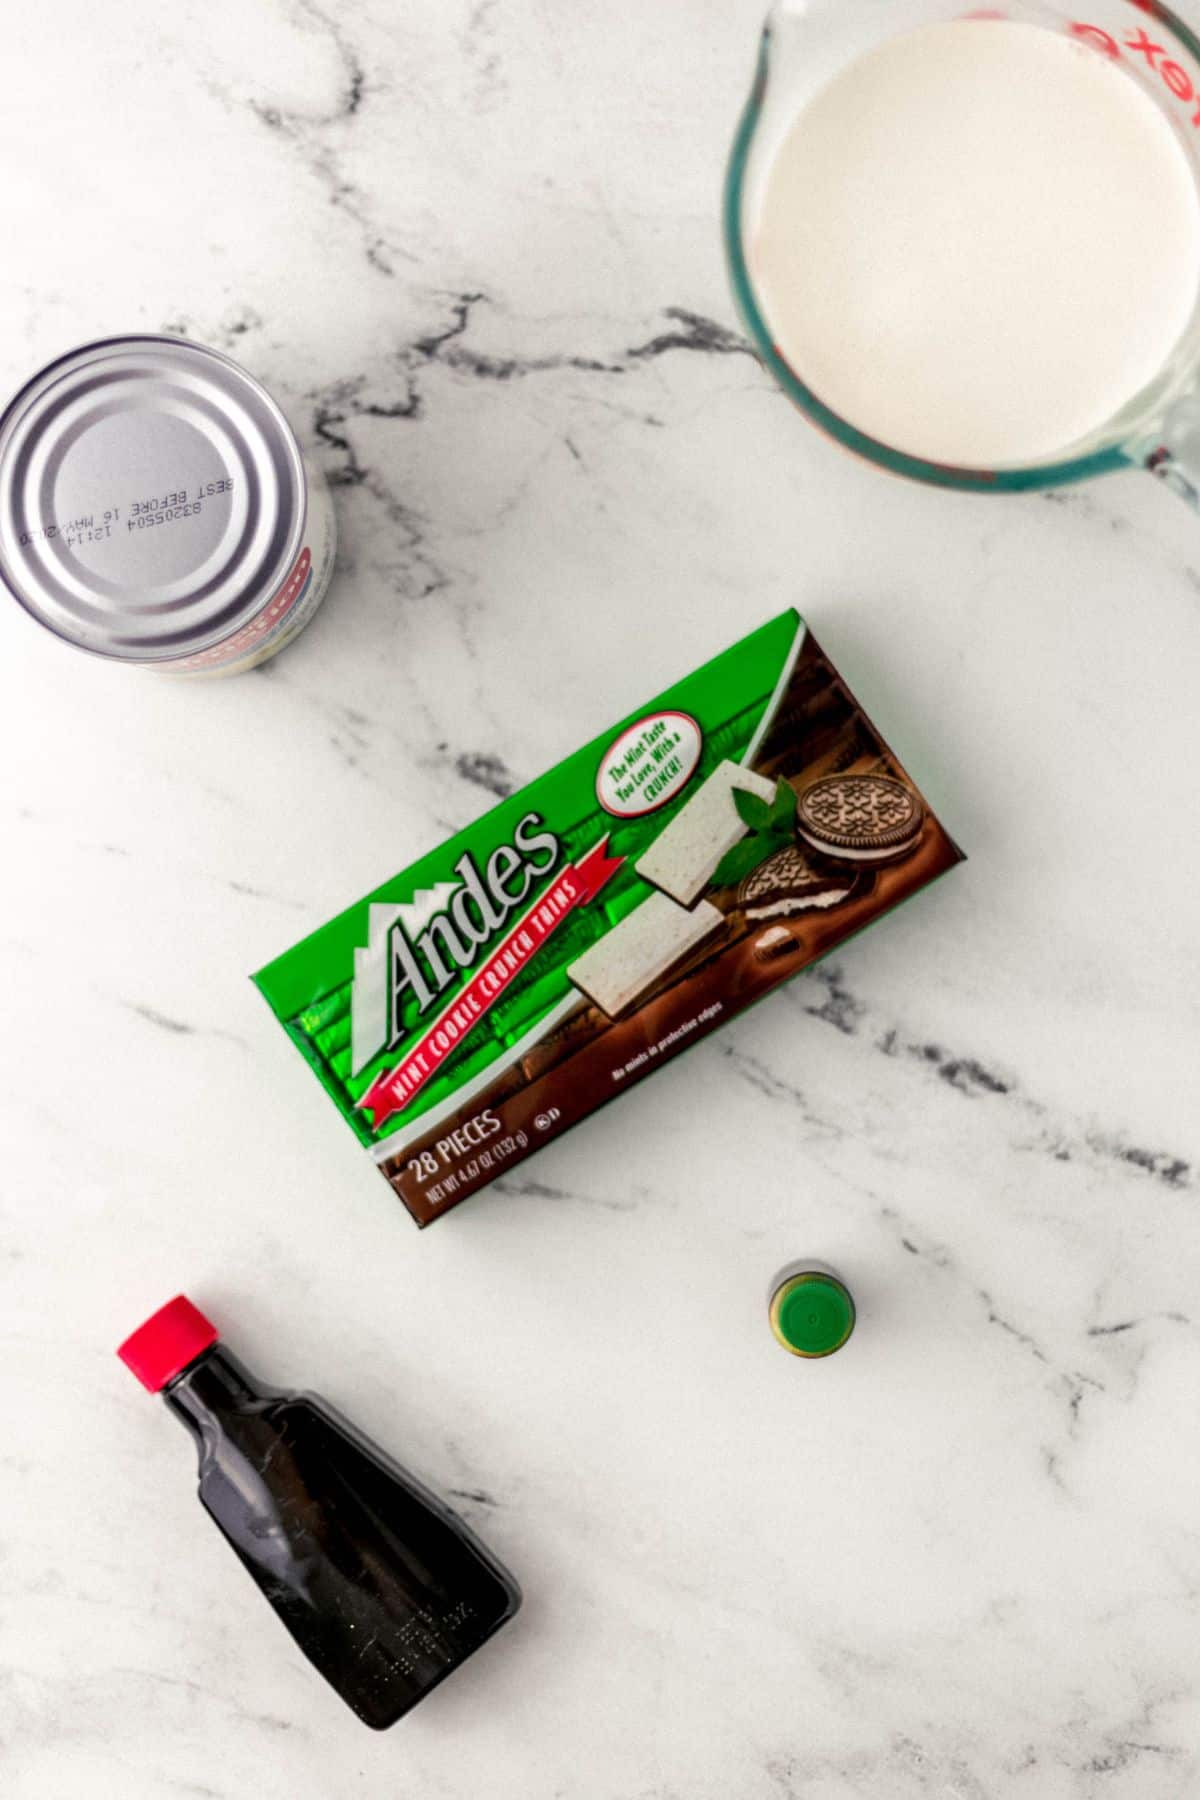
- Heavy whipping cream (at least 36% fat content) is the foundation of this recipe. It needs to whip to stiff peaks, which requires the high fat content. Don't substitute with half-and-half or regular whipping cream. Make sure your cream is very cold before whipping, keep it in the refrigerator until the moment you start.
- Sweetened condensed milk (one 14-ounce can) provides the sweetness and the creamy, fudgy base. Do not substitute with evaporated milk, they are very different products, and evaporated milk will not give you the same result.
- Peppermint extract is what gives this ice cream its signature cool, minty flavor. Use peppermint extract, not mint extract (which tastes closer to spearmint). Start with 1 teaspoon, you can always add more. Peppermint extract varies significantly in strength by brand.
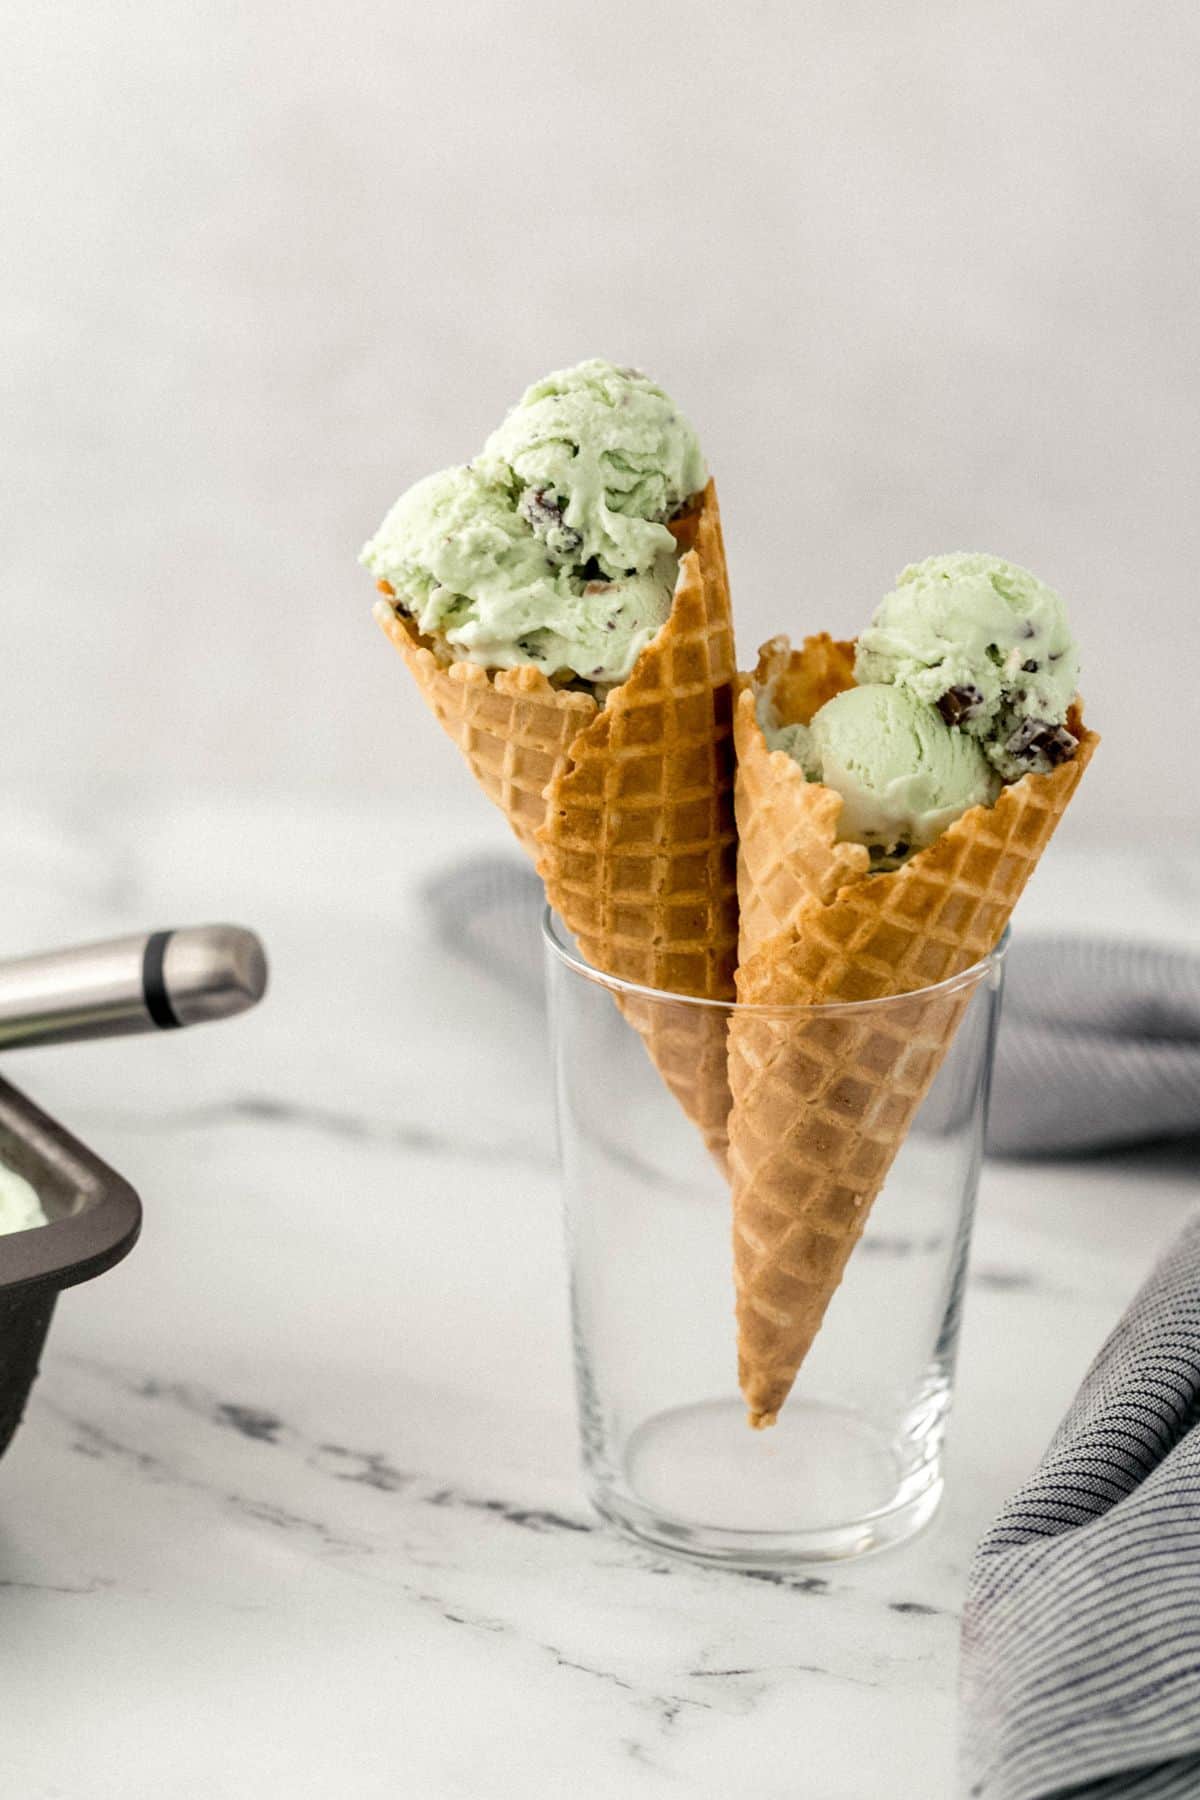
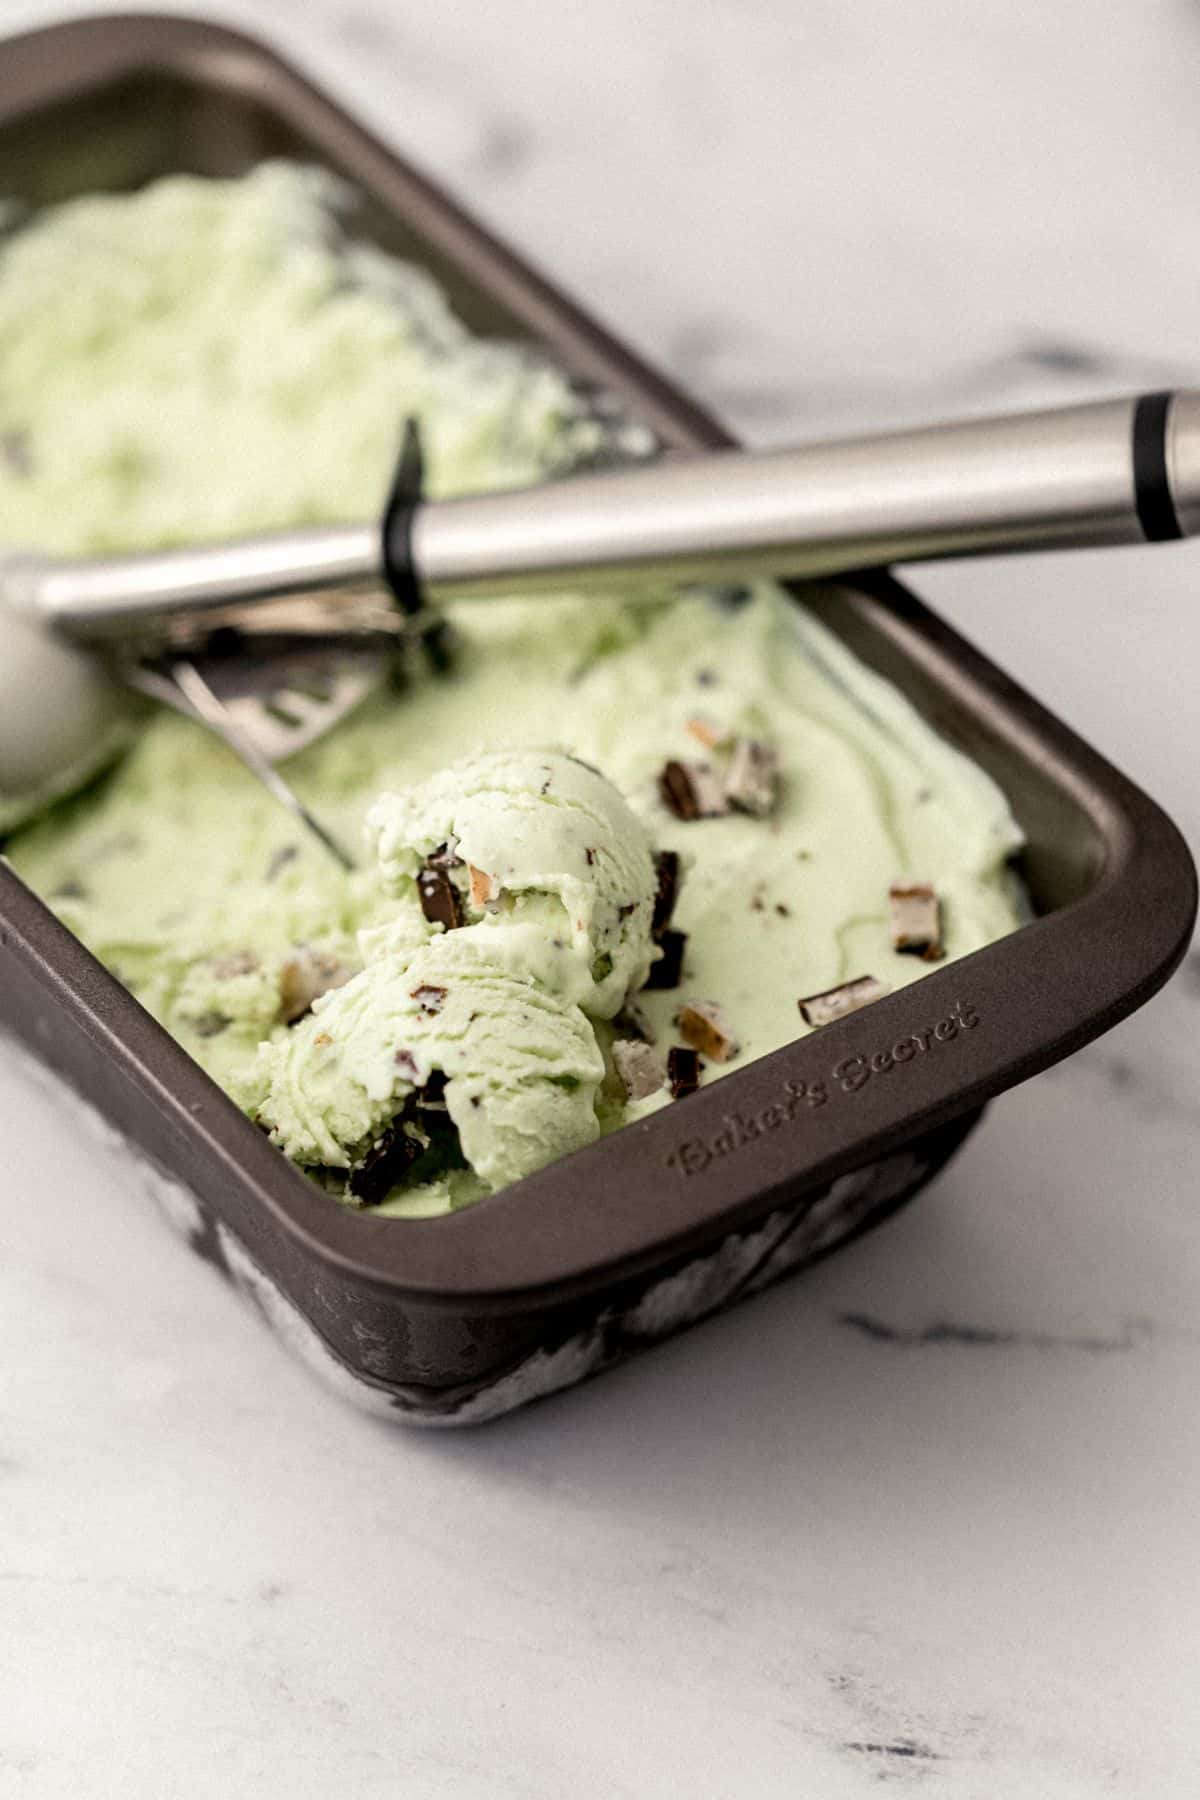
- Mini chocolate chips or chopped chocolate distribute more evenly throughout the ice cream than regular-sized chips. They also freeze with a satisfying crunch rather than becoming chewy.
- Green food coloring is optional but traditional for mint chocolate chip ice cream. A few drops of green gel food coloring give you that classic color. See the color guide below for natural alternatives.
👉🏾 See the recipe card below for exact quantities and full instructions.
How to Make No-Churn Mint Chocolate Chip Ice Cream
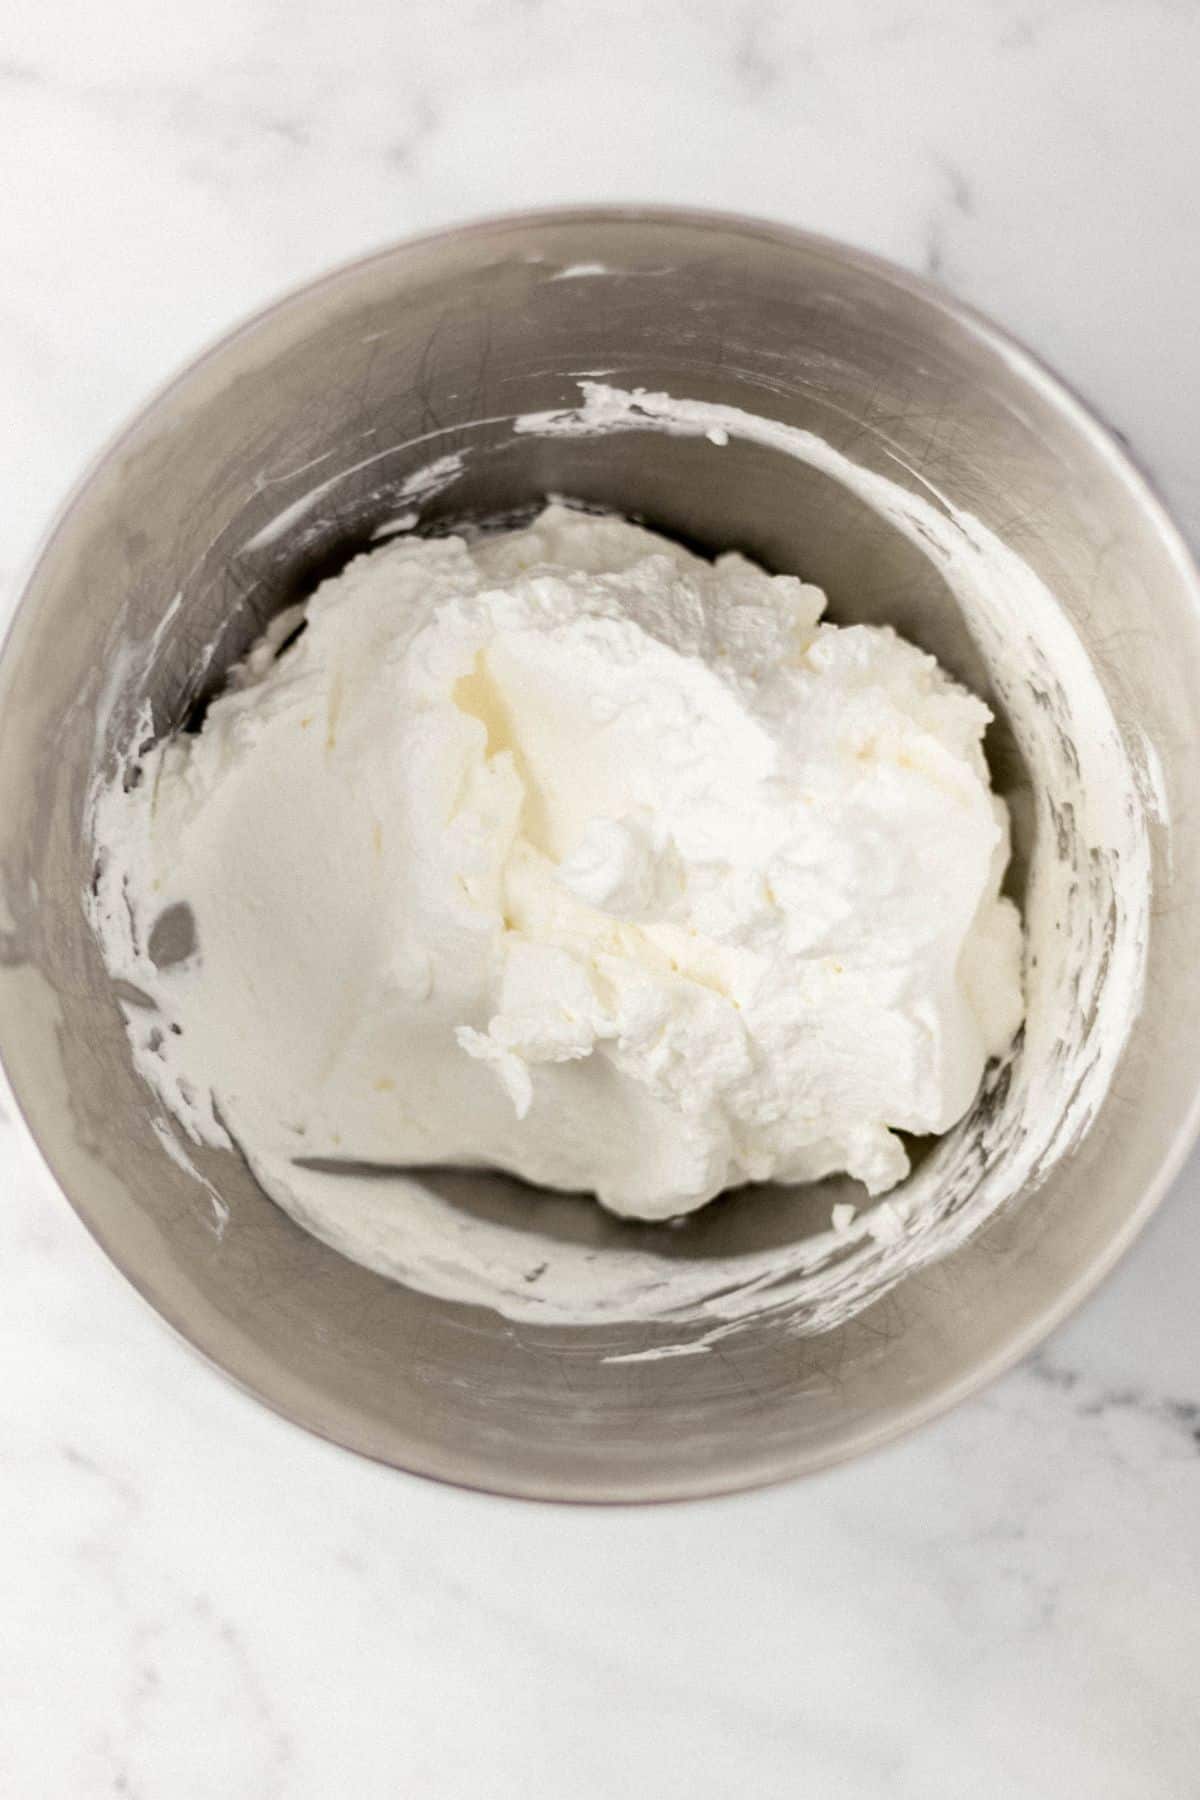
Step 1: Whip the Heavy Cream to Stiff Peaks
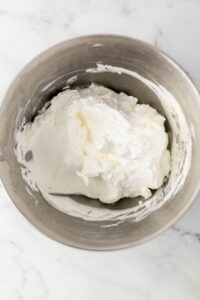
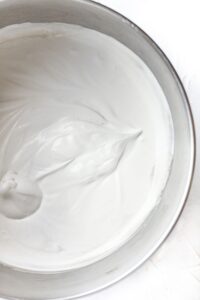
Pour your very cold heavy cream into a large, chilled bowl and whip on medium-high speed until stiff peaks form. When you lift the beaters, the cream should hold a firm peak that doesn't fall over. Don't under-whip (your ice cream will be dense and icy) or over-whip (the cream will break and become grainy). Stop as soon as the peaks stand firm.
Step 2: Mix the Sweetened Condensed Milk and Flavoring
In a separate bowl, whisk together the sweetened condensed milk, peppermint extract, food coloring (if using), and a pinch of salt until combined. Taste it, this is the moment to adjust the mint level before the cream goes in. Add more peppermint extract ¼ teaspoon at a time if you want a stronger mint flavor.
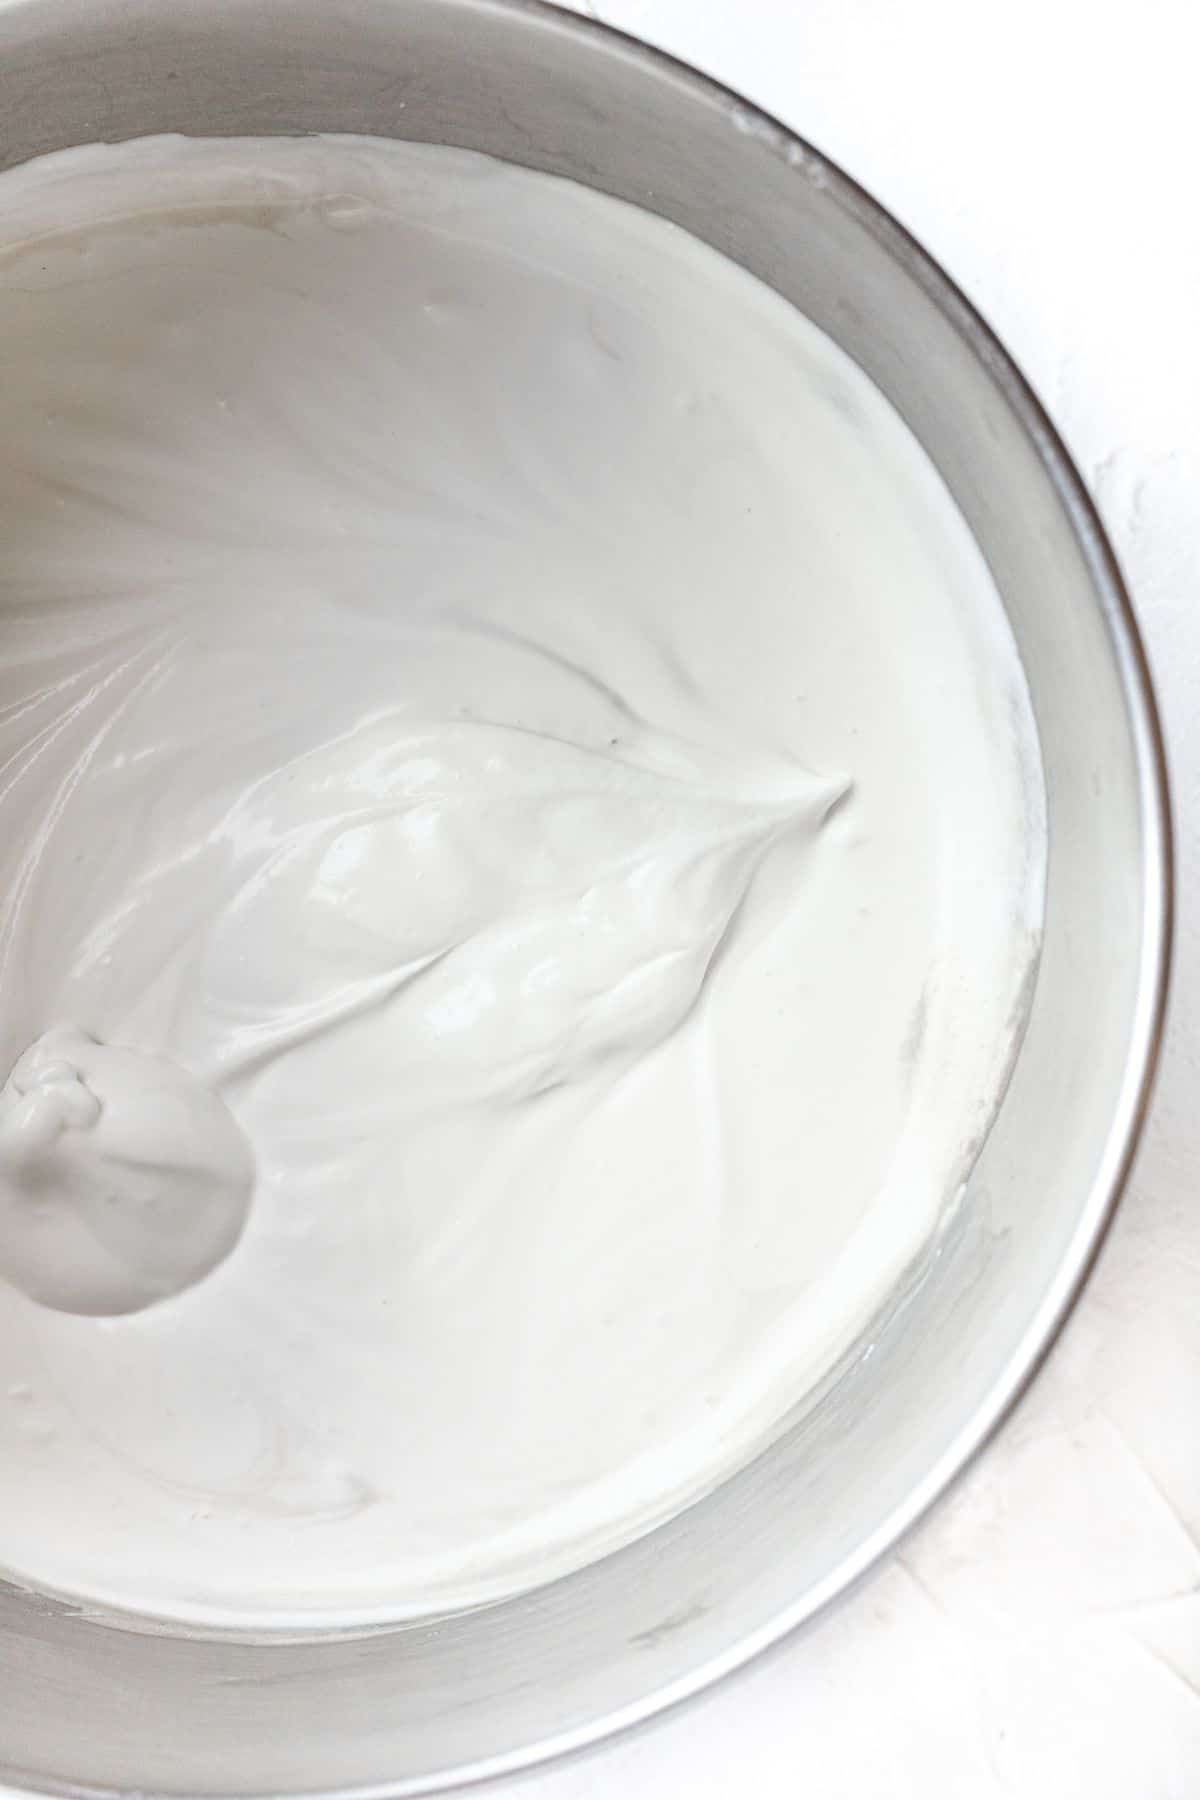
Step 3: Fold Together, Gently
This step is critical. Add the sweetened condensed milk mixture to the whipped cream and fold with a rubber spatula using large, gentle strokes. You want to combine them without deflating the whipped cream. The air you've incorporated is what makes this ice cream creamy rather than icy. Fold until just combined with no visible streaks. Don't stir, don't whisk, and don't rush this step.
Step 4: Fold in the Chocolate Chips
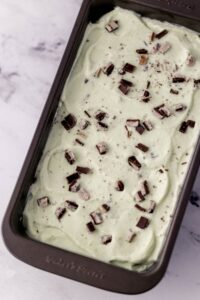
Add the mini chocolate chips and fold gently. Again, large, gentle strokes to preserve the air in the mixture. Distribute them evenly throughout.
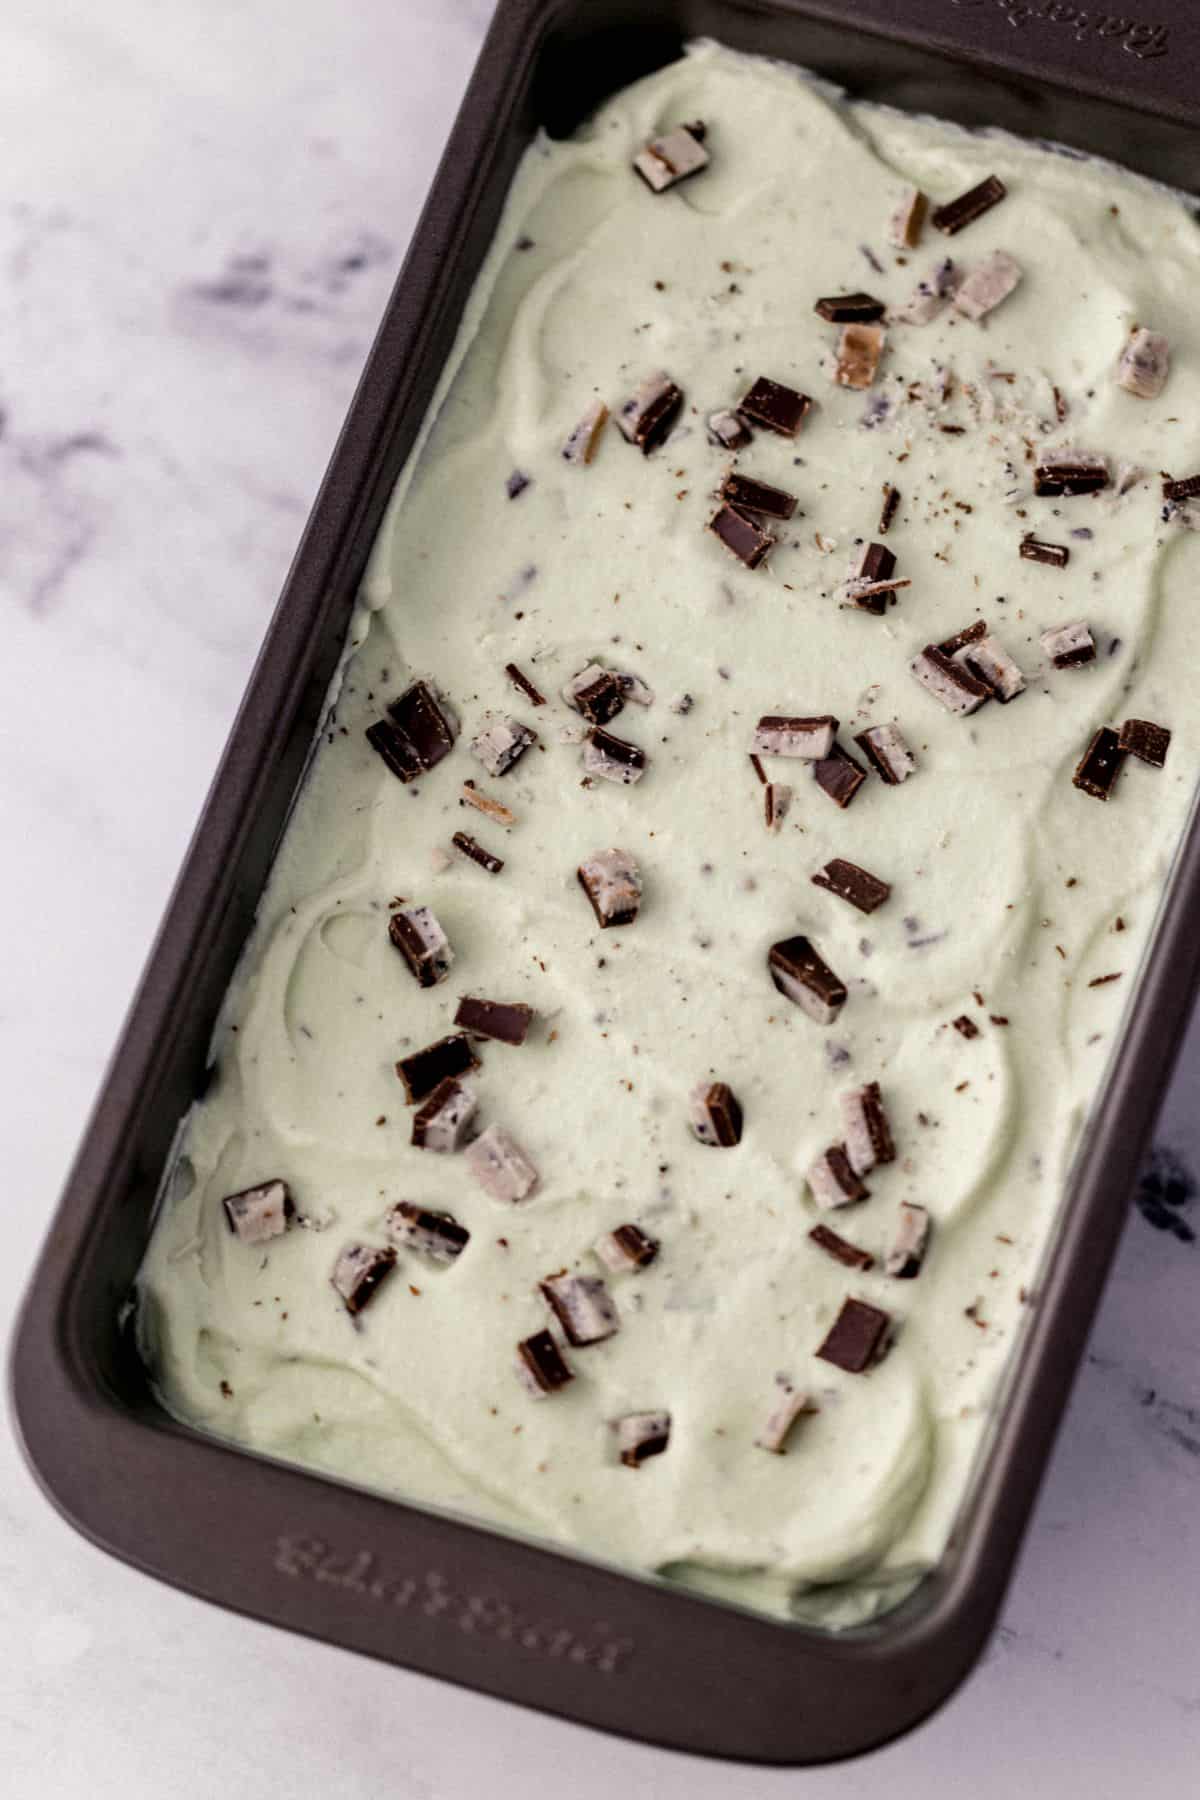
Step 5: Freeze for at Least 6 Hours
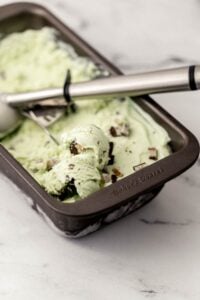
Pour the mixture into a loaf pan or freezer-safe container with a tight-fitting lid. Smooth the top with a spatula and press plastic wrap directly onto the surface of the ice cream before putting the lid on. This prevents ice crystals from forming on top. Freeze for at least 6 hours, preferably overnight, before scooping. The longer it freezes, the firmer and creamier it becomes.
The Color Guide (Natural vs. Food Coloring)
Classic mint chocolate chip ice cream is green, but you have options:
- Green gel food coloring - the easiest approach. A few drops of green gel food coloring gives you that classic bright green. Gel food coloring is more concentrated than liquid and won't thin the mixture.
- Spinach powder - yes, really! A teaspoon of spinach powder stirred into the condensed milk base gives a subtle natural green color with absolutely no spinach flavor. It's completely neutral in taste and increasingly popular for naturally-colored ice cream.
- No coloring - perfectly delicious. Without coloring, the ice cream is a pale ivory. It still tastes exactly the same. Some people actually prefer it because it looks more artisan and homemade.
- Matcha - a small amount of culinary-grade matcha gives a soft green color and adds a gentle earthy note that pairs beautifully with the peppermint.
Why Is My No-Churn Ice Cream Icy? Texture Troubleshooting
Icy texture is the most common issue with no-churn ice cream, and it almost always comes from one of these causes:
- The cream wasn't whipped to stiff peaks - under-whipped cream doesn't have enough air incorporated and the ice cream freezes denser and icier. Whip until peaks stand firm.
- The folding was too aggressive - stirring or whisking the cream and condensed milk together deflates the whipped cream and collapses the air structure. Use large, gentle folds with a rubber spatula.
- The container wasn't sealed properly- ice crystals form when the ice cream is exposed to air. Press plastic wrap directly onto the surface before putting the lid on.
- It wasn't frozen long enough - no-churn ice cream needs at least 6 hours and ideally overnight. Pulling it too early gives you a semi-frozen, slushy texture.
- The freezer temperature is inconsistent - if the freezer door opens frequently, the ice cream partially thaws and refreezes in cycles, which creates ice crystals. Store it toward the back of the freezer for the most consistent temperature.
Want To Save This Recipe?
Can I Use Fresh Mint Instead of Extract?
You can, but the technique is different. To infuse fresh mint flavor, heat the sweetened condensed milk gently in a small saucepan with a handful of fresh mint leaves until just simmering, then remove from heat and let the mint steep for 20-30 minutes. Strain out the leaves and let the infused milk cool completely before using. The flavor will be softer and more herbal than peppermint extract. Closer to a fresh, natural mint flavor. Both are delicious it just depends on the mint intensity you prefer.
Expert Tips
Here are my best tips for the creamiest, most flavorful no-churn ice cream.
- Keep the heavy cream very cold until the moment you start whipping, warm cream won't whip properly.
- Chill your mixing bowl in the freezer for 10 minutes before whipping. This helps the cream whip faster and hold its structure better.
- Fold, don't stir. Folding preserves the air in the whipped cream. Stirring collapses it.
- Press plastic wrap directly onto the ice cream surface before sealing. This is the single most important step for preventing icy texture.
- Let the ice cream sit at room temperature for 5 minutes before scooping. No-churn ice cream freezes slightly firmer than churned and benefits from a brief softening.
- Start with less peppermint extract than you think you need. The flavor intensifies slightly as the ice cream freezes, what tastes mild in the bowl will taste stronger frozen.
Variations & Substitutions
- Peppermint candy cane ice cream - fold in ½ cup crushed candy canes in place of (or alongside) the chocolate chips for a festive holiday version.
- Mint Oreo ice cream - fold in 1 cup roughly crushed Oreos for a cookies-and-cream mint mashup.
- Dark chocolate mint - use chopped dark chocolate (70% or higher) instead of chocolate chips for a more sophisticated, less sweet flavor.
- Chocolate dipped serving - scoop into balls, freeze solid on a parchment-lined pan, then dip in melted dark chocolate for homemade mint chocolate ice cream bars.
Make-Ahead & Storage
Make-Ahead
This ice cream is entirely made ahead. It needs at least 6 hours in the freezer before serving. It's also at its absolute best on day 2, after it's had time to fully set and develop a smooth, creamy scoopable texture. Make it the day before any gathering for the best results.
Storage
Store in a freezer-safe container with a tight-fitting lid, plastic wrap pressed directly onto the surface. It keeps beautifully for up to 2 weeks in the freezer. After 2 weeks, ice crystal formation can start to affect the texture. Let it sit at room temperature for 5 minutes before scooping if it's been in the freezer for more than a few days.
What to Serve with Mint Chocolate Chip Ice Cream
- Warm brownies underneath for a mint chocolate chip brownie sundae. Serve with Fudgy Mint Brownies or Fudgy Brownies for the ultimate combination.
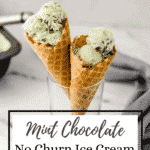
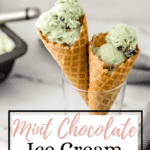
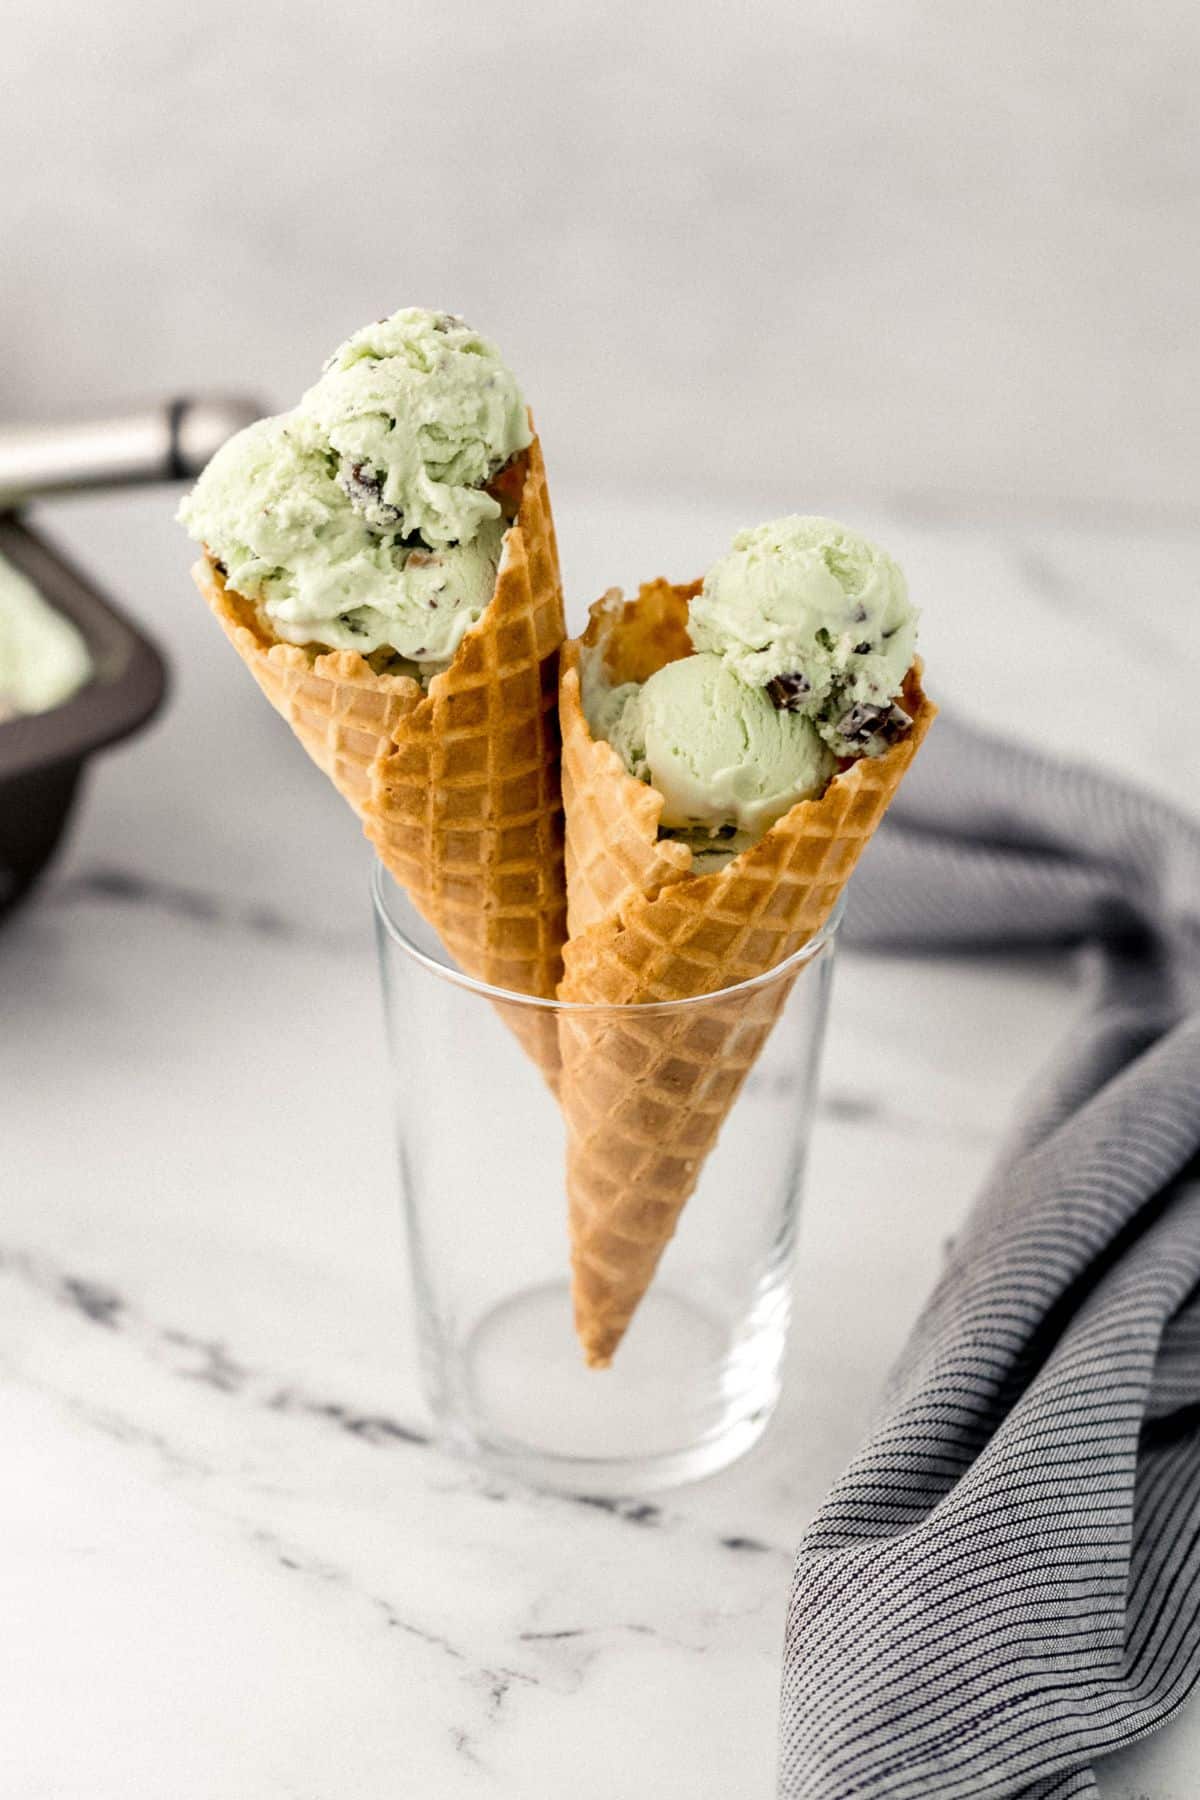
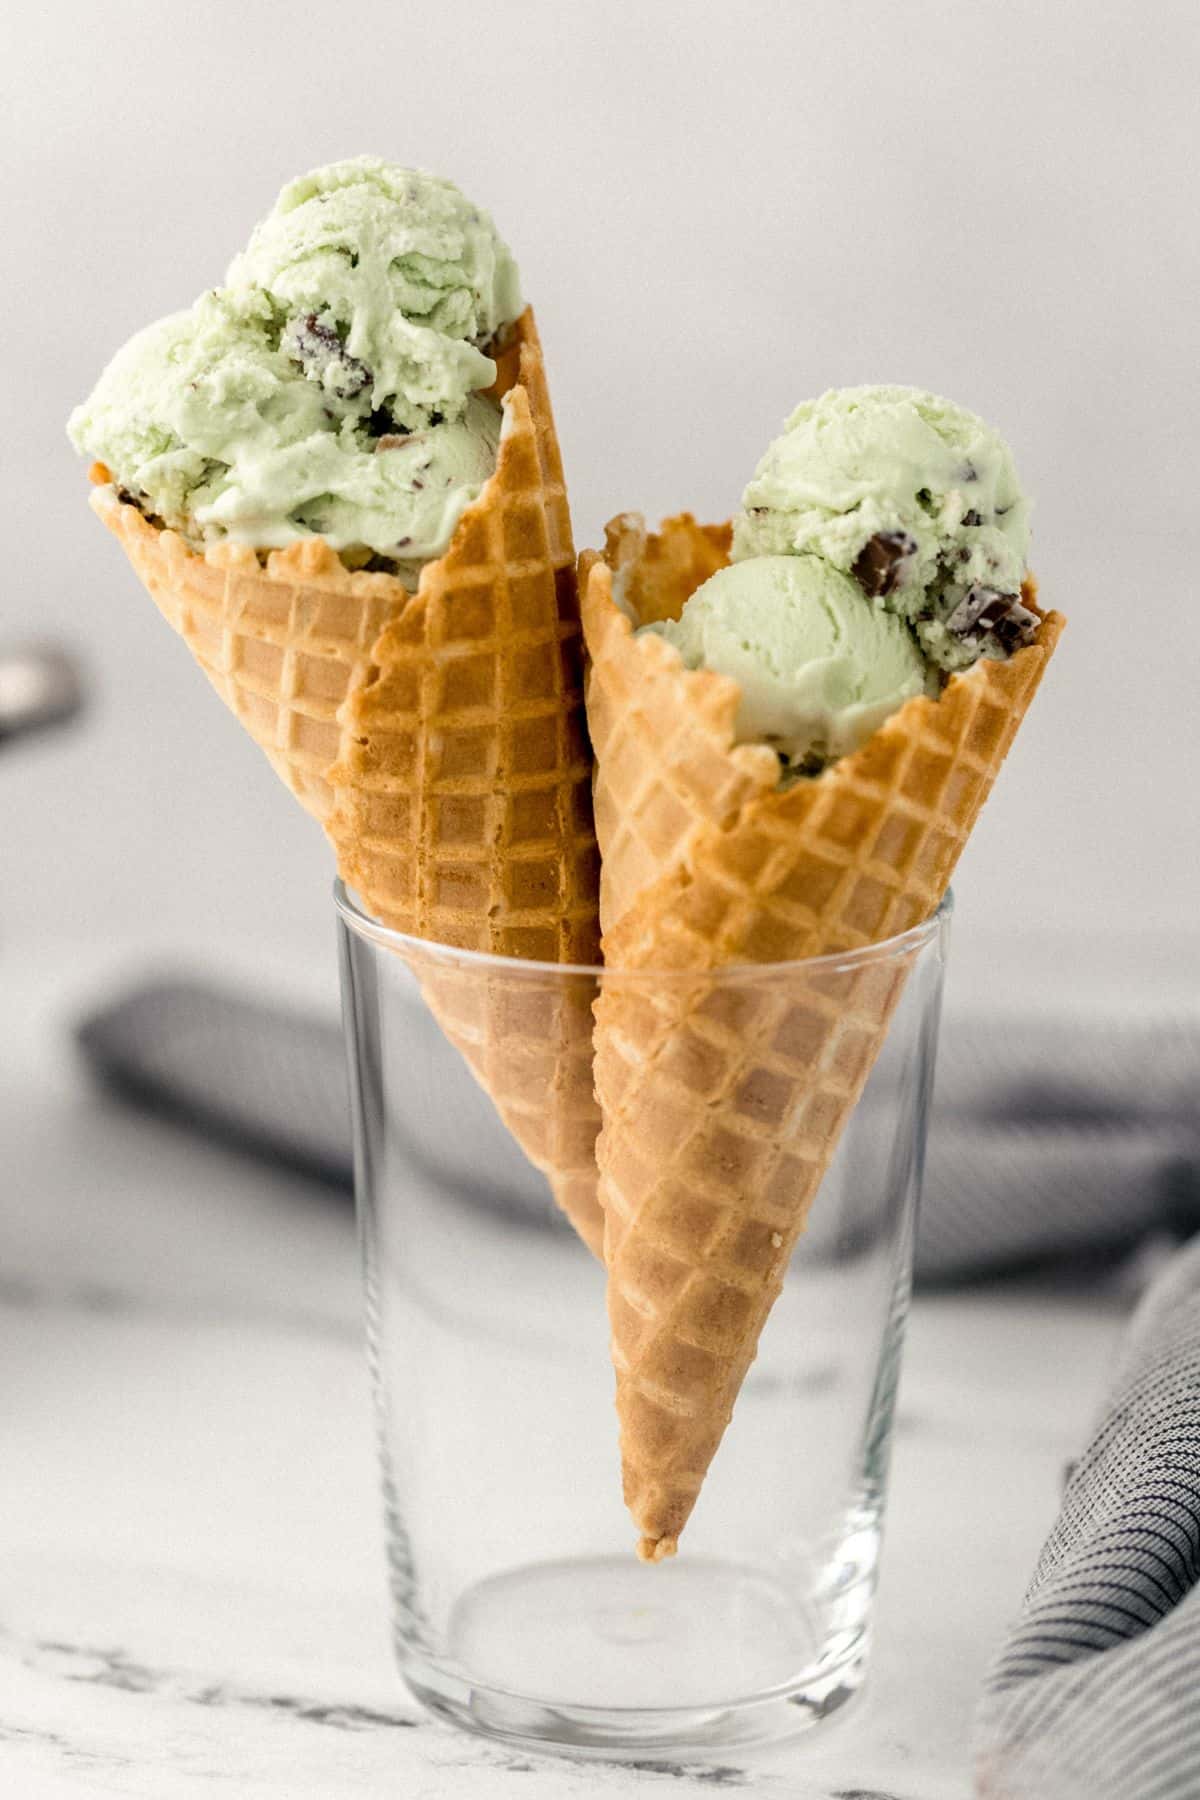
- In an ice cream cone for the full classic experience, get the waffle cones and make it a real treat.
- Alongside warm chocolate lava cake for an elegant dinner party dessert.
- Blended into a mint chocolate chip milkshake along with some No Churn Vanilla Ice Cream and with a splash of whole milk.
- As a holiday dessert served in pretty bowls with crushed candy canes on top for a peppermint bark-inspired presentation.
Frequently Asked Questions
At least 6 hours, but overnight is ideal. After 6 hours you'll have a soft-serve consistency. After overnight freezing you'll have a firm, scoop-able ice cream. I always recommend making this the day before you need it.
Sweetened condensed milk is a key ingredient in the no-churn technique. It provides both the sweetness and the lower freezing point that keeps the ice cream scoopable. Substituting it with regular milk and sugar won't give you the same result and will likely produce a much icier texture.
Almost always one of three causes: the cream wasn't whipped to stiff peaks, the folding was too aggressive and deflated the whipped cream, or the container wasn't sealed properly and ice crystals formed on the surface. See the full troubleshooting section in this post for all the solutions.
Yes, infuse the sweetened condensed milk with fresh mint leaves over gentle heat for 20-30 minutes, then strain and cool completely before using. The flavor will be more herbal and natural than peppermint extract. See the full guide in this post for details.
Start with 1 teaspoon, but peppermint extract varies significantly in strength by brand. Start with ¾ teaspoon if you're using a new brand, taste the base before folding in the whipped cream, and add more ¼ teaspoon at a time. The flavor intensifies slightly as the ice cream freezes.
Yes! Use full-fat coconut cream in place of heavy whipping cream (refrigerate the can overnight and scoop out the solid cream) and sweetened condensed coconut milk in place of regular sweetened condensed milk. The texture will be slightly different but still delicious.
Up to 2 weeks in the freezer when stored properly, with plastic wrap pressed directly onto the surface and a tight-fitting lid. After 2 weeks, ice crystal formation can start to affect texture, though it's still safe to eat.
A loaf pan is ideal because its depth helps the ice cream freeze evenly. But any freezer-safe container with a tight-fitting lid works. A square baking dish, a large Tupperware, even a zip-close freezer bag. The key is the tight seal and plastic wrap directly on the surface.
📖 Recipe

No-Churn Mint Chocolate Chip Ice Cream Recipe
Equipment
- 1 Stand Mixer
Ingredients
- 2 cups whipping cream
- 14 ounces (1 can) sweetened condensed milk
- ½ teaspoon mint extract
- 3 to 6 drops green food coloring
- 4 ounces mint chocolate chips or chopped candy
Instructions
- Begin the recipe by using a medium-size mixing bowl on a stand mixer. Add in the 2 cups whipping cream and use a mixer on medium speed to begin whipping until stiff peaks form.
- Pour in the 14 ounces/1 can sweetened condensed milk and continue mixing at low speed until the mixture begins to thicken.
- Add in the ½ teaspoon mint extract and 3 to 6 drops green food coloring and continue mixing until combined. Turn off the mixer and use a spoon to stir in the 4 ounces mint chocolate chips or candy until combined.
- Place the ice cream in an airtight container in the freezer for 4 to 6 hours. Remove from the freezer to serve in an ice cream cone or bowl. Enjoy!
- Store the mint chocolate ice cream in an airtight freezer-safe container in the freezer for up to 5 days.
Did You Make This Recipe?
If you give this no-churn mint chocolate chip ice cream a try, I want to hear about it! Leave a star rating and a comment below. Your feedback helps me keep improving these recipes and helps other readers find them. Share a photo on Instagram and tag @SimplyLaKita so I can see your gorgeous scoop, or save this to your ice cream or frozen desserts board on Pinterest for later. Questions? Ask me in the comments!
Donna says
Making this in a ice cream machine, how much will it make ?
LaKita says
Hi Donna! It makes about 4 pints (8 cups) of ice cream.