


This cheeseburger sliders recipe is the ultimate way to serve a crowd. Easy, oven-baked, and loaded with juicy beef, bacon, melted cheese, and buttery rolls. Whether it's game day, a family gathering, or a casual weeknight dinner, these sliders bring big comfort and bold flavor to the table.
Updated June 2025: This post was refreshed with helpful baking tips, FAQs, and storage instructions to better reflect our focus on modern comfort food with soul. It was originally published in August 2024.
Watch this quick video tutorial!
Jump to:
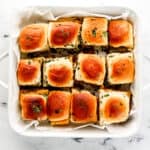
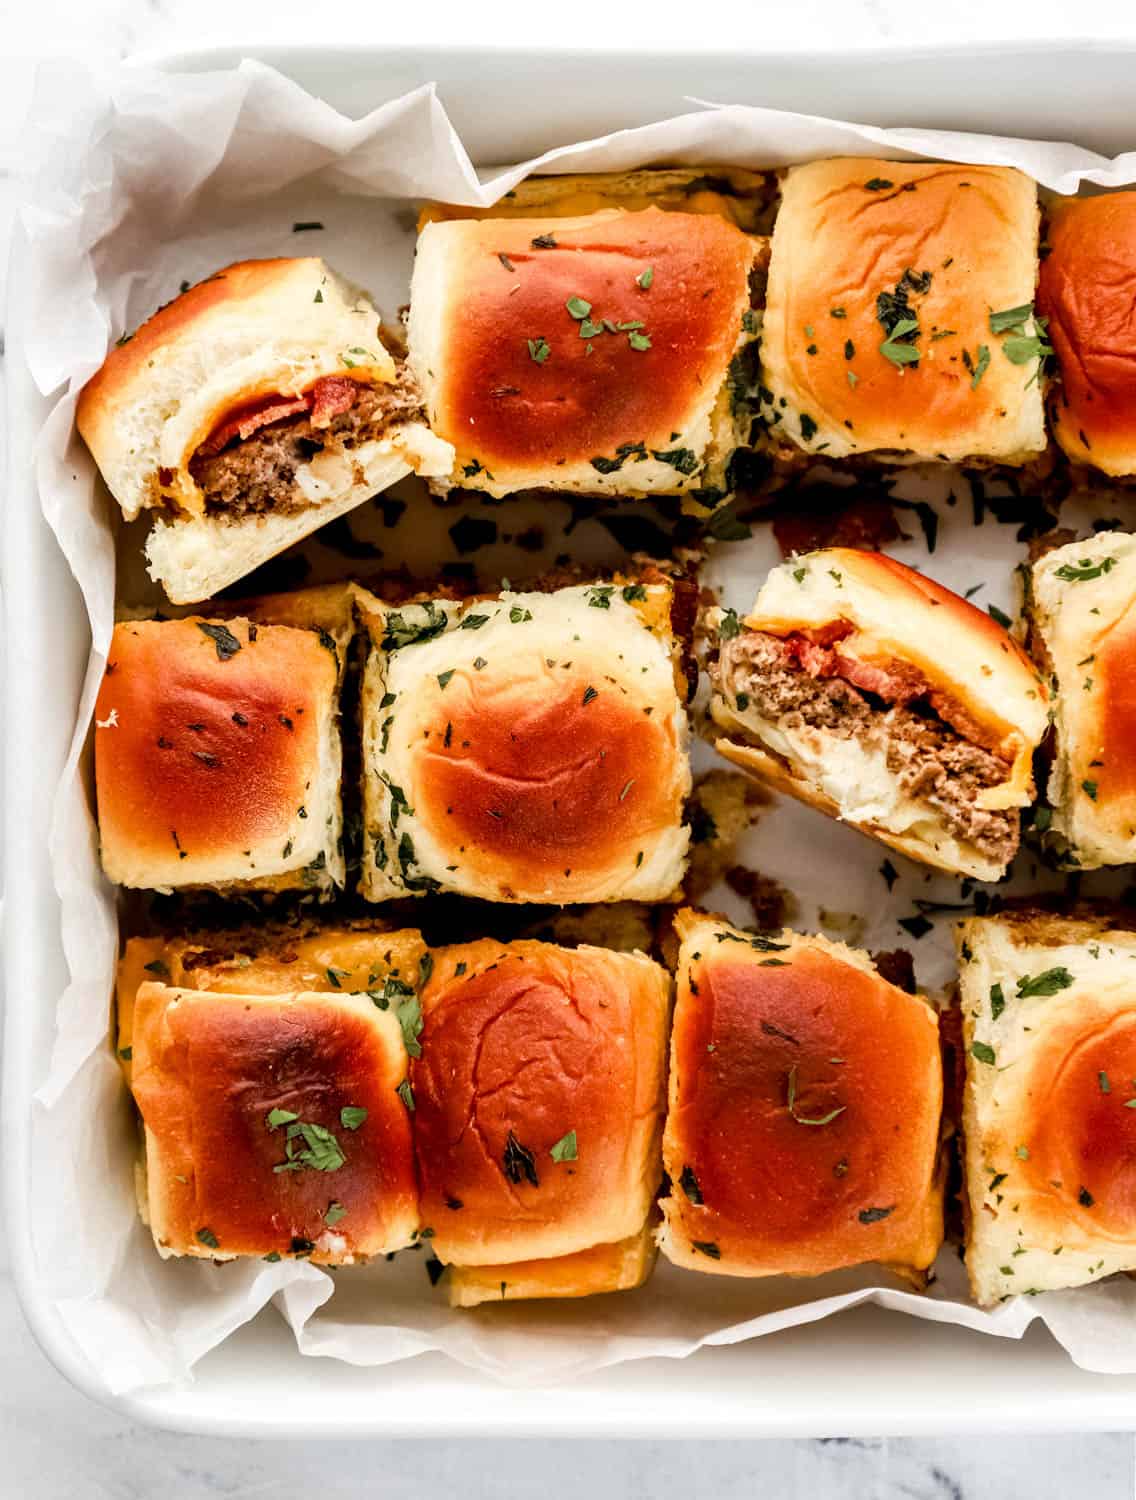
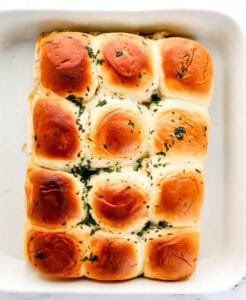
These Cheeseburger Sliders are oven-baked, juicy, and irresistibly cheesy, perfect for feeding a hungry crowd. Ground beef is seasoned and baked into one big flavorful patty, then layered with melty cheese, crispy bacon, and buttery slider rolls. It's everything you love about a backyard burger, but baked and ready to share in under 30 minutes.
I've been making sliders like these for years, especially for game days and Sunday family dinners when comfort food takes center stage. This recipe brings soul to the table with every bite. Simple, comforting, and full of flavor, it's a go-to I always come back to.
Before You Bake These Cheeseburger Sliders

What Makes These Sliders Special
Instead of forming individual patties, you bake one large sheet of seasoned beef. It saves time and ensures every bite is juicy and evenly cooked.
Best Slider Rolls to Use
I love using King's Hawaiian Rolls for that sweet-and-savory contrast, but savory dinner rolls or potato buns work great too.
Customize Your Toppings
These are a perfect base for personalization. Add pickles, caramelized onions, ketchup, mustard, or a burger sauce for a custom bite.
Tools You'll Need
- 9x13-inch baking dish or sheet pan
- Parchment paper or foil for easy cleanup
- Sharp knife or bench scraper for clean cuts
LaKita's Tips for the Best Cheeseburger Sliders
- Steam or toast? Cover sliders with foil while baking for a softer, steamed texture. Leave uncovered for golden, crispy tops.
- Cheese choice matters. American melts smoothly, but sharp cheddar or pepper jack adds more punch.
- Use foil or parchment for easy lifting. Especially for the large beef patty, it helps keep things neat.
- Layer evenly. Make sure each slider has beef, cheese, and bacon for balanced bites.
Want To Save This Recipe?

📖 Recipe
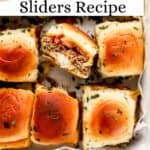
Cheeseburger Sliders Recipe (Easy Oven-Baked Method)
Video
Equipment
- 1 sheet pan or baking dish
- 1 pair of tongs
- 1 large mixing bowl
- 1 9x13-inch rectangle baking dish or 11x11-inch square baking dish (as shown)
- aluminum foil or parchment paper
Ingredients
- 6 slices uncooked bacon
- 1 pound ground beef
- ½ cup onion, diced
- 2 tablespoons worcestershire sauce
- ½ teaspoon paprika
- ½ teaspoon garlic powder
- ½ teaspoon ground cumin
- 1 ½ teaspoons ranch seasoning
- ½ teaspoon salt
- ½ teaspoon ground black pepper
- 12 Kings Hawaiian Rolls or similar
- 8 slices American cheese
- 4 tablespoons mayonnaise
- 1 tablespoon butter, melted
- 1 tablespoon fresh parsley, chopped
Instructions
- Preheat the oven to 400°F. Line a rimmed baking sheet with parchment or foil. Arrange the 6 bacon slices in a single layer and bake for 10-20 minutes until crispy. Remove and place on a paper towel-lined plate. Lower oven temperature to 350°F.
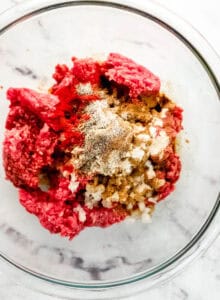
- In a large bowl, combine 1 pound ground beef, ½ cup diced onion, 2 tablespoons Worcestershire sauce, ½ teaspoon paprika, ½ teaspoon garlic powder, ½ teaspoon ground cumin, 1 ½ teaspoons ranch seasoning, ½ teaspoon salt, and ½ teaspoon black pepper. Mix until well combined.
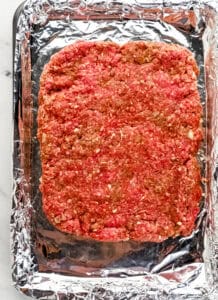
- Press the beef mixture into a thin, even layer on a clean, foil-lined baking sheet. Bake for 15-20 minutes or until fully cooked. Drain excess grease and set aside.
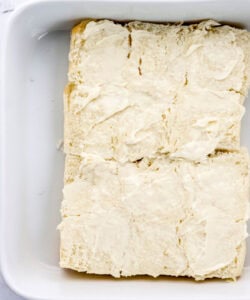
- Slice the 12 slider buns in half lengthwise. Spread the 4 tablespoons of mayonnaise on the bottom buns and place in a 9x13-inch baking dish.
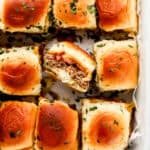
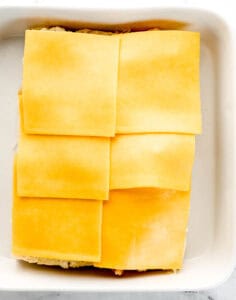
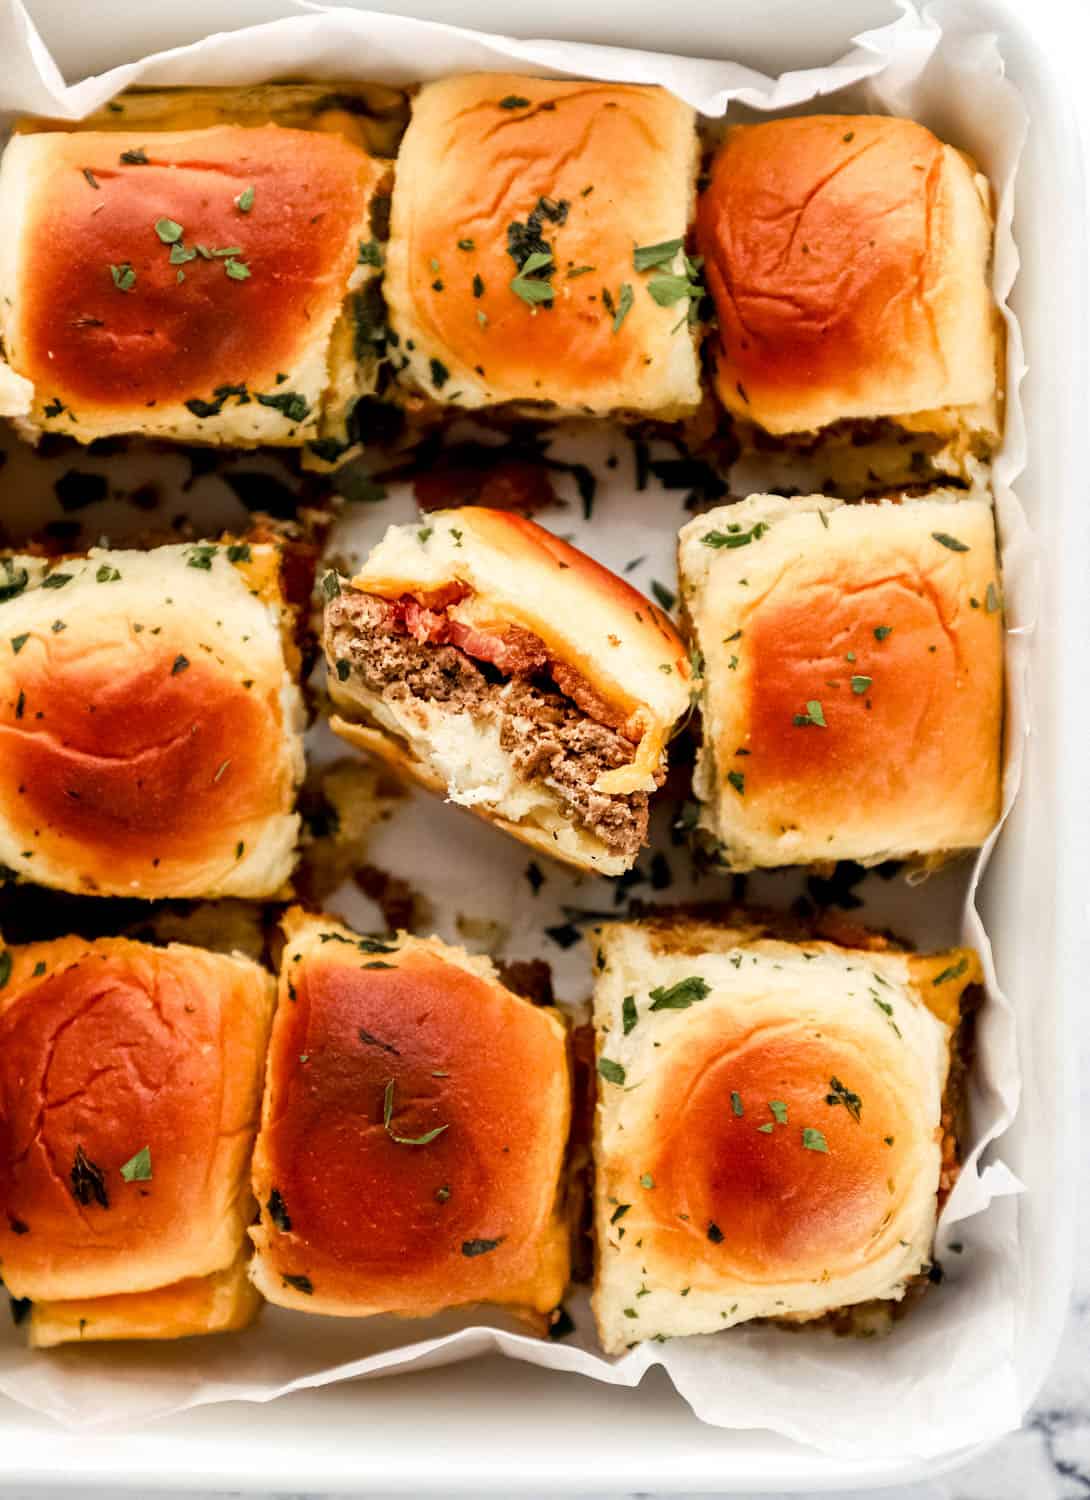
- Layer the cooked beef, chopped bacon, and 8 cheese slices over the buns. Top with the upper half of the buns.
- Stir together 1 tablespoon melted butter and 1 tablespoon chopped parsley, then brush over the top buns.
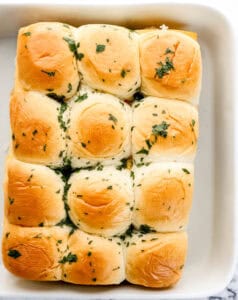
- Bake at 350°F for another 15-20 minutes, until cheese is melted and tops are golden brown.
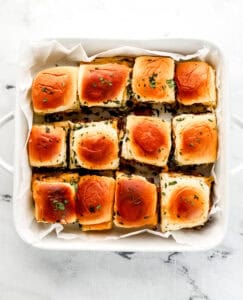
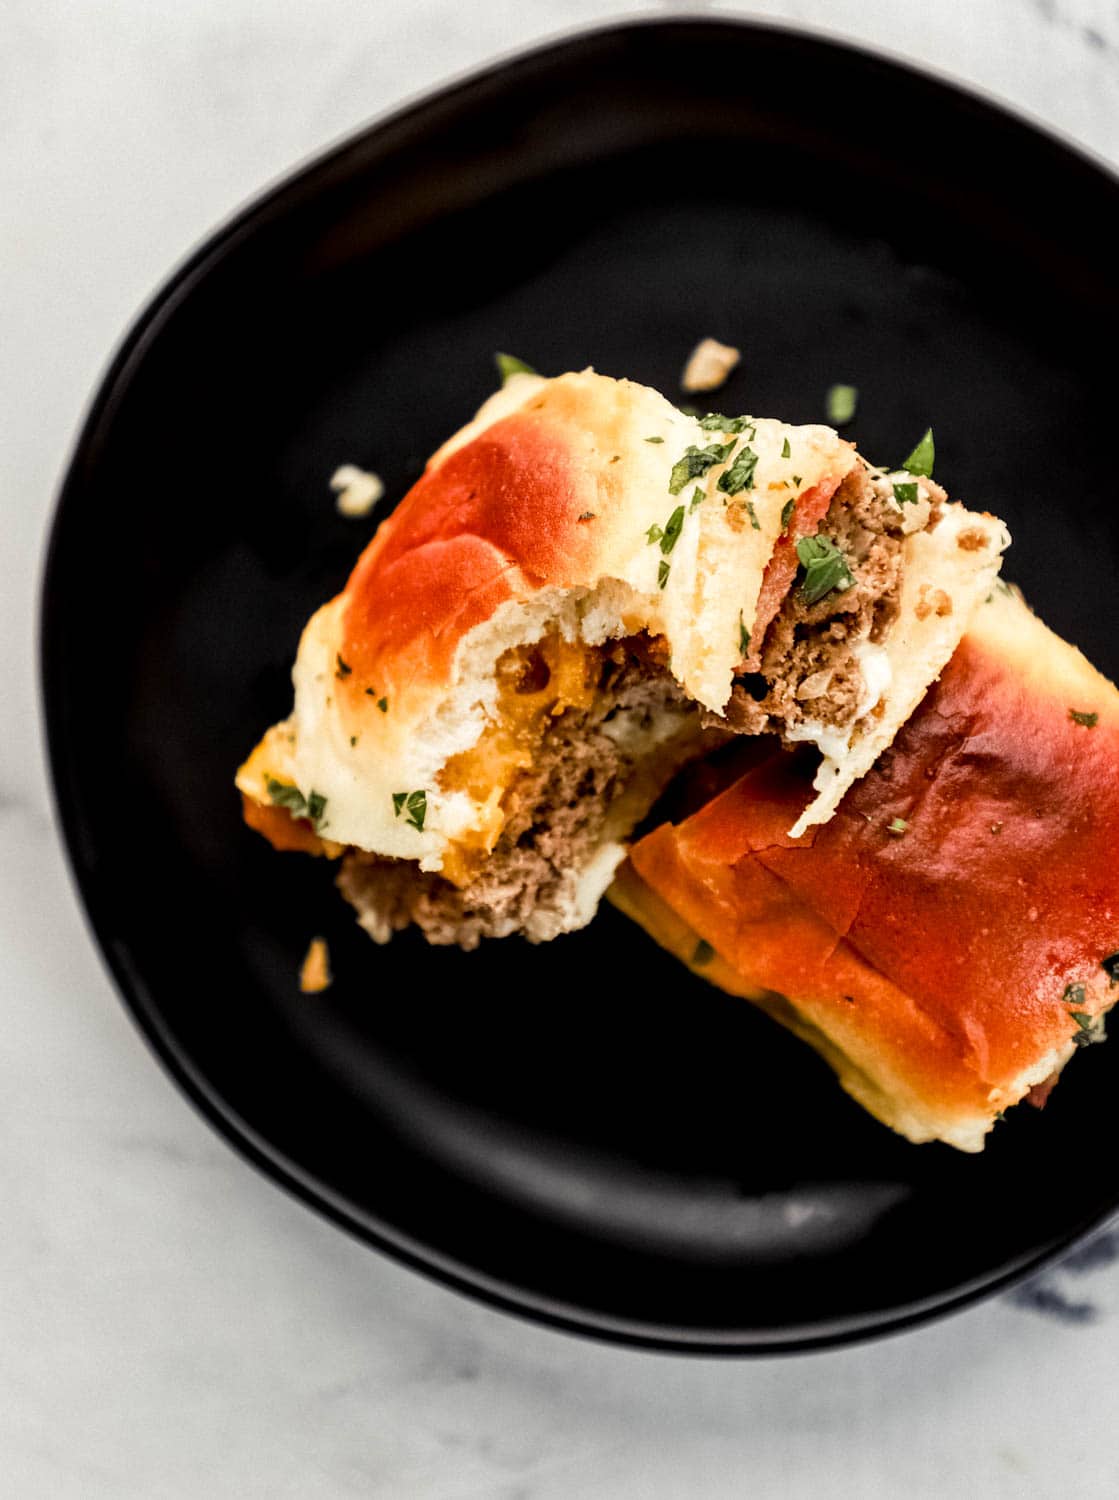
- Remove from the oven, slice into individual sliders, and serve warm.
Notes
- For softer sliders, cover with foil before baking the second time to steam the tops instead of toasting.
- You can substitute the ground beef with turkey, chicken, or plant-based meat.
- American cheese melts smoothly, but sharp cheddar or pepper jack adds more flavor.
- Add pickles, ketchup, mustard, or burger sauce after baking if desired.
- Use parchment under the beef patty for easy lifting.
- Refrigerate: Store cooled leftovers in an airtight container for up to 3 days.
- Freeze: Wrap and freeze for up to 1 month. Thaw overnight before reheating.
- Reheat: Oven (wrapped in foil at 350°F for 10 minutes) is best. Microwave works for single servings.
Pair These Sliders With:
Storage & Reheating
To Store: Place cooled sliders in an airtight container. Refrigerate for up to 3 days.
To Reheat: Wrap in foil and warm in a 350°F oven for 10 minutes. Or microwave individual sliders for 30-45 seconds.
To Freeze: Wrap cooled sliders tightly and freeze up to 1 month. Thaw in the fridge overnight before reheating.
Frequently Asked Questions
Yes! Assemble everything, cover, and refrigerate for up to 24 hours before baking.
Absolutely. Adjust seasonings slightly to complement your protein.
No, it adds flavor, but you can skip it or use turkey bacon, mushrooms, or veggie bacon.
Spreading a thin layer of mayo on the bottom buns helps act as a barrier against moisture.
More Crowd-Pleasing Recipes
- Old Fashioned Hamburger Recipe
- Roast Beef and Swiss Cheese Sandwiches
- Meatball Sub Sandwich
- Toasted Steak Sandwich
- Easy Grilled Cheese Sandwich
- Easy Hamburger Casserole Recipe
- Old Fashioned Hamburger Gravy
Did you make this Cheeseburger Sliders Recipe?
Leave a ⭐️⭐️⭐️⭐️⭐️ rating in the recipe card and drop a comment below to share how it turned out. Don't forget to tag @SimplyLaKita on Instagram so I can see your sliders in action!
💌 From my kitchen to yours, happy eating!

Leave a Reply