Buttery, fluffy, and made with just 7 pantry staples, these Old-Fashioned Yeast Rolls are the soft, golden rolls every holiday table (or weeknight dinner!) needs. No bread machine, no complicated techniques, just real, cozy comfort food made by hand. If you've ever been intimidated by yeast, this is the recipe to change your mind.
Updated August 2025 with weight measurements, shaping tips, make-ahead freezing options, and FAQs to make this recipe even more foolproof. The recipe was originally posted on November 12, 2023.
Watch this quick video tutorial!
Here's what readers have to say about this recipe:
Reader Alice, commented: "These worked perfectly my first try and were delicious! Easy to make as well ! Thank you for a great recipe! ★★★★★"
Another reader Madonna, commented: "I made these rolls, they were amazing and so easy to make. I'm on my second batch, in the oven now. I used heavy cream half heavy cream and half water, I was out of milk. They turned out perfect. My sister said that I am in charge of making rolls for Thanksgiving and Christmas. NO MORE STORE BOUGHT ROLLS! THANKS! ★★★★★"
Jump to:
Before You Bake, Read This!
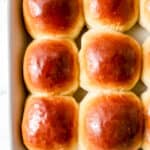
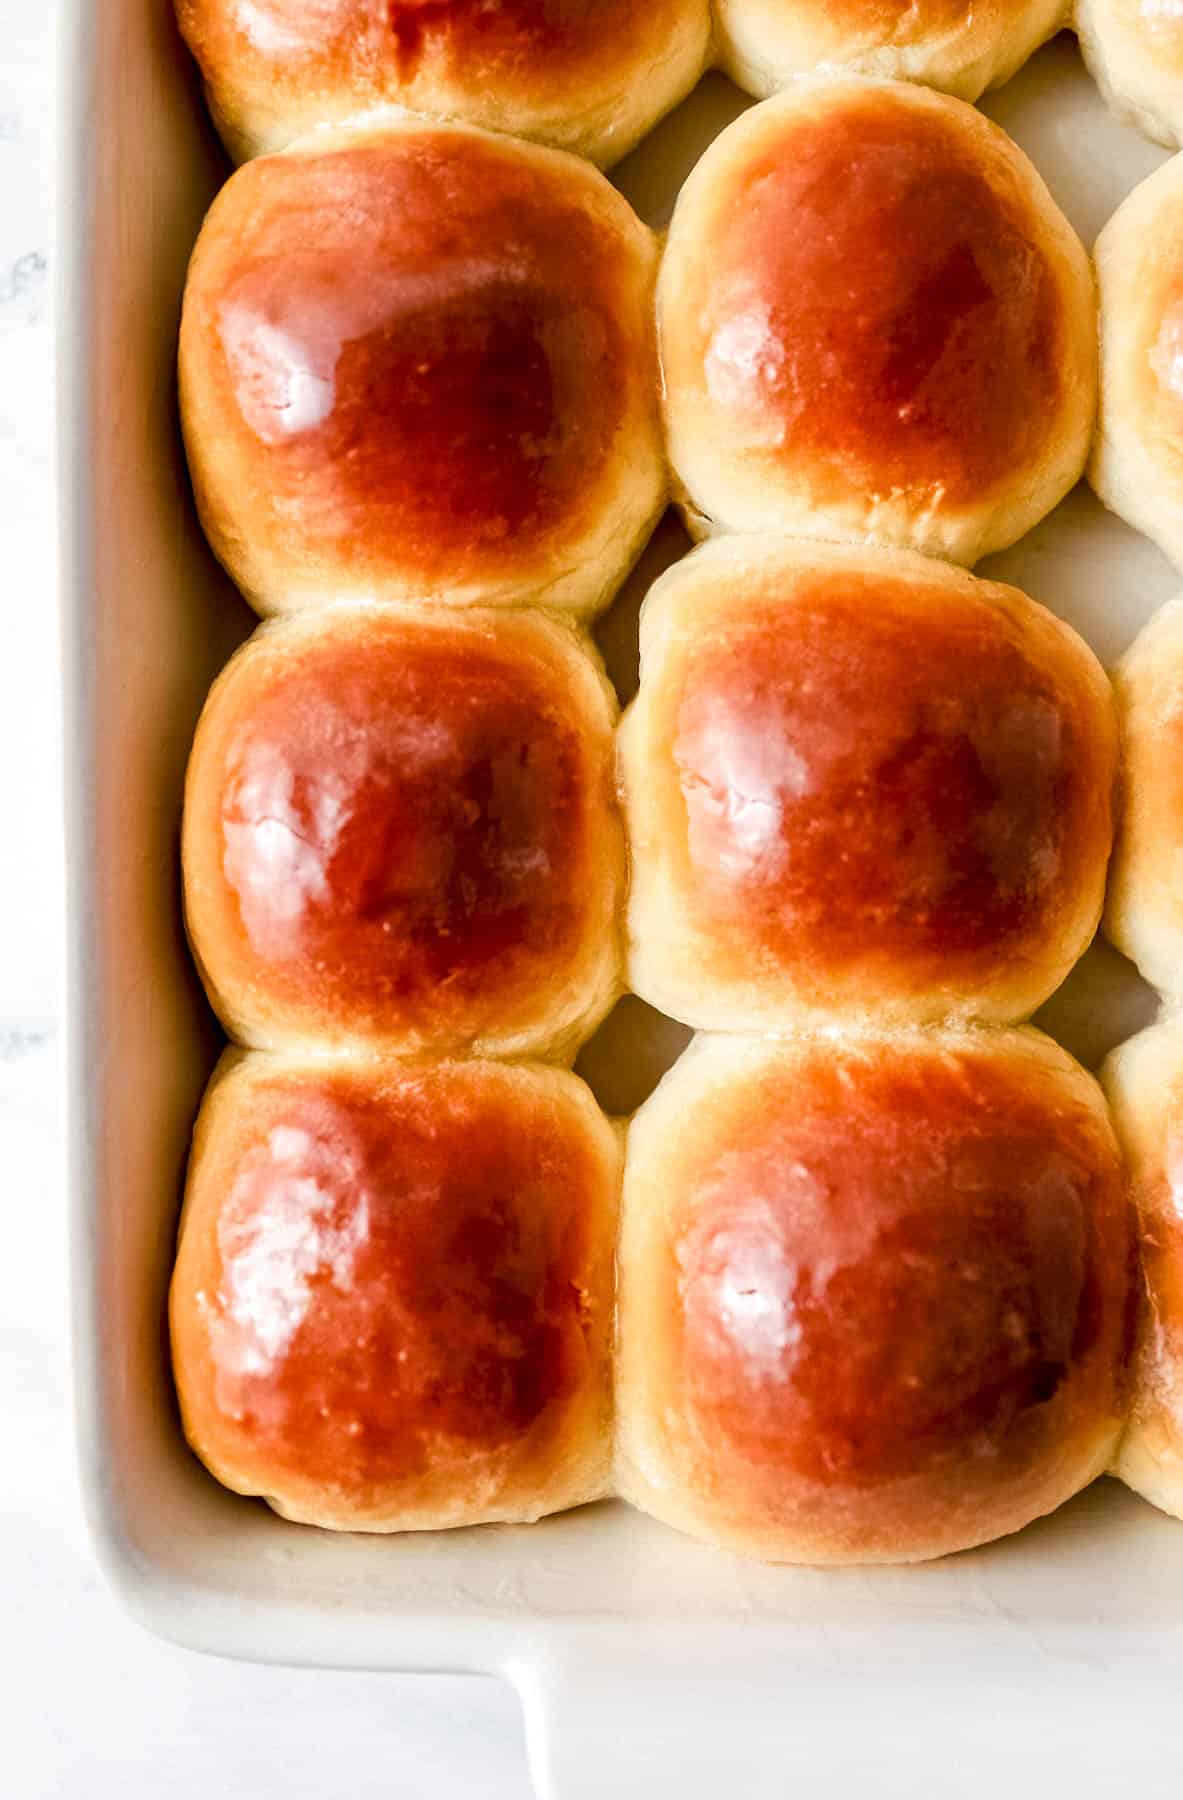
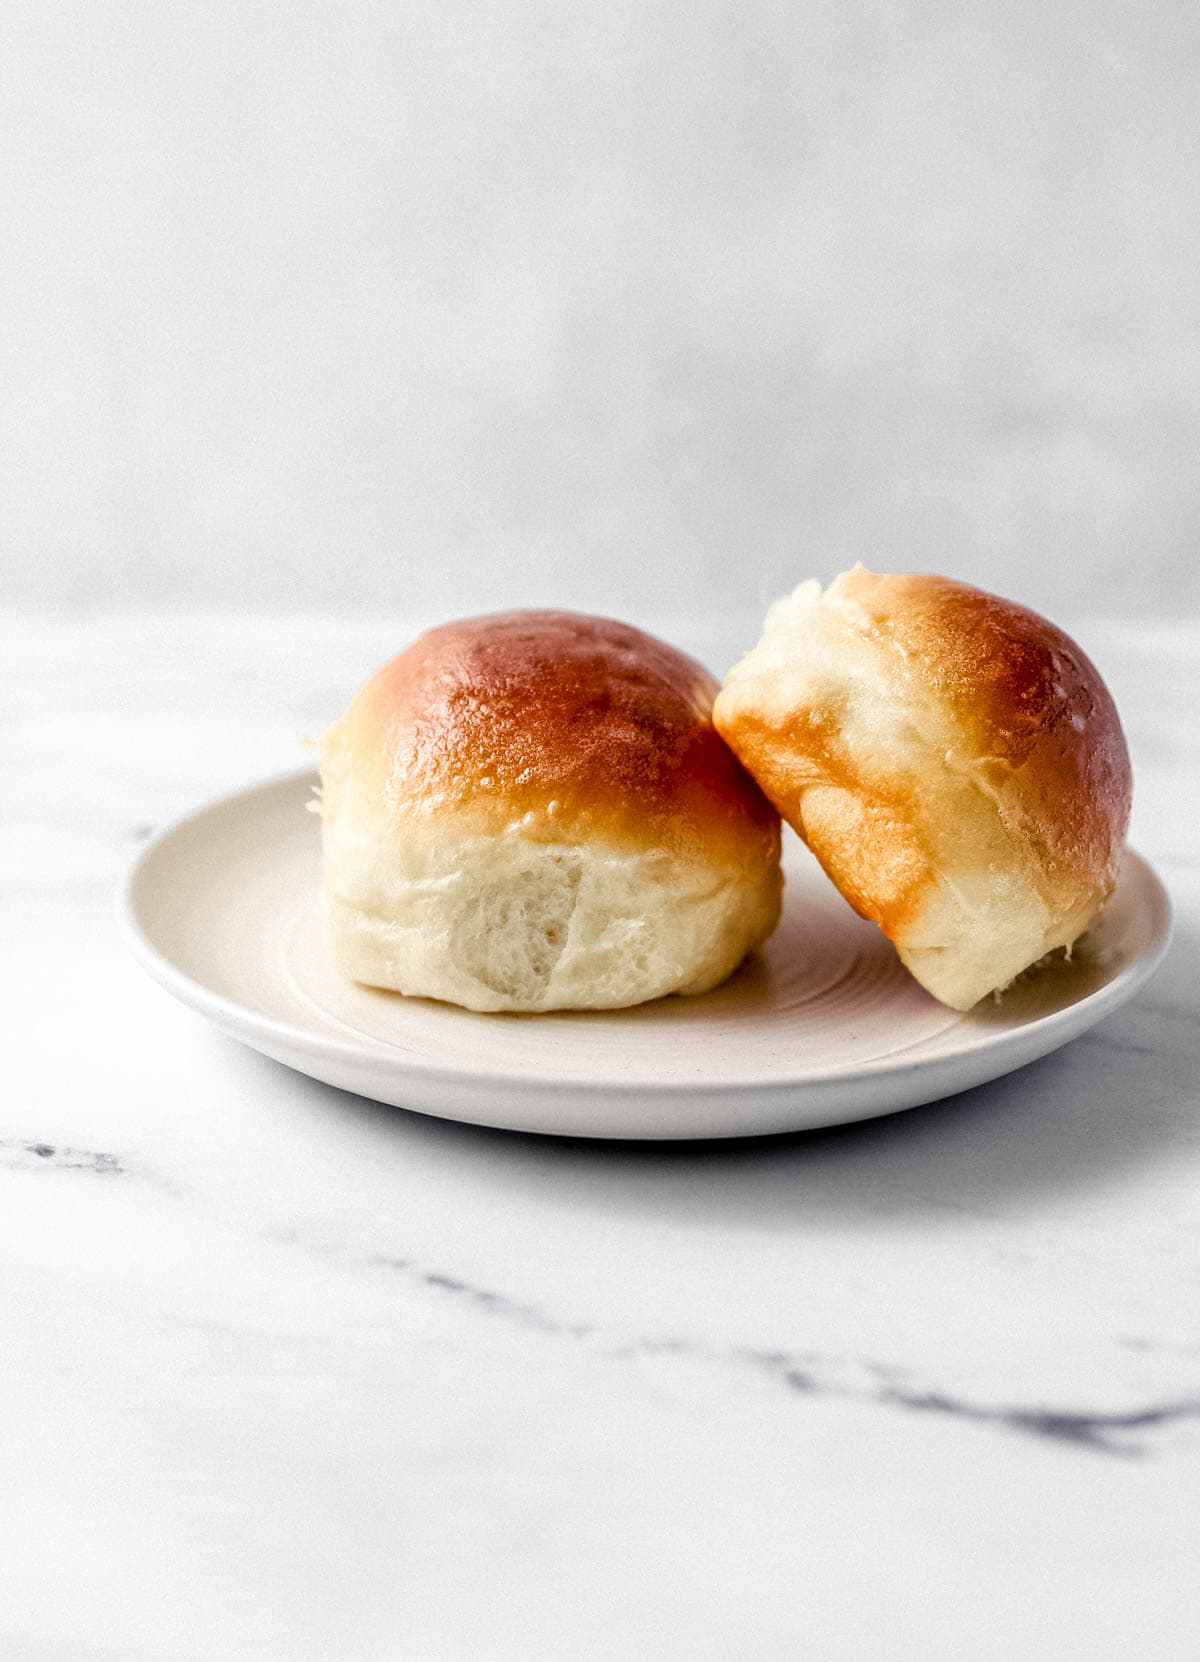
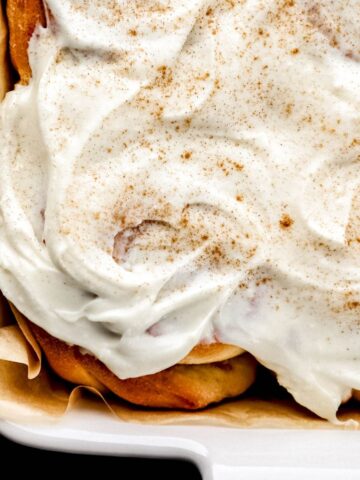
💬 The Vibe: Golden-topped rolls with soft, pillowy centers, classic Southern comfort on every table.
🔑 What You Gotta Know: Fresh yeast + warm milk (not hot!) + patience during both rises = bakery-quality results.
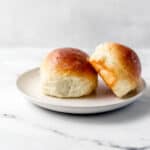
🍞 Best Bite Alert: Brush with butter straight from the oven for a glossy, melt-in-your-mouth finish.
Why You'll Love This Recipe
- Tried & True: Tested and perfected for consistently fluffy rolls.
- Make-Ahead Friendly: Dough can be prepped the night before or frozen for later.
- Simple Pantry Ingredients: Just 7 everyday staples, no fancy equipment needed.
- Flexible Batches: Recipe makes 12-16 rolls, with notes for doubling.
Key Ingredients
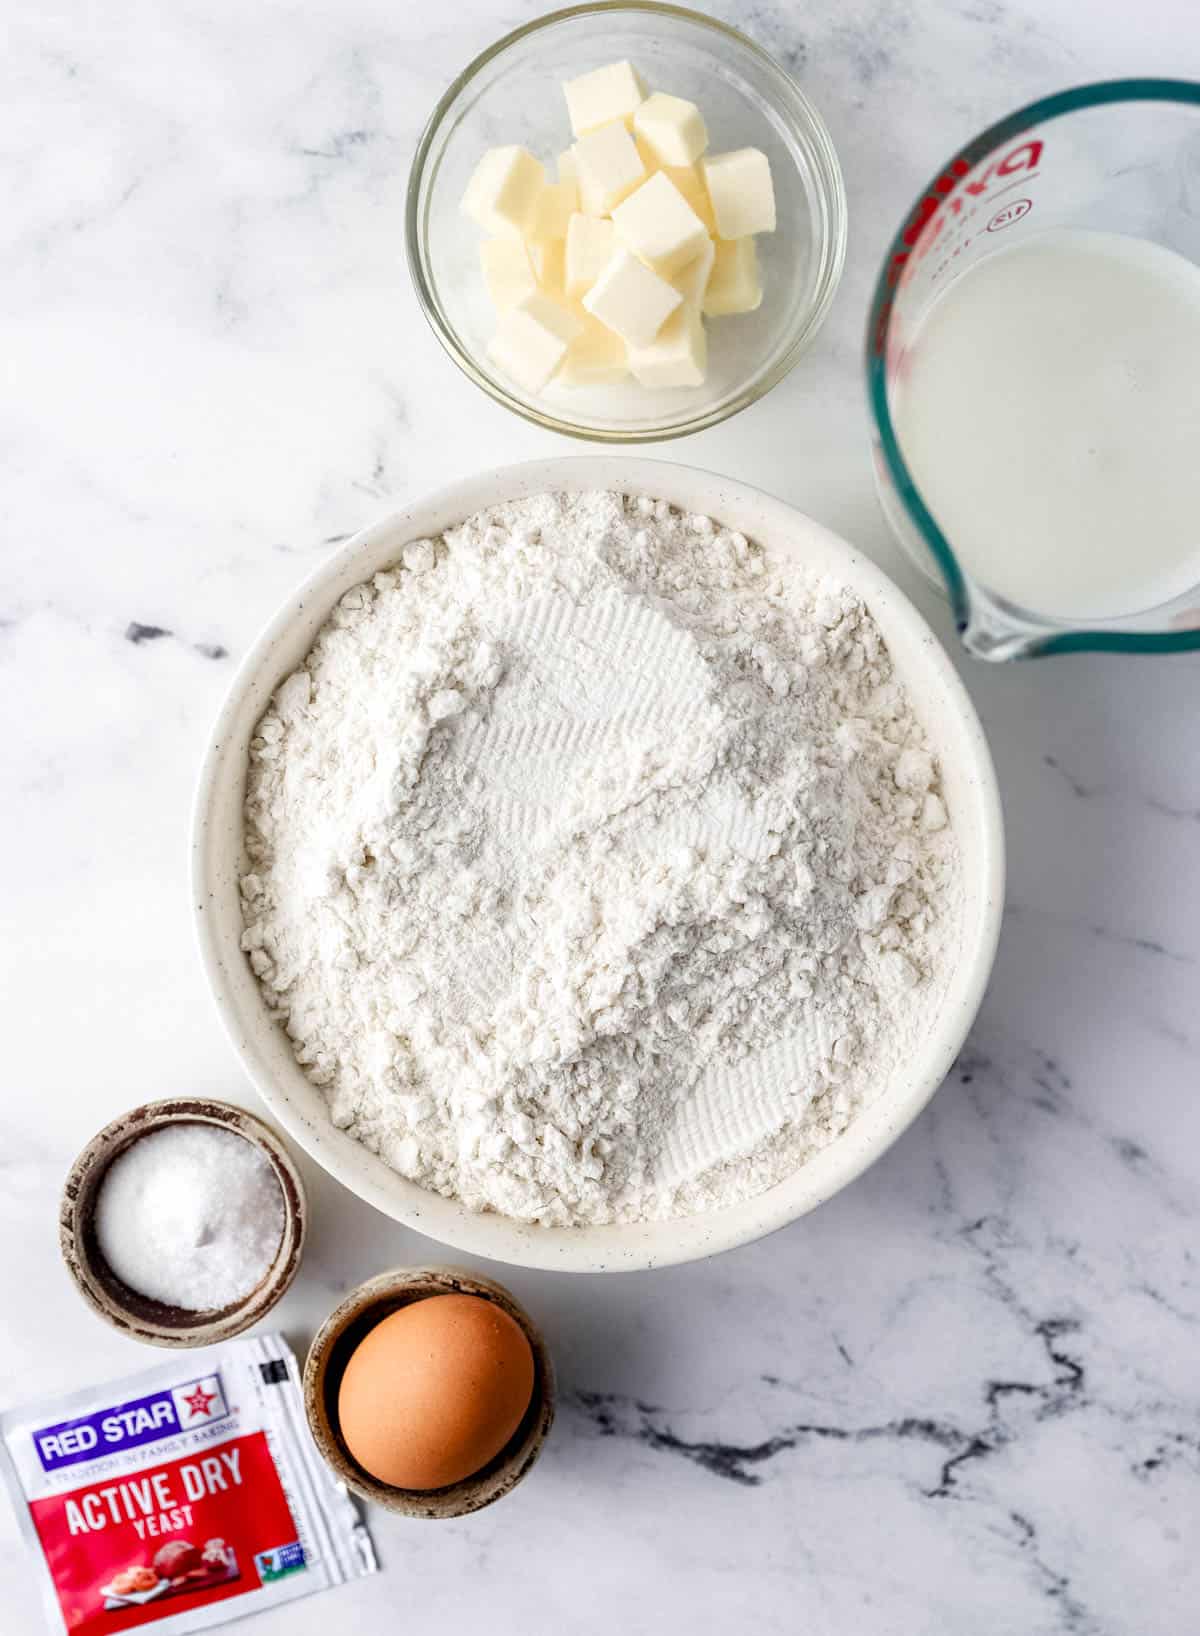
- Active Dry Yeast - 2 ¼ teaspoons (7 g), check expiration date.
- Whole Milk - 1 cup (240 g), warmed to 105-110°F. Water or cream and water works too.
- Sugar - 1-2 tablespoons (15-25 g). Honey can be swapped in for flavor depth.
- Egg - 1 large, room temperature.
- Unsalted Butter - ¼ cup (56 g), softened or melted, plus more for brushing.
- Kosher Salt - 1 teaspoon (5 g).
- All-Purpose Flour - 3 cups (360 g), plus more for kneading.
👉🏾 See the recipe card below for exact quantities and full instructions.
Step-By-Step Instructions
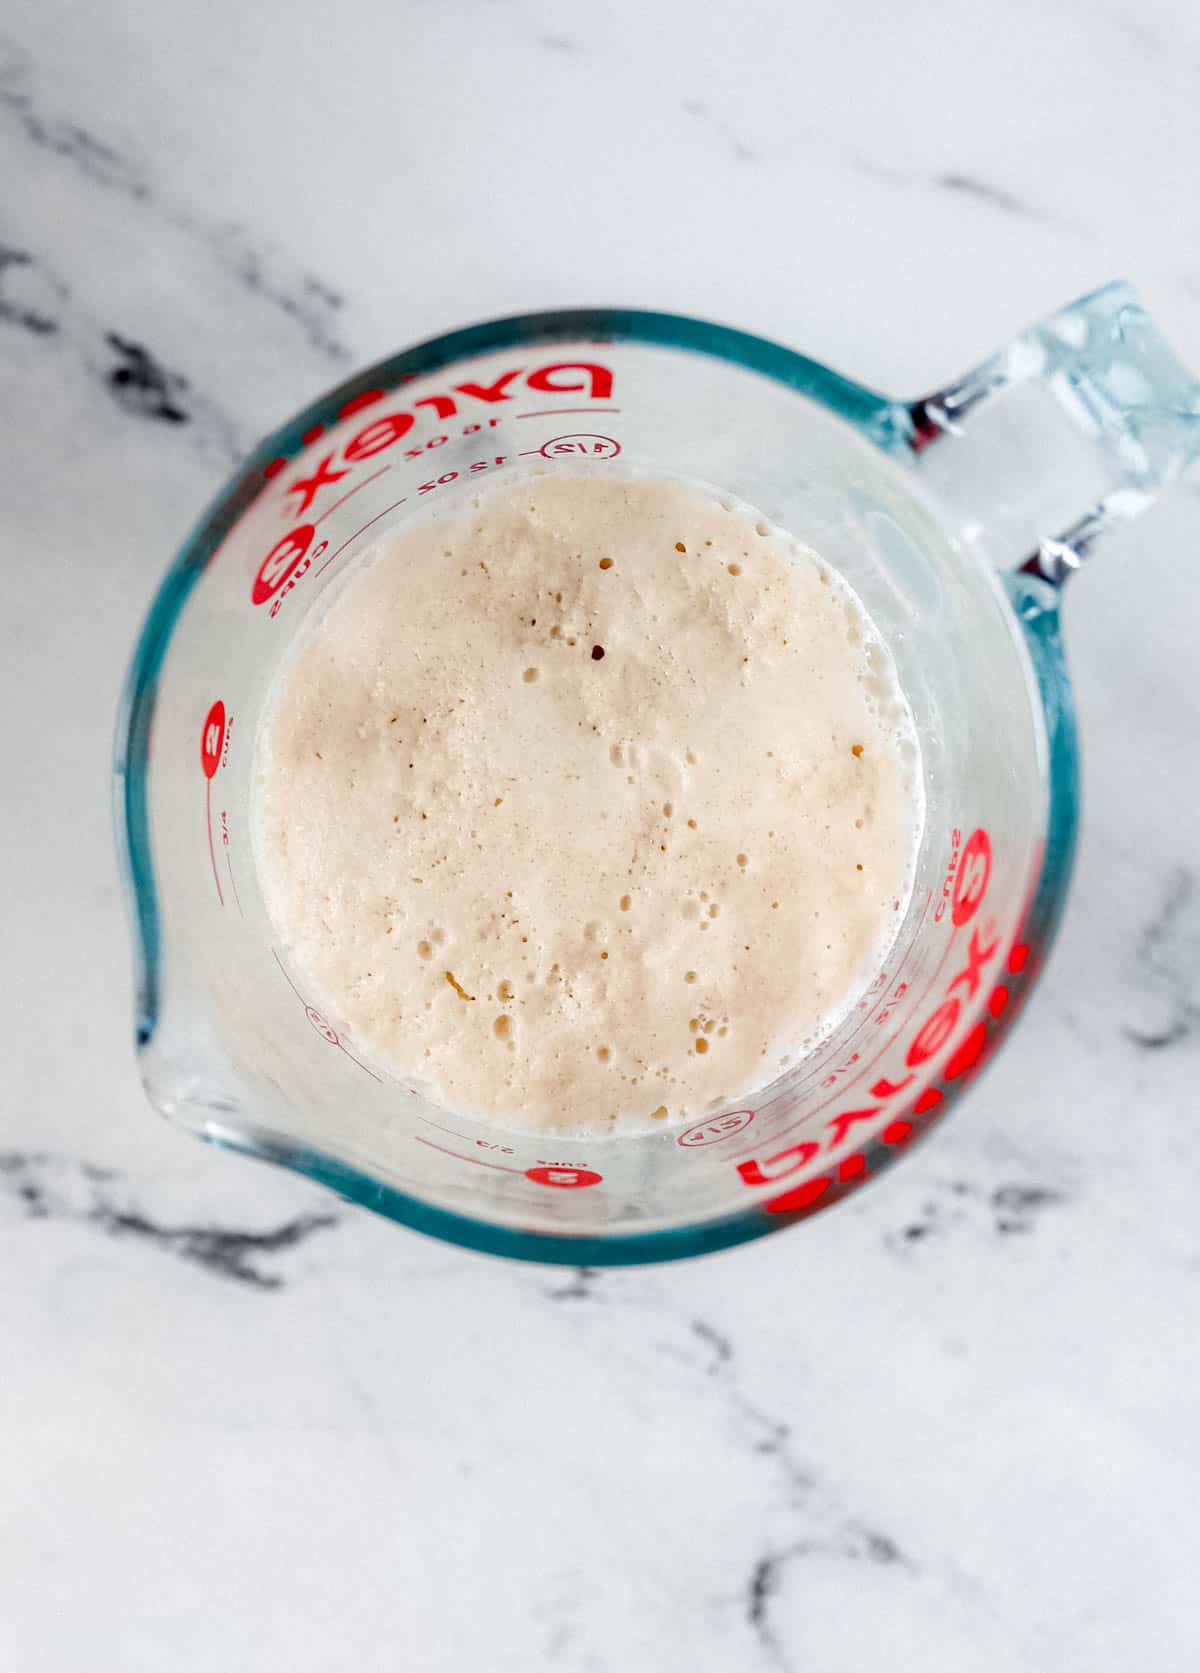
Proof the Yeast: Stir warm milk, yeast, and sugar together. Let sit until foamy (5-10 minutes).
Make the Dough: Add yeast mixture, egg, butter, salt, and flour. Mix until a soft dough forms.
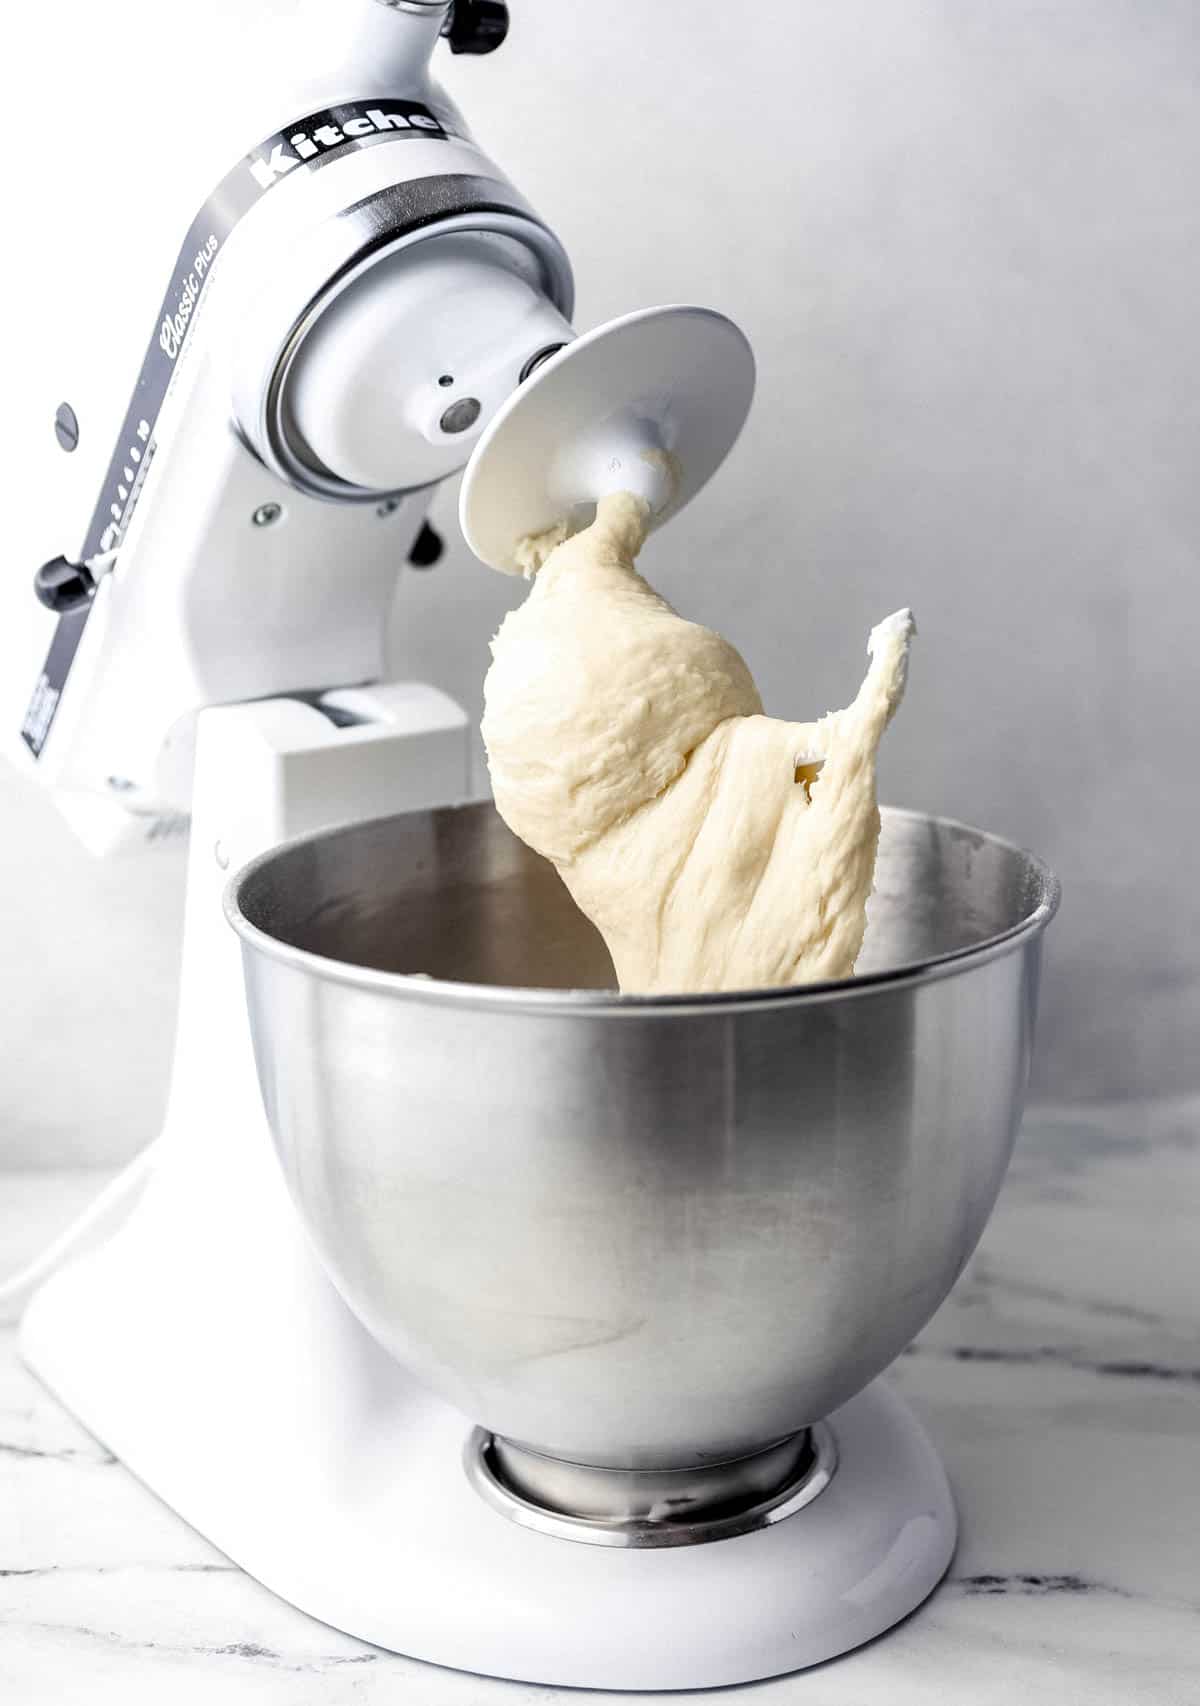
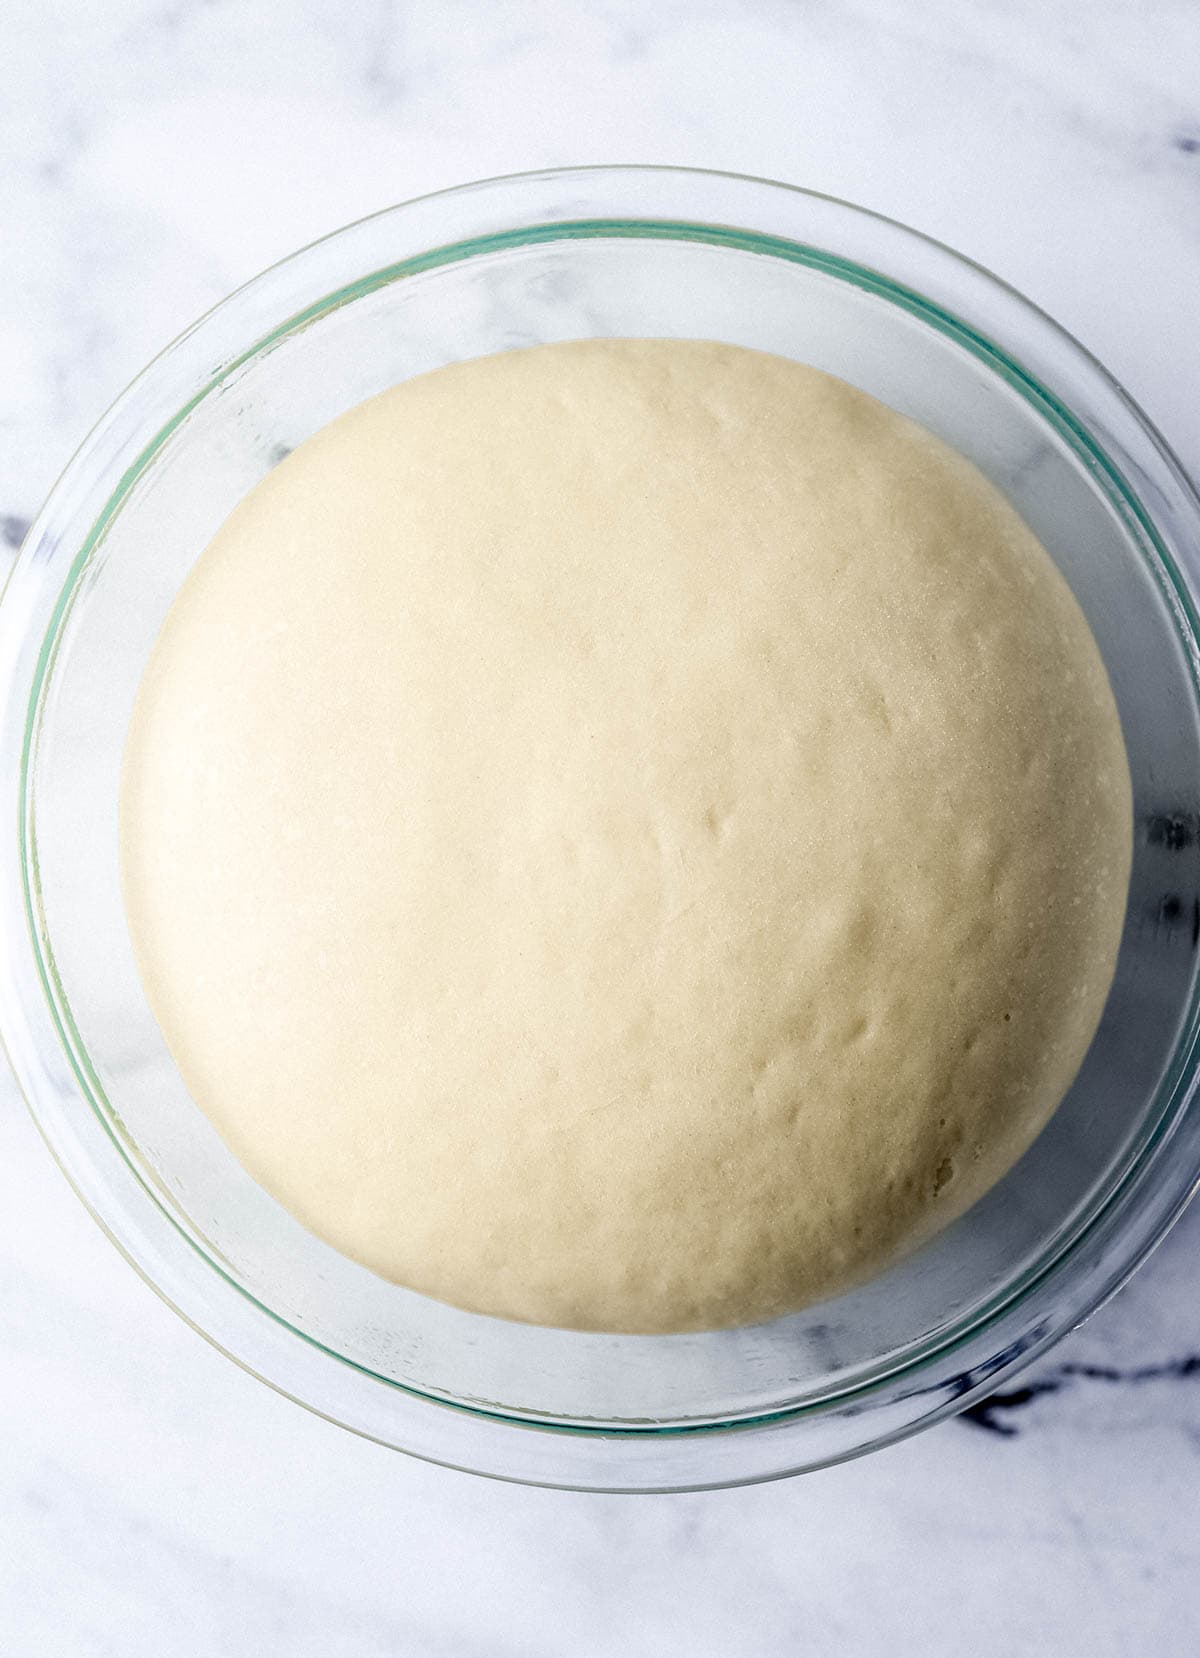
Knead & First Rise: Knead 5-6 minutes until smooth. Place in a greased bowl, cover, and rise until doubled (1-2 hours).
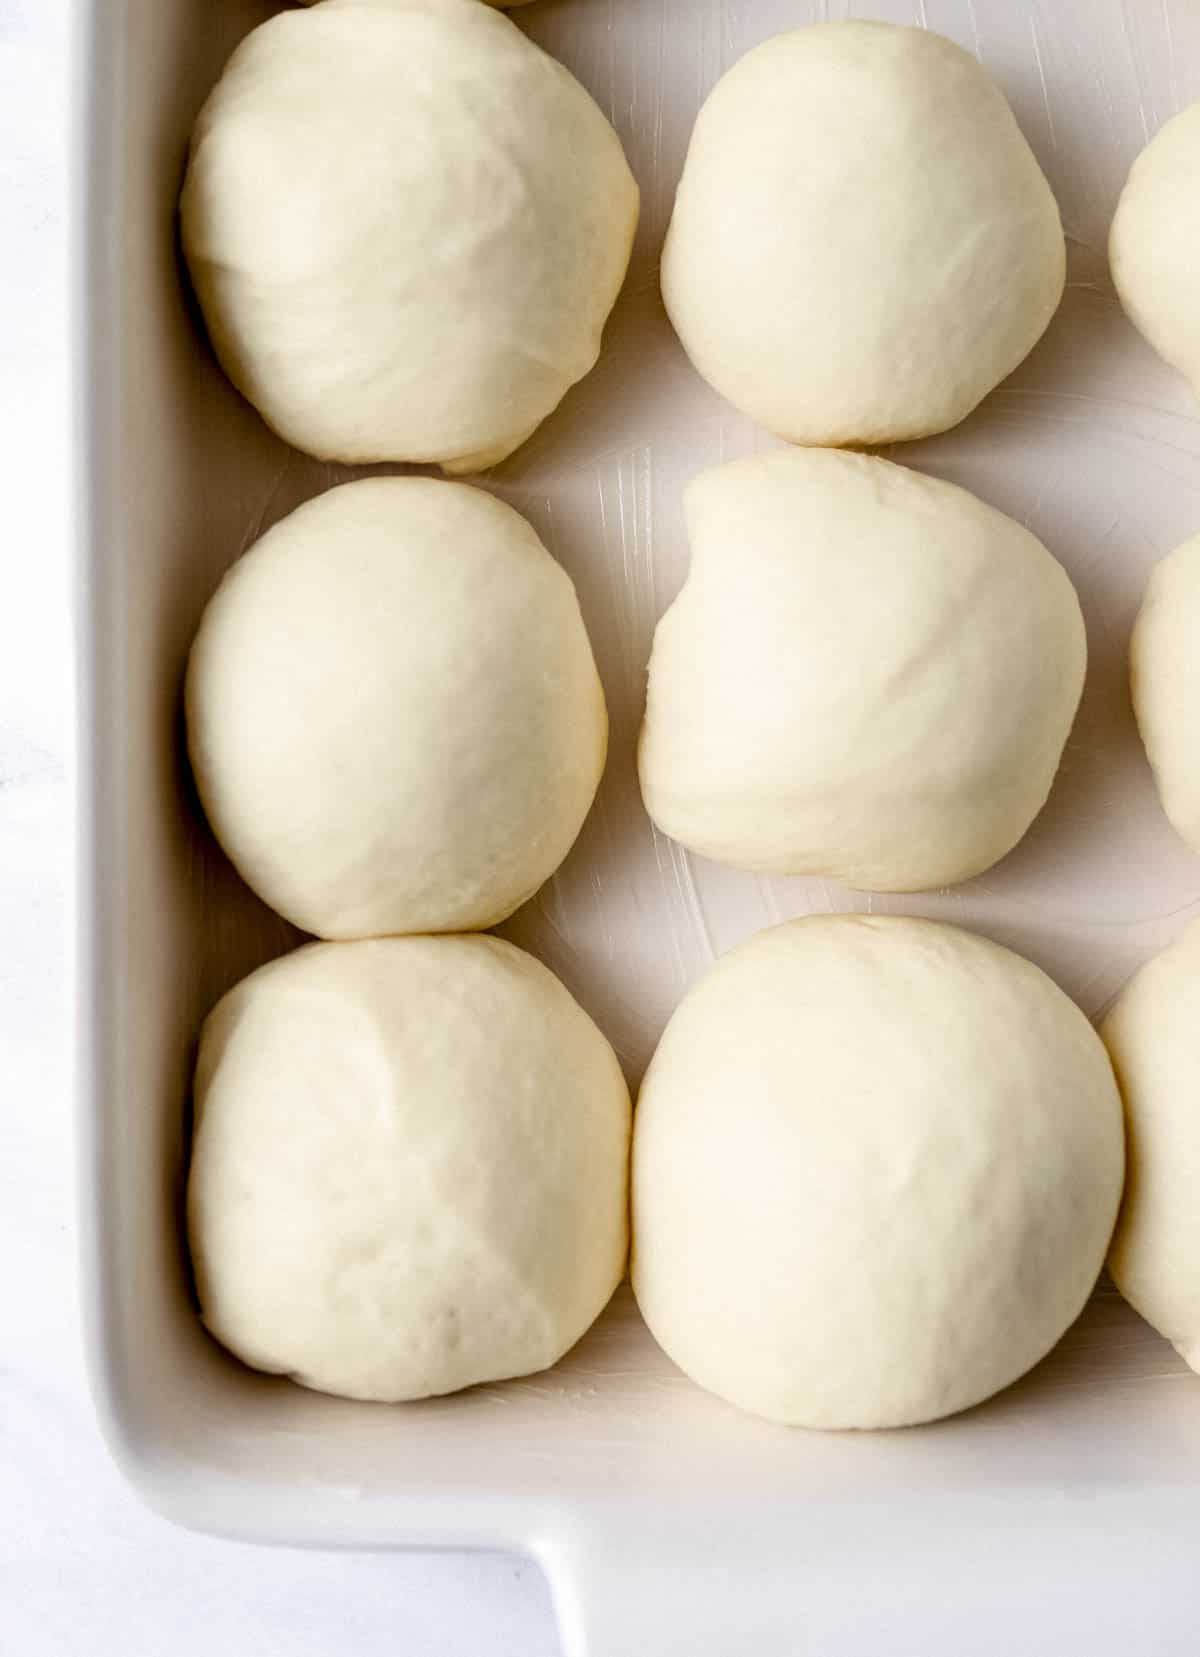
Shape the Rolls: Punch down, divide into 12-16 equal pieces (about 60 g each), and shape into balls.
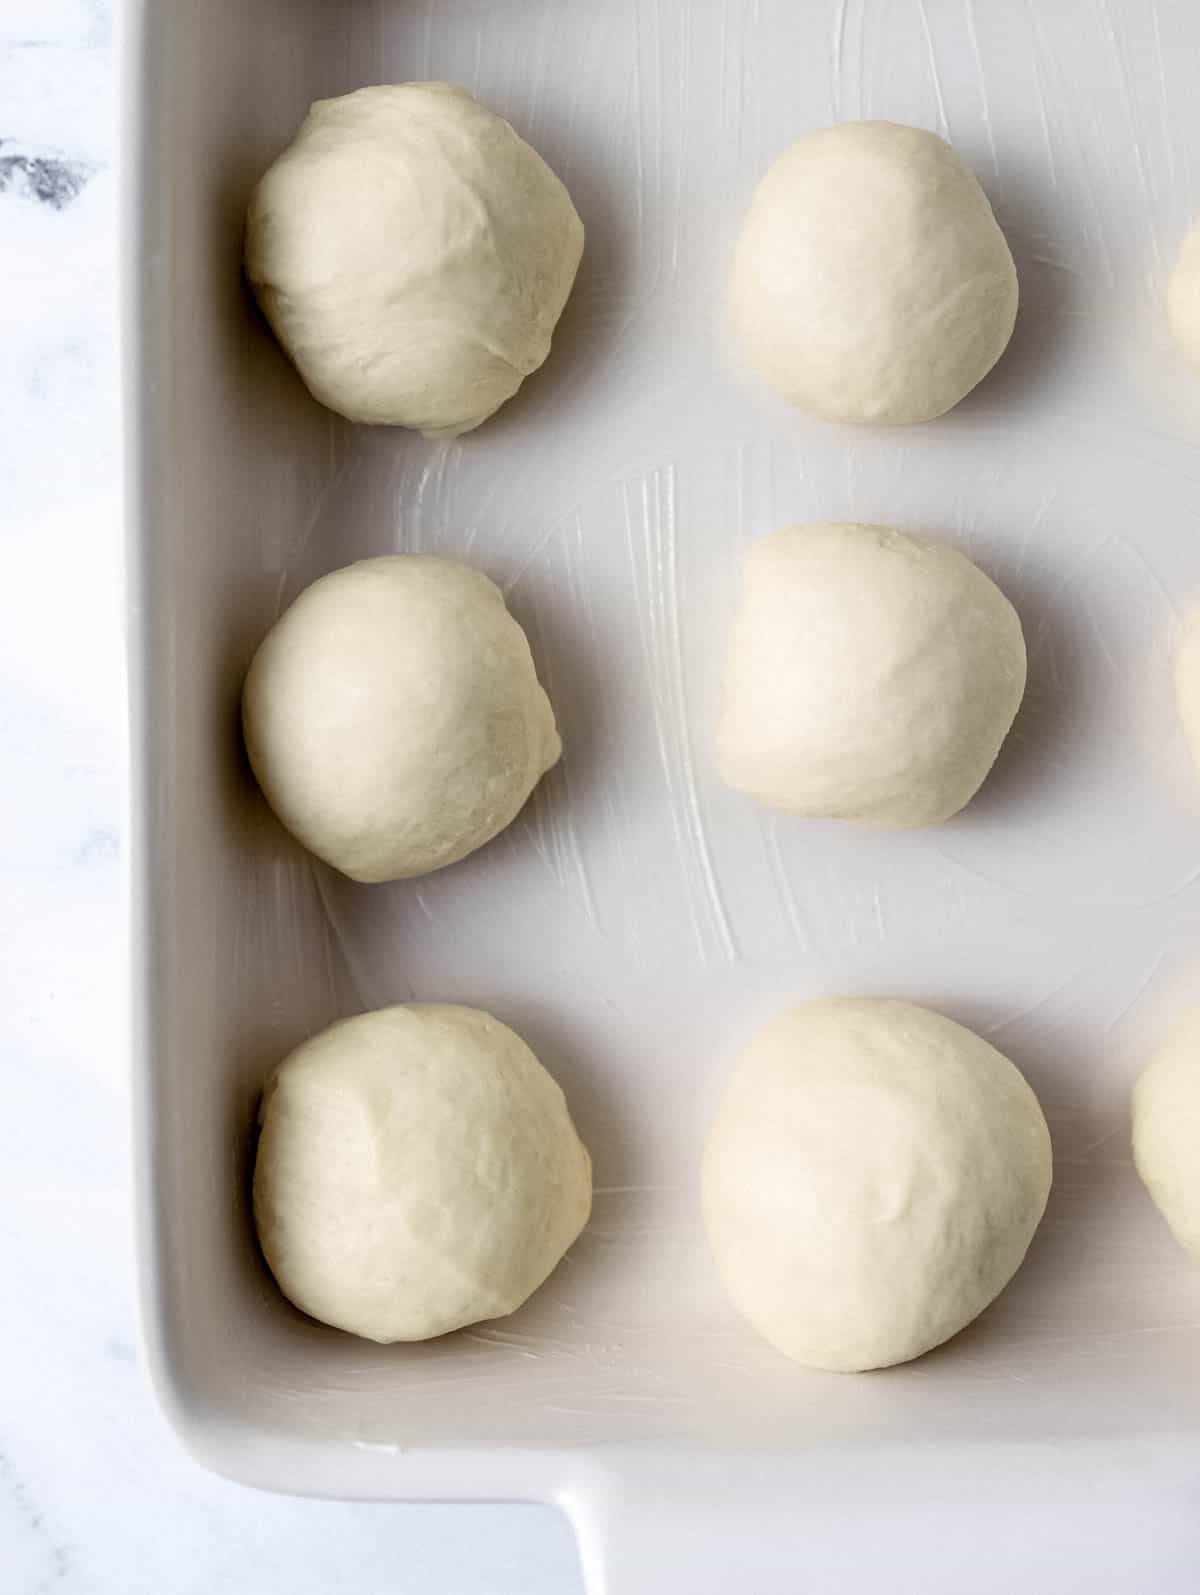
Second Rise: Place in a greased 9x13 pan, cover, and rise again until doubled (about 1 hour).
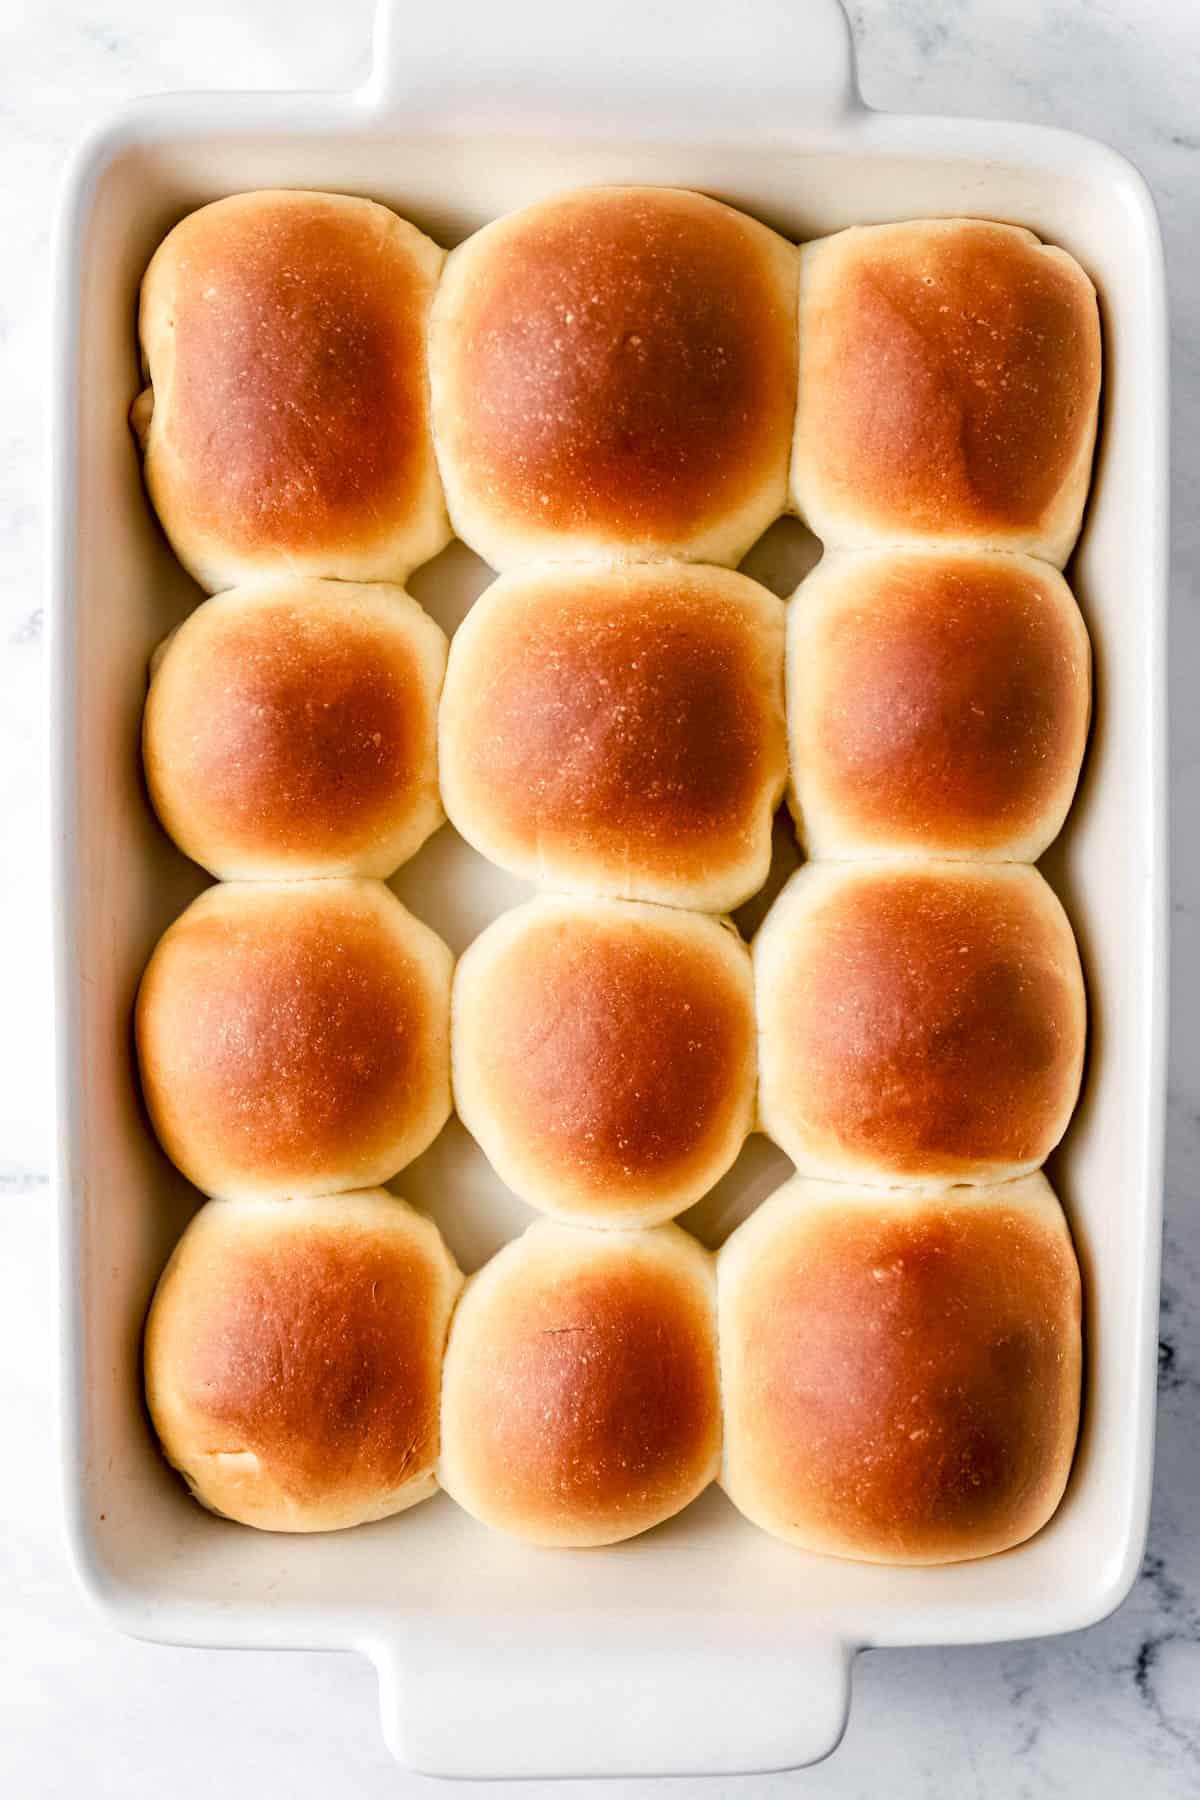
Bake: Bake at 350°F for 15-20 minutes, until golden brown.
Finish: Immediately brush with butter. Serve warm!

LaKita's Expert Tips for Success
- If the yeast doesn't foam, start over with fresh yeast.
- Cover dough while rising to prevent it from drying out.
- Don't over-knead, too much can make the rolls dense.
- For perfectly even rolls, weigh each piece before shaping.
- Use your (turned-off) oven as a draft-free rising spot.
Storage & Make-Ahead Options
- Room Temperature: Store cooled rolls in an airtight container for 3 days.
- Fridge: Keeps up to 1 week.
- Freezer: Wrap baked rolls tightly, freeze for 2 months, reheat at 300°F for 10 minutes.
- Make Ahead: Refrigerate dough after first rise up to 15 hours, or shape and refrigerate overnight. Let it come to room temperature and rise before baking.
- Meal-Prep Friendly: Double the recipe, freeze half, future you will thank you!
Want To Save This Recipe?
📖 Recipe

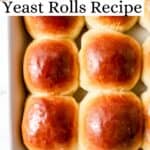
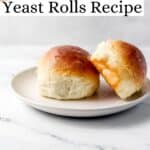
Old-Fashioned Yeast Rolls Recipe
Video
Equipment
- 1 Stand mixer with hook attachement
- 1 large mixing bowl
- 1 9x13-inch rectangle baking dish
Ingredients
- 2 ¼ teaspoons active dry yeast (one packet)
- 1 cup whole milk, warmed to 105-110°F
- 1 tablespoon granulated sugar
- 1 large egg
- 1 tablespoon granulated sugar
- ¼ cup unsalted butter, softened or melted
- 1 teaspoon kosher salt
- 3 cups all-purpose flour (plus more for kneading)
- Additional softened butter for brushing tops
Instructions
- In a small bowl or the bowl of a stand mixer, stir together 2 ¼ teaspoons yeast, 1 cup warm milk, and 1 tablespoon sugar. Let it sit for 5-10 minutes, until foamy.

- Using a stand mixer with a dough hook attachment, add yeast mixture, 1 egg, 1 tablespoon sugar, ¼ cup butter, 1 teaspoon salt, and 1 cup all-purpose flour.

- Mix on low for 30 seconds, then scrape down sides. Add the remaining 2 cups flour and mix on medium speed for 2-3 minutes, until a soft dough forms.

- Turn the dough out onto a lightly floured surface and shape into a ball. Place in a lightly greased bowl, turning once to coat. Cover and let rise in a warm spot for 1-2 hours, or until doubled.

- Punch down the dough and divide into 12 to 16 equal pieces. Shape into balls and arrange in a greased 9x13-inch baking dish or pan of your choice, spacing slightly apart.

- Cover again and let rise for about 1 hour, or until rolls have puffed up.

- Preheat oven to 350°F. Bake for 15-20 minutes, or until rolls are golden brown.

- Remove from oven and immediately brush with softened butter. Serve warm.

FAQs
Yes, just reduce the added salt by half.
Mix with a wooden spoon and knead by hand. It works beautifully.
Yes, heavy cream (diluted with water) or plain water both work.
Yes. Freeze after shaping, then thaw and let rise before baking.
More Southern Side Dishes You'll Love
Did you try making these Old-Fashioned Yeast Rolls? Let me know in the comments. I'd love to hear how you served them!
💌 From my kitchen to yours, happy baking!
Paula Wilbourn says
Two days later and I'm still getting compliments about these rolls. A breeze to make and a heavenly taste! Brava, girl!
LaKita says
That makes me so happy to hear, thank you!! I'm thrilled the rolls were such a hit and that the compliments are still rolling in two days later! Truly appreciate you trying the recipe and sharing the love. Brava right back at you! 💛✨
nancy jeffords says
I'm planning on making these tomorrow. I have quick rise yeast. Do I just add it in with the flour?
LaKita says
Great question, yes! If you're using quick rise (or instant) yeast, you can mix it directly into the flour without needing to activate it first. Just be sure your other ingredients aren’t too hot, or it could affect the yeast. Hope you got a chance to make and enjoy them!
Brenda says
Absolutely the BEST yeast roll recipe I have ever tried. This is a KEEPER!. Thanks Lakita!
LaKita says
Thank you so much! I’m truly honored to hear that, so glad the rolls were a hit and that the recipe’s a keeper! Appreciate you baking with me and taking the time to share your kind words. 💛
Alexis Navarro says
I’m about to make these today and I was wondering if you’re able to refrigerate them overnight to take them with me tomorrow somewhere and bake them I just didn’t know if that would ruin them?
LaKita says
Good question! Yes, you can refrigerate the dough overnight and bake it the next day. Many home bakers “cold‑proof” their yeast rolls by shaping them, covering them tightly, then refrigerating overnight. When you’re ready to bake, just take them out, let them come up a bit (about 30–45 minutes depending on your kitchen temperature), then bake as directed. Hope this helps 🙂
Madonna Andrews says
I made these rolls,they were amazing and so easy to make. I’m on my second batch,in the oven now.I used heavy cream half heavy cream and half water, I was out of milk.They turned out perfect.My sister said that I am in charge of making rolls for Thanksgiving and Christmas.NO MORE STORE BOUGHT ROLLS!THANKS!
LaKita says
This made my day! Love that the heavy cream swap worked, and being crowned roll-maker for the holidays? That’s a big win! So glad y’all enjoyed them. 🖤
Mechelle Casciotta says
SO do I add 1 tbs of sugar to the milk and yeast, and then another Tbs of sugar when I am adding the flour?
LaKita says
Yes, that is correct!
Betty says
I used 2% milk and rolls came out light and fluffy. These are the best rolls ever! Thank you for the recipe. I’m glad I found your website!
LaKita says
Thank you so much! I’m so happy to hear they turned out light and fluffy with 2% milk, great to know! I’m glad you found the site too, and I hope you’ll try more recipes soon! 🥰🍞✨
BD says
These are amazing, so soft and fluffy. Will make them again and again. Whipped up some butter and cinnamon with honey and powdered sugar and put it on the warm rolls. Just Devine. Thank you for this recipe.
LaKita says
Thank you! Also pairing them with sweet butter sounds amaazing!!
Debra says
Hello, my question is if I use salted butter do I still need to add salt? I am a little confused on the issue of salted butter and adding salt. Thanks
LaKita says
Hi Debra! If you're using kosher salt or baking salt as the recipe suggest, then you can also use salted butter and the rolls will not be salty. Kosher salt has a larger crystal and a cleaner taste. If you're using sea salt or table salt, do not use salted butter or you'll notice a difference in taste. I'd also only use 1/2 teaspoon of any salt other than kosher salt or baking salt. Hope this helps!
Yolanda says
If I don't have a stand mixer with dough hook, can I just mix with a hand mixer or something else,?
LaKita says
Hi Yolanda! Yes you certainly can use a hand mixer or just your hands plus a little elbow muscle to knead it 😉
Alice says
These worked perfectly my first try and were delicious! Easy to make as well ! Thank you for a great recipe!
LaKita says
Thank you Alice! Happy to hear that you enjoyed the yeast rolls 🙂