



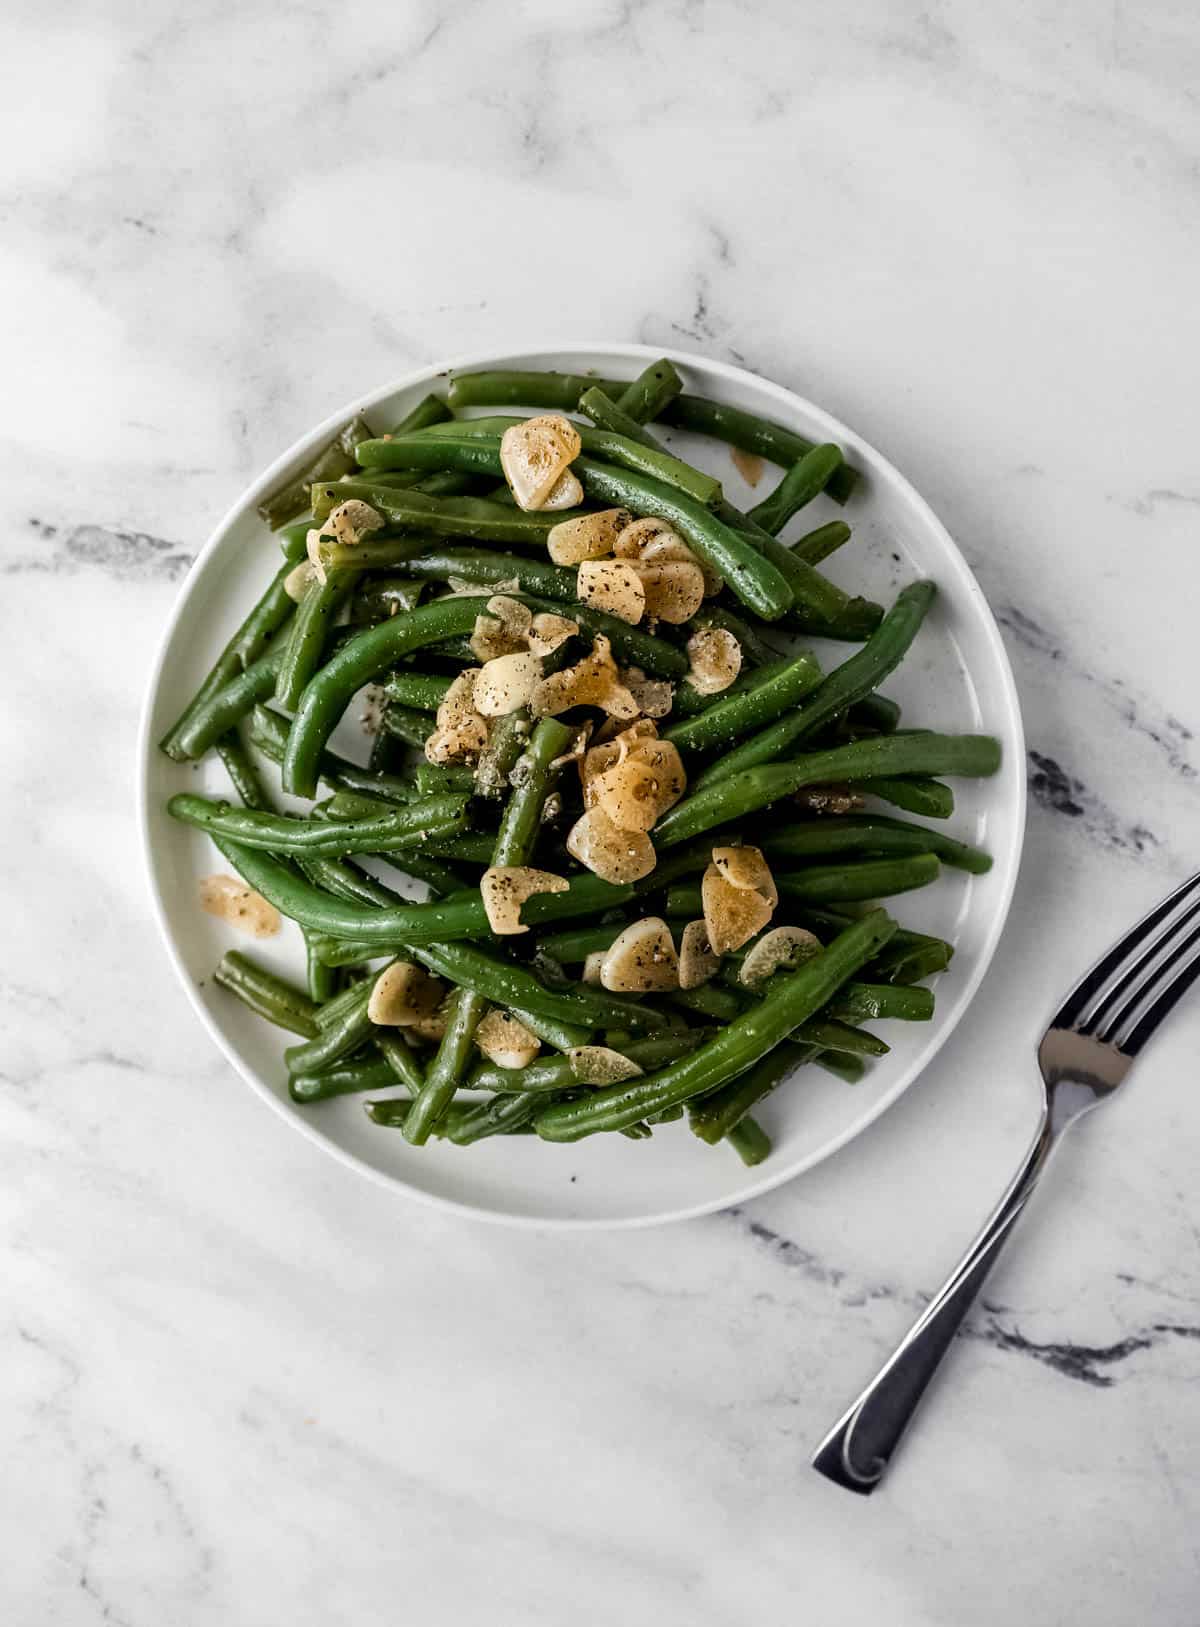
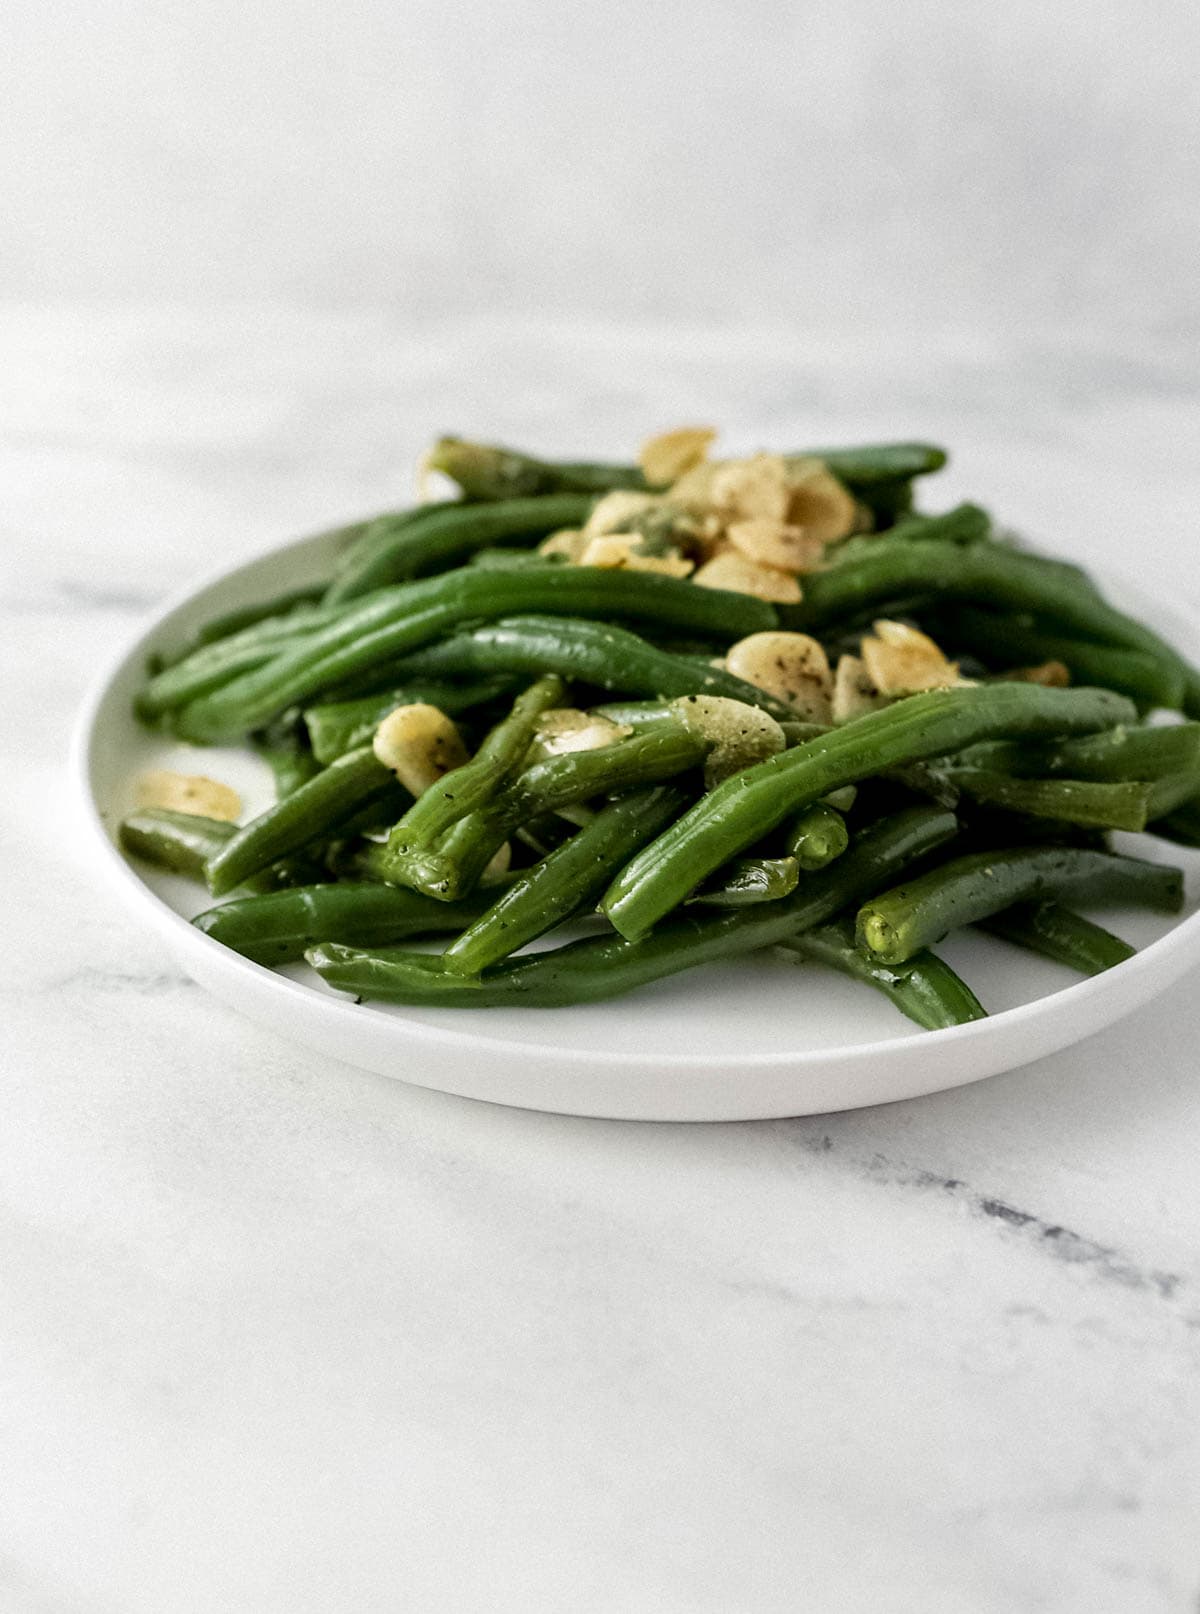
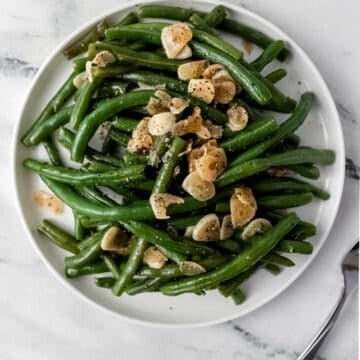
Fresh, garlicky, and full of flavor, this Garlic Green Beans recipe is the easy side dish you'll want to make again and again. Crisp-tender green beans are sautéed in garlicky olive oil and finished with a splash of white wine vinegar for a tangy kick. It's quick, healthy, and pairs with just about any main dish.
Updated July 2026: I've refreshed this post with new tips, expanded FAQs, and helpful make-ahead instructions based on your questions and feedback. Originally posted on January 8, 2020, and updated September 8, 2025 with a video.
Want To Save This Recipe?
Watch this Quick Video Tutorial!
Here's what readers have to say about this recipe:
Reader Natalie, commented: "Such a simple yet so healthy and delicious veggie side. I love green beans. This recipe is a keeper! ★★★★★"
Another reader Debbie, commented: "These garlic green beans blew me away. I needed an easy side to go with roasted chicken and these were perfect. Simple ingredients brought to life...Thanks! ★★★★★"
Green beans were on our table just about every Sunday when I was growing up in Florida, usually simmered low and slow the traditional Southern way. But somewhere along the line I fell in love with this quicker version. Crisp-tender beans cooked in garlicky olive oil, then finished with a little splash of white wine vinegar right at the end. That tangy kick is what makes people go back for seconds, and it's what sets these apart from every other garlic green bean recipe out there.
I've been making these garlic green beans for my family since 2020, and I've tested my way through every shortcut and stumble, burnt garlic, rubbery beans, all of it. The method below, including my little microwave trick for softening the garlic without scorching it, is the one that turns out perfectly every single time.
If you've got a skillet, a handful of pantry staples, and 20 minutes, you've got a side dish that works for a Tuesday night or a holiday table. Let's get started!
Jump to:
Why You'll Love This Garlic Green Beans Recipe
- The vinegar finish - a splash of white wine vinegar at the end brightens everything up and gives these beans a tangy edge you won't find in the usual garlic-and-oil version.
- No burnt garlic, ever - my microwave garlic-oil trick softens the garlic gently before it hits the pan, so you get golden, mellow garlic instead of bitter brown bits.
- One skillet, 20 minutes - no blanching, no separate pot of boiling water, no extra dishes.
- Goes with everything - simple enough for weeknight chicken, pretty enough for the Thanksgiving table.
Ingredients You'll Need
Here's everything you'll need to make this recipe.
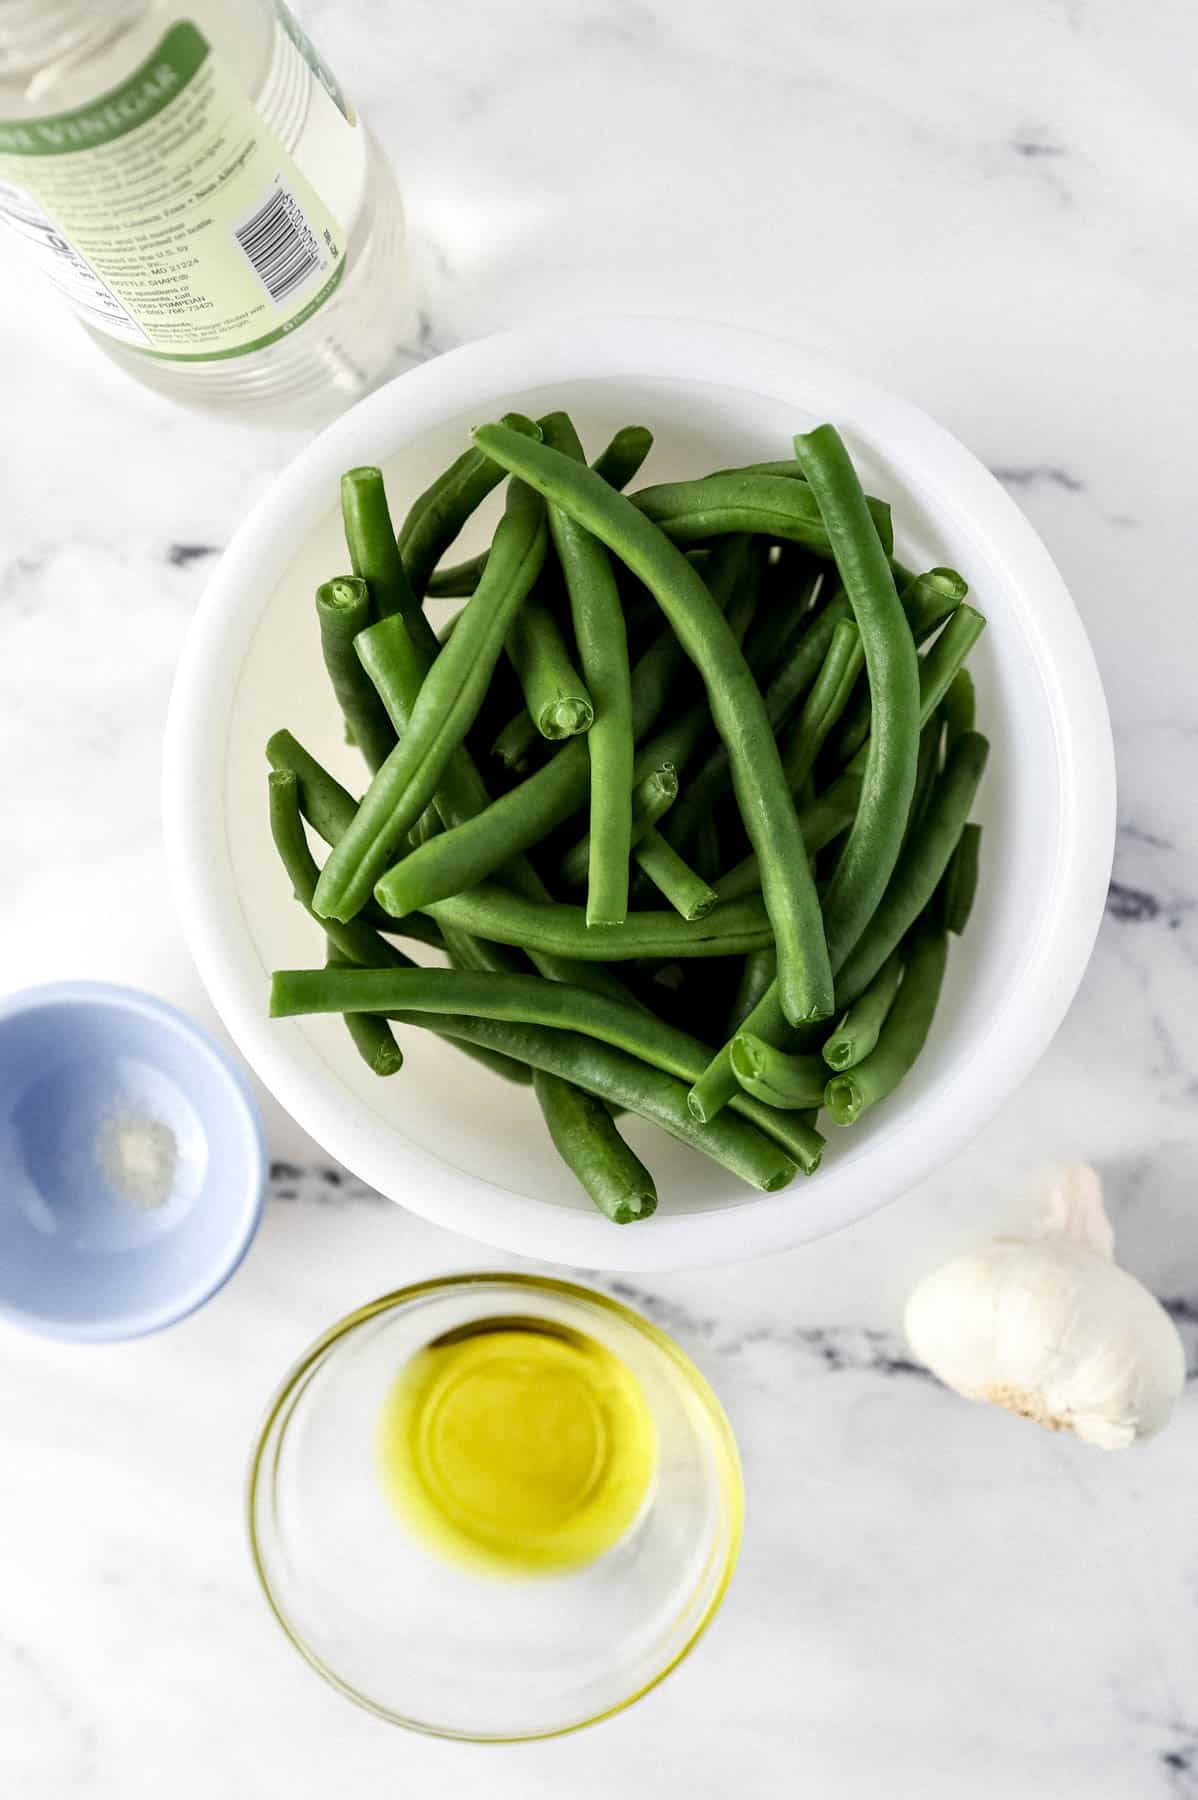
- Fresh green beans - Look for bright green, firm beans without soft spots or blemishes, and trim both ends before cooking. Thin French green beans (haricots verts) work beautifully too, just shave a minute or two off the cooking time. Fresh really is the way to go here. This quick sauté method doesn't do frozen or canned beans (sometimes called string beans) any favors.
- Garlic - Fresh cloves, sliced or minced. Sliced garlic turns mellow and golden, minced gives you a stronger garlic punch in every bite. Jarred minced garlic works in a pinch, but fresh makes a noticeable difference in a recipe this simple.
- Olive oil - This carries all the garlic flavor into the beans. Avocado or vegetable oil can be swapped in if that's what you have.
- Sugar - Just a pinch, mixed in with the garlic and oil. It helps the garlic soften and turn golden without burning. It won't make the dish sweet, I promise.
- White wine vinegar - The secret handshake of this recipe. It goes in off the heat at the very end and wakes up all the flavors. Rice vinegar, red wine vinegar, or plain distilled white vinegar all work as substitutes.
- Salt and black pepper - Added at the end with the vinegar so the seasoning lands on perfectly cooked beans.
👉🏾 See the recipe card below for exact quantities and full instructions.
How to Make Garlic Green Beans
Here's a quick overview of the process. Full step-by-step instructions are in the recipe card below.
Step 1: Make the Garlic Oil
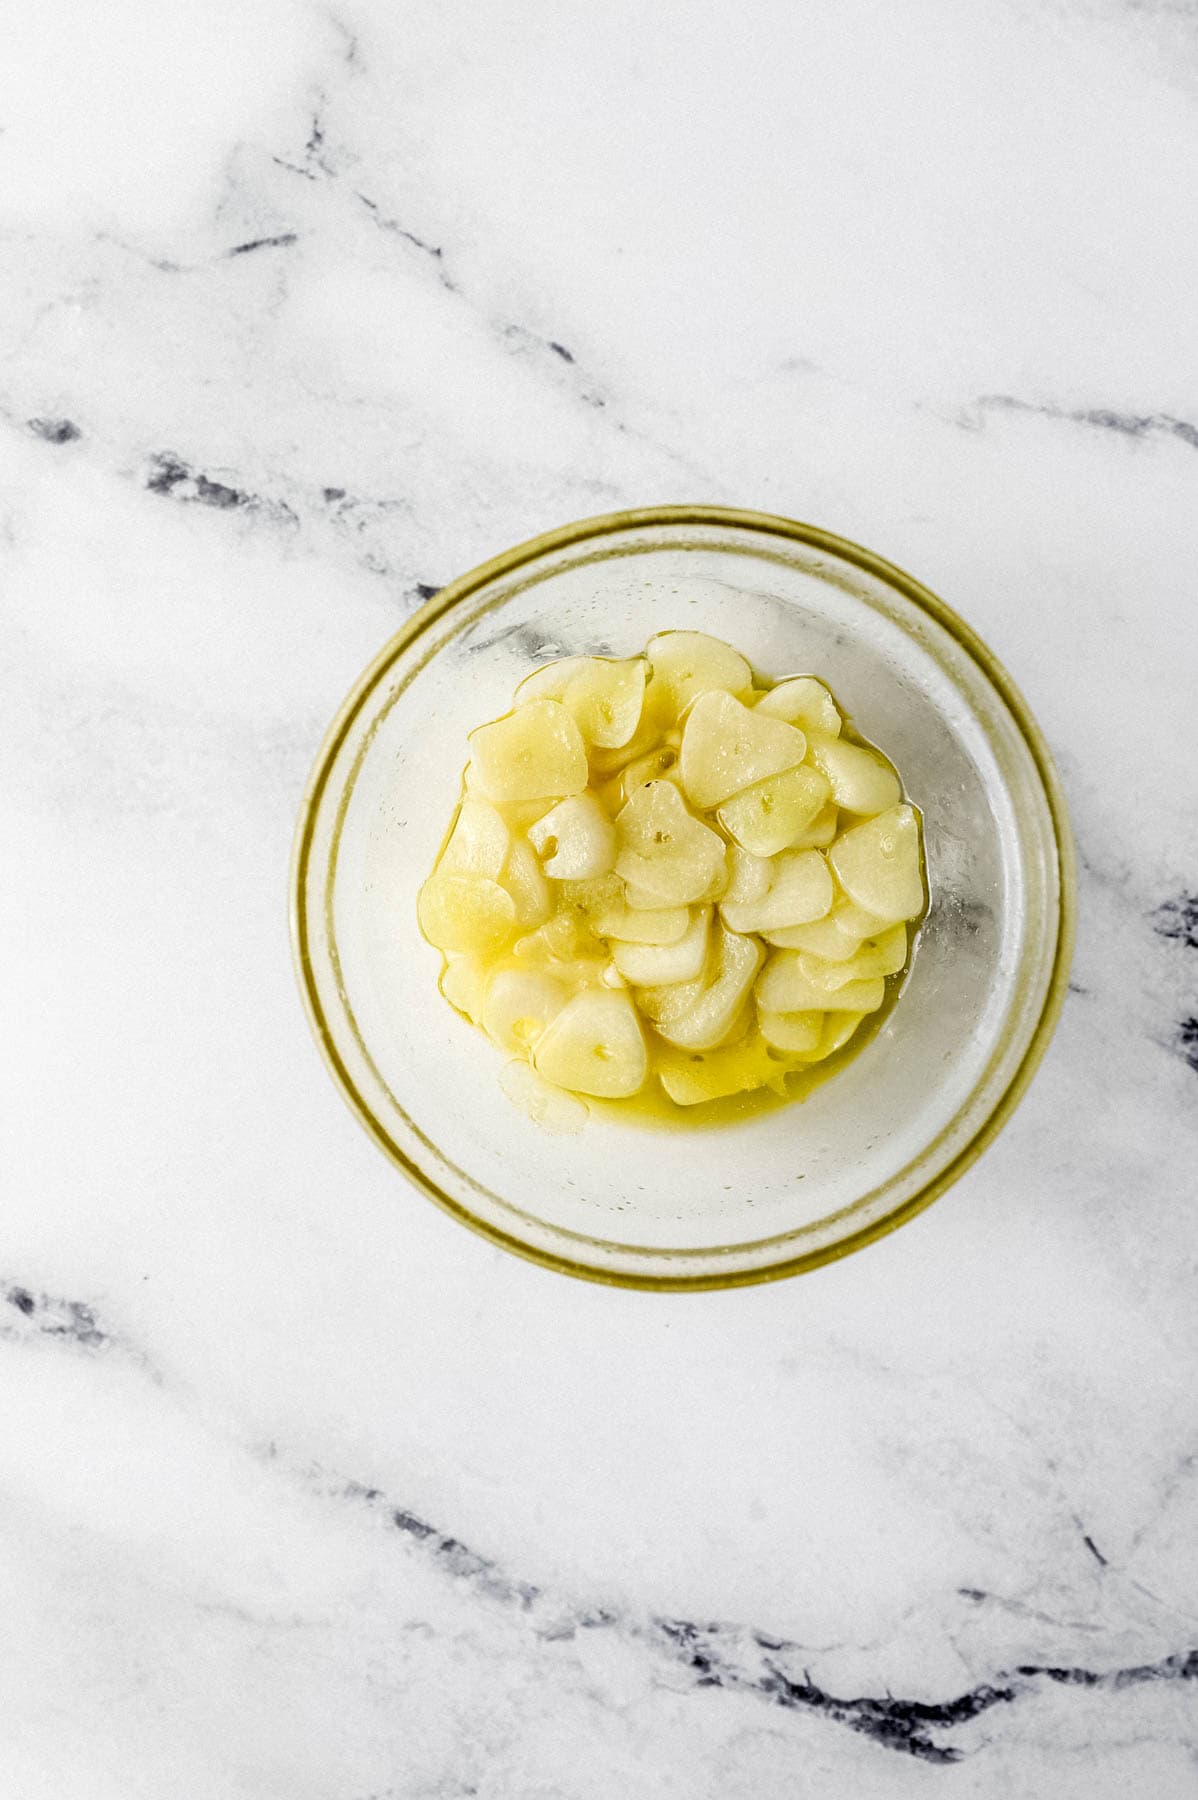
Stir the sliced garlic, olive oil, and a pinch of sugar together in a small bowl, then microwave briefly until the garlic softens. This gentle head start is my favorite trick in this whole recipe. It mellows the garlic and protects it from scorching in the skillet, which is the number one way garlic green beans go wrong. The garlic and the oil stay together from here on out. You'll use the whole mixture, garlic slices and all.
Step 2: Start the Beans in Half the Garlic Oil
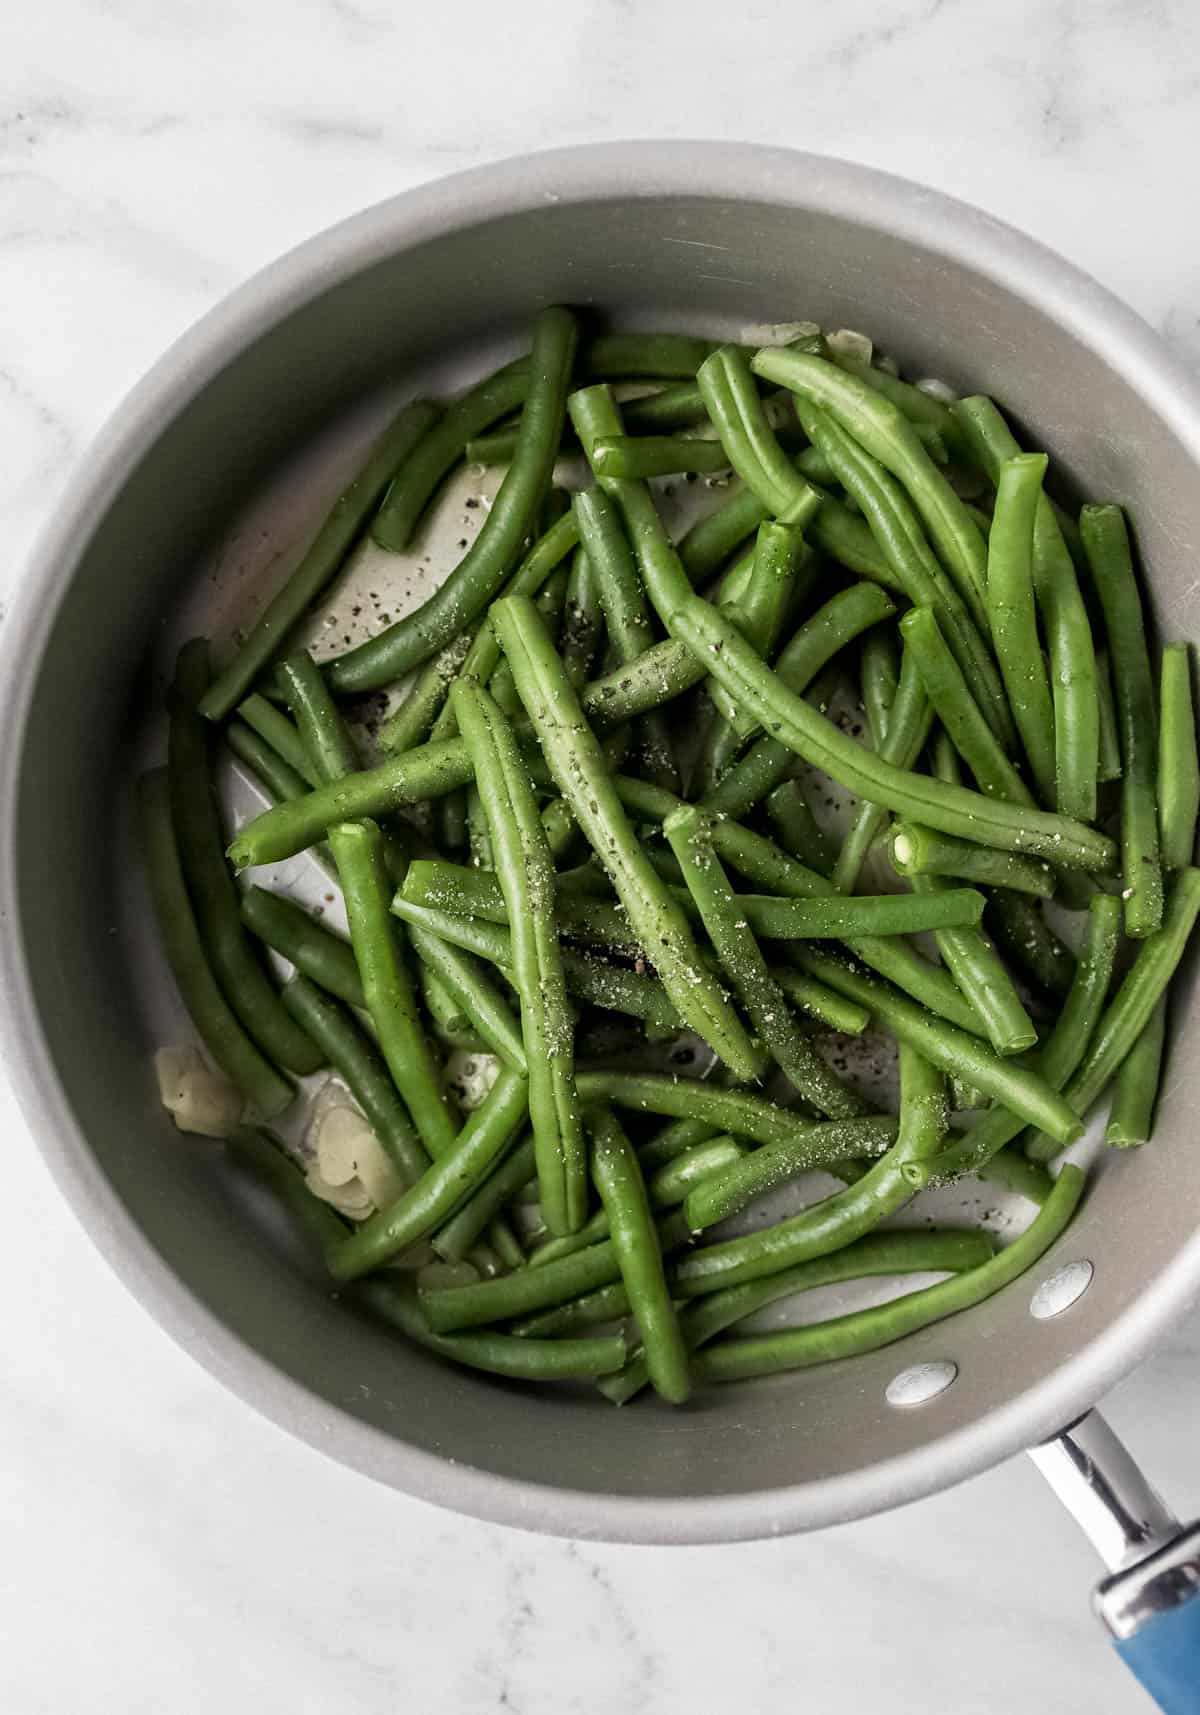
Pour half of the garlic-oil mixture, softened garlic included, into your skillet over medium heat. Once it's warmed through, add the trimmed green beans and a splash of water, then cover. The water creates steam that cooks the beans quickly while the garlic oil coats them in flavor. You're looking for bright, vivid green after about 3 minutes.
Step 3: Add the Rest of the Garlic Oil
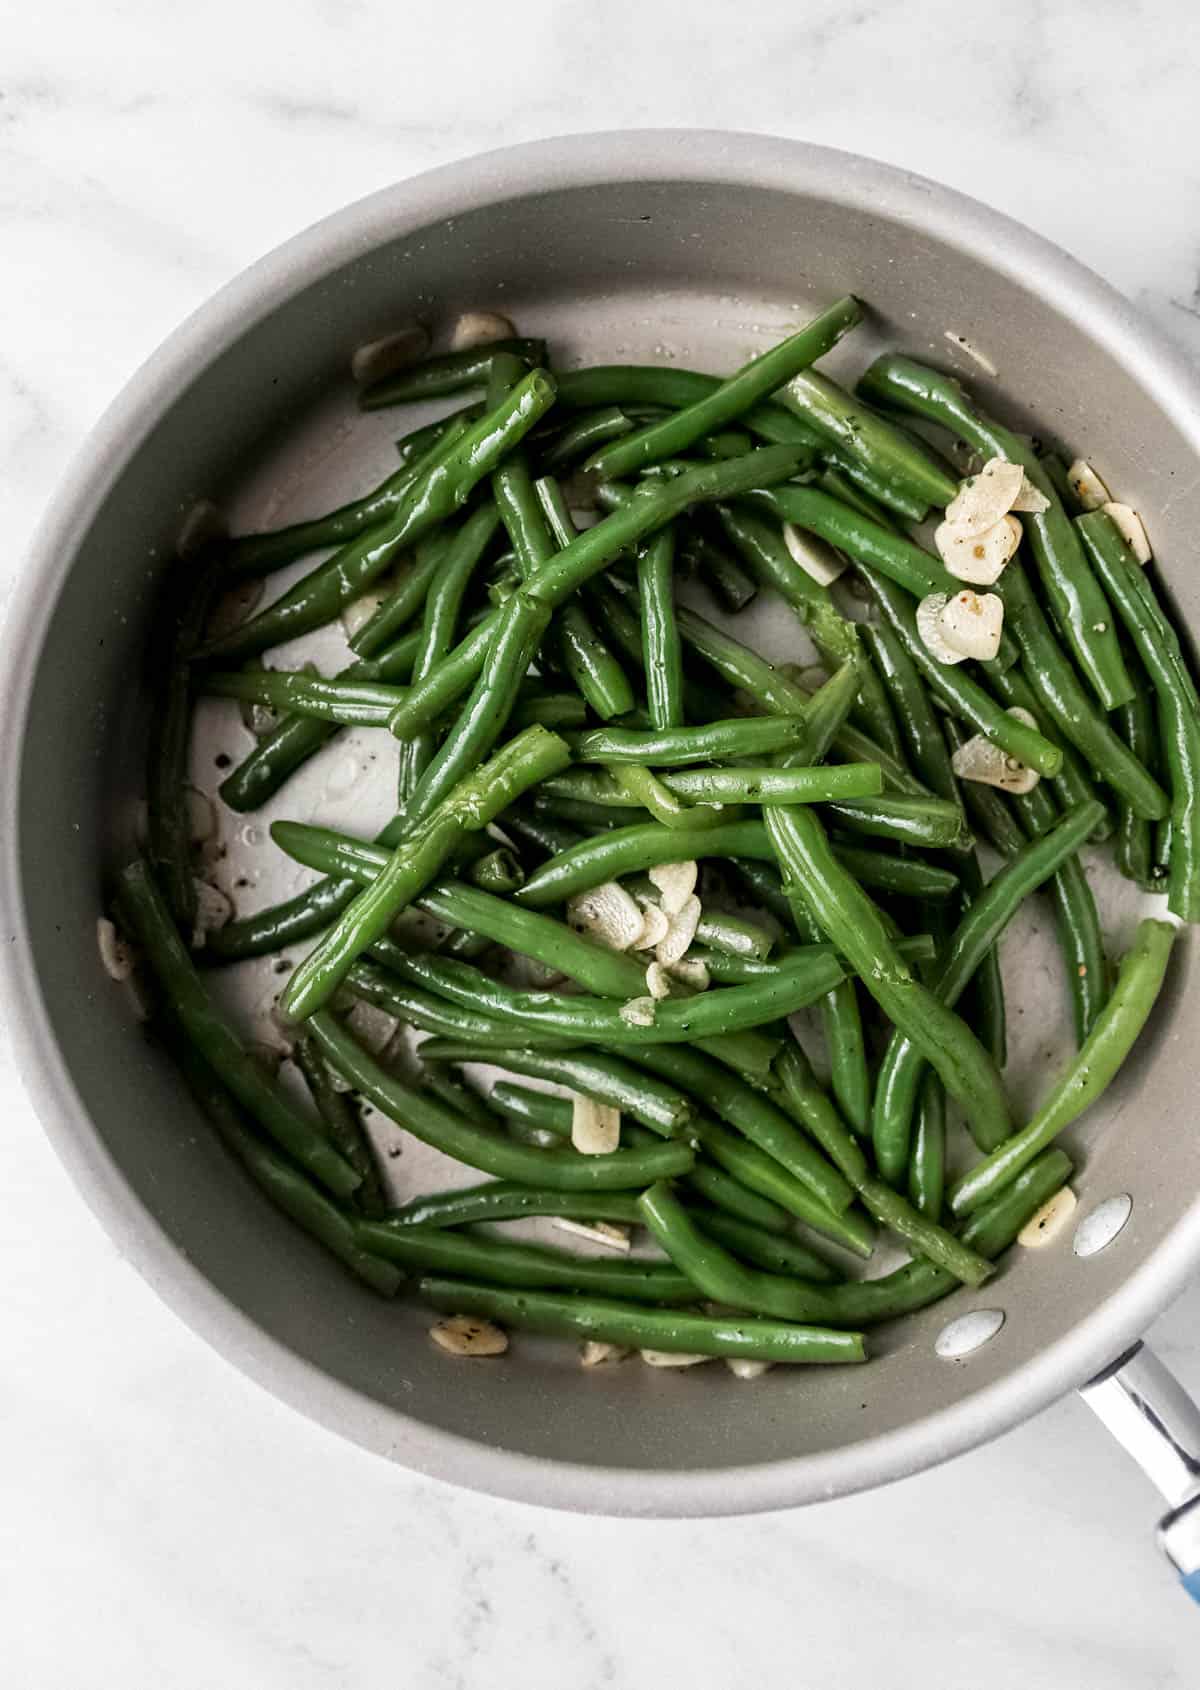
Add the remaining garlic-oil mixture, all of the softened garlic goes in here too. Cover, and cook a few minutes more, then uncover and stir occasionally. This second stage is where the garlic turns golden, and the beans go from bright green to tender-crisp. Watch the garlic color: golden is perfect, deep brown means pull it off the heat now.
Step 4: Finish with Vinegar, Salt, and Pepper
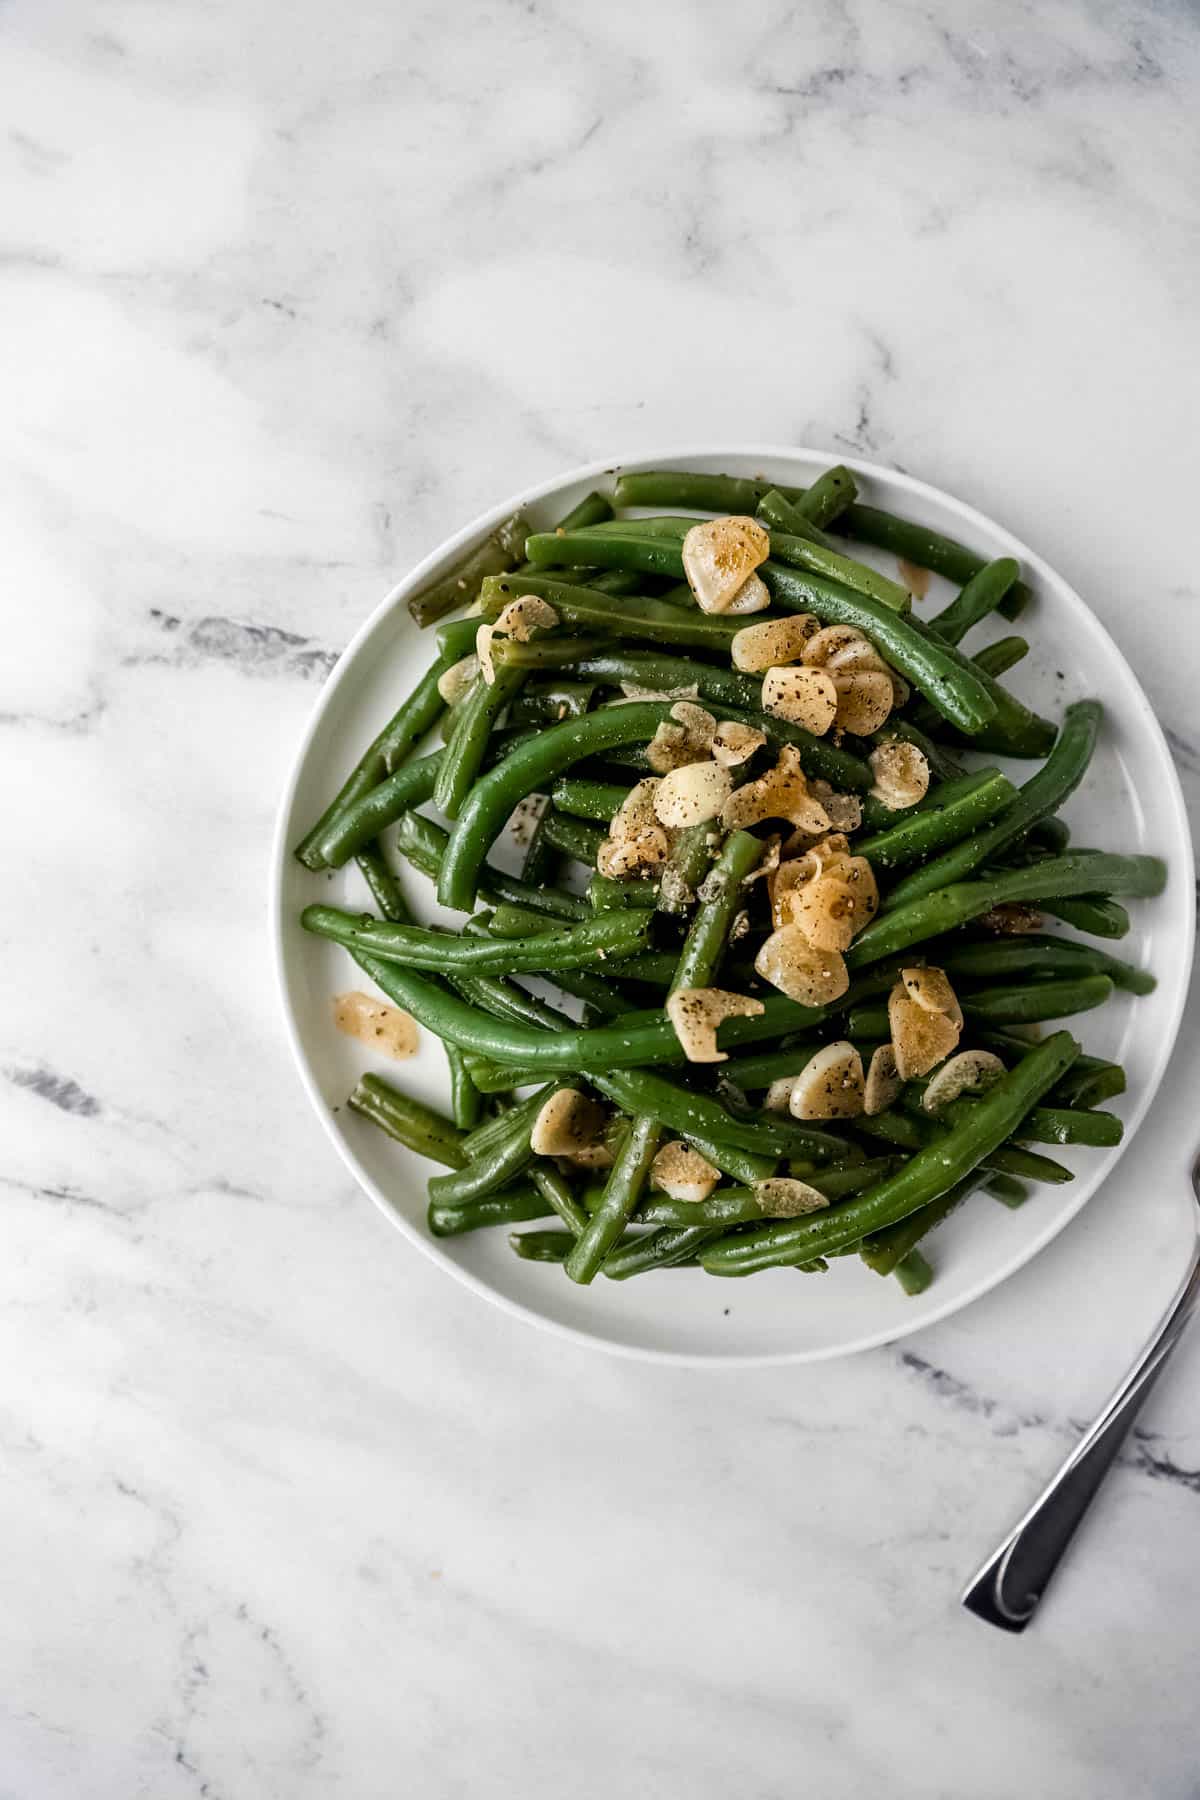
Take the skillet off the heat, then stir in the white wine vinegar, salt, and pepper. Adding the vinegar off the heat keeps its bright, tangy flavor intact instead of cooking it away. Give everything a good toss so each bean gets a little of that tangy coating, and serve hot.
LaKita's Expert Tips
Here are my best tips for making this recipe turn out perfectly every time.
- Dry your beans well after washing. Water clinging to the beans will splatter in the hot oil and steam the beans when you want them to sauté. A quick pat with a clean kitchen towel does it.
- Keep the heat at medium, not high. Garlic burns fast, and burnt garlic turns bitter enough to ruin the whole skillet. Medium heat plus the sugar trick keeps it golden.
- Don't walk away during the last 3 minutes. The garlic goes from golden to burnt quickly once the lid comes off, this is the stir-occasionally stage for a reason.
- Taste a bean before adding the vinegar. It should have a slight snap left in it. If it's still squeaky-raw, give it another minute or two covered.
- Use a skillet large enough for a single layer. Crowded beans steam instead of sauté and you lose those lightly blistered spots that make them so good.
- If you love blistered beans, keep going. A few extra minutes uncovered, stirring less often, gets you deeper char. Just spoon the garlic out first if it's already golden so it doesn't burn.
- Rescue tip: if your garlic does scorch, don't stir it in. Spoon out the burnt bits, add a fresh drizzle of oil, and carry on. The beans will still be good.
Variations & Substitutions
This recipe is flexible, here are some easy ways to make it your own.
- Spicy - Add crushed red pepper flakes with the second batch of garlic oil for a gentle heat that builds.
- Asian-inspired - Swap the olive oil for sesame oil and finish with rice vinegar instead of white wine. It pairs beautifully with my Hibachi Vegetables for a full hibachi-night spread.
- Extra garlicky - Double the garlic. I won't judge, this is the version my family requests.
- Savory-seasoned - A little onion powder or even ranch seasoning stirred in at the end takes these in a fun direction.
- Skip the vinegar - If tangy isn't your thing, just leave it out. The garlic oil carries the dish on its own.
- Different acid - Red wine vinegar gives a deeper tang. A squeeze of fresh lemon is a softer, brighter finish.
Make-Ahead & Storage
Make-Ahead
The garlic oil can be made up to 3 days ahead. Microwave it as directed, cool it completely, and store it covered in the refrigerator (don't leave garlic-in-oil sitting out at room temperature). The beans can be washed and trimmed up to 2 days ahead. Store them in the fridge, and if you want them extra crisp, hold them in a bowl of ice water for the last hour before cooking. With both prepped, dinner is honestly about 12 minutes away.
Storage & Reheating
Store leftovers in an airtight container in the refrigerator for 3 to 4 days. To reheat, warm them in a skillet over medium heat for 2 to 3 minutes. That keeps the most texture, or microwave in 30-second bursts until hot. You can freeze them in a freezer bag for up to 1 month, but fair warning: the beans will come back noticeably softer, so I really recommend enjoying them fresh or from the fridge.
What to Serve with Garlic Green Beans
Here are some of my favorite ways to serve this dish.
- With a steakhouse-style dinner - Try them beside Ribeye Steak for a meal that feels special without much work.
- Sunday supper style - They're perfect next to Cast Iron Chicken Breast with a wedge of Southern Cornbread to round out the plate.
- Cookout companion - Pair them with BBQ Chicken Thighs when you want a bright, fresh side against smoky-sweet barbecue.
- Pasta night - A crisp green vegetable is exactly what Spaghetti and Meatballs needs alongside it.
- All-out Southern spread - Serve them with Southern Mustard Greens and Mayonnaise Biscuits when you're feeding a crowd.
Frequently Asked Questions
No, that's one of my favorite things about this recipe. The beans steam right in the covered skillet with a splash of water, so you get the same crisp-tender texture blanching gives you without boiling a separate pot. One skillet, fewer dishes, same result.
All of it goes in, the garlic never gets strained out of the oil. You add half of the garlic-oil mixture (garlic slices included) at the start with the beans, and the remaining half (again, garlic and all) partway through cooking. By the end, every bit of that softened garlic is golden and coating the beans.
It gently softens the garlic and takes the raw edge off before it ever touches the hot skillet, which makes it much harder to burn. The pinch of sugar helps it turn golden instead of bitter. It's a 45-second step that saves the whole dish.
I use white wine vinegar because it's bright and mild, it lifts the flavors without overpowering the garlic. Rice vinegar is a close substitute, red wine vinegar gives a deeper tang, and plain distilled white vinegar works in a pinch. Whatever you use, stir it in off the heat so the tang stays lively.
Acid balances the richness of the oil and wakes up the beans' natural flavor. The same reason a squeeze of lemon makes so many vegetables taste better. Down South, a splash of vinegar on greens and beans is a long-standing tradition, and once you try it, plain beans taste like they're missing something.
I really recommend fresh for this one. Frozen beans release too much water and turn soft before they ever get a chance to sauté, and canned beans are already fully cooked. The quick steam-then-sauté method is built around the snap of fresh beans.
Either works, it's about the flavor you want. Sliced garlic turns mellow, golden, and almost sweet, while minced garlic spreads a stronger flavor through every bite. I slice mine most of the time, but minced is the move if your family are true garlic lovers.
They needed a little more time. That squeaky-against-your-teeth texture means the beans are undercooked. Cover the skillet and give them another 2 to 3 minutes with a small splash of water. On the flip side, army-green, floppy beans mean they went too long, so start checking at the 6-minute mark.
You can prep smart even though they're best served fresh. The garlic oil keeps in the fridge up to 3 days, and the beans can be trimmed 2 days ahead, so the actual cooking takes about 12 minutes day-of. Fully cooked leftovers reheat well in a skillet for 2 to 3 minutes.
Absolutely, this is my favorite break from heavy casseroles on a holiday plate. They come together in one skillet on the stovetop while the oven is busy, and the bright vinegar finish balances all the rich dishes around them. Prep the garlic oil and trim the beans the day before, and they're a 12-minute side on the big day.
📖 Recipe
Garlic Green Beans Recipe
Video
Equipment
- 1 small bowl
- 1 Large skillet
Ingredients
- 6 cloves garlic, thinly sliced
- 1 tablespoon olive oil
- pinch of sugar
- 8 ounces fresh green beans, trimmed
- 2 tablespoons water
- 1 ½ teaspoon white wine vinegar
- ½ teaspoon salt
- ¼ teaspoon ground black pepper
Instructions
- Stir the sliced garlic, 1 tablespoon olive oil, and a pinch of sugar together in a small bowl, then microwave briefly for 45 seconds or until the garlic softens. This gentle head start is my favorite trick in this whole recipe, it mellows the garlic and protects it from scorching in the skillet, which is the number one way garlic green beans go wrong. The garlic and the oil stay together from here on out. You'll use the whole mixture, garlic slices and all.
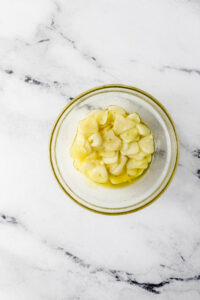
- Pour half of the garlic-oil mixture, softened garlic included, into a large skillet over medium heat.
- Once it's warmed through, add the 8 ounces trimmed green beans and 2 tablespoons water, then cover. The water creates steam that cooks the beans quickly while the garlic oil coats them in flavor. You're looking for bright, vivid green after about 3 minutes.
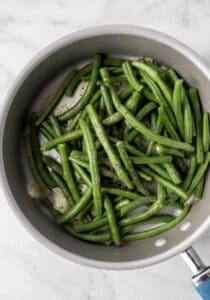
- Add the remaining garlic-oil mixture. All of the softened garlic goes in here too, cover, and cook aabout 3 minutes more, then uncover and stir occasionally. This second stage is where the garlic turns golden and the beans go from bright green to tender-crisp. Watch the garlic color: golden is perfect, deep brown means pull it off the heat now.
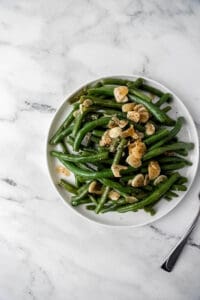
- Take the skillet off the heat, then stir in 1 ½ teaspoon white wine vinegar, ½ teaspoon salt, and ¼ teaspoon black pepper. Adding the vinegar off the heat keeps its bright, tangy flavor intact instead of cooking it away.
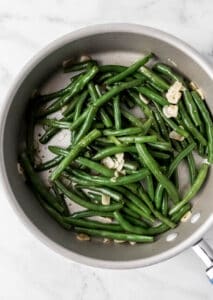
- Give everything a good toss so each bean gets a little of that tangy coating, and serve hot.
Did You Make This Recipe?
If you give these garlic green beans a try, I'd love to know what you think! Leave a comment and a star rating below, share a photo on Instagram and tag @SimplyLaKita, or save it on Pinterest for later. And if you have a question about anything in the recipe, drop it in the comments. I read every single one and I'm always happy to help.

Jazz says
I haven't tried white wine vinegar before but am looking forward to your version!
LaKita says
Thank you! If you don't want to buy a whole bottle you can omit it in this recipe.
Kaluhi says
I can literally taste all the flavors 😍😍😍
LaKita says
Thank you Kaluhi!
Tamara J says
This is so simple, yet packed with AMAZING flavor! I love that the green beans come out tender-crisp, so they still have a little bite. They made the perfect side dish!
LaKita says
Thank you! That is my favorite thing about this recipe as well!
Cathleen says
One of my favourite side dishes to make is green beans, but you took them to the next level!! Bookmarked for later
LaKita says
Thank you Cathleen, hope you enjoy!
Sophie says
I have everything to make this dish. Looks so green and flavorful. Thank you.
LaKita says
Yay! I love it when that happens. Enjoy!
Natalie says
Such a simple yet so healthy and delicious veggie side. I love green beans. This recipe is a keeper!
LaKita says
Thank you Natalie!!
Jayne Rain says
This looks very simple but the flavor is so amazing. I loved it.
LaKita says
Thank you! I love a simple dish!
Debbie says
These garlic green beans blew me away. I needed an easy side to go with roasted chicken and these were perfect. Simple ingredients brought to life.. Thanks !
LaKita says
Thank you so much Debbie!
Rebecca Blackwell says
Yum, yum, yum! I made these this weekend for my family, serving them alongside Chicken Piccata and they were perfect. Bright and flavorful! Everyone loved them!
LaKita says
So glad you and your family enjoyed them and I bet the chicken piccata was amazing!
Paige says
Boy, I'm going to try this with the splash of vinegar you have at the end..I've used other thinks like citrus, but I bet it sends these beans over the top!
LaKita says
Thank you! The splash of vinegar definitely takes them over the top!
Jacqui DeBono says
I love growing green beans, and eating green beans! They are my go to vegetable, and I especially love them with garlic!
LaKita says
Thank you! Fresh green beans are my go to as well. They're so good!!
Uma Srinivas says
such a simple and easy recipe. I love sauteed garlic in cooked beans. This will be the best side dish and a good pair of steamed brown rice.
LaKita says
Thank you! It will work really well with steamed brown rice!
Katrina Adams says
Green beans are one of my favorite green vegetables and I haven’t tried fresh yet so this recipe is perfect for me!
LaKita says
The fresh green beans with garlic is so good!
Veena Azmanov says
I love the flavor of Garlic and these beans tossed in their flavor is an awesome and interesting way to enjoy healthy options.
LaKita says
Thank you Veena!
Anna says
Yum! Another fan of garlic and green beans over here! Love this combination, it's utterly delicious and perfect to serve with almost any main course!
LaKita says
Yes I agree! Best combination ever!!
Desirée says
Needed this! I needed a nice simple green bean recipe and this is it!
LaKita says
Thank you! Enjoy!
Marta says
I LOVE garlic and green beans, so I know this is going to be my new go-to side dish for dinner.
LaKita says
You will love it!!