





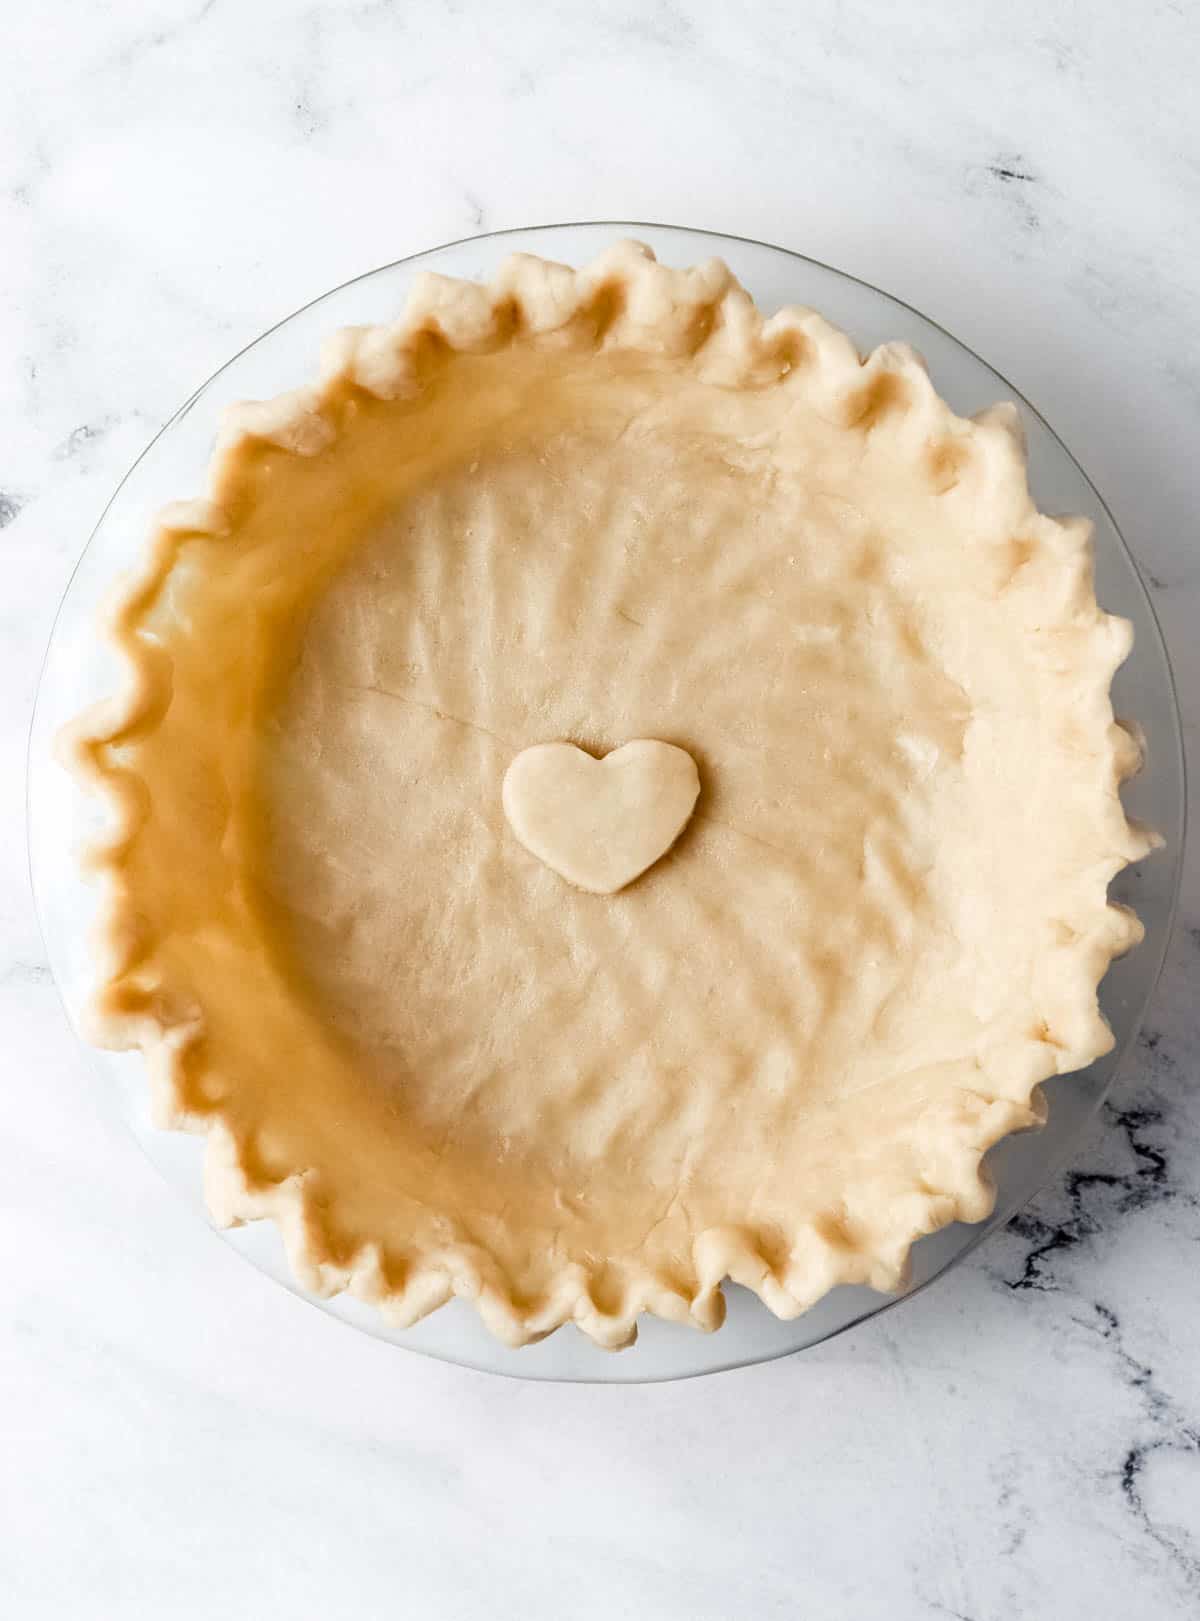
This Homemade Pie Crust with Butter and Shortening gives you the best of both worlds: buttery flavor with a flaky, tender texture that's easy to roll and shape.
It uses just flour, cold butter, shortening, salt, and ice water and makes enough dough for two single crusts or one double-crust pie. Use it for sweet potato pie, pecan pie, chicken pot pie, quiche, or any recipe that deserves a homemade crust.
Updated October 5, 2026: I simplified this post with clearer cold-dough techniques, more specific rolling and chilling tips, improved make-ahead guidance, and additional troubleshooting help. The recipe itself remains the same. Originally published on November 26, 2020, and updated August 29, 2025.
Want To Save This Recipe?
Watch this quick video tutorial!
Pie crust is one of those recipes that can look much harder than it actually is.
The biggest secret isn't a fancy ingredient or special piece of equipment.
It's simply keeping the fat cold and handling the dough as little as possible.
Butter provides the flavor and creates flaky pockets as it melts in the oven, while shortening makes the dough tender and a little easier to work with.
Once you understand what the dough should look and feel like, homemade pie crust becomes much less intimidating. Let's get started!
Jump to:
- Watch this quick video tutorial!
- Why You'll Love This Recipe
- Ingredients You'll Need
- How to Make Homemade Pie Crust
- LaKita's Expert Tips
- Why Use Butter and Shortening Together?
- What Should Pie Dough Look Like?
- Why Does Pie Crust Need to Chill?
- How to Roll Pie Dough Without Cracking
- How to Keep Pie Crust From Shrinking
- Food Processor vs. Pastry Cutter
- Can I Make Pie Crust Ahead?
- Can I Freeze an Unbaked Pie Crust?
- How to Blind Bake Pie Crust
- Why Is My Pie Crust Tough?
- Why Is My Pie Dough Crumbly?
- Why Is My Dough Sticky?
- Can I Use All Butter Instead?
- Frequently asked questions
- 📖 Recipe
- Did You Make This Recipe?
Why You'll Love This Recipe
- Flaky and buttery: Butter gives you flavor while shortening keeps the crust tender.
- Only five ingredients: No complicated pastry ingredients required.
- Sweet or savory: Use it for dessert pies, pot pies, quiche, and more.
- Make-ahead friendly: Refrigerate or freeze the dough until you need it.
- Food processor or hand method: Use whichever technique works best in your kitchen.
Ingredients You'll Need
See the recipe card below for exact measurements.
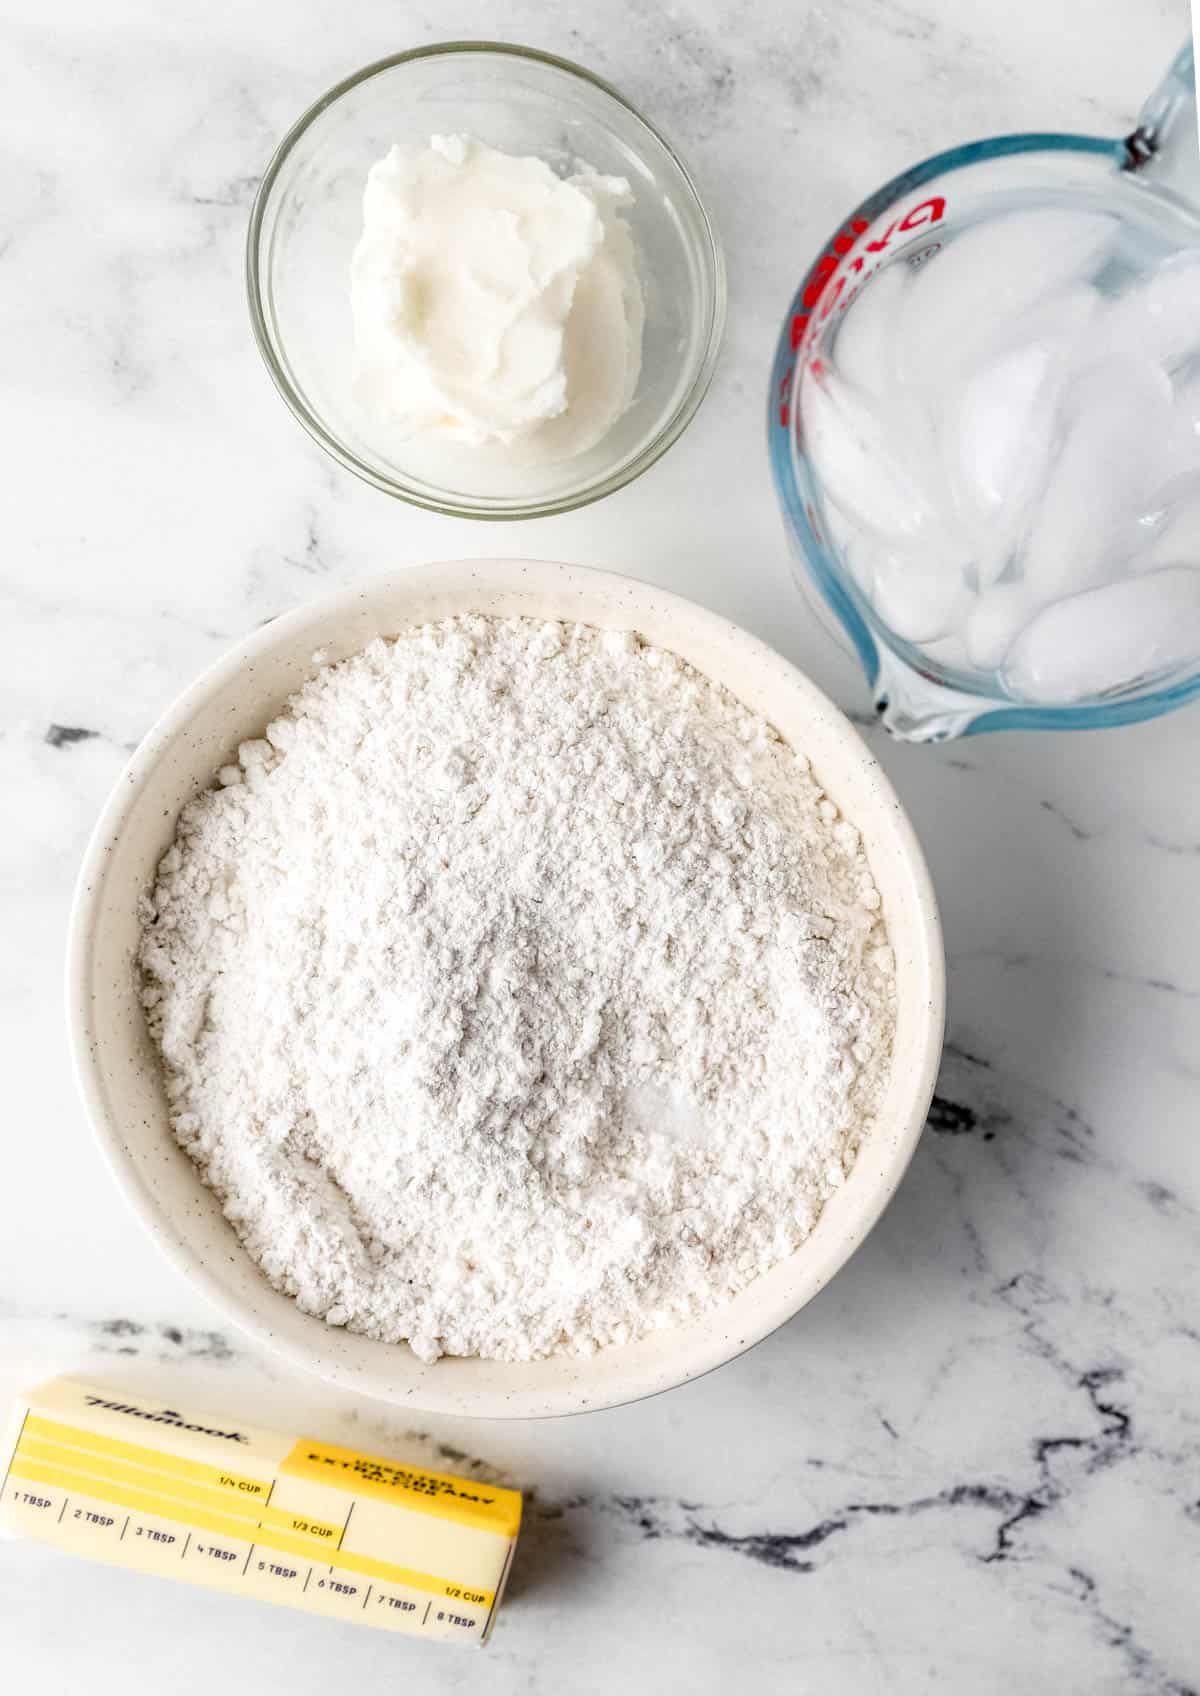
- All-purpose flour: Gives the crust structure. Measure carefully so the dough doesn't become too dry.
- Butter: Keep it cold and cubed. Those cold pieces of butter create steam in the oven, helping produce flaky layers.
- Shortening: Keeps the crust tender and makes the dough more forgiving to roll.
- Salt: A small amount brings out the buttery flavor.
- Ice water: Add only enough to bring the dough together. Too much water can make pie crust tough.
👉🏾 See the recipe card below for exact quantities and full instructions.
How to Make Homemade Pie Crust
Here's the quick overview. The recipe card below contains the complete measurements and detailed instructions.
1. Combine the Dry Ingredients and Fat
Add the flour, cold cubed butter, shortening, and salt to a food processor.
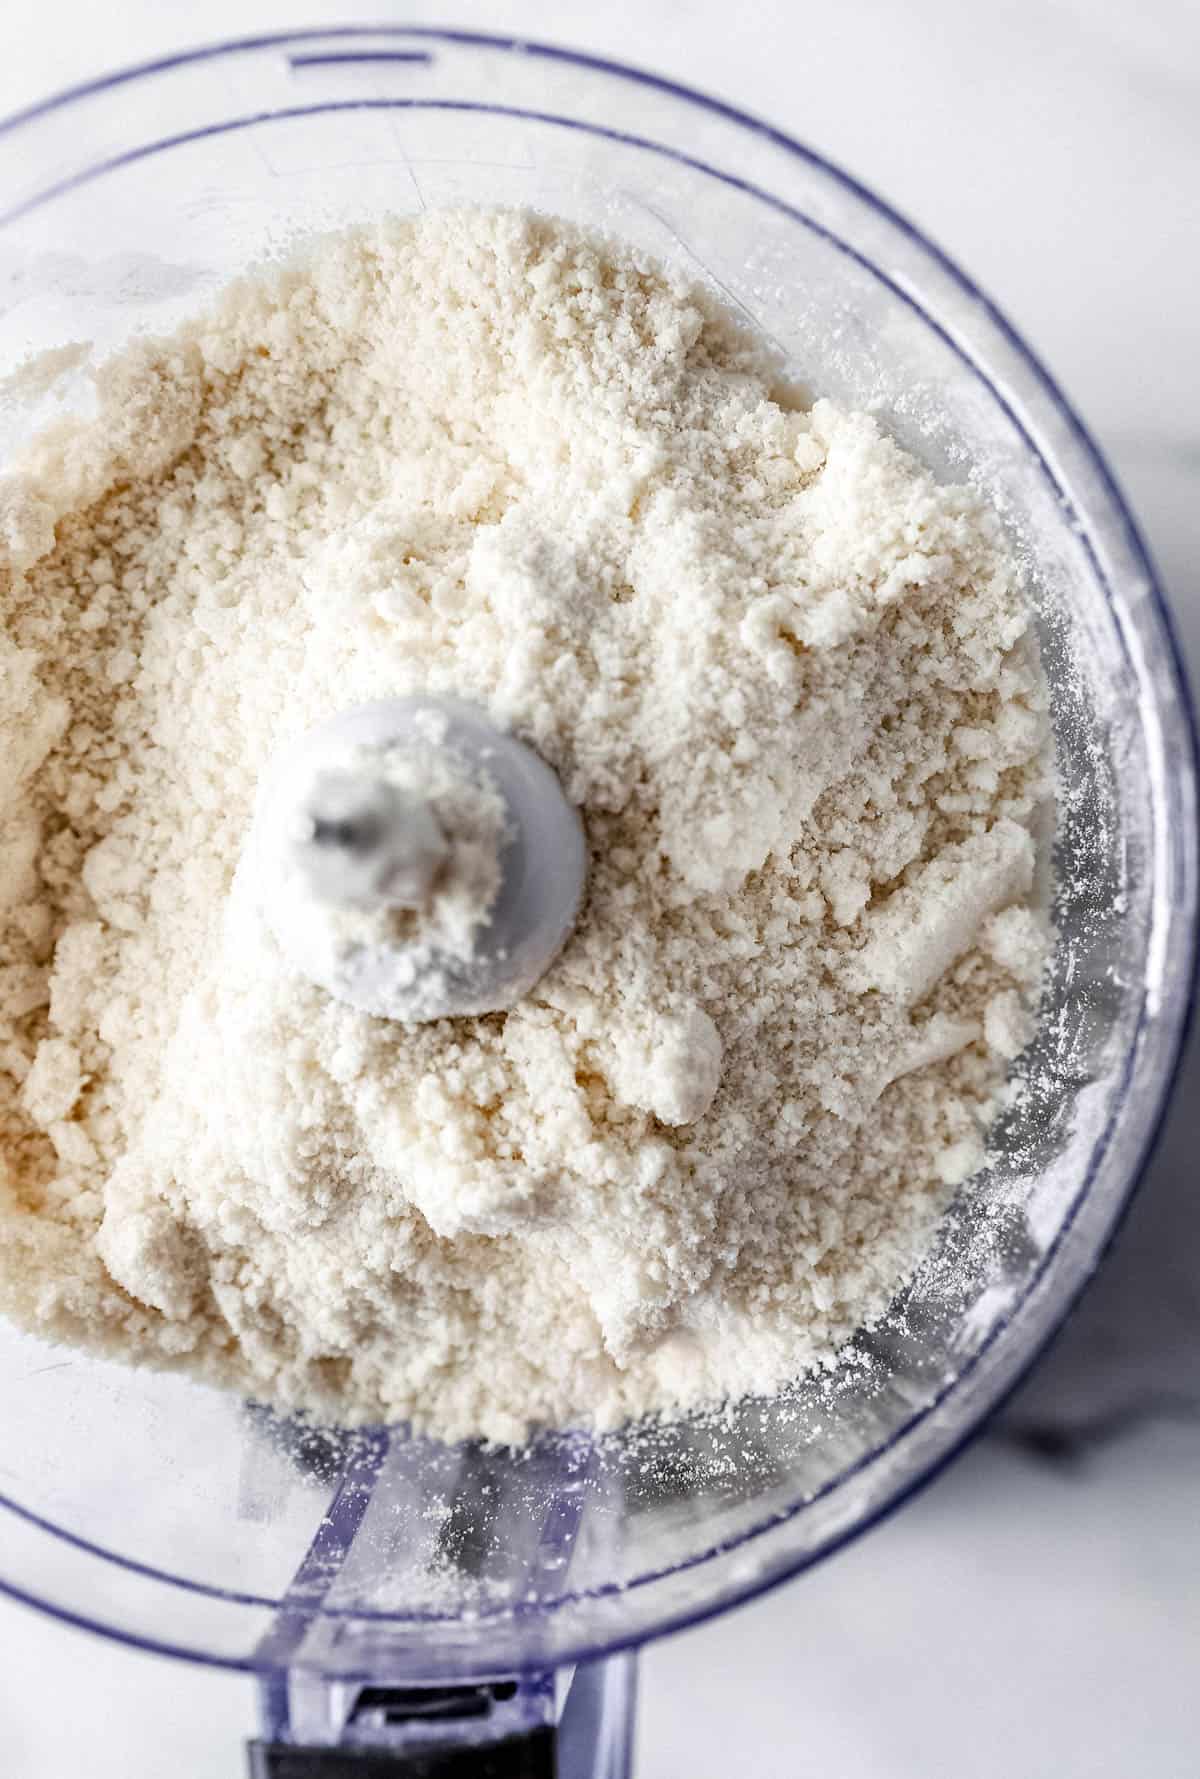
Pulse until the mixture looks crumbly with small pieces of fat still visible.
Don't process it into a completely smooth paste.
2. Add Ice Water
Add the ice water 1 tablespoon at a time, pulsing briefly after each addition.
Stop once the dough begins to clump together when pressed.
You may not need the full amount of water.
3. Form the Dough
Turn the mixture onto a lightly floured surface.
Gently press it together rather than aggressively kneading it.
Divide into two portions if you're making two crusts or a double-crust pie.
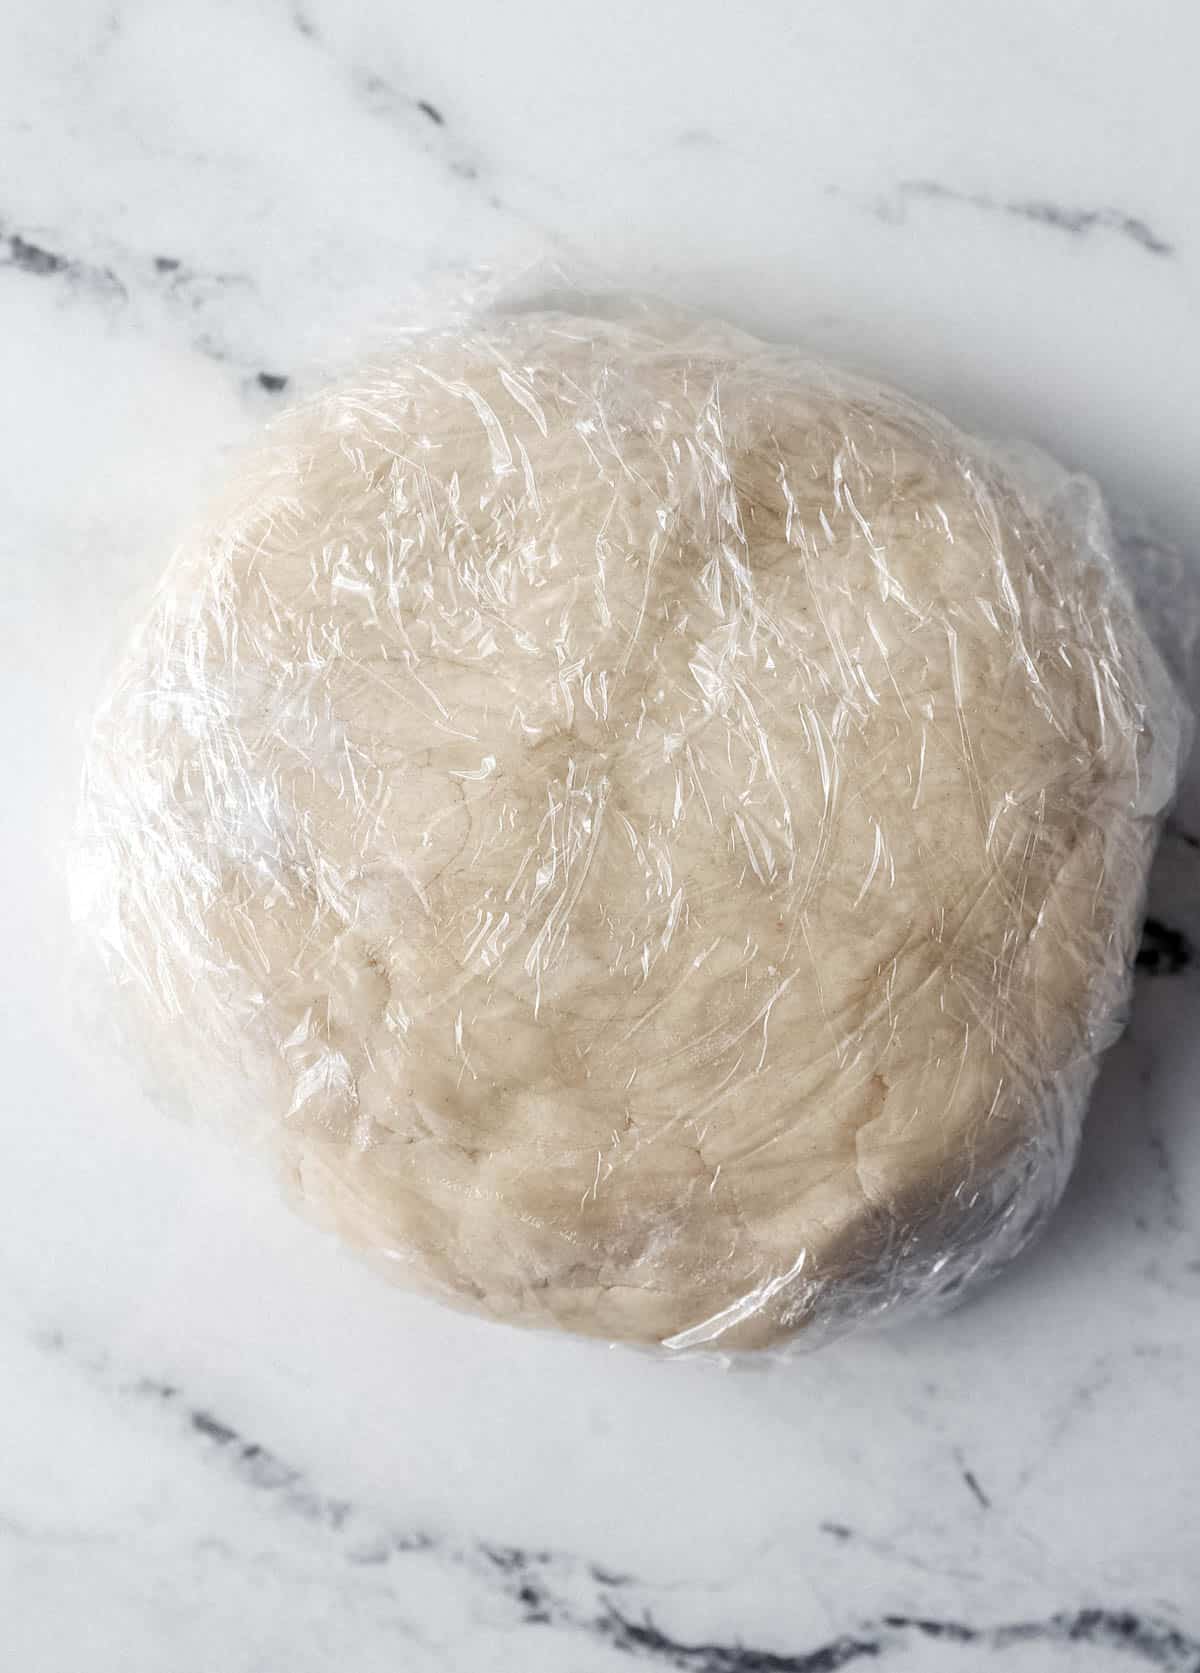
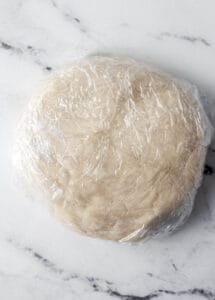
Flatten each portion into a disk.
4. Chill
Wrap the dough tightly and refrigerate it for at least 2 hours.
Chilling allows the flour to hydrate while keeping the fat firm.
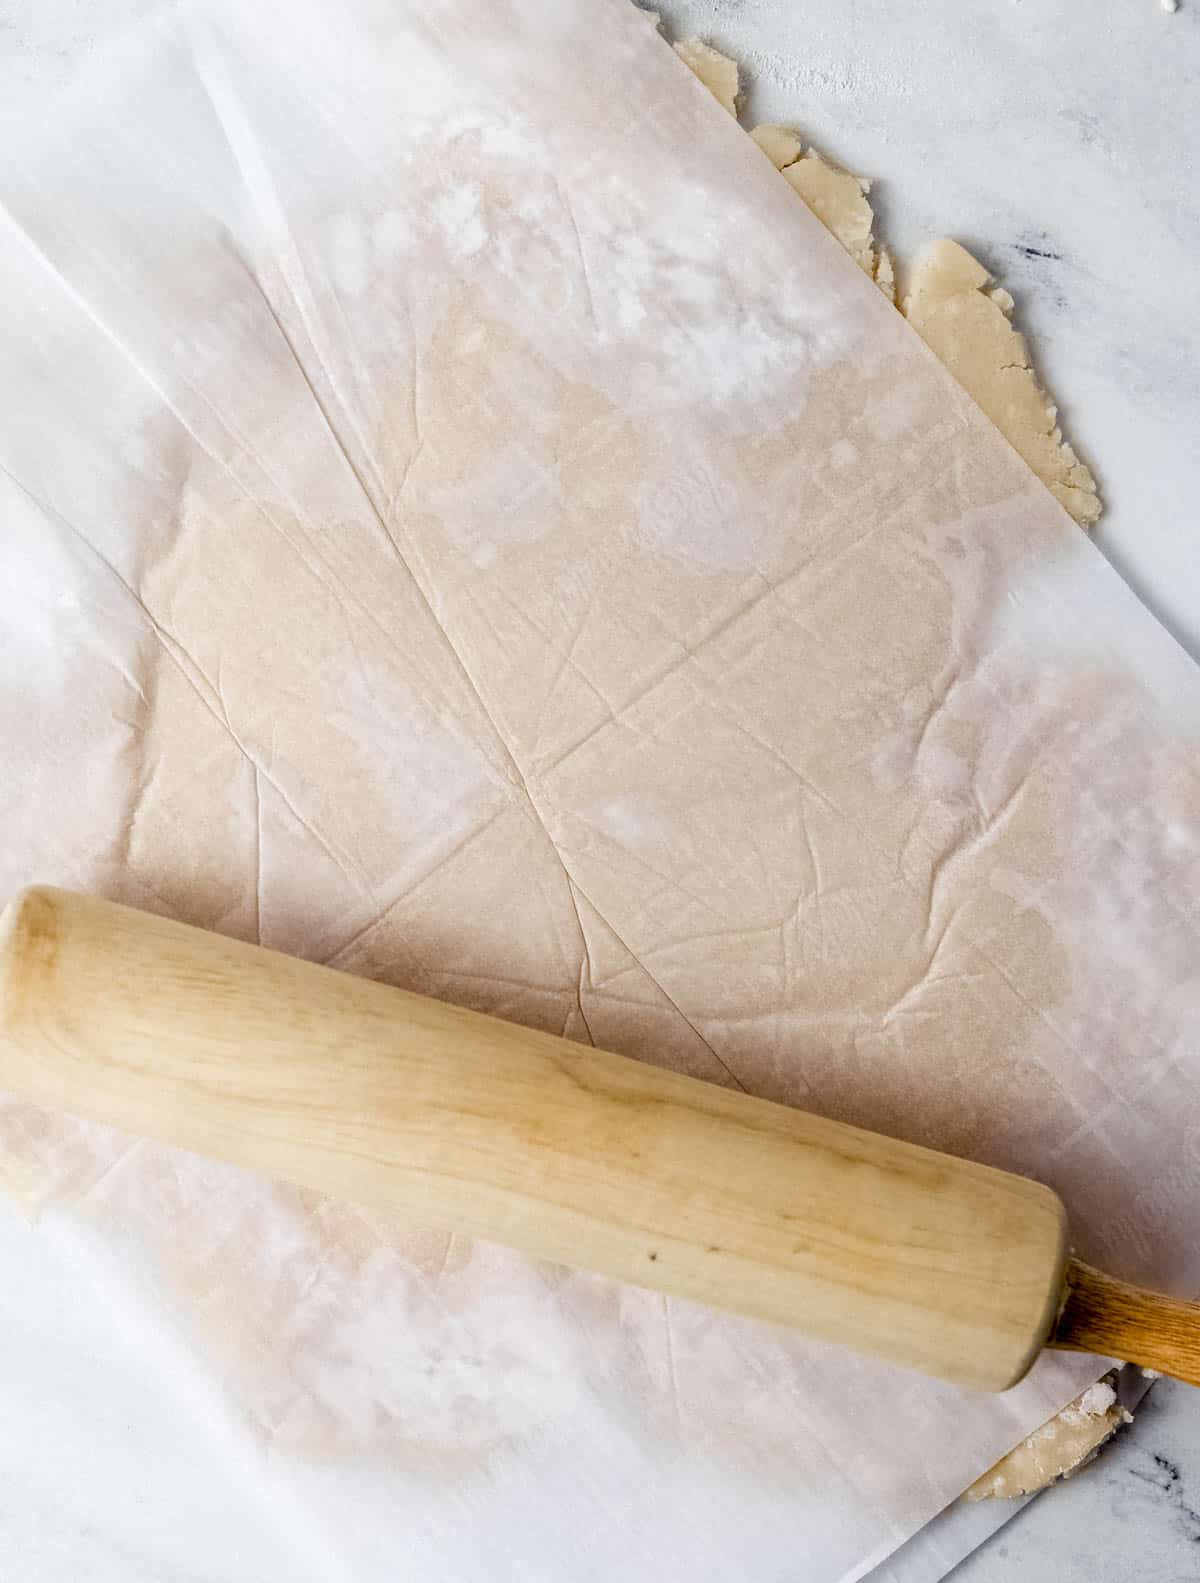
5. Roll the Dough
Let very firm refrigerated dough sit for just a few minutes if necessary so it becomes flexible enough to roll without cracking.
On a lightly floured surface, roll from the center outward, rotating the dough occasionally.
Roll it a few inches wider than your pie plate so there's enough dough to fit the bottom and sides without stretching.
6. Fit the Pie Plate
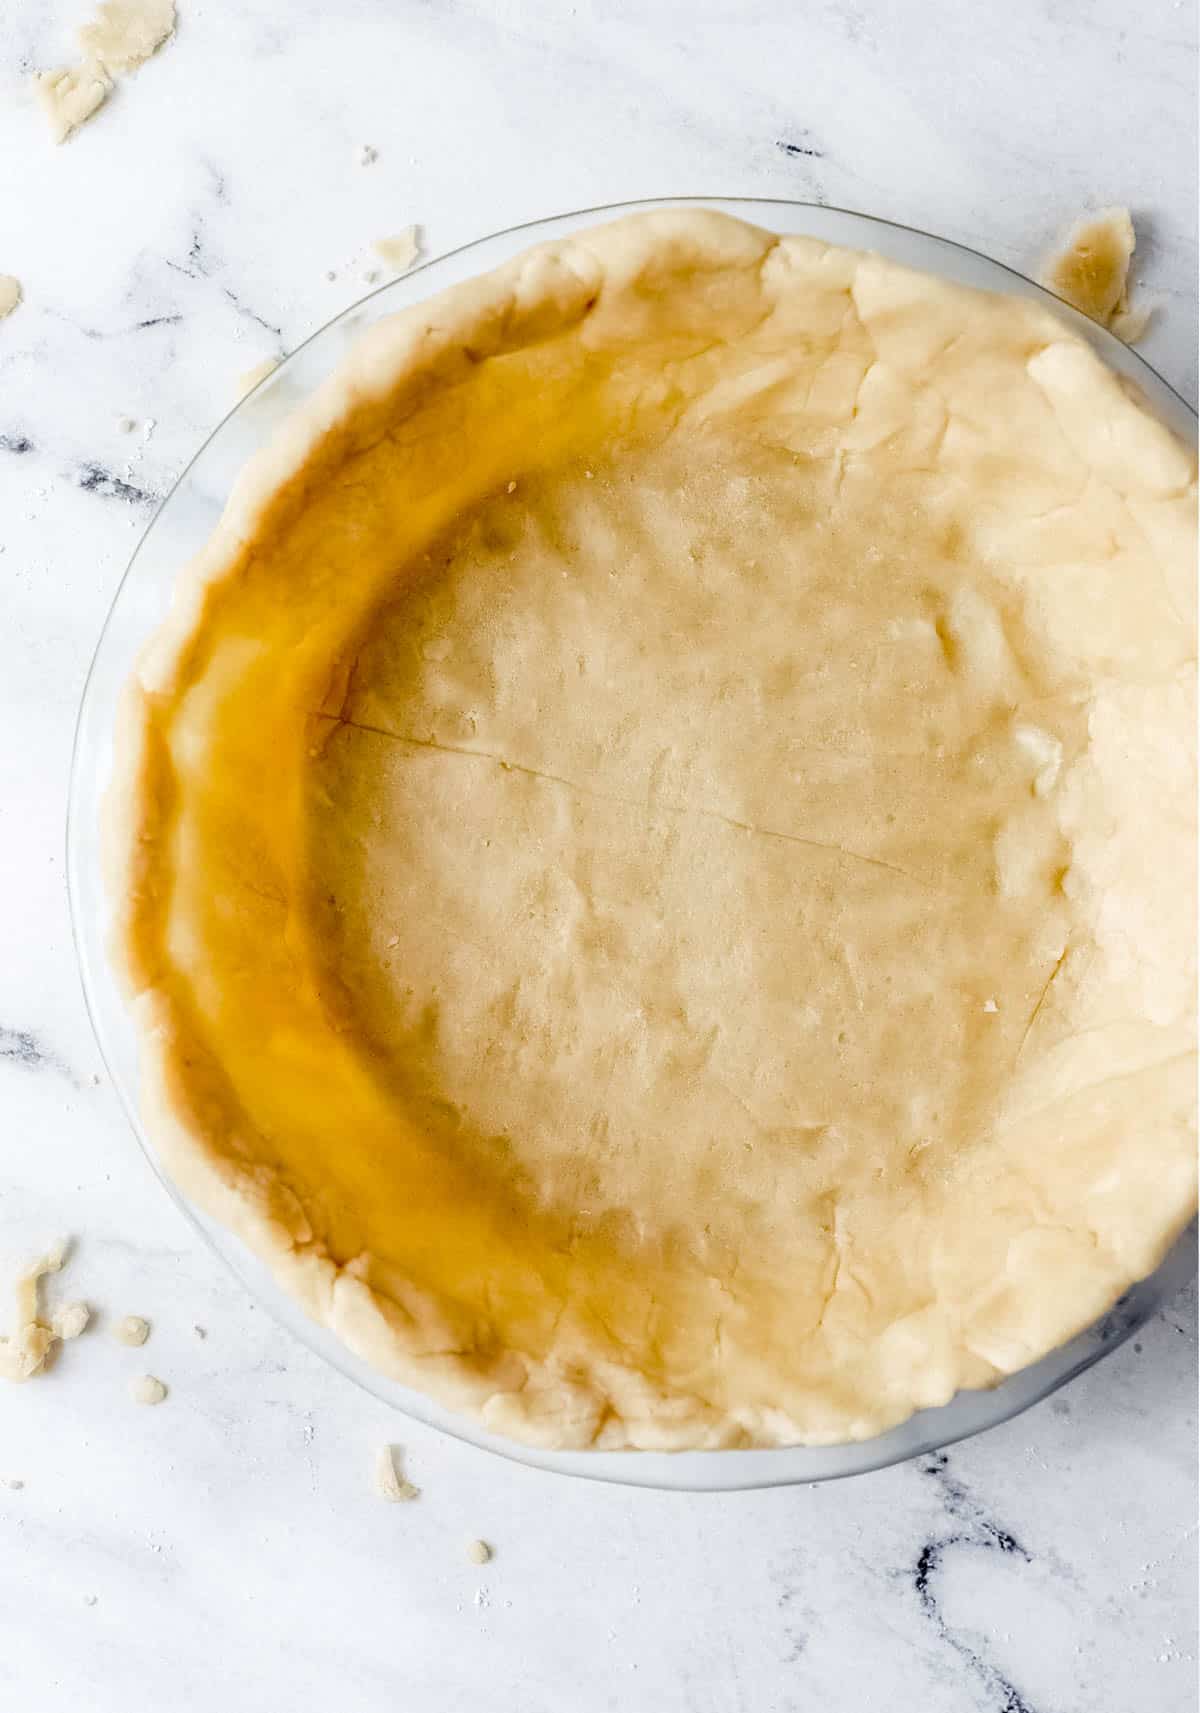
Gently transfer the dough to the pie plate.
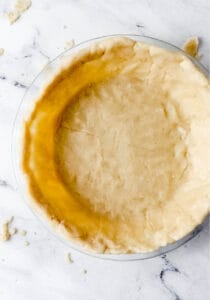
Allow it to fall naturally into the corners rather than pulling or stretching it.
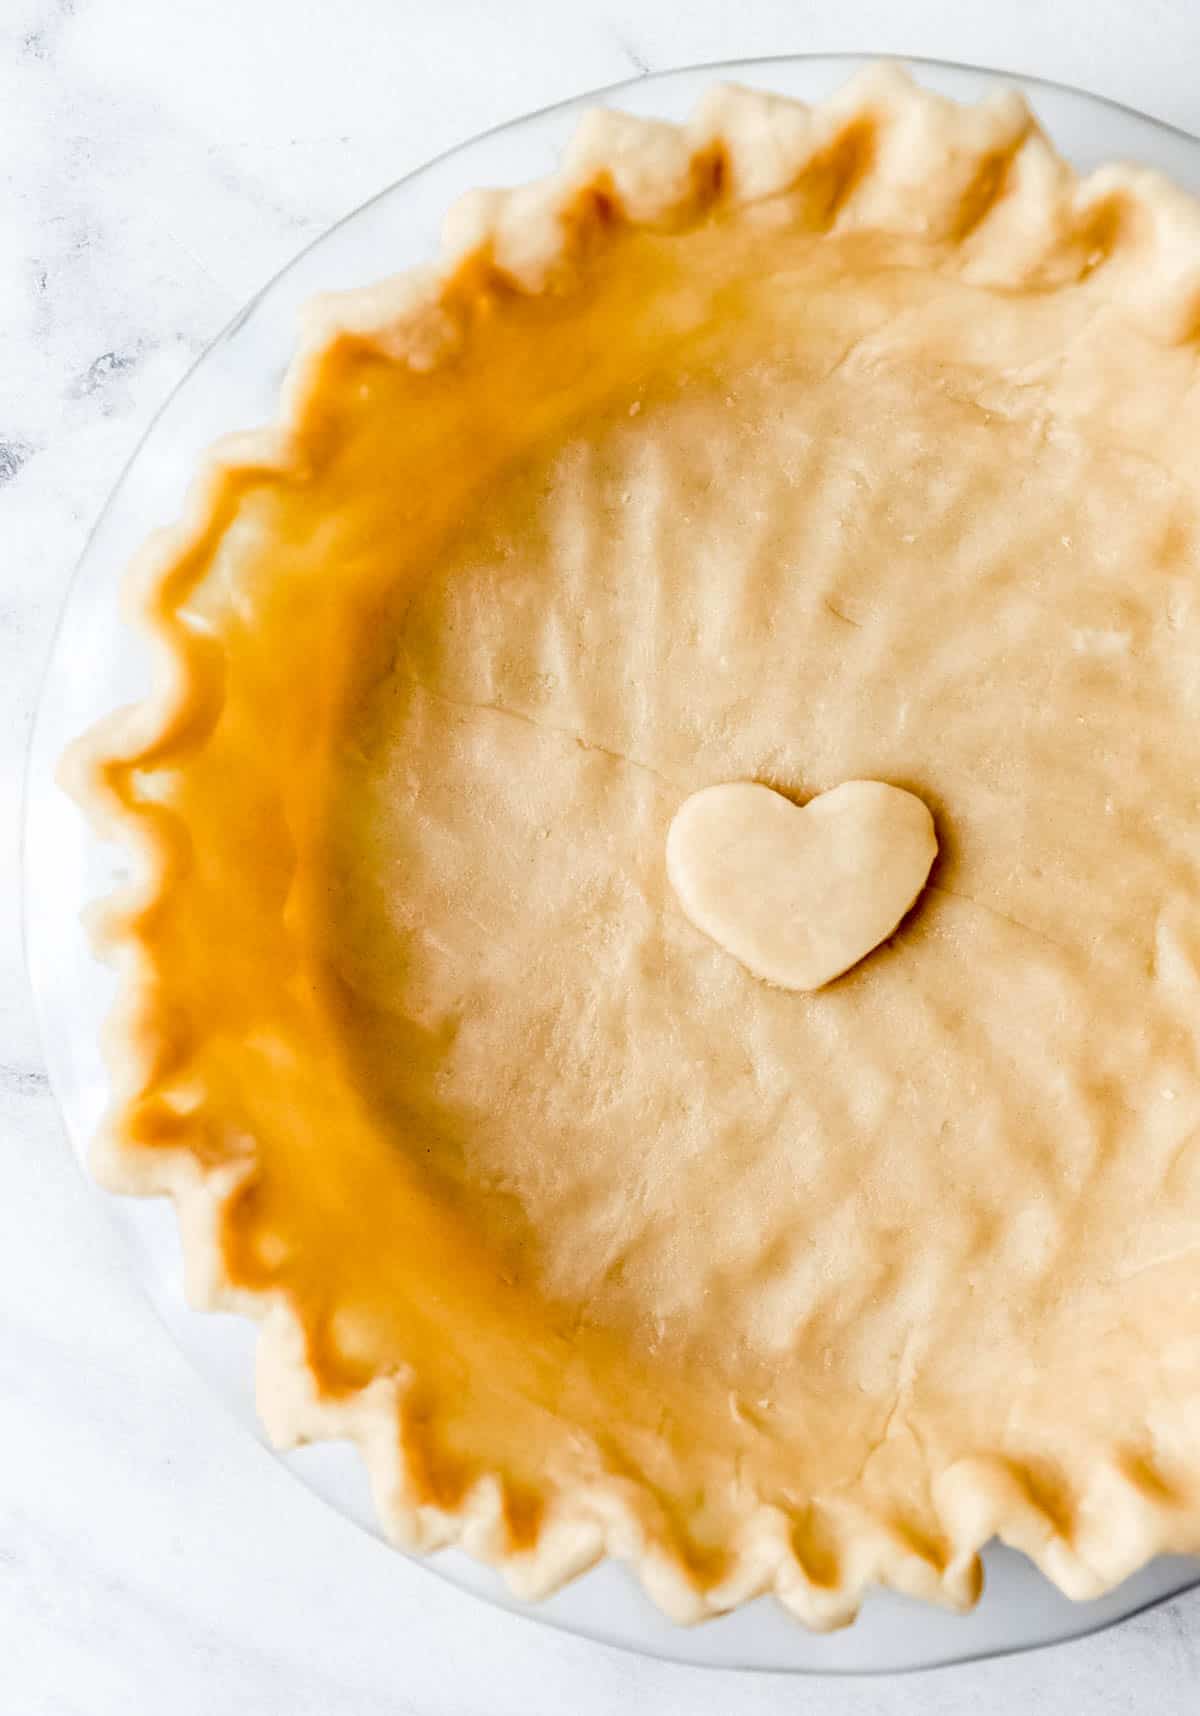
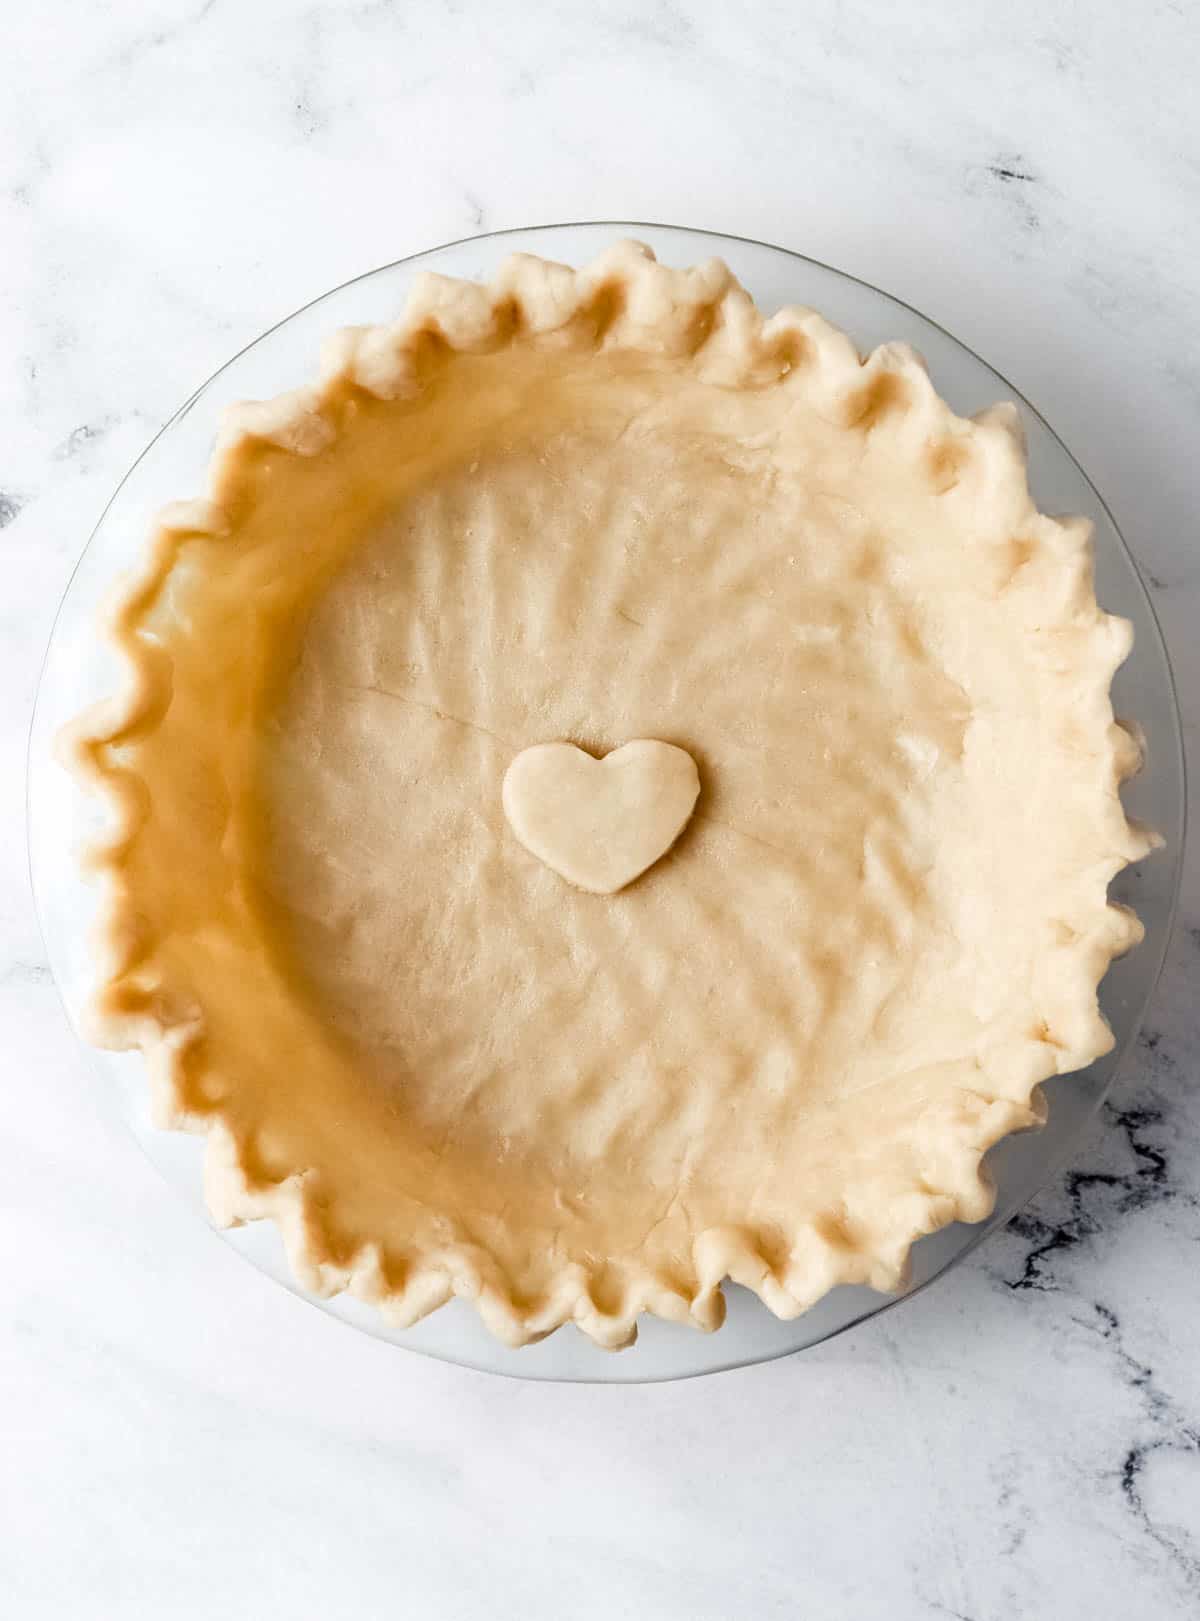
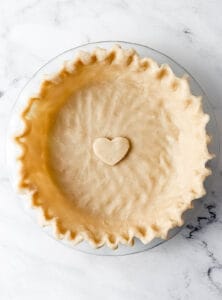
Trim and crimp the edges as desired.
7. Chill Again
Refrigerate the shaped crust for about 30 minutes before filling or baking.
That final chill helps the dough hold its shape in the oven.
LaKita's Expert Tips
- Keep everything cold. Cold fat is one of the keys to flaky pie crust.
- Add water gradually. Start with 3 tablespoons and only add more if the dough needs it.
- Don't wait for a smooth dough in the food processor. Stop once it begins clumping together.
- Press instead of kneading. Too much handling develops gluten and can make the crust tough.
- Flatten the dough before chilling. A disk chills more evenly and is much easier to roll later than a ball.
- Don't stretch it into the pan. Stretched dough tends to shrink back while baking.
- Chill the shaped crust. This is especially helpful for keeping crimped edges intact.
- If the dough gets soft, stop. Put it back in the refrigerator for 10 to 15 minutes instead of fighting warm, sticky pastry dough.
Why Use Butter and Shortening Together?
Each fat brings something different.
Butter
Butter gives pie crust:
- Rich flavor
- Golden color
- Flaky layers as its water turns to steam in the oven
Shortening
Shortening contributes:
- Tender texture
- Easier handling
- Better shape retention because it has a higher melting point than butter
Using both gives you a crust that's flavorful without being unnecessarily difficult to roll.
What Should Pie Dough Look Like?
Don't wait for the dough to become completely smooth.
Before adding water, the flour mixture should look crumbly with small pieces of butter and shortening throughout.
After adding enough ice water, the dough should:
- Look slightly shaggy
- Hold together when squeezed
- Feel cool
- Not feel wet or sticky
If it falls apart when squeezed, add another teaspoon or tablespoon of ice water.
If it feels sticky, you've probably added enough-or slightly too much-water.
Why Does Pie Crust Need to Chill?
Chilling does several things at once.
It allows the flour to absorb the water more evenly, gives the gluten time to relax, and most importantly keeps the butter and shortening firm.
Warm fat can melt into the flour before the crust reaches the oven.
Cold pieces of fat remain separate until baking, which helps create flaky layers.
How to Roll Pie Dough Without Cracking
Very cold dough can crack around the edges when you first begin rolling it.
If it's rock-hard from the refrigerator, let it sit at room temperature for about 5 to 10 minutes.
Then roll from the center outward rather than pressing back and forth across the entire dough.
Rotate it a quarter turn occasionally and add only enough flour to prevent sticking.
If the dough starts getting greasy or sticky, refrigerate it again before continuing.
How to Keep Pie Crust From Shrinking
A few habits make a big difference:
- Don't stretch the dough when placing it in the pie plate.
- Give yourself enough dough to comfortably fit the pan.
- Chill the shaped crust before baking.
- When blind baking, use pie weights to help hold the crust in place.
The dough should rest against the pan naturally rather than being pulled tightly into position.
Food Processor vs. Pastry Cutter
A food processor makes the process fast and easy, but you don't need one.
Food Processor
Pulse the flour, fats, and salt just until crumbly.
Then add the ice water gradually until the dough begins clumping.
The key is using short pulses, not continuously running the machine.
By Hand
Use a pastry cutter or your fingertips to cut the cold butter and shortening into the flour.
Work quickly so the fat stays cold.
Once the mixture is crumbly, stir in the ice water gradually with a fork until the dough holds together.
Can I Make Pie Crust Ahead?
Absolutely.
Refrigerator
Prepare the dough, flatten it into disks, wrap tightly, and refrigerate for up to about 3 days.
Let it sit at room temperature for a few minutes before rolling if it's very firm.
Freezer
Wrap the dough disks tightly in plastic wrap and place them in a freezer-safe bag.
Freeze for up to 3 months.
Thaw overnight in the refrigerator before rolling.
This is one of my favorite Thanksgiving-prep moves because homemade crust can be finished long before pie day arrives.
Can I Freeze an Unbaked Pie Crust?
Yes.
You can freeze the dough as disks or freeze a crust that's already rolled and fitted into a freezer-safe pie plate.
Wrap it very well to prevent freezer burn.
Use within about 3 months for best quality.
If you're freezing the crust already in the pan, make sure the pie plate itself is freezer-safe.
How to Blind Bake Pie Crust
Some pie recipes require a partially or fully baked crust before the filling goes in.
Start with a well-chilled shaped crust.
Line it with parchment paper and fill it with pie weights or dried beans so the bottom stays flat and the sides remain supported.
Bake according to the temperature and timing required by the specific pie recipe you're making.
If the crust needs to be fully baked, remove the parchment and weights once the dough has begun setting, then return it to the oven until the bottom is dry and the crust reaches the desired golden color.
The exact timing will depend on whether your recipe calls for a partially baked or fully baked crust, so follow the filling recipe rather than using one blind-baking time for every pie.
Why Is My Pie Crust Tough?
The most common causes are:
Too much water:
Water encourages gluten development.
Too much mixing:
Overprocessing or kneading builds more gluten and makes the dough less tender.
Too much flour during rolling:
Extra flour changes the dough's balance.
Handle the crust only as much as necessary to bring it together and shape it.
Why Is My Pie Dough Crumbly?
It probably needs slightly more water.
Add ice water a teaspoon at a time, gently pressing the dough after each addition.
Stop as soon as it holds together.
Don't pour in several tablespoons at once.
Why Is My Dough Sticky?
The fat may have become too warm or there may be too much water in the dough.
Lightly flour the surface and refrigerate the dough for 10 to 15 minutes.
Avoid continuously adding flour unless it's truly necessary.
Can I Use All Butter Instead?
You can make an all-butter pie crust, but it will not behave exactly like this tested recipe.
Butter contains water and melts more quickly than shortening, so changing the fat can affect both texture and handling.
For the result intended here, I recommend keeping the butter-and-shortening combination.
Frequently asked questions
For this recipe, I recommend it.
The chill gives the dough time to hydrate and keeps the fat firm before rolling.
Yes.
Wrap it tightly and refrigerate overnight.
Yes.
Freeze tightly wrapped dough for up to about 3 months and thaw overnight in the refrigerator.
Ice water helps bring the dough together without warming the butter and shortening.
Yes.
Use a pastry cutter or your fingertips to work the fat into the flour, then stir in the water gradually.
Squeeze a small handful of dough.
If it holds together without feeling wet or sticky, stop adding water.
Absolutely.
There is no sugar in this dough, so it works well for chicken pot pie, quiche, and other savory dishes as well as desserts.
The recipe makes enough dough for two standard single pie crusts or one double-crust pie.
Divide the dough into two disks before chilling if you'll need two pieces.
📖 Recipe
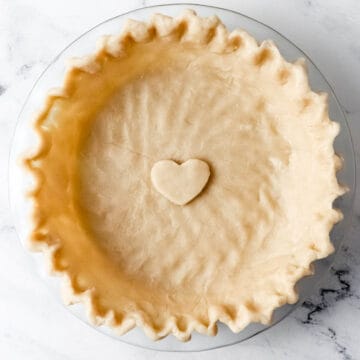
Homemade Pie Crust with Butter and Shortening
Video
Equipment
- 1 Food processor
- 1 Rolling Pin
- 1-2 Pie Plate(s)
Ingredients
- 2 ½ cups all-purpose flour
- ½ cup cold butter, cubed
- ½ cup shortening
- ⅛ teaspoon salt
- 3-5 tablespoons ice cold water
Instructions
- Mix the base: In a food processor (or bowl with a pastry cutter), combine 2 ½ cups flour, ½ cup cold butter, ½ cup shortening, and ⅛ teaspoon salt. Pulse until crumbly, small pieces of fat should remain visible.
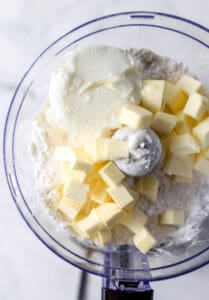
- Add water: Drizzle in ice water 1 tablespoon at a time, pausing briefly between additions, until the dough comes together.
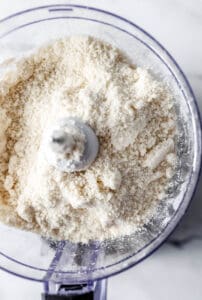
- Form the dough: Turn onto a floured surface. Gently press the dough together until it forms a flat disk. Divide into two equal portions for a double crust or keep as one for a single crust.
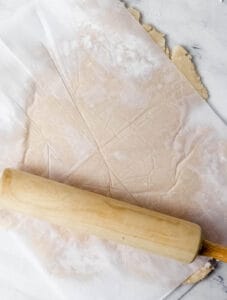
- Chill: Wrap in plastic wrap and refrigerate at least 2 hours (or overnight).
- Roll it out: On a floured surface, roll the dough into a 9-12 inch circle. Roll it several inches larger than your specific pie plate before transferring to your pie plate, trim, and crimp edges.
- Chill again: Refrigerate the shaped crust for 30 minutes before baking to prevent shrinking.
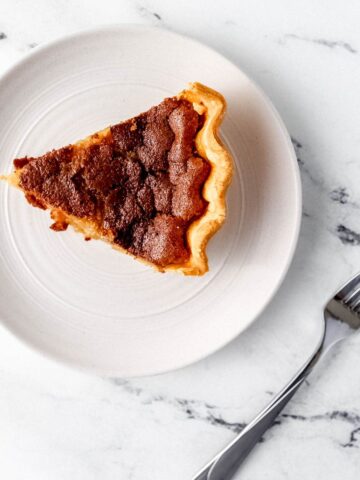
- Bake or fill: Add your pie filling and bake as directed. For blind baking, line with parchment and pie weights, bake at 375°F for 10-15 minutes, then continue until golden.
Notes
- Keep all ingredients cold.
- Works for sweet and savory pies.
- Freeze unbaked dough for up to 3 months.
Did You Make This Recipe?
Made this Homemade Pie Crust? Leave a ⭐⭐⭐⭐⭐ rating and a comment below. And tell me, are you team homemade crust every time, or are you still keeping that emergency store-bought crust in the freezer? No judgment.
Leave a Reply